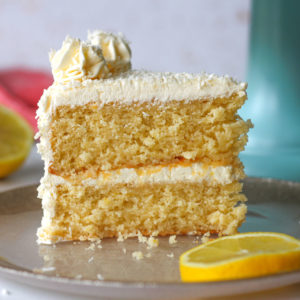
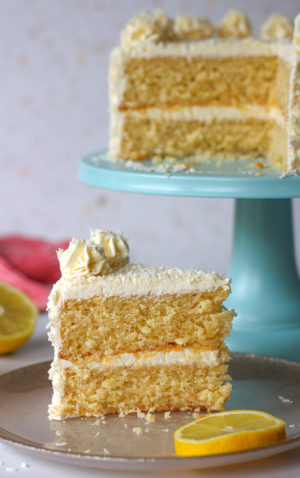
Lemon Coconut Layer Cake
This easy lemon coconut layer cake is flavoured naturally with lemons and coconut milk and smothered in coconut buttercream and coconut!
Equipment
- 2x 20cm/8in sandwich/cake pans
- Stand mixer or hand mixer with beater/paddle attachment
- Medium and large mixing bowl
- Whisk
- Rubber spatula
- Palette knife
- Piping nozzle and piping bag (if you want to pipe swirls on top!)
Ingredients
Lemon Coconut Cake Layers
- 275 g plain flour sifted
- 2 tsp baking powder level
- 1/2 tsp bicarbonate of soda level
- 1/2 tsp salt level
- 160 g unsalted butter room temperature
- 275 g caster sugar
- 4 medium eggs room temperature
- 1 tsp vanilla extract
- Juice of 1 medium lemon about 45ml of juice
- Zest of 2 medium lemons
- 60 g desiccated coconut
- 200 ml canned coconut milk must be canned, not fresh
Lemon Drizzle Syrup
- Juice of 1 medium lemon about 45ml of juice
- 90 g caster sugar
Coconut Buttercream
- 450 g icing sugar sifted
- 200 g unsalted butter room temperature
- 60 ml canned coconut milk must be canned, not fresh
- 1/2 tsp salt
Coconut Topping
- 65 g desiccated coconut, divided 15g sprinkled between the cake layers, 50g to cover the iced cake to finish!
Instructions
Lemon Coconut Cake Layers
- Preheat your oven to 160°C/140°C fan.
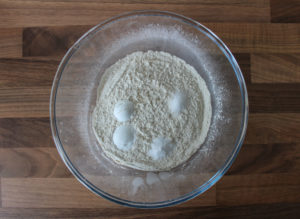
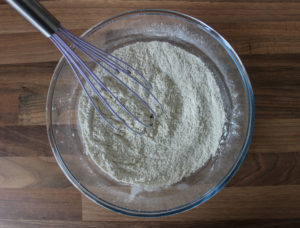
- To a large mixing bowl sift in the plain flour, then add the baking powder, bicarbonate of soda and salt. Whisk to combine and set aside.
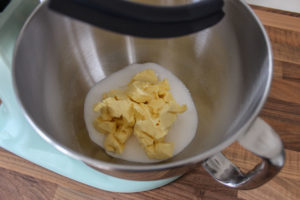
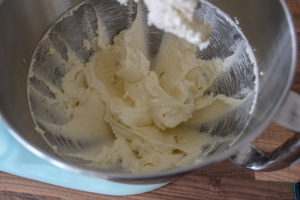
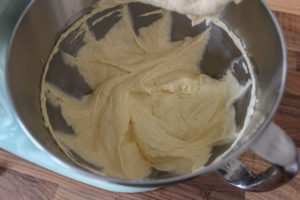
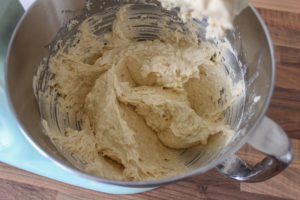
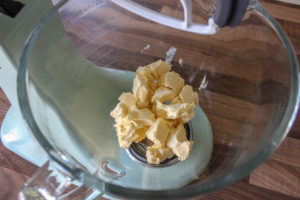
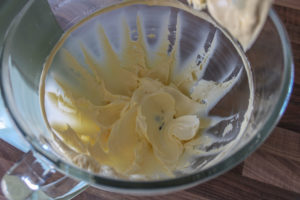
- Using a stand mixer or hand mixer with a large bowl and beater/paddle attachments fitted, beat the softened butter and caster sugar on medium speed for a full two minutes until lighter in colour, thick and fluffy.
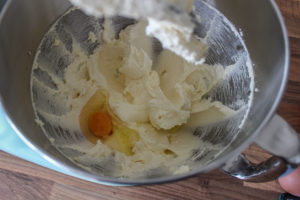
- Add the eggs one at a time, beating on medium speed between each addition until just combined.
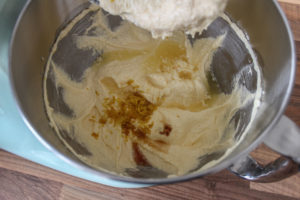
- Add the vanilla extract, fresh lemon juice and lemon zest and beat on medium speed again until just combined.
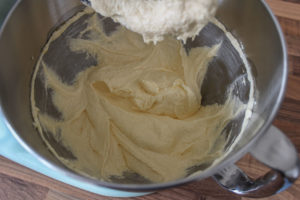
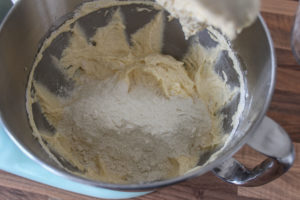
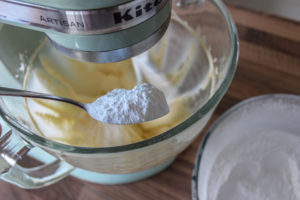
- Add half the dry ingredients and beat on low speed until just combined.
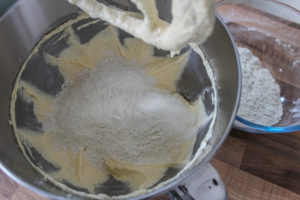
- Repeat with the final half of dry ingredients.
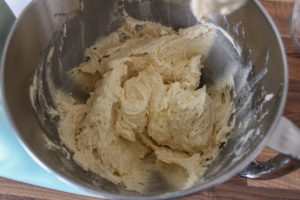
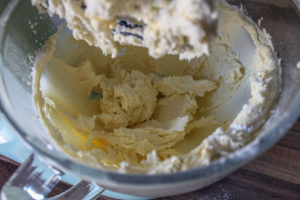
- Add the desiccated coconut and beat on low speed until just combined.

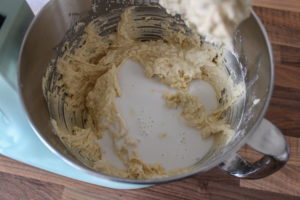
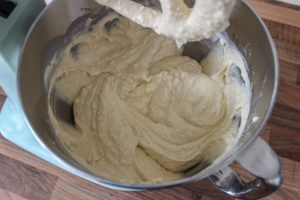
- Finally, add the canned coconut milk and beat on low speed until just combined.
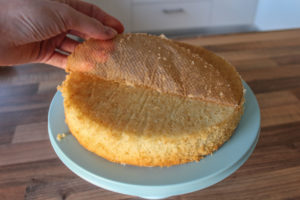
- Pour the mixture evenly into your two lined 20cm/8in sandwich/cake pans and level the top with a spatula. Bake for around 30-35 minutes. You'll know they are baked when a cocktail stick or cake skewer inserted into the centre of the cake comes out clean!
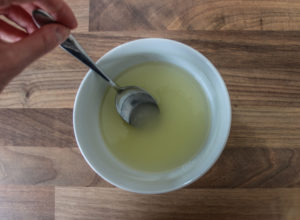
- While the cakes are baking, make your lemon drizzle syrup by simply stirring the caster sugar and lemon juice in a small bowl with a spoon to combine.
- Once the cakes are baked, place the cake pans onto a wire rack.
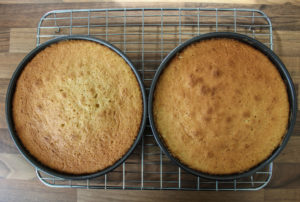
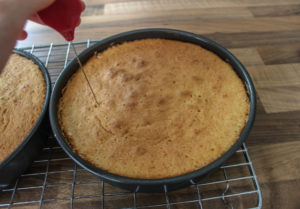
- While the cakes are still hot, poke each cake all over with a cocktail stick or cake skewer.
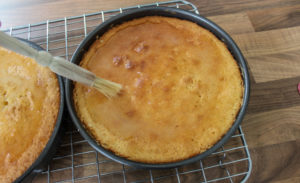
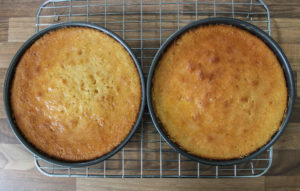
- Pour the lemon drizzle syrup on top of each cake. You can then spread it evenly across the top of each with a pastry brush.
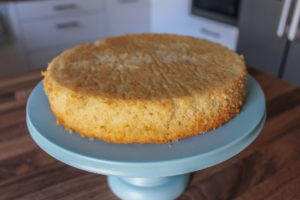
- Leave the cakes to cool completely on the wire rack before assembling and icing the cake!
Coconut Buttercream
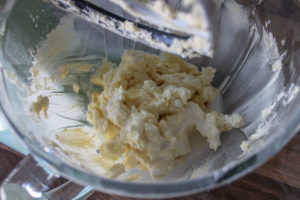
- Add the softened butter to a large mixing bowl and using a stand mixer or hand mixer with the paddle/beater attachments fitted, beat on medium speed for a full two minutes to soften.
- Next, with the mixer running on low speed, slowly add the sifted icing sugar a tablespoon at a time. It will be quick thick once all the icing sugar has been added.
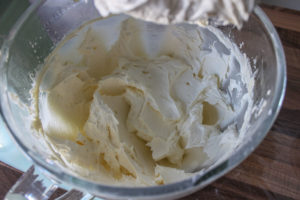
- Scrape down the sides of the bowl with a spatula, then add the canned coconut milk and salt. Beat the mixture on medium-high speed for a full five minutes until much thicker, light and fluffy.
Assembling the layer cake
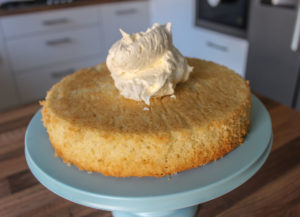
- Place one cake layer top side down onto your chosen cake stand or plate and then peel away any baking or parchment paper.
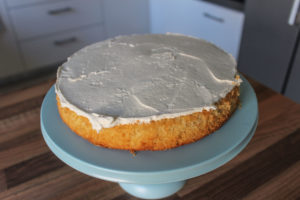
- Add some coconut buttercream and spread it evenly across the cake layer using a palette knife or spatula.
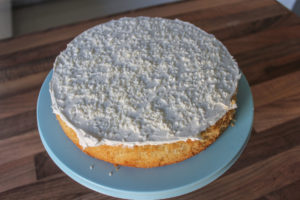
- Sprinkle 15g of desiccated coconut across this buttercream layer.
- Place the second cake layer on top and peel any baking or parchment paper away.

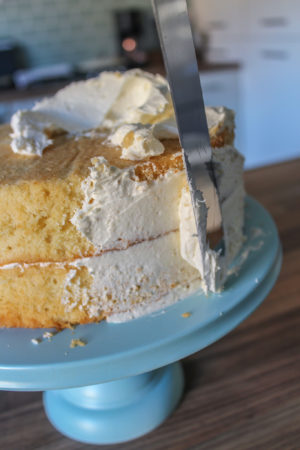
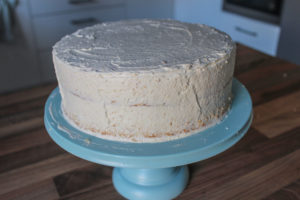
- Cover the sides and top of the cake with a thin layer of buttercream using your palette knife or spatula. This thin layer acts as a 'crumb coat' - it helps to trap any loose crumbs so that your second layer of icing looks much neater and smoother!
- Place the cake in your fridge for around 30 minutes to allow the buttercream to chill and firm up slightly.
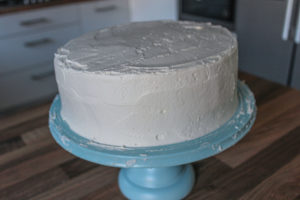
- Next, add a thicker second coat of buttercream around the sides and top of the cake using your palette knife or spatula.
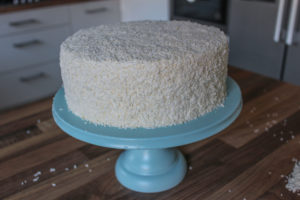
- Finally, add your remaining 50g of desiccated coconut to the top and sides of your cake. This can get quite messy! I scoop some coconut in the palm of my hand and carefully press it into the sides. I like to go around the cake twice so that the coconut coating is thicker and more even. I find the second layer much easier to apply as I can press my hand onto the cake without so much buttercream sticking to my hand!
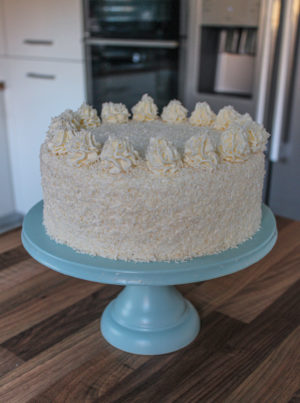
- Finally, you can add some swirls around the top of your cake with any leftover buttercream! Simply use your chosen piping nozzle, fit it to a piping bag and fill it with the remaining buttercream. Then create whatever swirls or patterns you wish!I like to finish the swirls with a final sprinkling of coconut.
- This cake is best kept in an airtight container in the fridge (due to the dairy content of the buttercream) and is best eaten within 4 days.
Notes
If you’ve tried this recipe, tag @bakerjoblog on Instagram, Facebook, Pinterest or Twitter and/or use #bakerjoblog!