So quick and easy to make in one bowl with just four ingredients, these homemade peanut butter banana dog treats are biscuits your dog will love!

This post may contain affiliate links. For more information, see my Full Disclosure.
I’ve been wanting to try a dog biscuit recipe since our little Buddy the labradoodle joined us back in December! He is a great taste tester, although he will pretty much eat anything (including stones 🙄)…
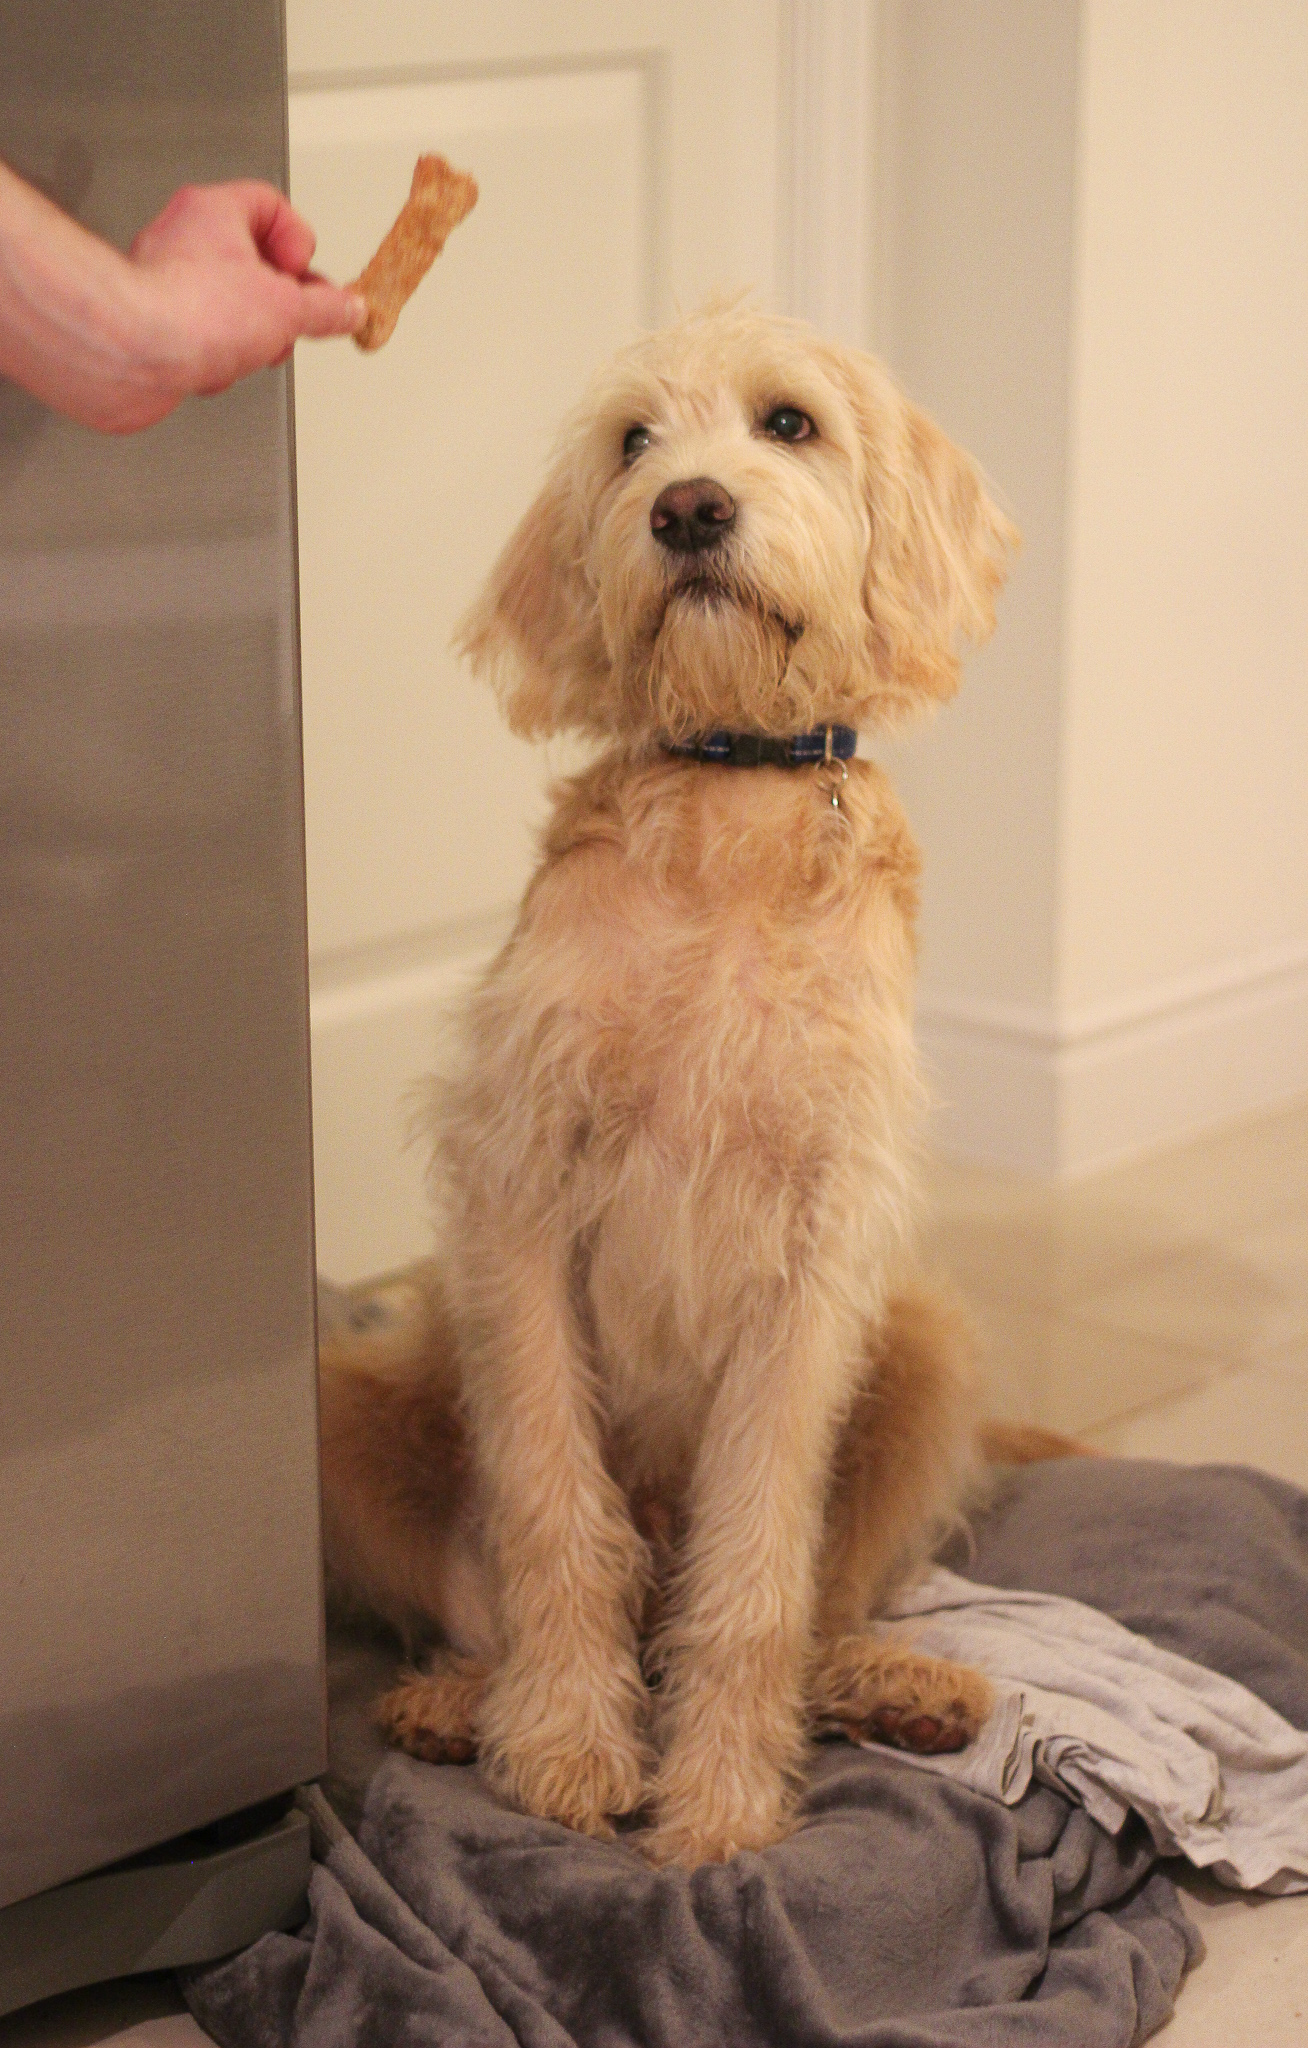
Still, he goes crazy for these biscuits so I think these peanut butter banana dog treats are a winner!

Quick and easy homemade peanut butter banana dog treats
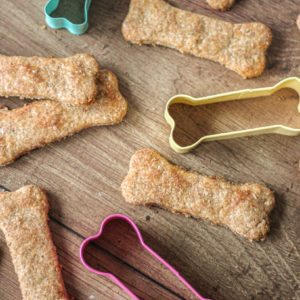
This simple dog biscuit recipe can be made in no time at all in just one bowl with a wooden spoon! You can cut them into any shapes that you like, though I used dog bone cookie cutters as they’re so cute! I’ve added a link to the particular cookie cutters I used further down this post 🙂

Homemade peanut butter banana dog treats ingredients
These peanut butter and banana dog treats are made using only four ingredients! Full amounts can be found in the recipe card at the bottom of this post, but in summary you’ll need:
- Whole wheat plain flour which contains more nutrients and can be easier for your dog to digest than white plain flour
- Peanut butter which doesn’t contain xylitol as this is harmful to dogs. I use Meridian brand peanut butter – I used smooth but you can use crunchy if you prefer!
- Banana adds a little sweetness and helps bind the ingredients
- Water also binds the ingredients together into a smooth dough
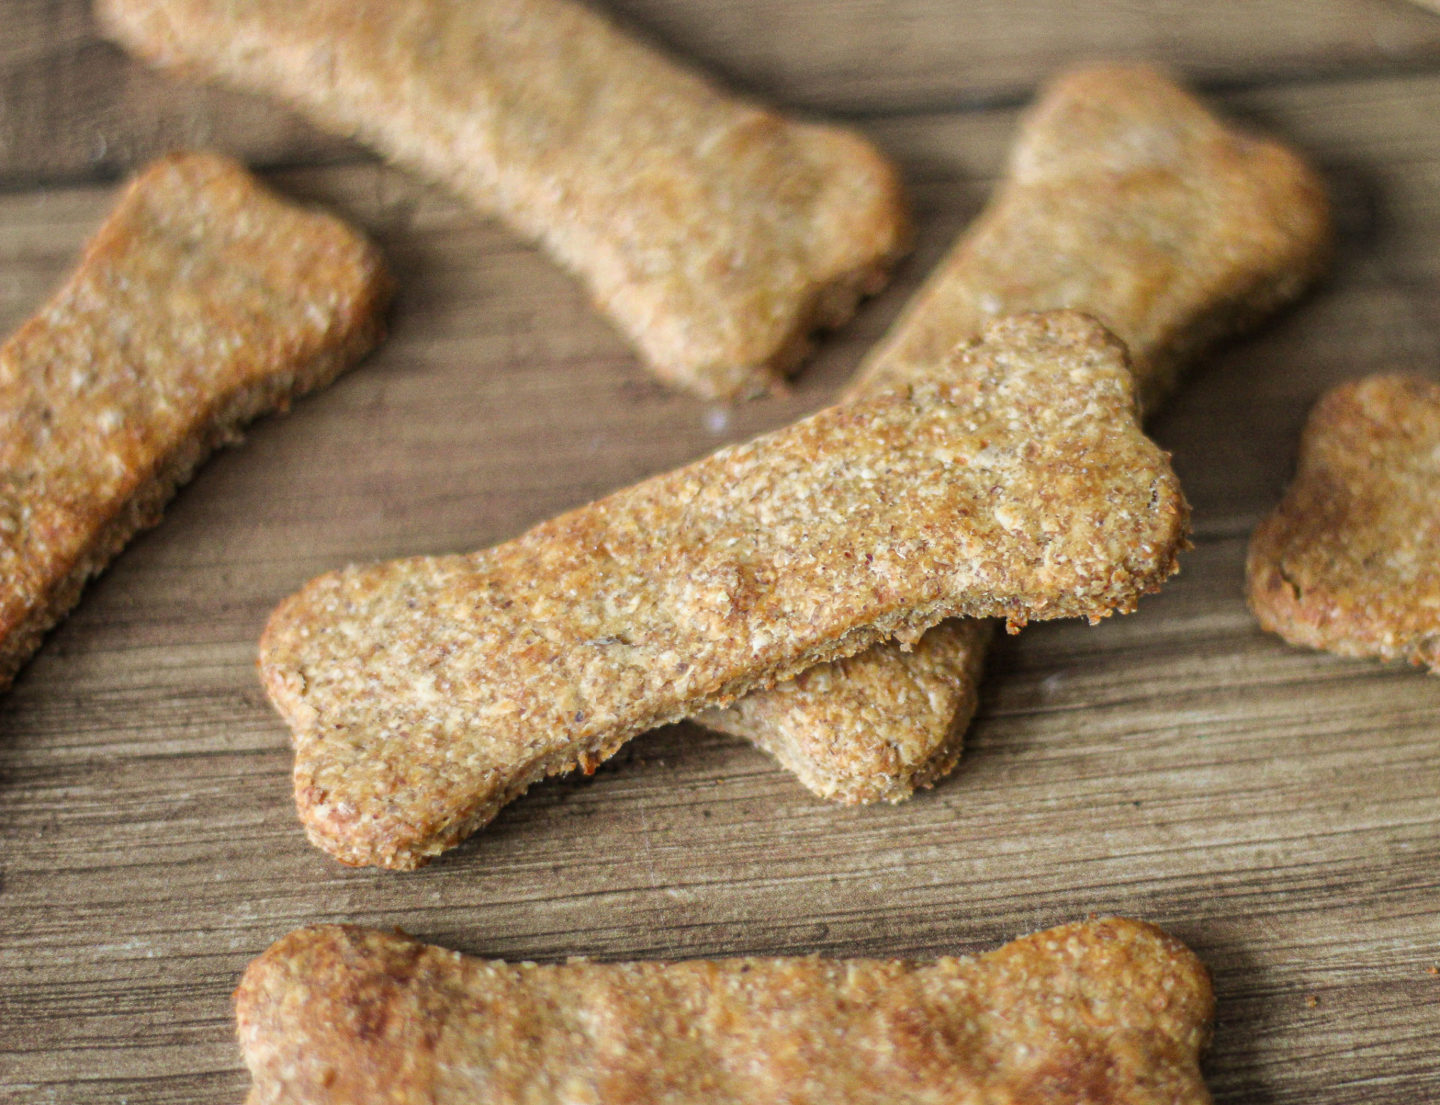
How to make easy homemade peanut butter banana dog treats
These banana and peanut butter dog treats are honestly so quick and easy to make in just one bowl! Full instructions with step-by-step photos are available in the recipe card at the bottom of this post, but here’s a little summary:
- Preheat your oven to 170°C/150°C fan
- Add wholewheat plain flour, peanut butter and mashed banana to a large mixing bowl and mix together with a wooden spoon
- Add water a tablespoon at a time, mixing in between until it forms a smooth dough
- Flour a work surface and roll out the dough about 1/2 cm thick
- Cut out your biscuits using your chosen cookie cutters (I used a dog bone cutter which was 6cm long)
- Place your biscuits onto a baking tray. They don’t really spread in the oven so they don’t need much space between them!
- Bake for 10-11 minutes (based on a 6cm bone-shaped cutter – if you use smaller cutters they will bake in less time, or will need a little longer if you used a larger cutter)
- Place the baking tray on your countertop to allow the biscuits to cool for 5 minutes before removing them and placing them on a wire rack to cool completely. Done!
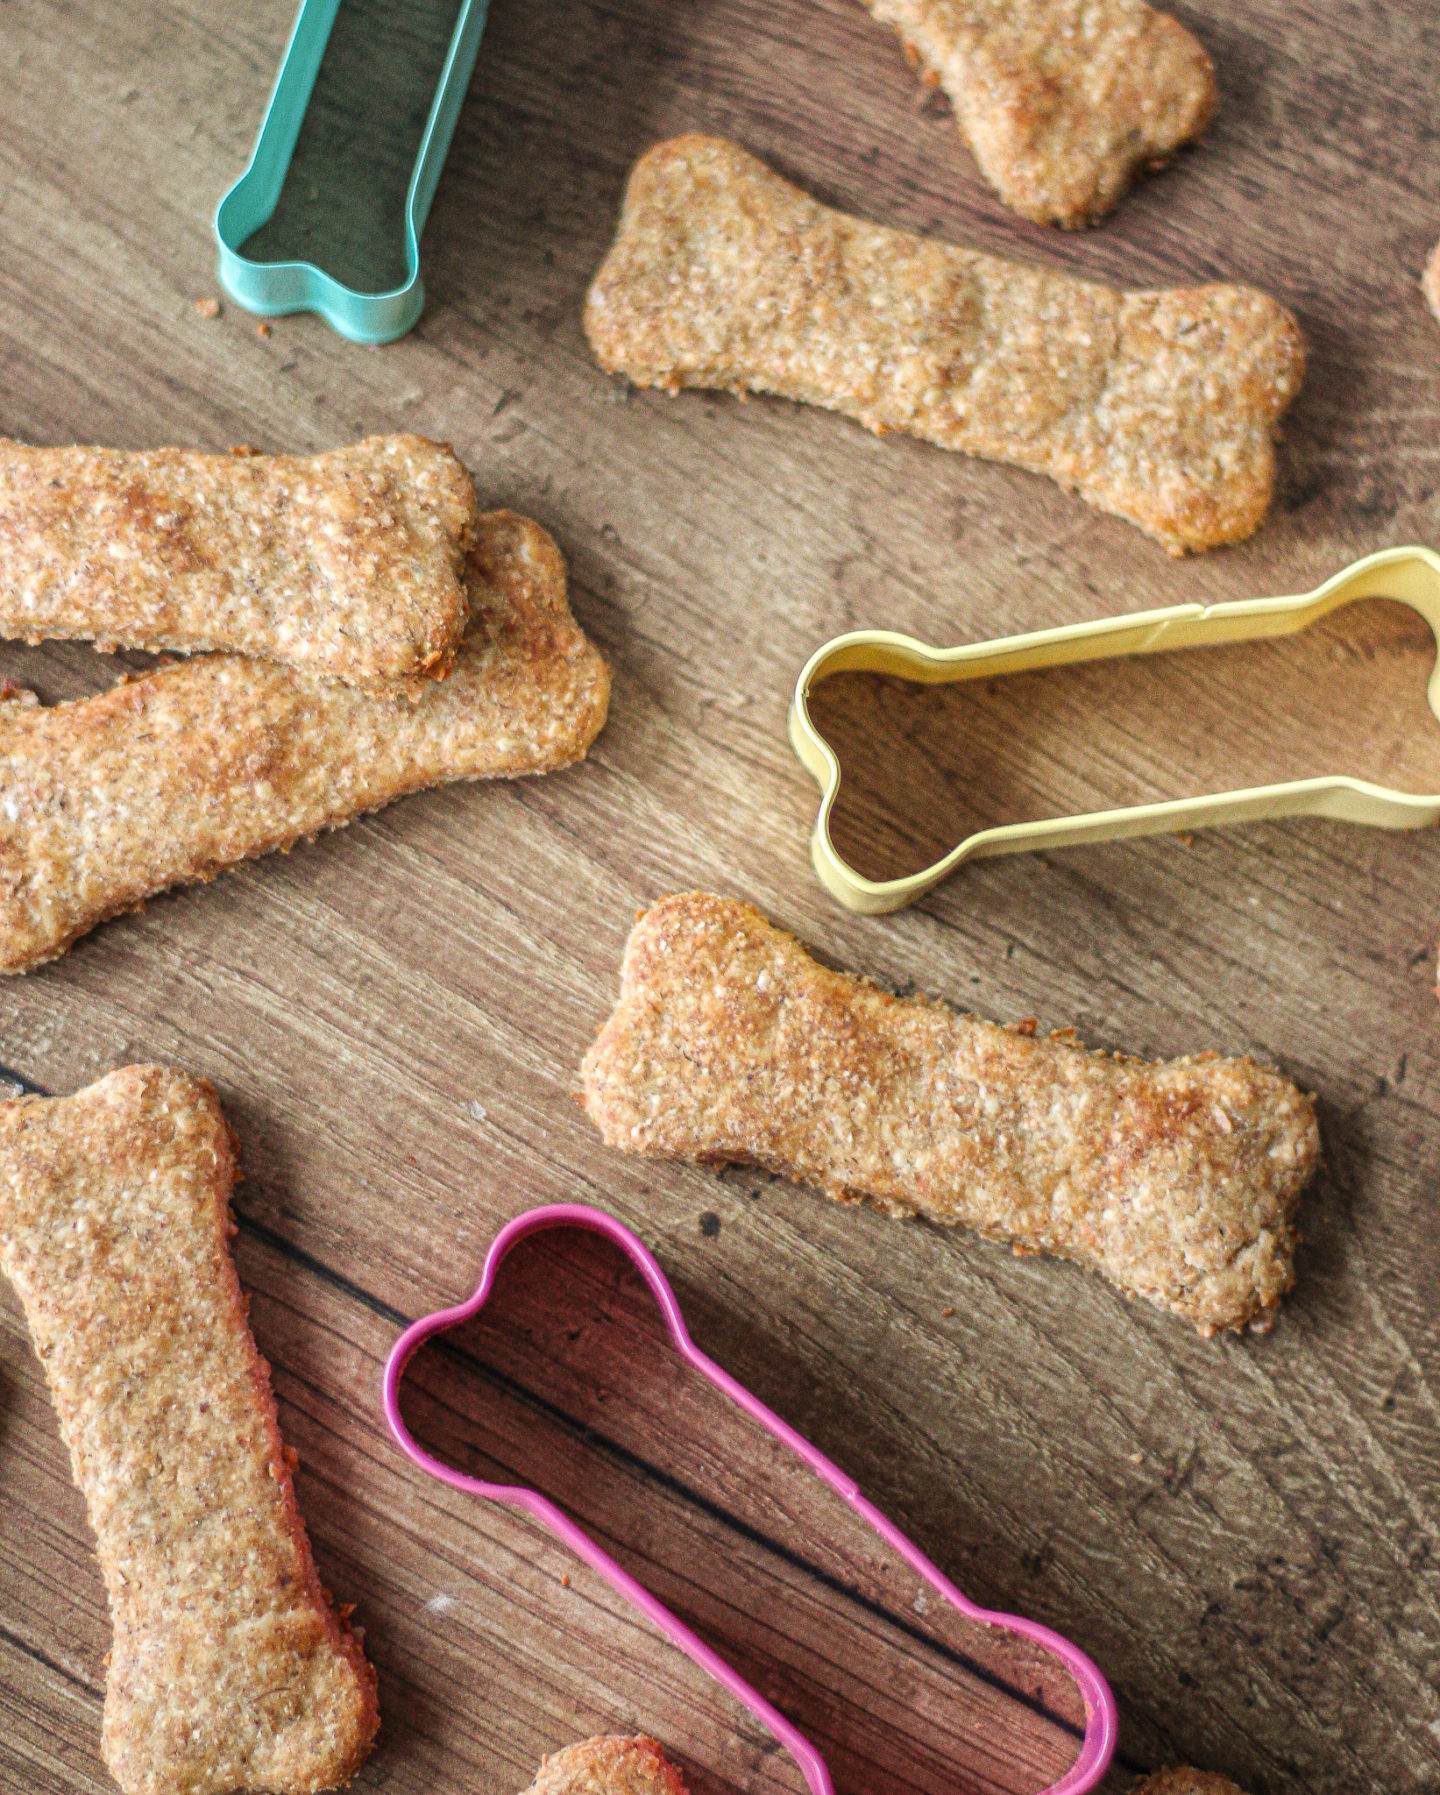
Homemade dog treat cookie cutters
You can use any shaped cutters you like, but I couldn’t resist buying these dog bone cutters! This is the set I use:
The larger pink bone cutter is the size I used, which measures around 6cm long. The biscuits take around 10-11 minutes to bake using this size cutter 🙂 if you use a smaller cutter, reduce the bake time by a few minutes, and increase the bake time when using larger cutters!
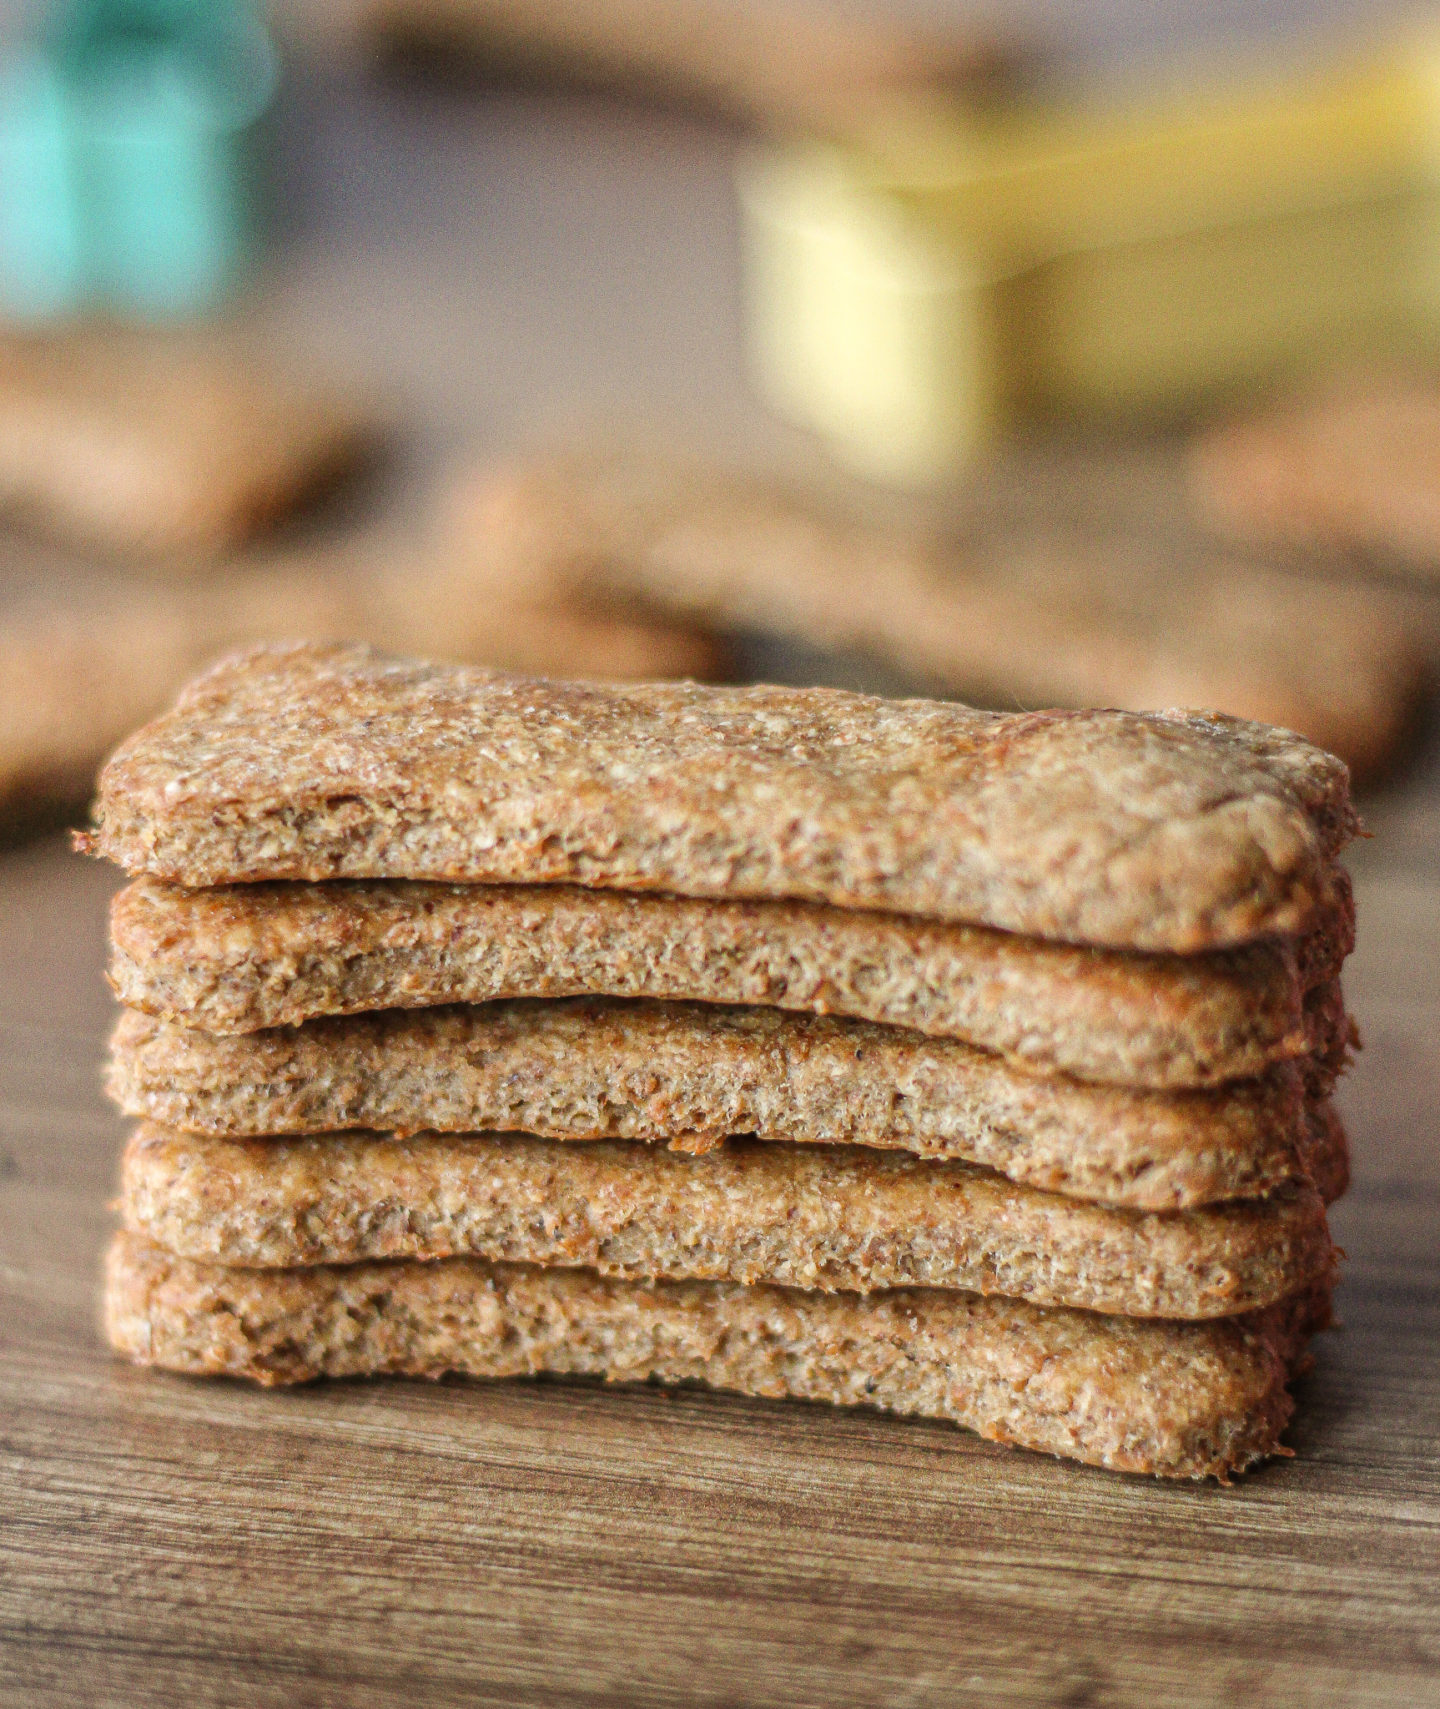
Just keep a watch on the colour of the biscuits; once they look like they are browning slightly on the tops and edges as shown below, they should be done!

Homemade dog treat biscuits FAQs
Can you use regular white plain flour to make dog treat biscuits?
Yes, you can, although I prefer to use whole wheat plain flour as it contains more nutrients and goodies, and should be a little easier for dogs to digest.
I haven’t tested these with alternative flours like coconut or almond flour, although they should work fine – you might just need to use a little more or less water to help bind the dough, so add the water a tablespoon at a time until the dough is the right consistency 🙂
You could also use oats but you may need to blend them in a food processor first to make them as fine and as close to flour consistency as possible!
How long will homemade dog treats last?
These biscuits will keep well for up to 2 weeks when stored in the fridge in an airtight container.
Can you freeze homemade dog treats?
Yes, this is how I store mine! Store in an airtight container and they will keep well for around 4-5 months. As Buddy has been teething I’ve actually been giving him biscuits straight from the freezer to soothe his gums!
However, these will thaw quite quickly when left on your countertop, or you could place them in the microwave briefly for around 20 seconds to speed it up a little 🙂
To conclude, these peanut butter banana dog treats are:
- Incredibly quick and easy to make in one bowl
- Contain only four ingredients
- fun to make using different shaped cookie cutters
- Great for freezing, keeping well for 4-5 months
- a great homemade treat that your dog will love!
If you try this recipe I’d love to see! You can show me by tagging me @bakerjoblog or using #bakerjoblog!

Other biscuit and cookie recipes to try:
- Nutella Stuffed Chocolate Chip Cookies
- Chewy Chocolate Chip Cookies
- Triple Chocolate Chip Cookie Pizza
- White Chocolate Macadamia Nut Cookies
- Chewy Chocolate Chip Cookie Bars
- Chewy Triple Chocolate Chip Cookies
- Strawberry White Chocolate Cookies
Peanut Butter Banana Dog Treats
Equipment
- Large mixing bowl
- Rolling Pin
- Wooden spoon or spatula
- Baking tray (I prefer silicone baking trays for more even baking)
Ingredients
- 140 g whole wheat plain flour * see notes below re: alternative flours
- 100 g peanut butter that doesn't contain Xylitol smooth or crunchy
- 1 small banana, mashed 70g peeled weight
- 3 tbsp cold water
Instructions
- Preheat your oven to 170°C/150°C fan.
- Add the whole wheat plain flour, peanut butter and mashed banana to a large mixing bowl.
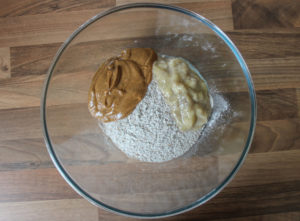
- Mix all the ingredients together with a wooden spoon or spatula. Stir and mash together until well combined and crumbly.
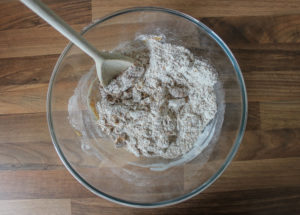
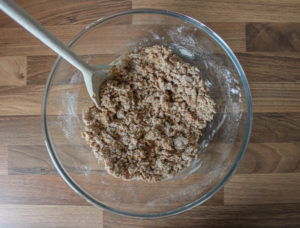
- Add water a tablespoon at a time, mixing with your hand between each addition until you have a smooth dough. If it's crumbly and not holding together well, add a tablespoon more water. If it feels too sticky and wet, add a tablespoon more flour. You may need more or less water than stated depending on the temperature and conditions of your kitchen, so add it slowly until you reach the right consistency!
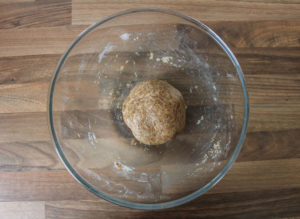
- Flour a rolling pin and a work surface and place your ball of dough on top.
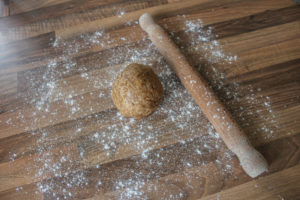
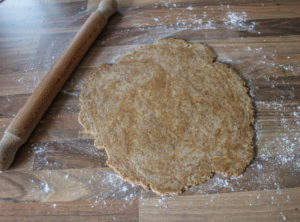
- Roll out the dough until it is around 1/2 cm thick.
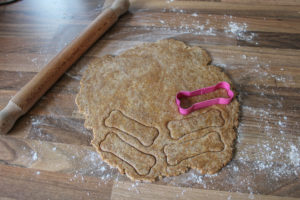
- Cut out shapes with your chosen cookie cutters! Using this 6cm long bone cutter, I manage to get around 20 dog treats from this dough.
- Place your biscuit shapes onto your baking tray. They don't really spread in the oven so you don't need to leave a lot of space between them.Bake for 10-11 minutes until lightly golden. If you've used a cookie cutter that is larger than 6cm long, the biscuits will take a few minutes longer to bake. If you used a smaller cutter, they will need slightly less time to bake. Watch them closely until they appear golden brown on the tops and sides to know they are baked.
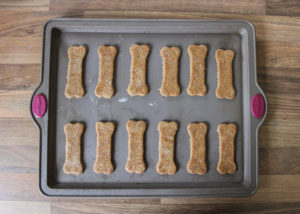
- Leave the baking tray on your countertop for 5 minutes as they will continue to bake on the hot tray.
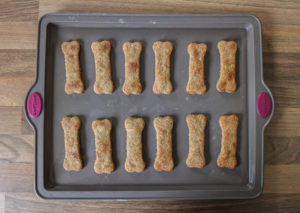
- After 5 minutes, remove the biscuits and place them on a wire rack to cool completely.
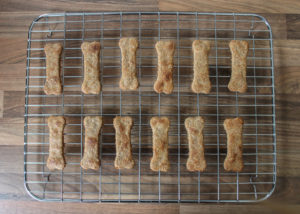
- These dog treats will keep well in the fridge for up to 2 weeks, and keep well in the freezer for 4-5 months.

Notes
- You can substitute whole wheat plain flour with white plain flour, I just prefer to use whole wheat flour as it contains more nutrients than white plain flour. They should also be easier for your dog to digest using whole wheat flour.
- You can also use alternative flours such as coconut flour or almond flour, though you may need more or less water than stated. Add water a tablespoon at a time until your dough is the right consistency; soft and smooth, not crumbly or sticky!
2nd time of making these. My dog loves them as do his friends when they come round. Thank you
Rolled them into balls, flattened and put in the oven, what a great use for over ripe bananas. The dogs love them. (I added an egg too, justbecause)
I just made these for my dog. I used oat flour and tossed in some raw crushed peanuts. She absolutely loves them. They were a hit with the neighborhood dogs too. I’ll probably be making these quite often. 😁
So easy, and the kids LOVE them!! I’m not a cookie cutter kind of girl, so I rolled and sliced with a butter knife. The hardest part is converting to US measurement, but it’s pretty simple. Recipe saved!
Just made these an hour ago. Cut them using tiny fruit cutters. Our 2 dogs have been going wild for them! Happy New Year!
Author
So glad your dogs loved them! And happy new year to you too! 😊
These are fab! I used melted coconut oil instead of water to combine to help my dogs skin! He sat by the oven the whole time these were being made. Will definitely make again.
Author
I love this comment 😊 so glad he loved them!
Really easy recipe and my dog really enjoyed these. Thank you.
Author
Thanks Frankie!
Congratulations on successfully making crack for dogs.
I’ve literally just got these out of the oven and luckily I made these treat size rather than using cookie cutters and I am glad I did, they might last a little longer if the dog doesn’t keep chasing me around for more!
Author
Love this comment 😂 thanks Chloe!
Easy to make, our dog loves these treats!
Author
So glad they love them!
Great recipe and my dog loves these. Really easy to make too !
Author
Yay! Glad your dog approves 😊