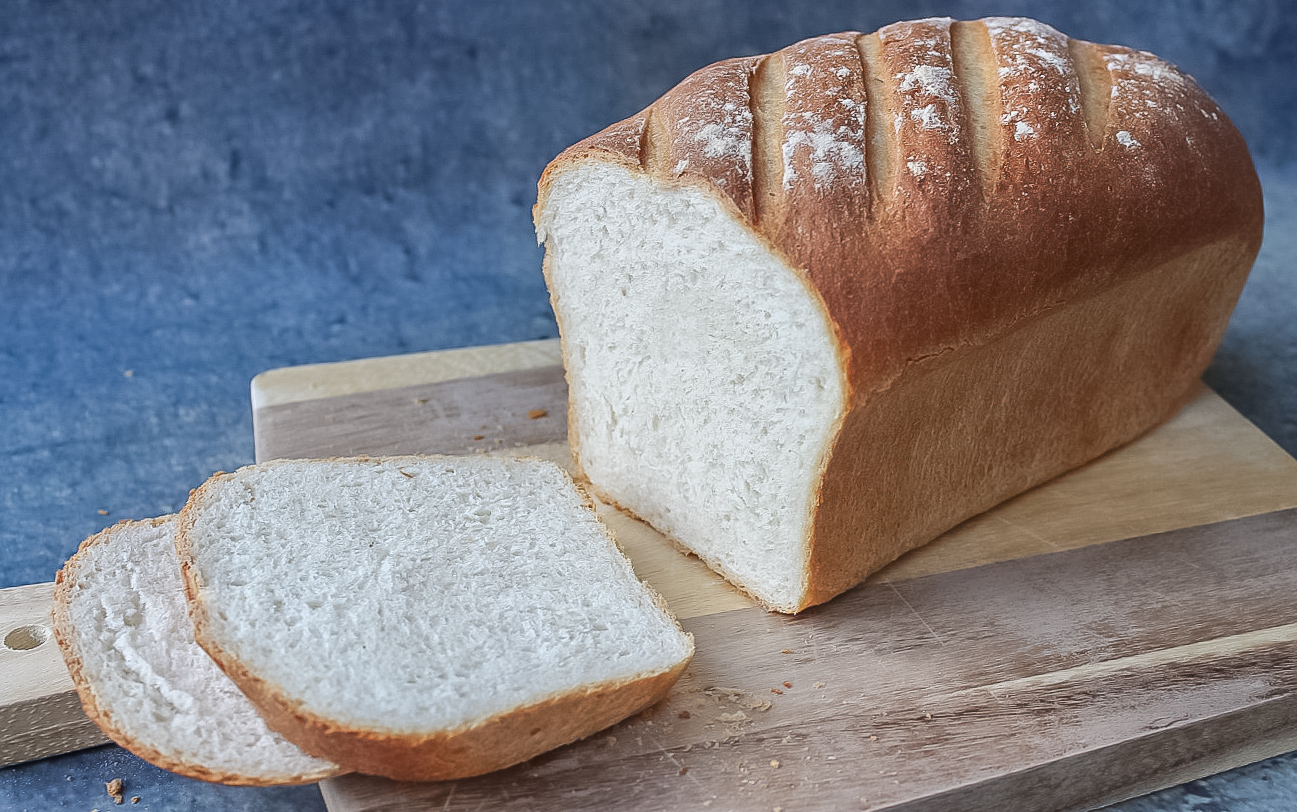
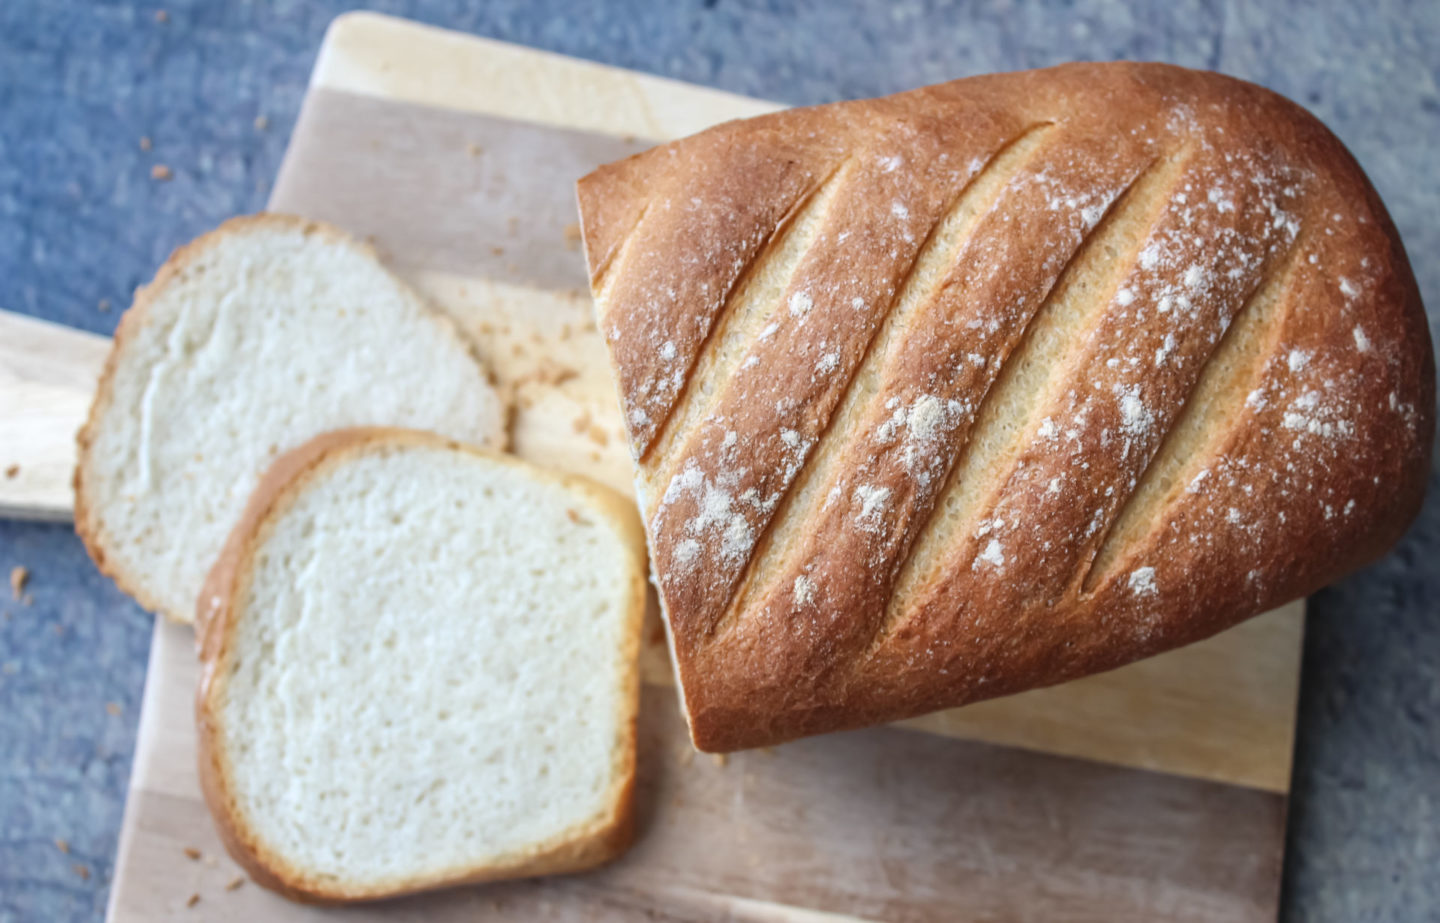
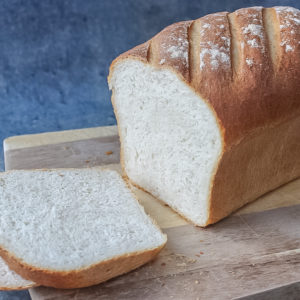
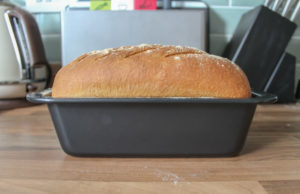
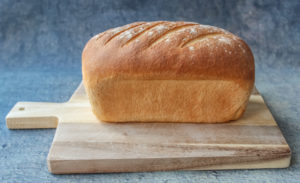
With a thick crust and soft, fluffy bread inside, my simple white tin loaf can be made easily at home using some basic ingredients and a loaf tin!
This post may contain affiliate links. For more information, see my Full Disclosure.
Since the world went into lockdown, I’ve noticed a sudden increased interest in homemade bread recipes. My Simple White Cob Loaf recipe has become very popular over the last few weeks! So I wanted to give you another variation of that recipe in the form of this simple white tin loaf!
One day I was curious to see if my cob loaf recipe would work in a tin. I figured it would be even easier to make than my cob loaf as no shaping of the dough is required. It turns out it works perfectly in a 1kg/2lb loaf tin!
(I’ve added the loaf tin I personally use a little further down this post).
So if you’ve already tried my cob loaf recipe, you would follow the same method up until the first prove, and then follow my step-by-step instructions and photos below using your loaf tin.
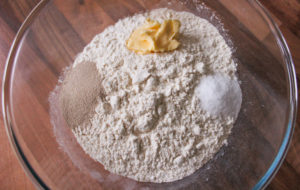
What ingredients are in a white tin loaf?
You only need five ingredients to make this loaf – strong bread flour, yeast, salt, butter and water. So simple! Strong bread flour is recommended as it has a higher protein level to give the best rise to your loaf.
I use instant dry yeast, table salt, unsalted butter and tepid water. Nothing fancy or complicated. So if you can get your hands on these ingredients at the moment you’re all good to go!
White tin bread loaf with thick crust
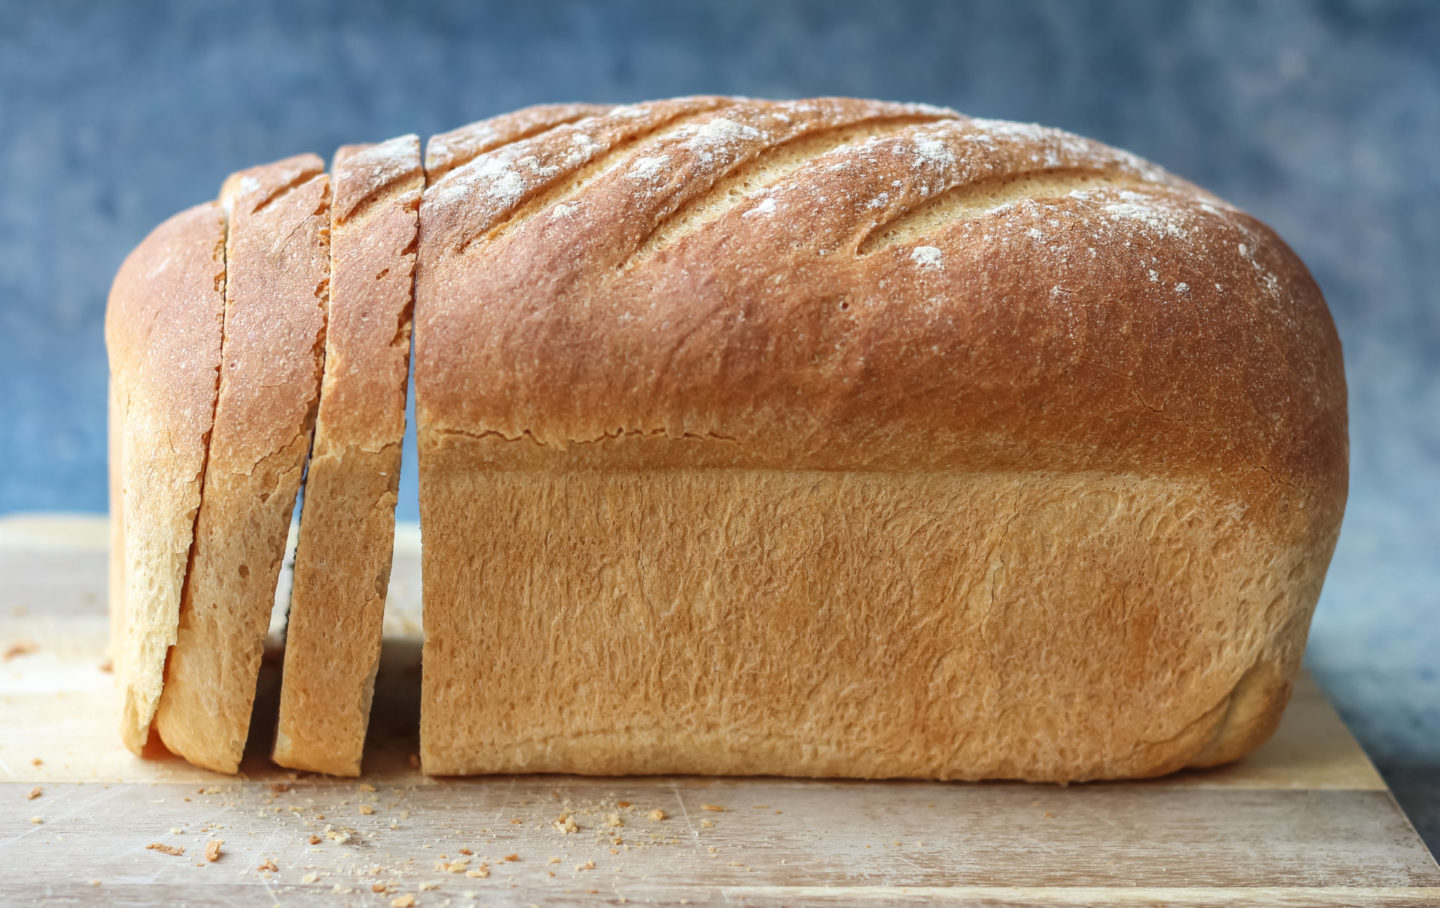
Very similar to my cob loaf recipe, given the ingredients are the same! If you follow my trick of pouring boiled water into a roasting tray placed in the bottom of your oven, this will result in a lovely crunchy crust.
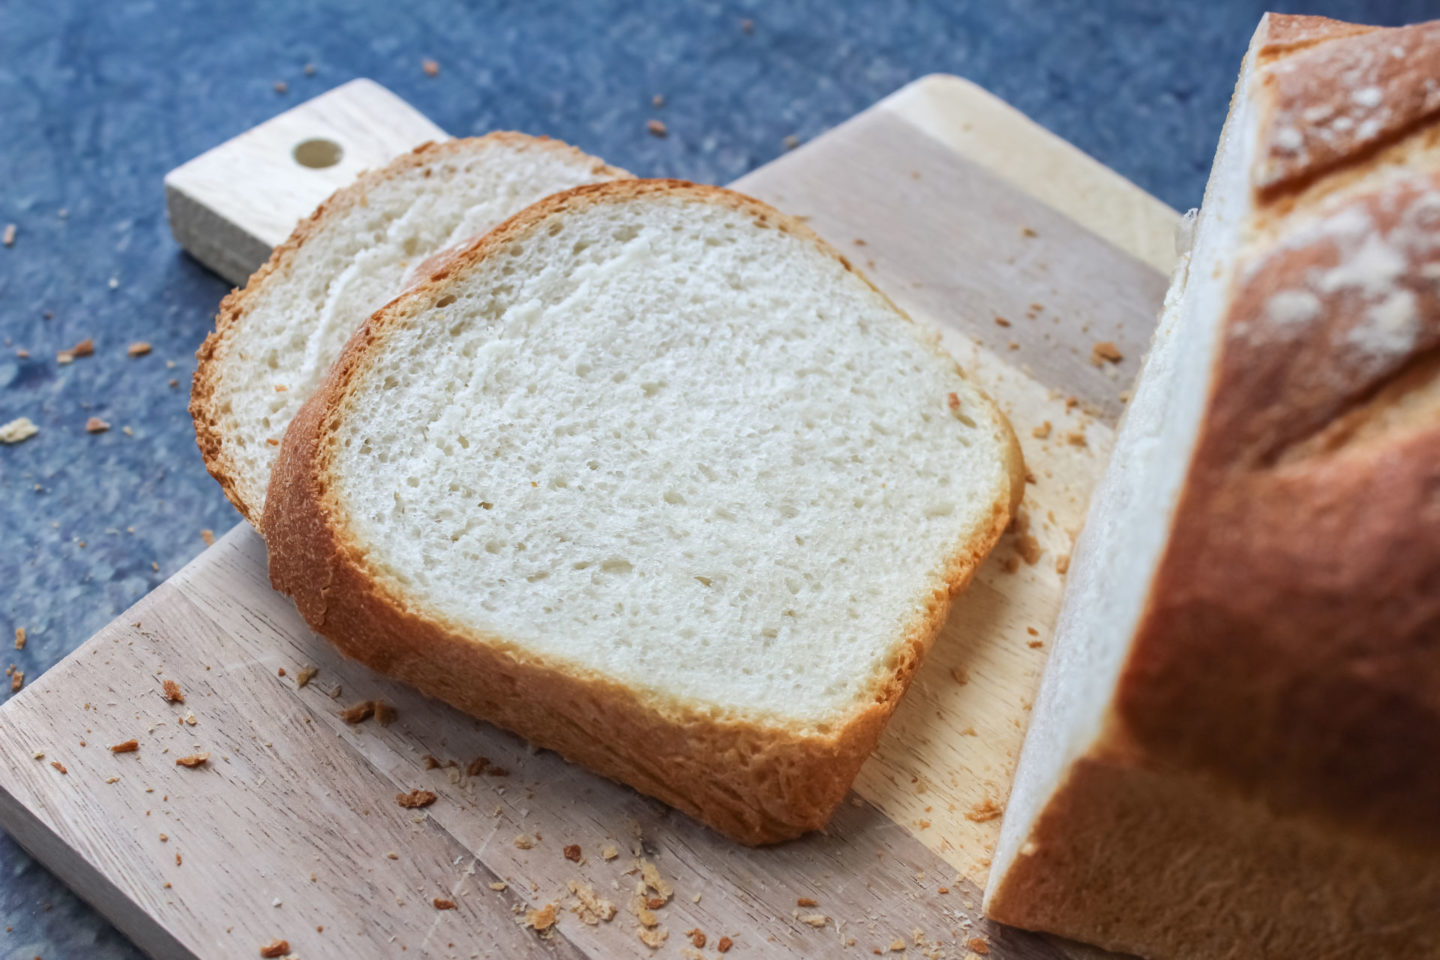
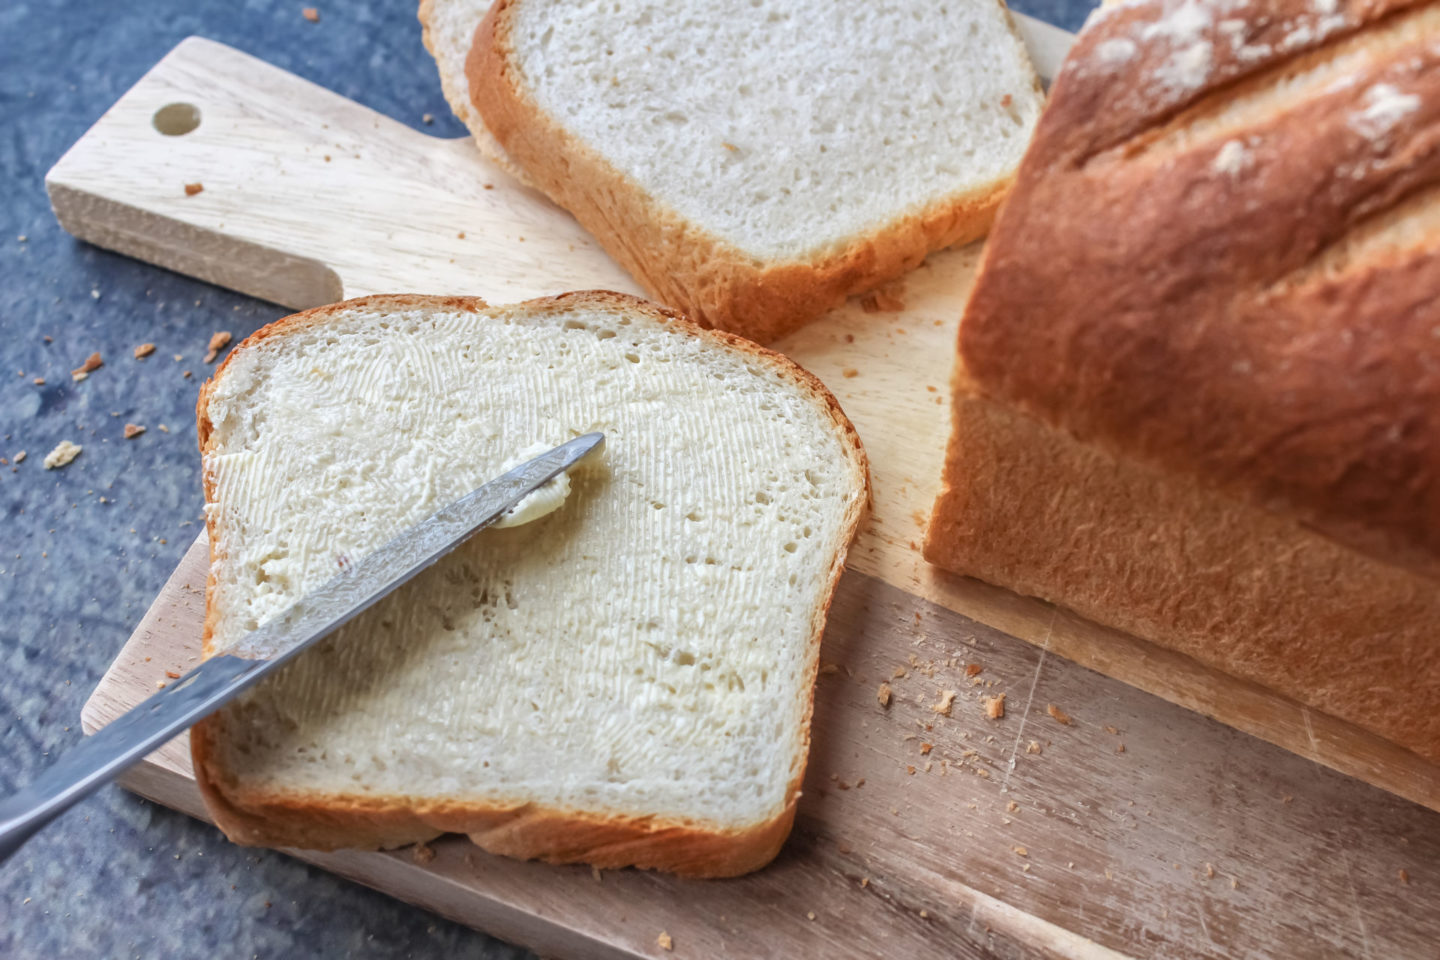
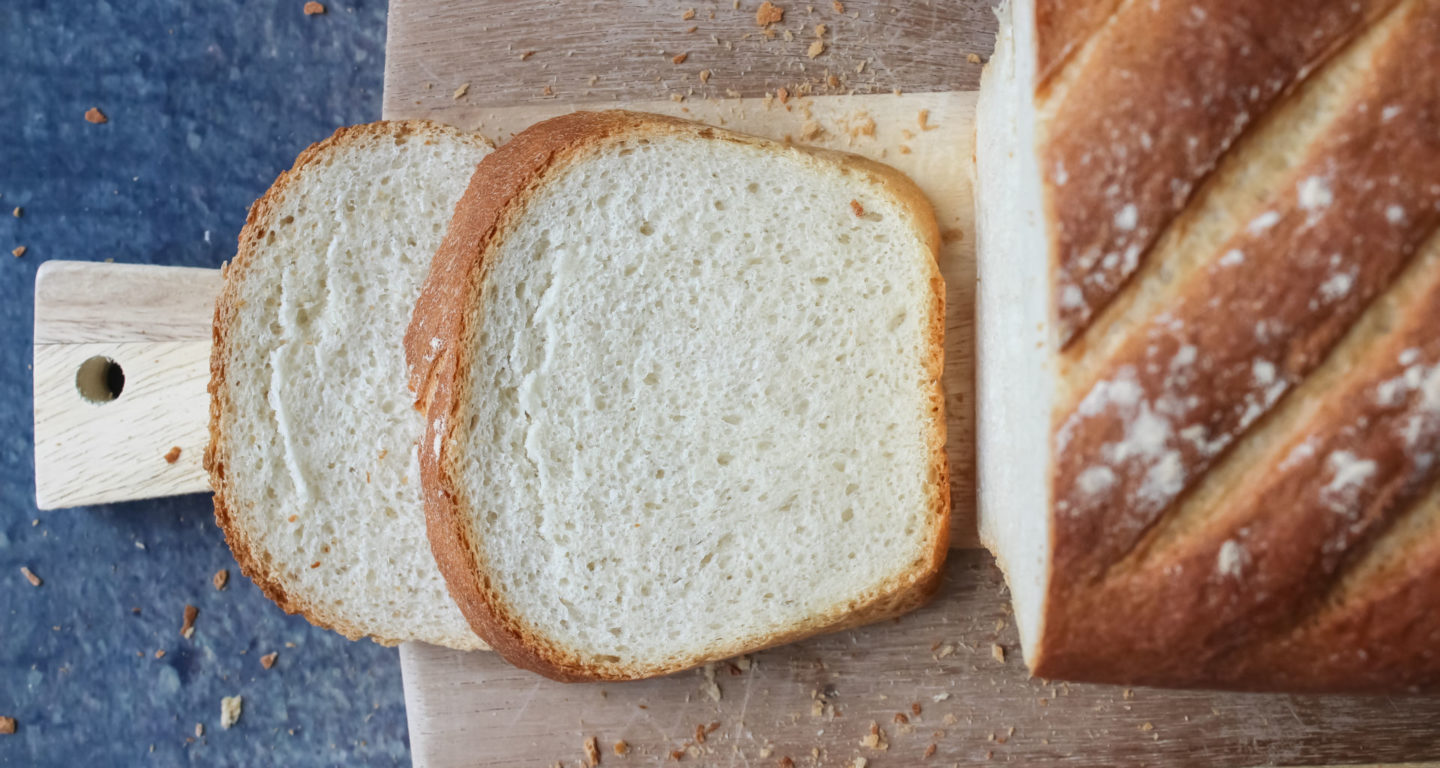
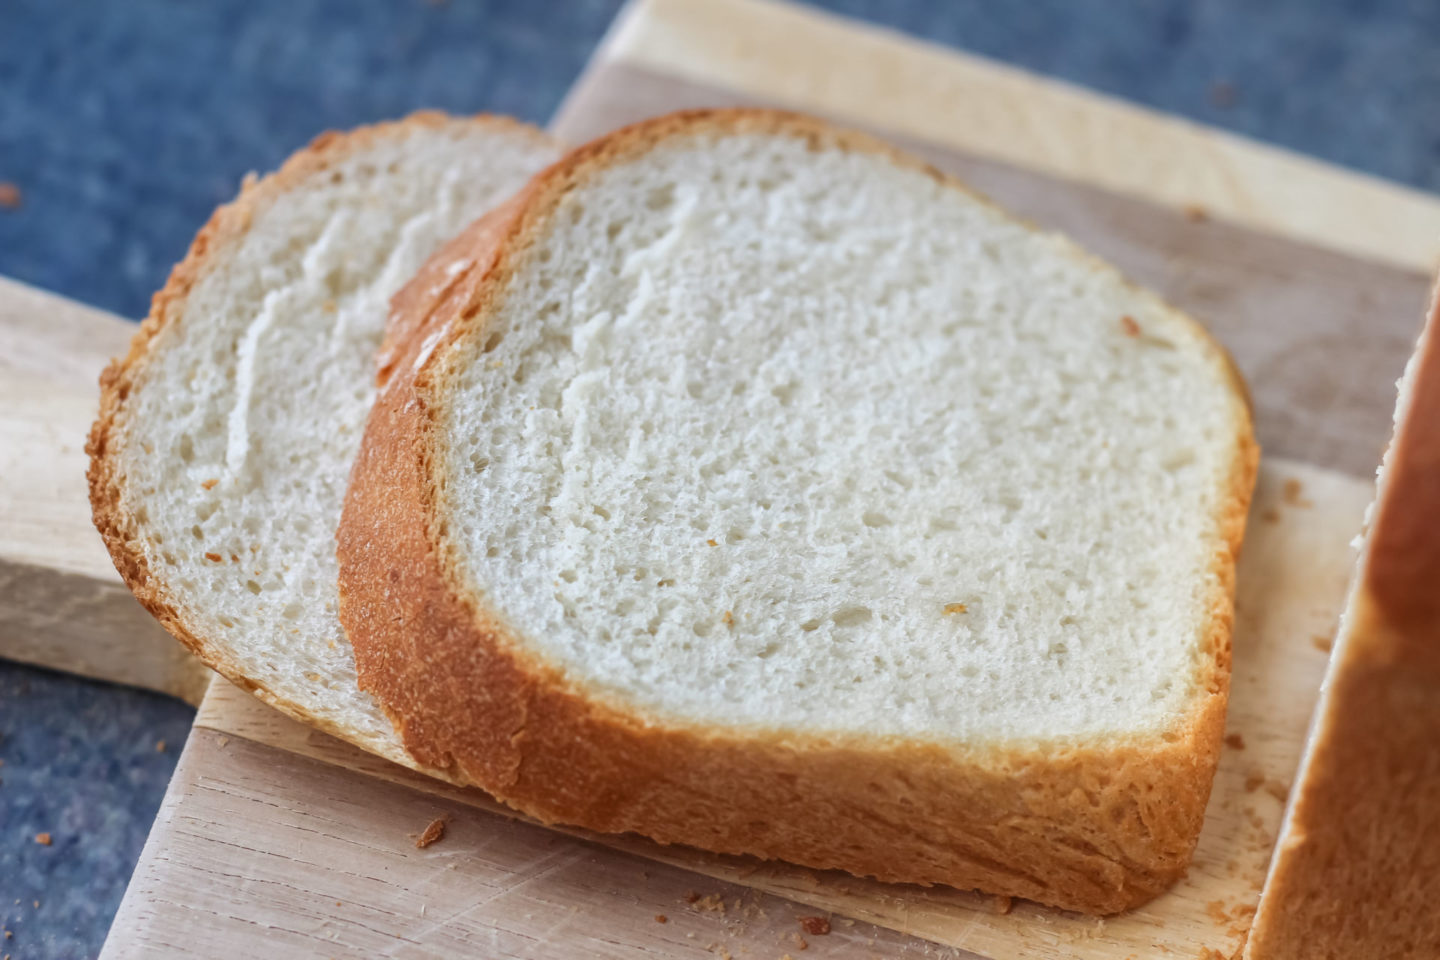
The inside of the loaf, however, will be light, soft and airy. This fluffy bread is honestly such a treat combined with that thick crust. I often can’t help cutting myself a thick slice and smothering it in butter as soon as it’s baked!
Easy white tin loaf recipe
I completely understand those of you who feel bread making is complicated or only achievable by more experienced bakers. I understand because I used to think the same way!
I’m not claiming to be a master bread maker myself; I still have a lot to learn. But what I have learned from my own bread recipes is that if you follow the instructions carefully and are patient with each part of the process, you’ll be rewarded with a delicious homemade loaf!
(If you have 12 x 8 traybake/brownie pan, you could also try my Garlic and Rosemary Focaccia!)
What size loaf tin should I use for bread loaf?
As mentioned above, I use a 1kg/2lb loaf tin to make this loaf. If you’re interested in which one I specifically use, it’s nothing fancy! I just use this basic loaf tin shown below:
Otherwise you don’t really need much else other than a large bowl to prove your dough, and your hands to get kneading!
I’m happy to give you this alternative simple white loaf if you found the idea of shaping your own cob loaf intimidating.
I’ve provided plenty of step-by-step photos my instructions below, so I’m with you every step of the way!
I’m confident you’ll love this loaf, whether you’re experienced in bread making or a newbie.
If you make it I’d love to see! You can show me by tagging me @bakerjoblog or using #bakerjoblog!

Other bread recipes to try:
- Garlic and Rosemary Focaccia
- Bacon, Cheese and Spring Onion Soda Bread
- Simple White Cob Loaf
- Classic Irish Soda Bread
Simple White Tin Loaf
Equipment
- 1kg/2lb loaf tin (see which tin I use in my post above)
- Large bowl
- Roasting tray
Ingredients
- 480 g strong white flour
- 7 g instant dry yeast
- 9 g salt
- 290 ml water tepid/lukewarm
- 20 g butter softened/room temperature
Instructions
- Add flour to a large bowl. Add the butter, and then the yeast and salt to separate sides of the bowl (so the salt doesn't slow or kill the yeast). Gently start stirring everything together with your hand until just combined.
- Pour around 2/3 of the water into the bowl and continue mixing the dough with your hand. Add a little more water, stirring in between additions, until you have a smooth but not soggy dough. You may not need to use all of the water or may need a little more. If you add too much and it becomes soggy sprinkle in a little more flour until you get the correct consistency.

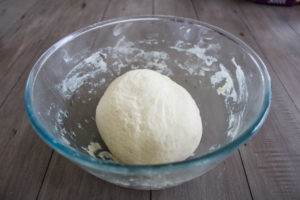
- Pour and spread a little olive oil onto a clean work surface and place the dough on top. I use oil instead of flour to prevent the flour from affecting the dough's consistency. Knead the dough on this surface for around 10-12 minutes, until the dough has a smooth 'skin'. Try your best to knead it for this length of time.
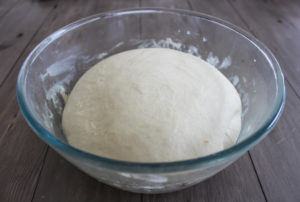
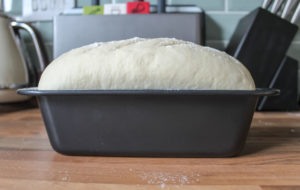
- Lightly oil the same large bowl and place the dough inside. Cover with a clean cloth or cling film and place in a warm place to prove for 1-2 hours (mine takes 1.5 hours in my airing cupboard!). It is sufficiently proved when it has at least doubled in size.
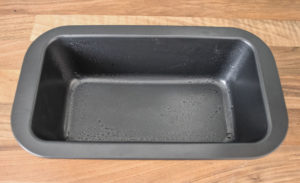
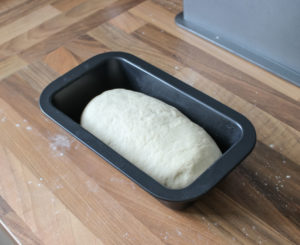
- Prepare your loaf tin by lightly greasing it with a little olive oil.
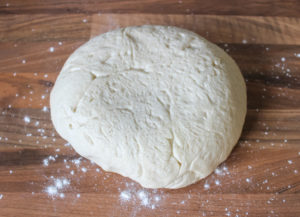
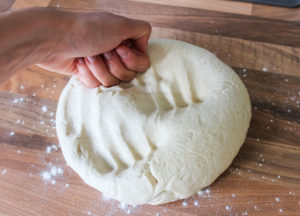
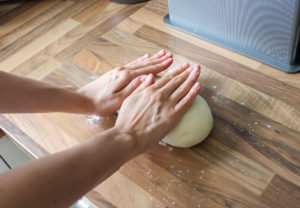
- Lightly flour a work surface and gently tip the dough out onto the surface. Gently 'punch' the dough to get rid of the air.
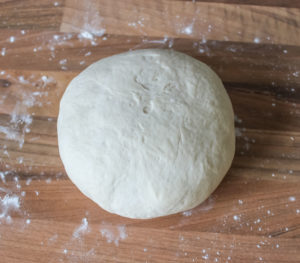
- Pat the dough into a ball and then start rolling it out into an oblong shape with your hands.
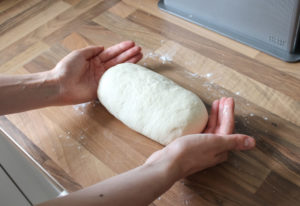
- Once rolled out tuck the sides in neatly with your hands. If you look underneath you will have a crease from rolling, so make sure this stays underneath and the smooth side is on top.
- Now place the dough smooth side facing upwards into your greased loaf tin.
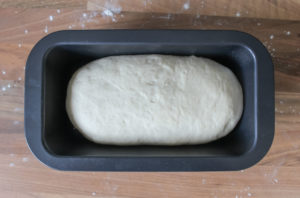
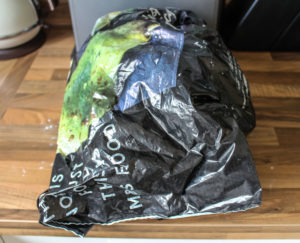
- Once the dough is in the tin, place gently into a clean plastic/carrier bag. Make sure the bag is mostly sealed by tucking it under the tin to prevent any air getting to the dough and drying it out. However make sure you form a loose 'tent' above the loaf tin to give it room to rise. Leave to rise on your kitchen counter for around 1 hour.
- Pre-heat your oven to 230°C/210°C fan and place an empty roasting tray on the lowest shelf/base of the oven to pre-heat.
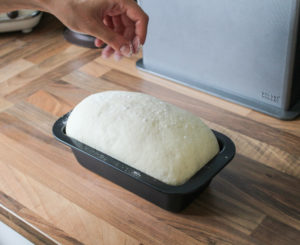
- Once the dough has risen to around double it's size remove the tin from the plastic bag.
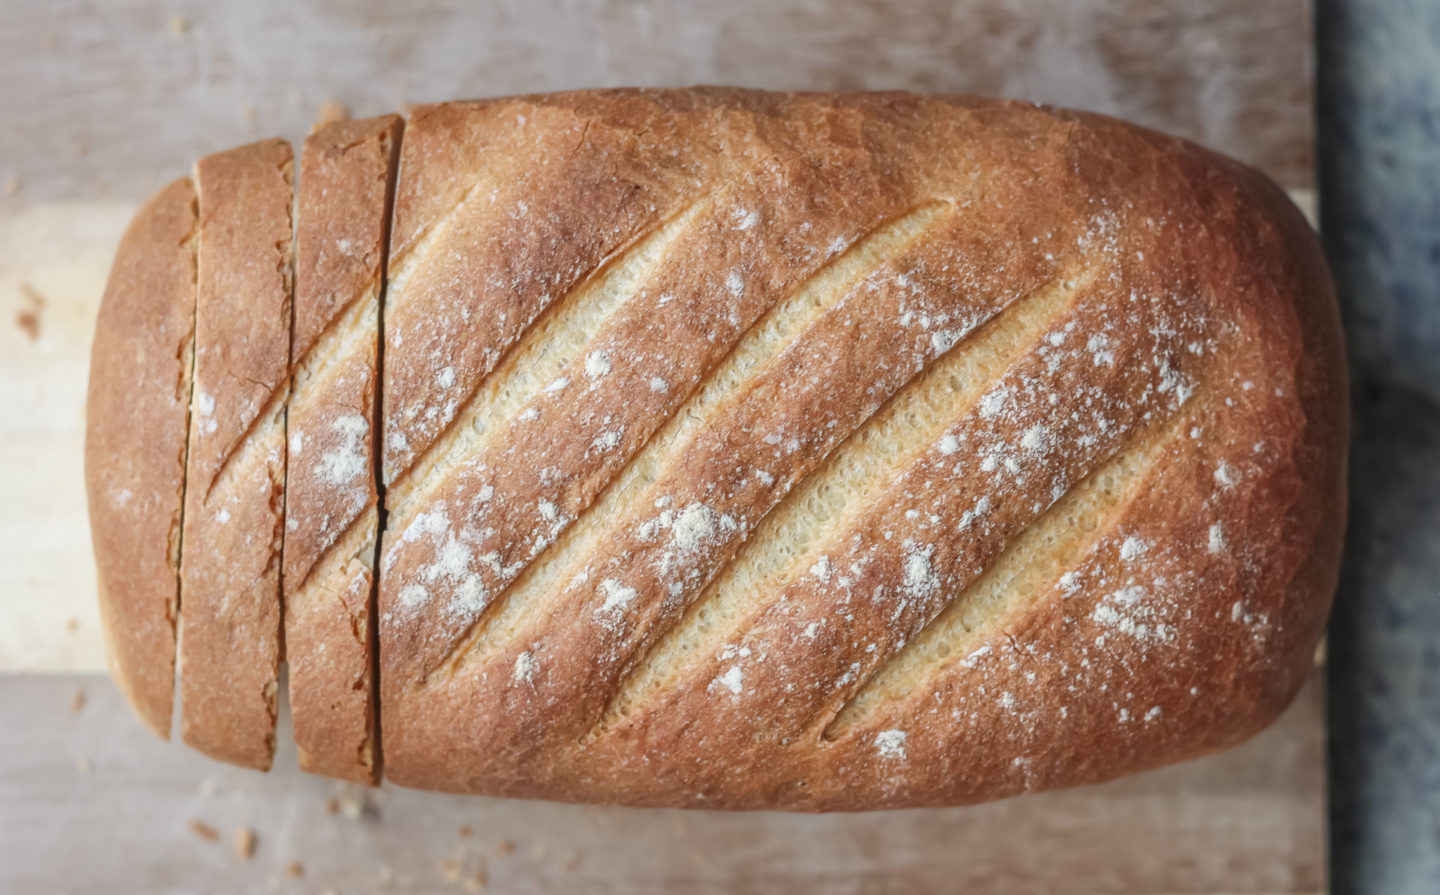
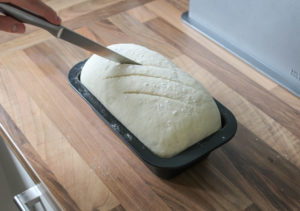
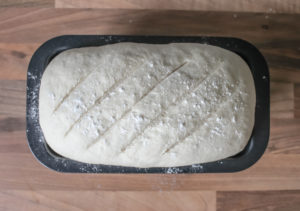
- Dust with a little flour and then using a sharp knife make several incisions across the top of the loaf.
- Add boiled water to the empty pre-heated roasting tray in the oven. This will create steam to give the bread a lovely crust! Do this quickly to avoid losing too much heat from the oven.
- Place the loaf tin into the oven on the middle shelf and bake for around 30 minutes. You can check if it's baked by removing from the tin, flipping it over carefully and tapping the base – it should sound hollow. Place on a wire cooling rack to cool completely.
- Keep bread well covered in a cool place. Best eaten within three days. Enjoy!

Hi, I added in sugar for balance, same measurement as salt, the recipe is good and works pretty easily, thanks.
I used this last night. I’ve never made a time loaf before and this turned out perfectly forest time. Thank you very much.
Hi Jo, this loaf looks absolutely fabulous. I was wondering if skipping the steam will give the bread a soft crust, as I want to make soft sandwich bread to keep in the fridge for a few days. Thank you in advance, love your recipes btw!
Made the tin loaf turned out great can’t wait to try it 😋
Author
Hope you enjoyed it!
Just made this today…..superb white loaf….crispy, yet slightly chewy..light etc. Over the moon with that. Thank you……excellent recipe. I salute you Ma’am.
Author
Glad you loved it!
Hi Jo,
Is it possible to make and prove the dough one day, refrigerate it overnight and cook the next morning?
Thanks,
Ed
Author
Hi Ed, yes this is possible! Leave it to proof in the fridge overnight, leave it to come to room temperature then carry on with the recipe from there. I’ve not tried this yet but it’s meant to give a more intense flavour so let me know how it turns out!
Like the Cob loaf, this was easy and delicious! Making the Cob was my first time using my kitchen scale to weigh instead of measure ingredients and I will never be without it again. The dough was easy to work with, kneading by hand was a real pleasure and this will be my go-to recipe from now on. A tasty and pretty loaf of bread.
Author
Hi Holly, that’s so great to hear! Thanks for your feedback 😊
I have tried for around 20 years to make the perfect loaf, many disasters and tears later I’ve finally found this recipe, I followed it to the letter, success is FINALLY mine ( or rather yours ) , I’ve done it, I made this today, it was my final attempt before giving up to shop bought, my husband is eternally grateful, I know some people won’t understand but it’s become an obsession and I’m not one to give up, thank you for this, I would probably turn it down a notch on the gas mark 8 though as mine came out rather dark
Author
Yay! I know that feeling too well and how good it feels to finally nail a recipe! Thanks for your feedback 😊
I tried this recipe and I’m not sure what went wrong but the bread didn’t rise at all I left it for about 10 hours to prove and still nothing, then placed in the bread tin and still nothing. I know I obviously did something monumentally wrong, I’m wondering if my butter wasn’t warm enough or if it was because I didn’t put oil in the bowl before I placed the dough back in or if it was the salt, it touched the yeast when I put it in the bowl. If you have any suggestions as to what it might have been please let me know, this recipe is simple and I’d like to be able to perfect it 😂😂
Author
Hi Hannah, oh no! You might be right about the salt as this can definitely affect the yeast. You possibly haven’t kneaded it enough either; I usually knead it for at least 10 minutes! If you try it again with these adjustments let me know how it goes 😊
Hi Jo,
I sometimes struggle with kneading and wondered if I could use the same recipe but make the dough in a bread machine and then bake the loaf in the oven?
Author
Hi Debs
I’ve never used a bread machine so can’t promise this would work but let me know how it goes if you do try it!
Thank you so much for this recipe. It works perfectly. I have abandend my fruit loaf recipe and just modify this as the results are heaps better. It has become my base for all my breads. Clearly the boiling water helps so much re crust.
Author
So happy to hear this Bryan! Thanks for your comment 😊
A great recipe and enjoying the bread. Although my second rise never looks like yours. Only ever fills the 2lb tin, and goes level with top of tin??
Author
Hi Aaron, that is strange! Maybe try kneading it a little longer before the first rise, and maybe letting it rise a little longer for the first and second rise? Also, make sure your salt and yeast don’t directly touch each other when first added to the mixing bowl as the salt can affect the yeast’s ability to leaven the dough. Let me know how it goes if you try these adjustments!
My bread shaping skills need a lot of practice so this was a great alternative to the cob loaf for me.
Author
Glad you had success with this tin loaf recipe Laura!
Sounds great but could you please convert to cups ,teaspoons or tablespoons for some of us older country school people not up on all this new conversions thank you
Author
Hi Irene,
I’m sorry I don’t work in cups personally as prefer to weigh for more accuracy. However, using an online calculator I believe it converts as follows:
3 + 7/8 cups strong white flour
1.4 tsp instant dry yeast
1.8 tsp salt
1.23 cups lukewarm water
1.41 tablespoons softened butter
Hope this helps! x
I require some work on my kneading skills but its baked far better than I could have hoped for, thank you for the brilliant steps Jo
Author
Hi Alistair,
I’m so glad it came out better than expected for you! And don’t worry, we all find our own way of kneading with more practice so I’m sure your bread will look even better the more you make it!
Thank you for your recipe for the tin and cob loaf. I have just started bread making and have tried quite a few recipes, but yours produced the best bread and your steps and pictures are so helpful and easy to understand.
Author
Hi Anne, thank you so much for your comment! I’m so happy you find my tin and cob loaf recipes easy to follow 🙂
Thanks for you lovely feedback 😊
I only have a glass loaf pan. Will that work? Thanks.
Author
Hi Ann, thanks for your question. I’ve not personally baked it in a glass loaf pan, but after reading up on it I would warn you the baking time may be different as glass pans take longer to heat up. So keep an eye on it to make sure the top doesn’t start to brown too much before the middle is baked! Good luck with it and let me know how it goes if you decide to try it 🙂
Thank you for this lovely and easy recipe. I made it today and was a success. My tin is suppose to be a 900gm loaf tin but i think it’s a bit bigger than your tin.
Will definitely bake this bread again.
Author
I’m so glad you enjoyed it and found my recipe easy, Judy! Thanks for your kind comment 😊