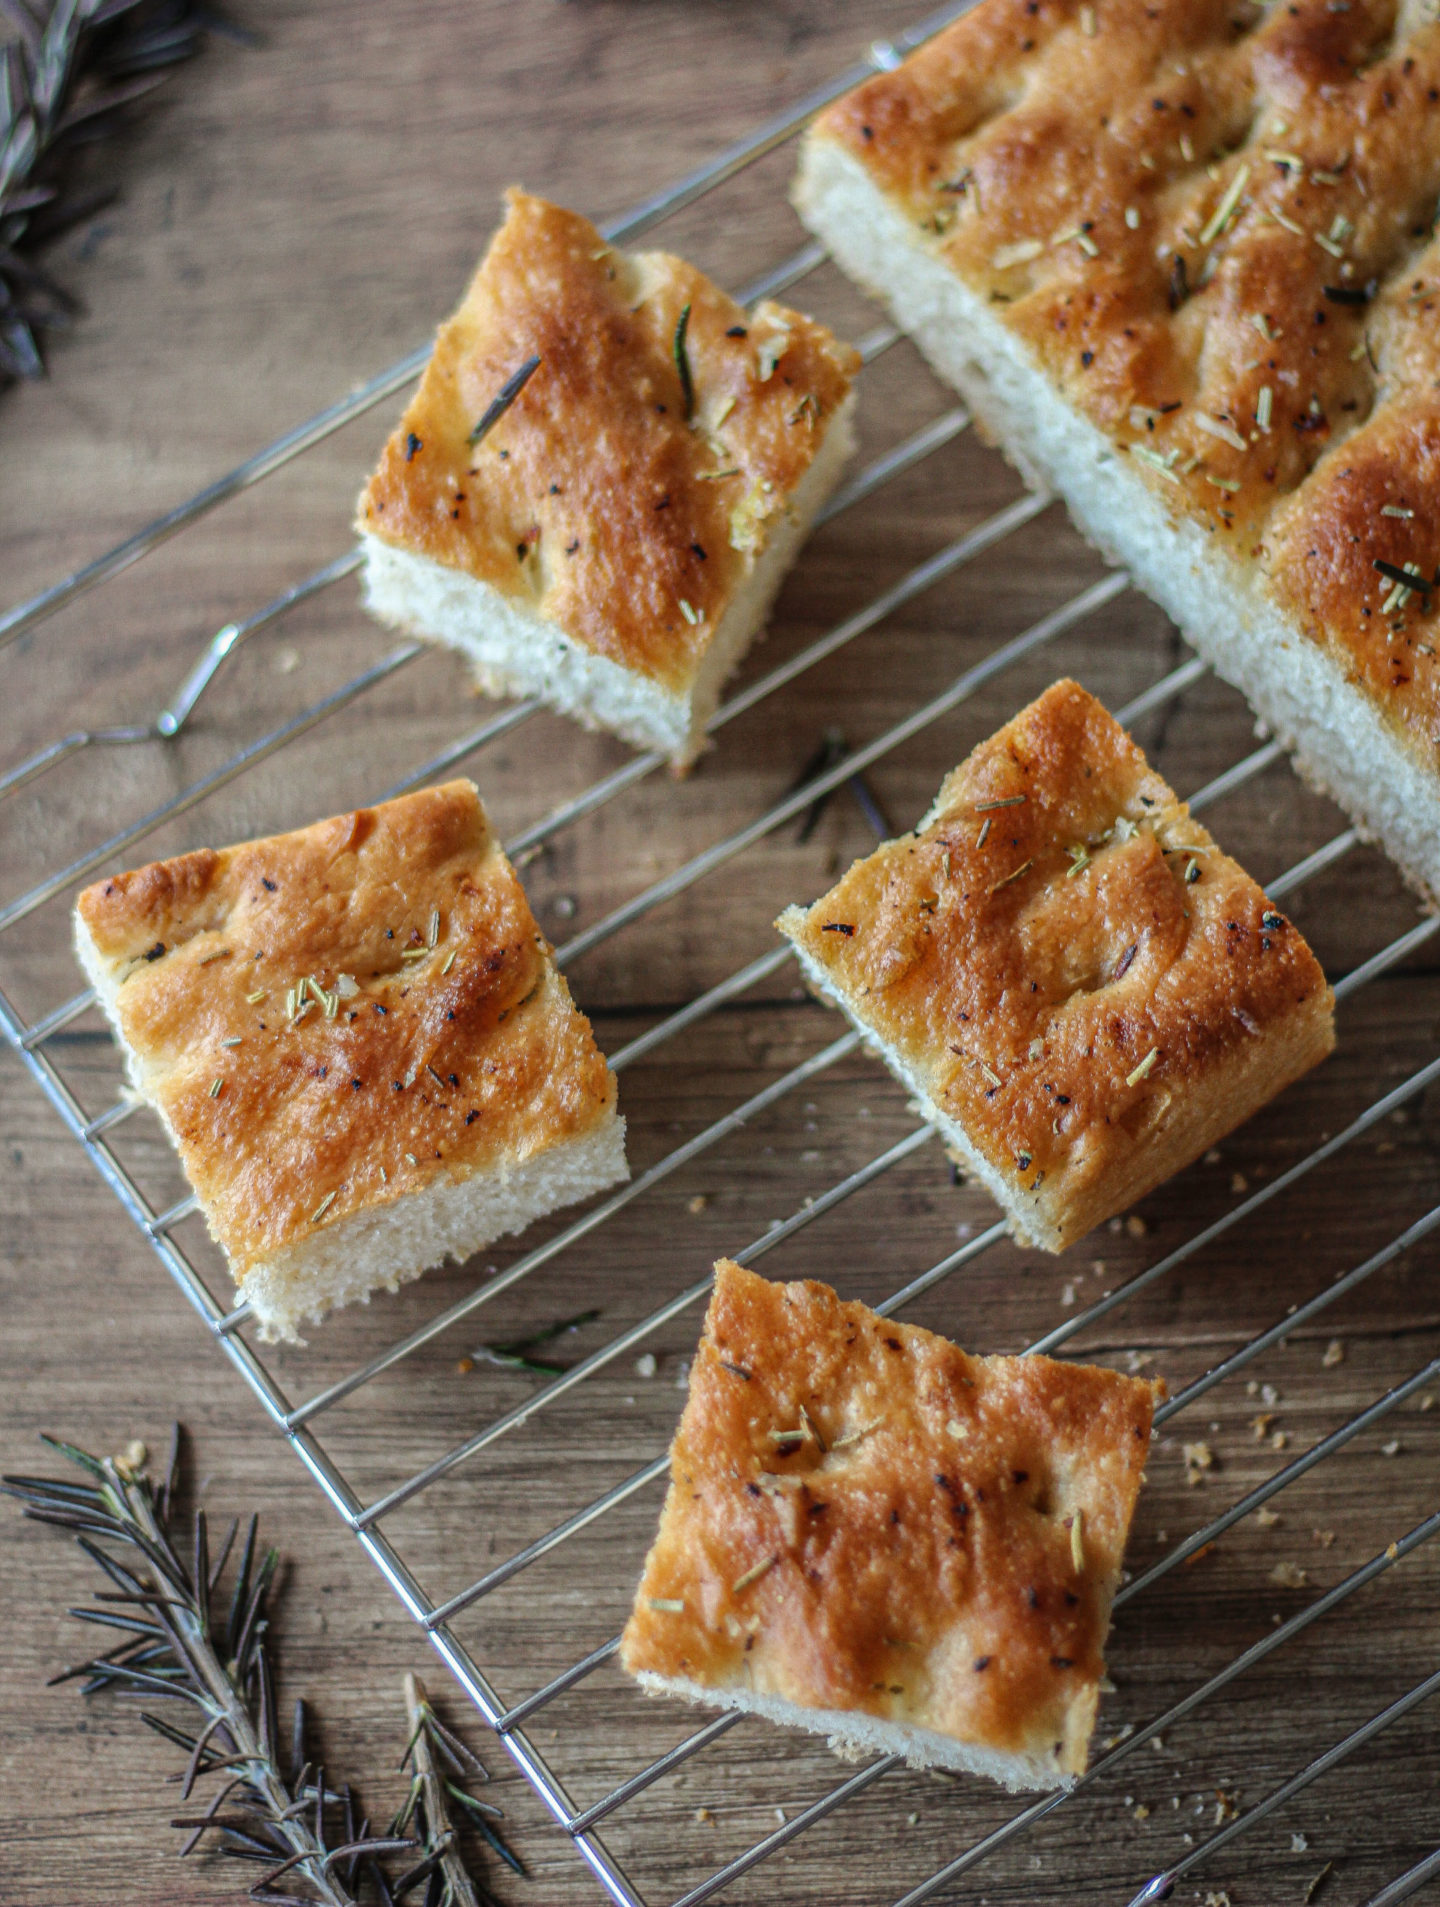
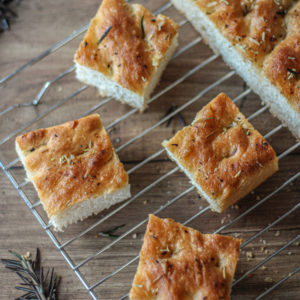
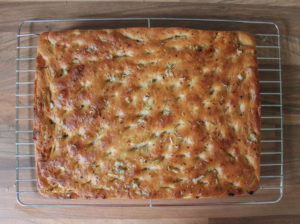
This garlic and rosemary focaccia is surprisingly simple to make yet so rustic and delicious. A soft, airy Italian flatbread with a golden crisp crust!

This post may contain affiliate links. For more information, see my Full Disclosure.
After sharing some basic yeasted bread recipes such as my Simple White Cob Loaf and Simple White Tin Loaf, I wanted to share a slightly different yet still completely approachable bread recipe. This garlic and rosemary focaccia bread is packed full of flavour and has amazing textures with a soft, springy centre and crisp golden crust. Your kitchen will smell divine after baking this, trust me!
Plus, it’s as surprisingly easy as my other bread recipes, with lots of step-by-step photos in the recipe card below to help you along the way as always!
What is focaccia?
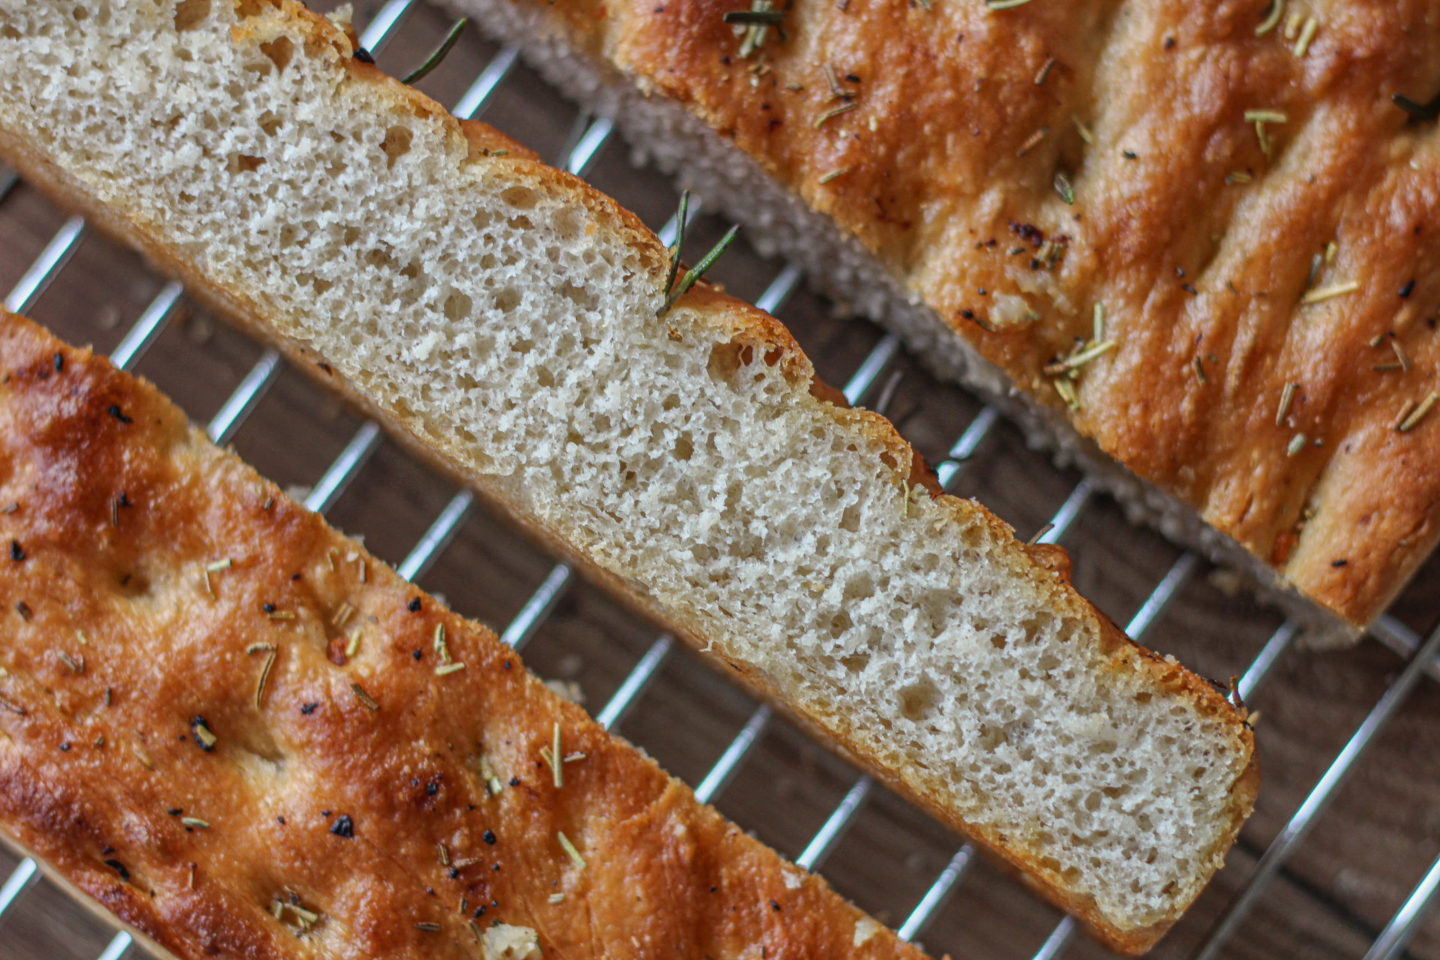
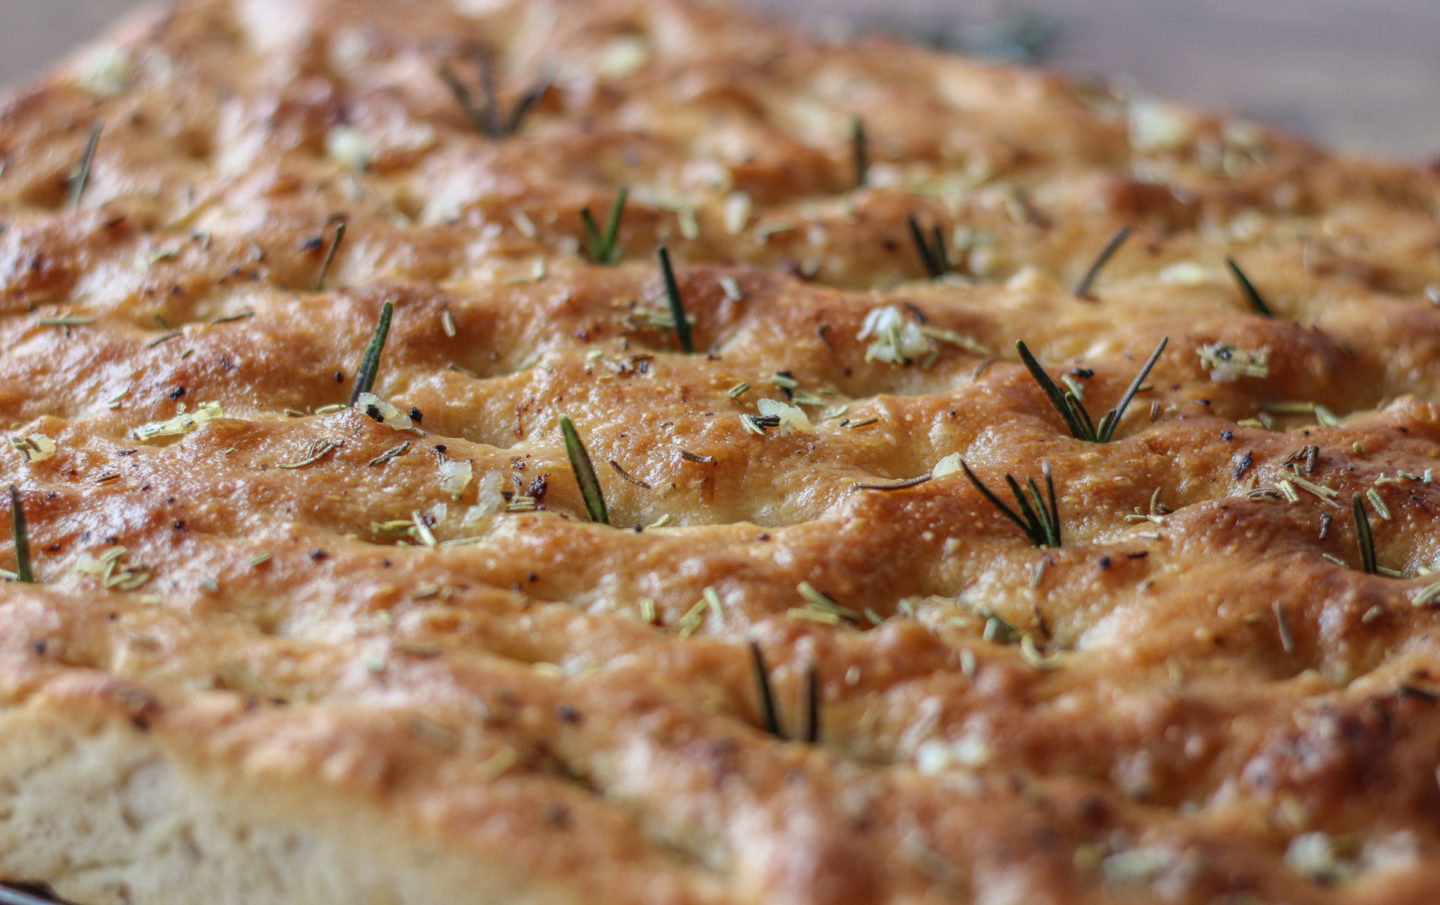
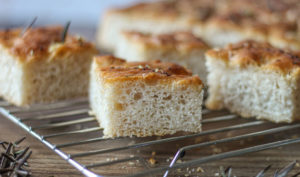
Focaccia is an Italian flatbread, described as having a similar texture to pizza dough. It is traditionally made using olive oil and salt, but can be topped with all sorts of things! I’ve decided to flavour my focaccia with fresh garlic and rosemary, which is an amazing flavour combination in this delicious homemade bread.
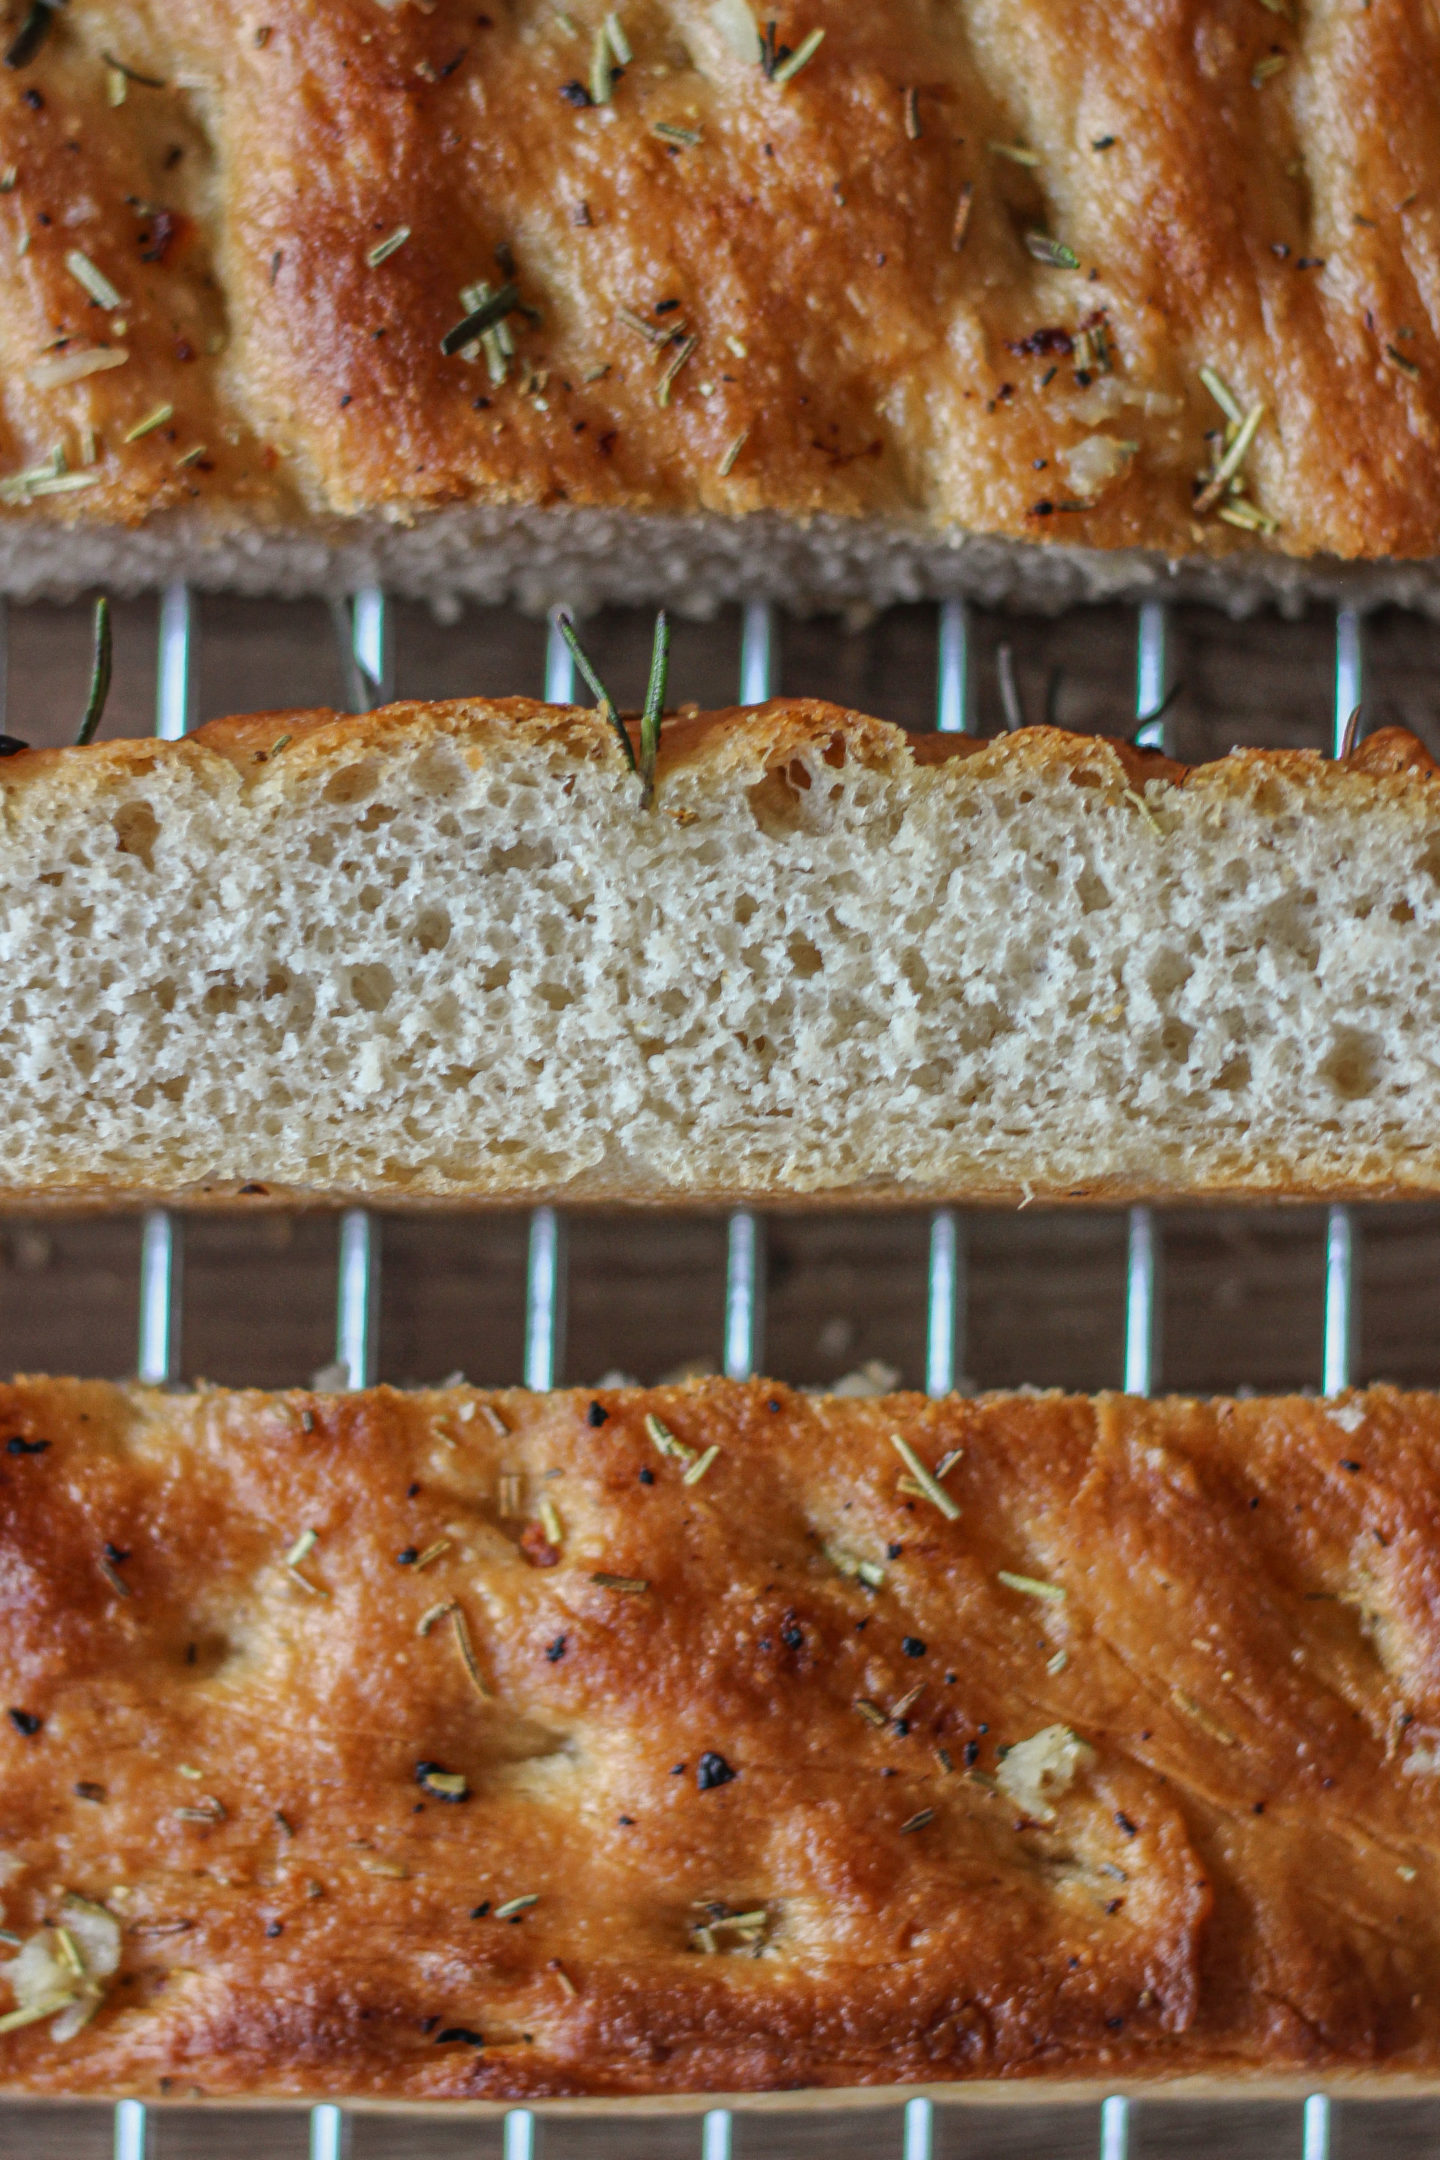
The texture is a little different from my cob loaf and tin loaf recipes, with a spongey and more airy structure inside. The dough is also wetter so a little messier to handle when kneading. It is still possible to knead it by hand though!
Garlic and rosemary focaccia ingredients
This easy garlic and rosemary focaccia recipe contains just a few simple ingredients. Full amounts can be found in the recipe card at the bottom of this post, but in summary, you’ll need:
- Strong white bread flour has a higher protein content than plain flour, so is the best flour for kneading to develop the elastic gluten strands, leading to a lighter, chewier bread!
- Dry instant yeast helps the bread to rise
- Salt seasons the bread
- Lukewarm water is used to activate the yeast, making it rise a little quicker. Don’t use hot water though as this will kill the yeast!
- Olive oil adds rich olive flavour and moisture, leading to a more tender texture
- Fresh garlic for that irresistible garlic flavour
- Rosemary pairs perfectly with the garlic
- Pepper to season
How to make garlic and rosemary focaccia
Bread making may seem daunting but believe me, the most time-consuming part is waiting for the dough to rise! I want to show you how surprisingly easy it is to make your own homemade bread. You’ll find lots of step-by-step photos in the recipe card at the bottom of this post, but to summarise:
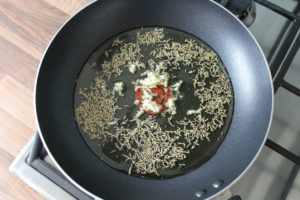
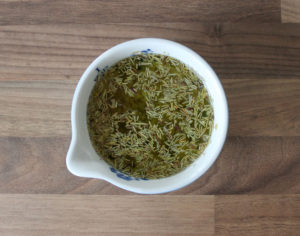
- Add the olive oil, minced garlic, dried rosemary and pepper to a cold frying pan. Heat the pan on a low heat for around 4-5 minutes, stirring the oil often. Pour the oil into a small bowl and set aside
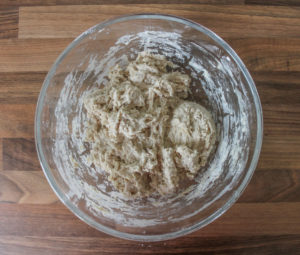
- Add the flour, yeast and salt to a large mixing bowl
- Add around 3/4 of the lukewarm water and 3 tablespoons of your flavoured oil, then begin mixing together with your hand until a wet, slightly sticky dough is formed. You may need to add more water to get the correct consistency
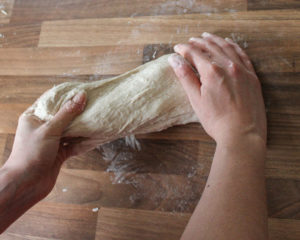
- Add 1 tablespoon of flavoured oil to your work surface and place the dough on top. Knead by hand for around 10 minutes until the dough becomes less sticky and has a smoother skin
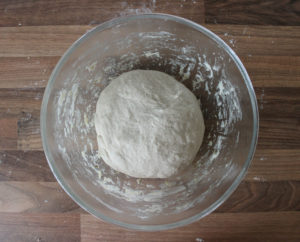
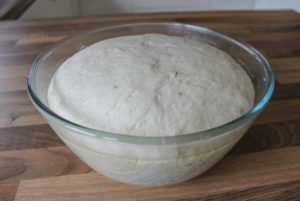
- Place the dough back in the bowl, cover with film and place in a warm environment to proof for 1-2 hours (I use my airing cupboard!)
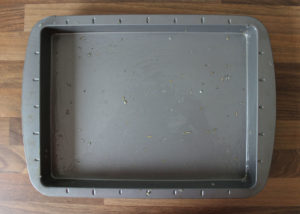
- Add 2 tablespoons of flavoured oil to a 12×8 inch traybake pan and spread to coat the whole pan evenly
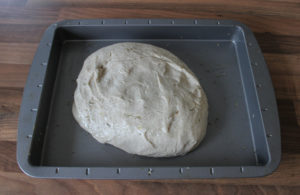
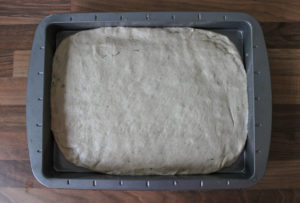
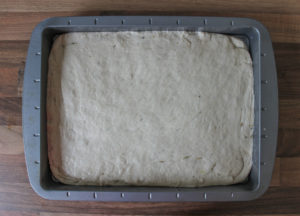
- Tip the dough into the pan and flatten it out to reach all four corners
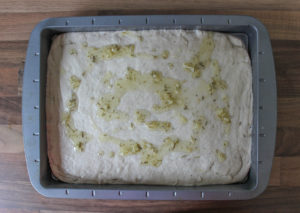
- Pour 2 tablespoons of flavoured oil on top and gently spread across the dough
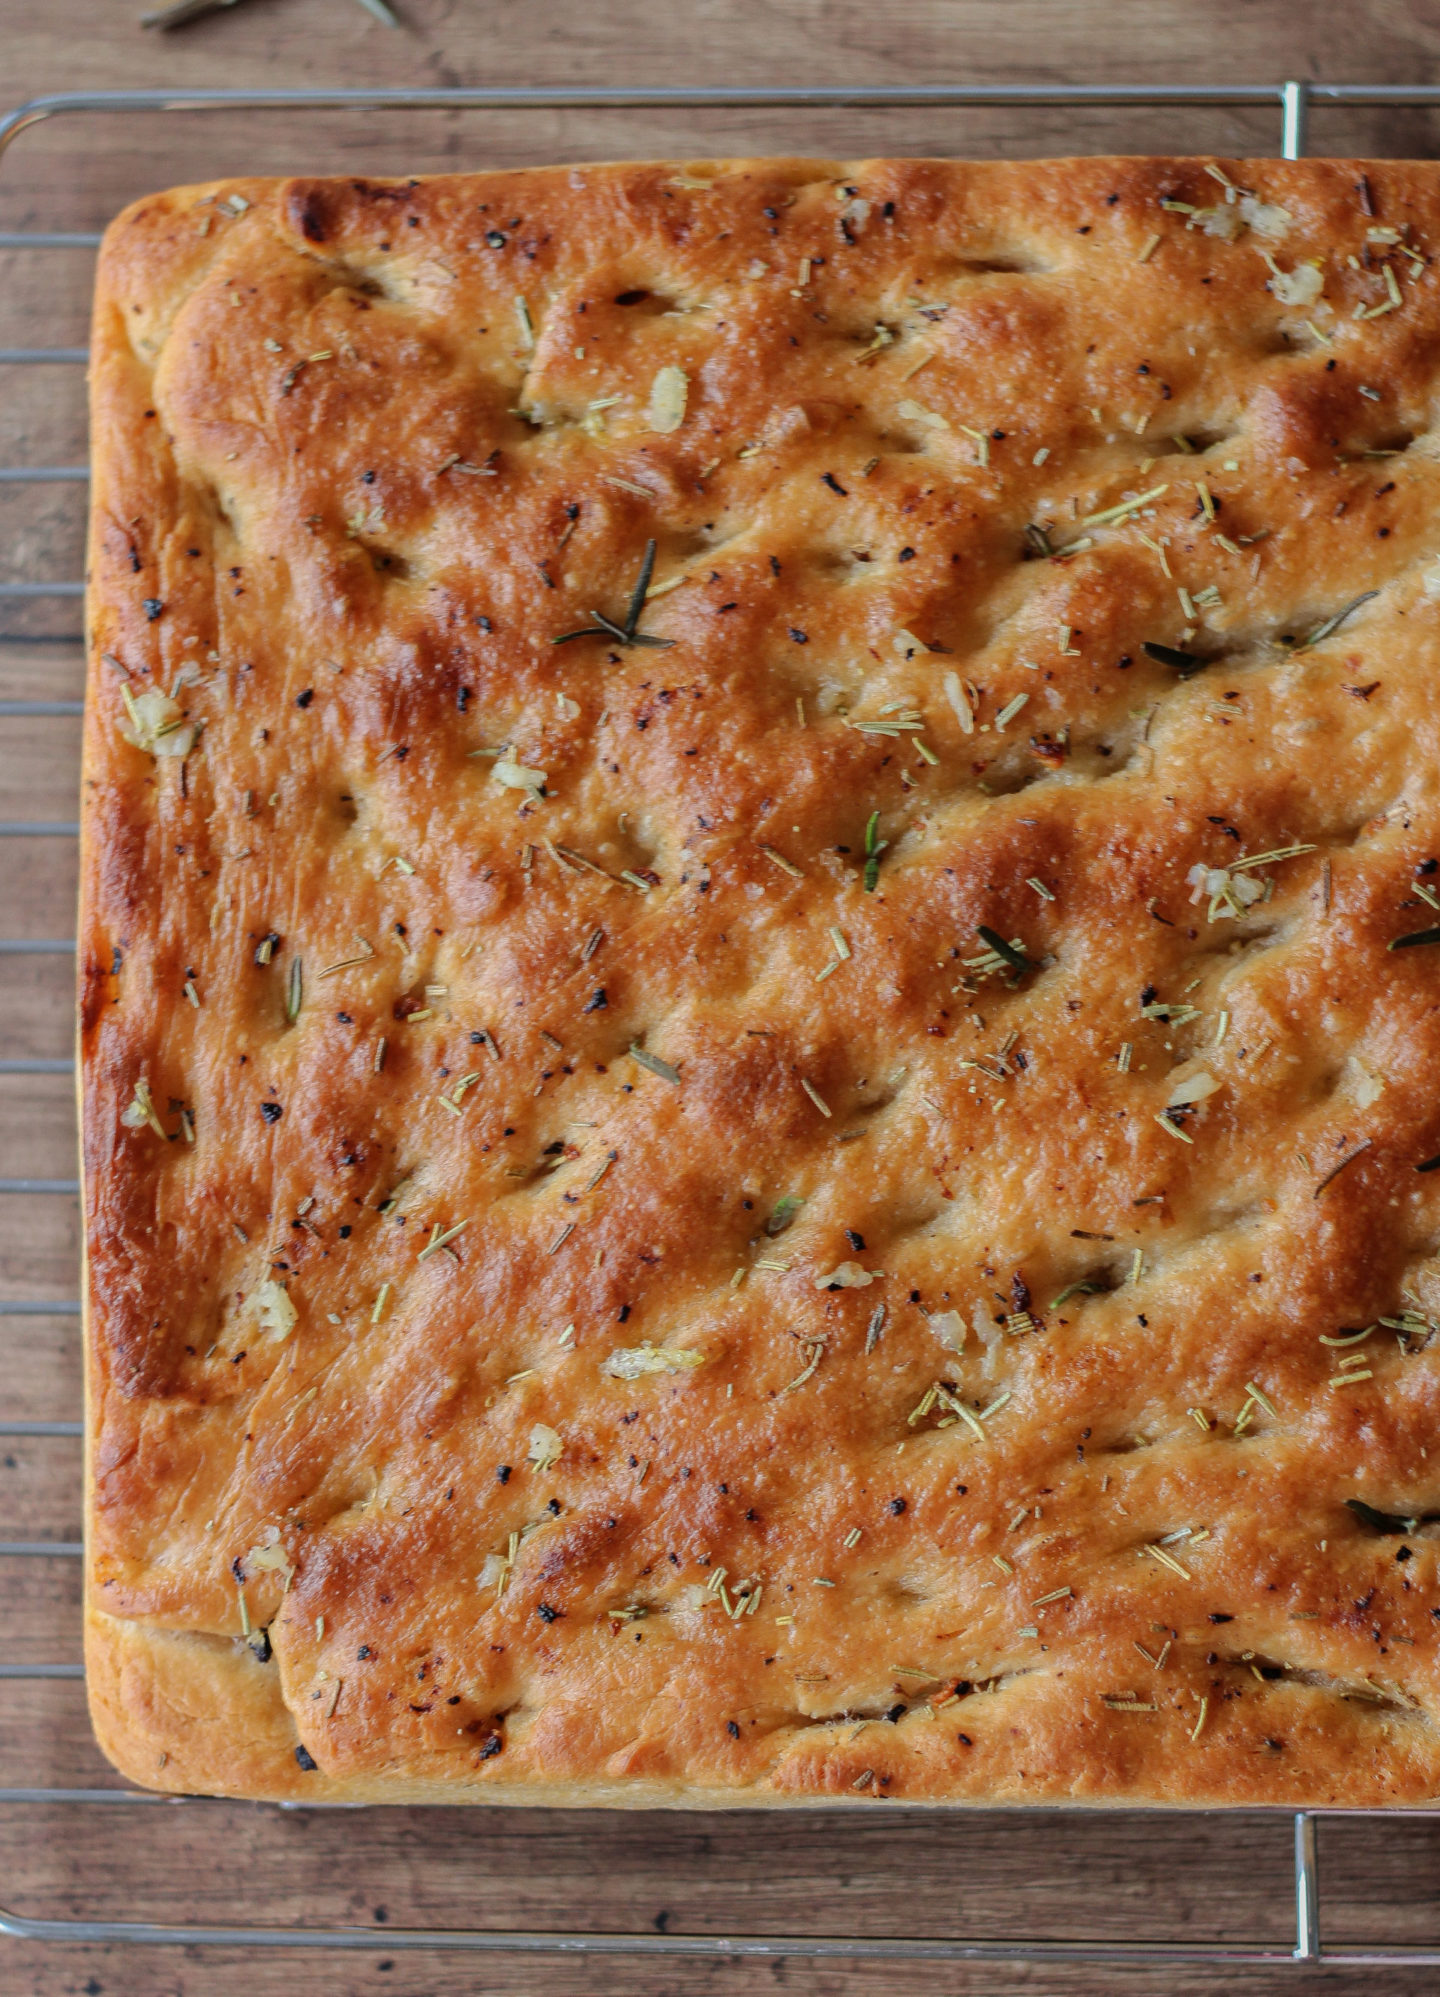
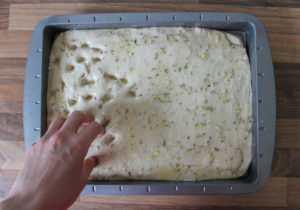
- Press holes into the dough with your fingers to create a dimpled effect (this part is fun!)
- Place in a clean plastic bag to proof for one more hour
- Bake for 20 minutes until golden brown
- Drizzle the warm focaccia with the remaining flavoured olive oil, serve and enjoy!
Top tips for making the best garlic and rosemary focaccia
- Heat the garlic and rosemary infused olive oil on as low a heat as possible, and only until the garlic is aromatic but not browned at all. You don’t want your bread to taste of burned garlic!
- Place the instant dry yeast and salt at opposite sides of your mixing bowl before mixing as salt can kill the yeast if it comes in direct contact with it
- The dough might not want to stretch into all four corners when flattening the dough into your 12 x 8 inch traybake pan. If so, simply place a slightly damp tea towel over the top for 5-10 minutes and then try again. This allows the dough to relax and it should resist a little less when being stretched!
- Try to be patient when waiting for the bread to rise during the first and second proof; if the dough is under proofed it will result in a flatter, denser, tough bread
Focaccia FAQs
What can you serve with garlic and rosemary focaccia?
Focaccia is a great side with pasta dishes, dipped in soup, served with salad or even sliced in half to make a sandwich!
How long will focaccia stay fresh?
Focaccia is best served on the day of baking when it’s still light and soft inside with a crisp crust. However, you could add a little olive oil the next day if it’s a little dry. Alternatively, you could cut it into cubes and bake briefly in the oven to make croutons!
See below for advice on freezing leftovers too 🙂

What happens if you don’t let focaccia dough rise long enough?
If the dough is under-proofed, it will lead to a denser, heavy bread instead of the springy, light texture you’d expect from focaccia. You can tell when your dough is sufficiently proofed if it has at least doubled in size. It will also spring back slowly when you prod it gently with your finger.
What happens if focaccia dough is left to rise for too long?
If left to proof for too long, the air bubbles that slowly build up during the proofing process can burst, leading to a tough, dense bread. You’ll know if the dough is over-proofed if you press it gently and it doesn’t spring back, leaving an indent in the dough.
How should focaccia be stored?
Store your bread at room temperature in an airtight container, or double wrapped in film.
Can you freeze focaccia?
Yes, any leftovers freeze really well, again stored in an airtight container or double wrapped in film. I stored quite a few pieces of leftover focaccia in the freezer when recipe testing this bread!
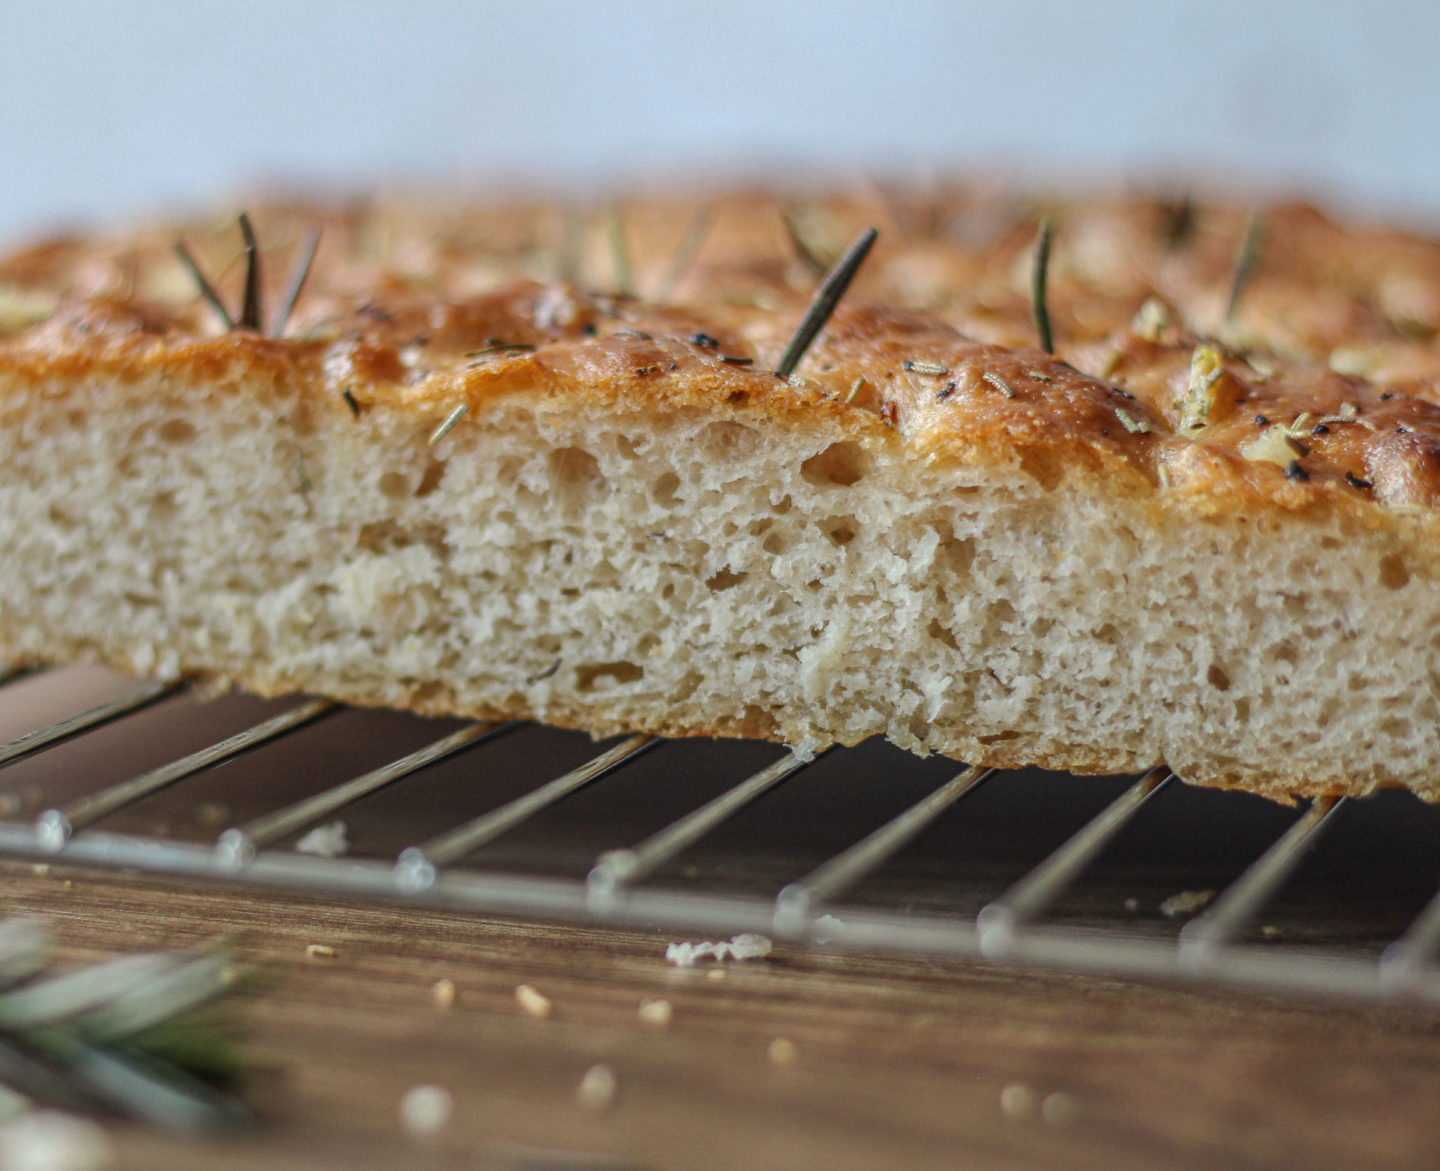
To conclude, this garlic and rosemary focaccia is:
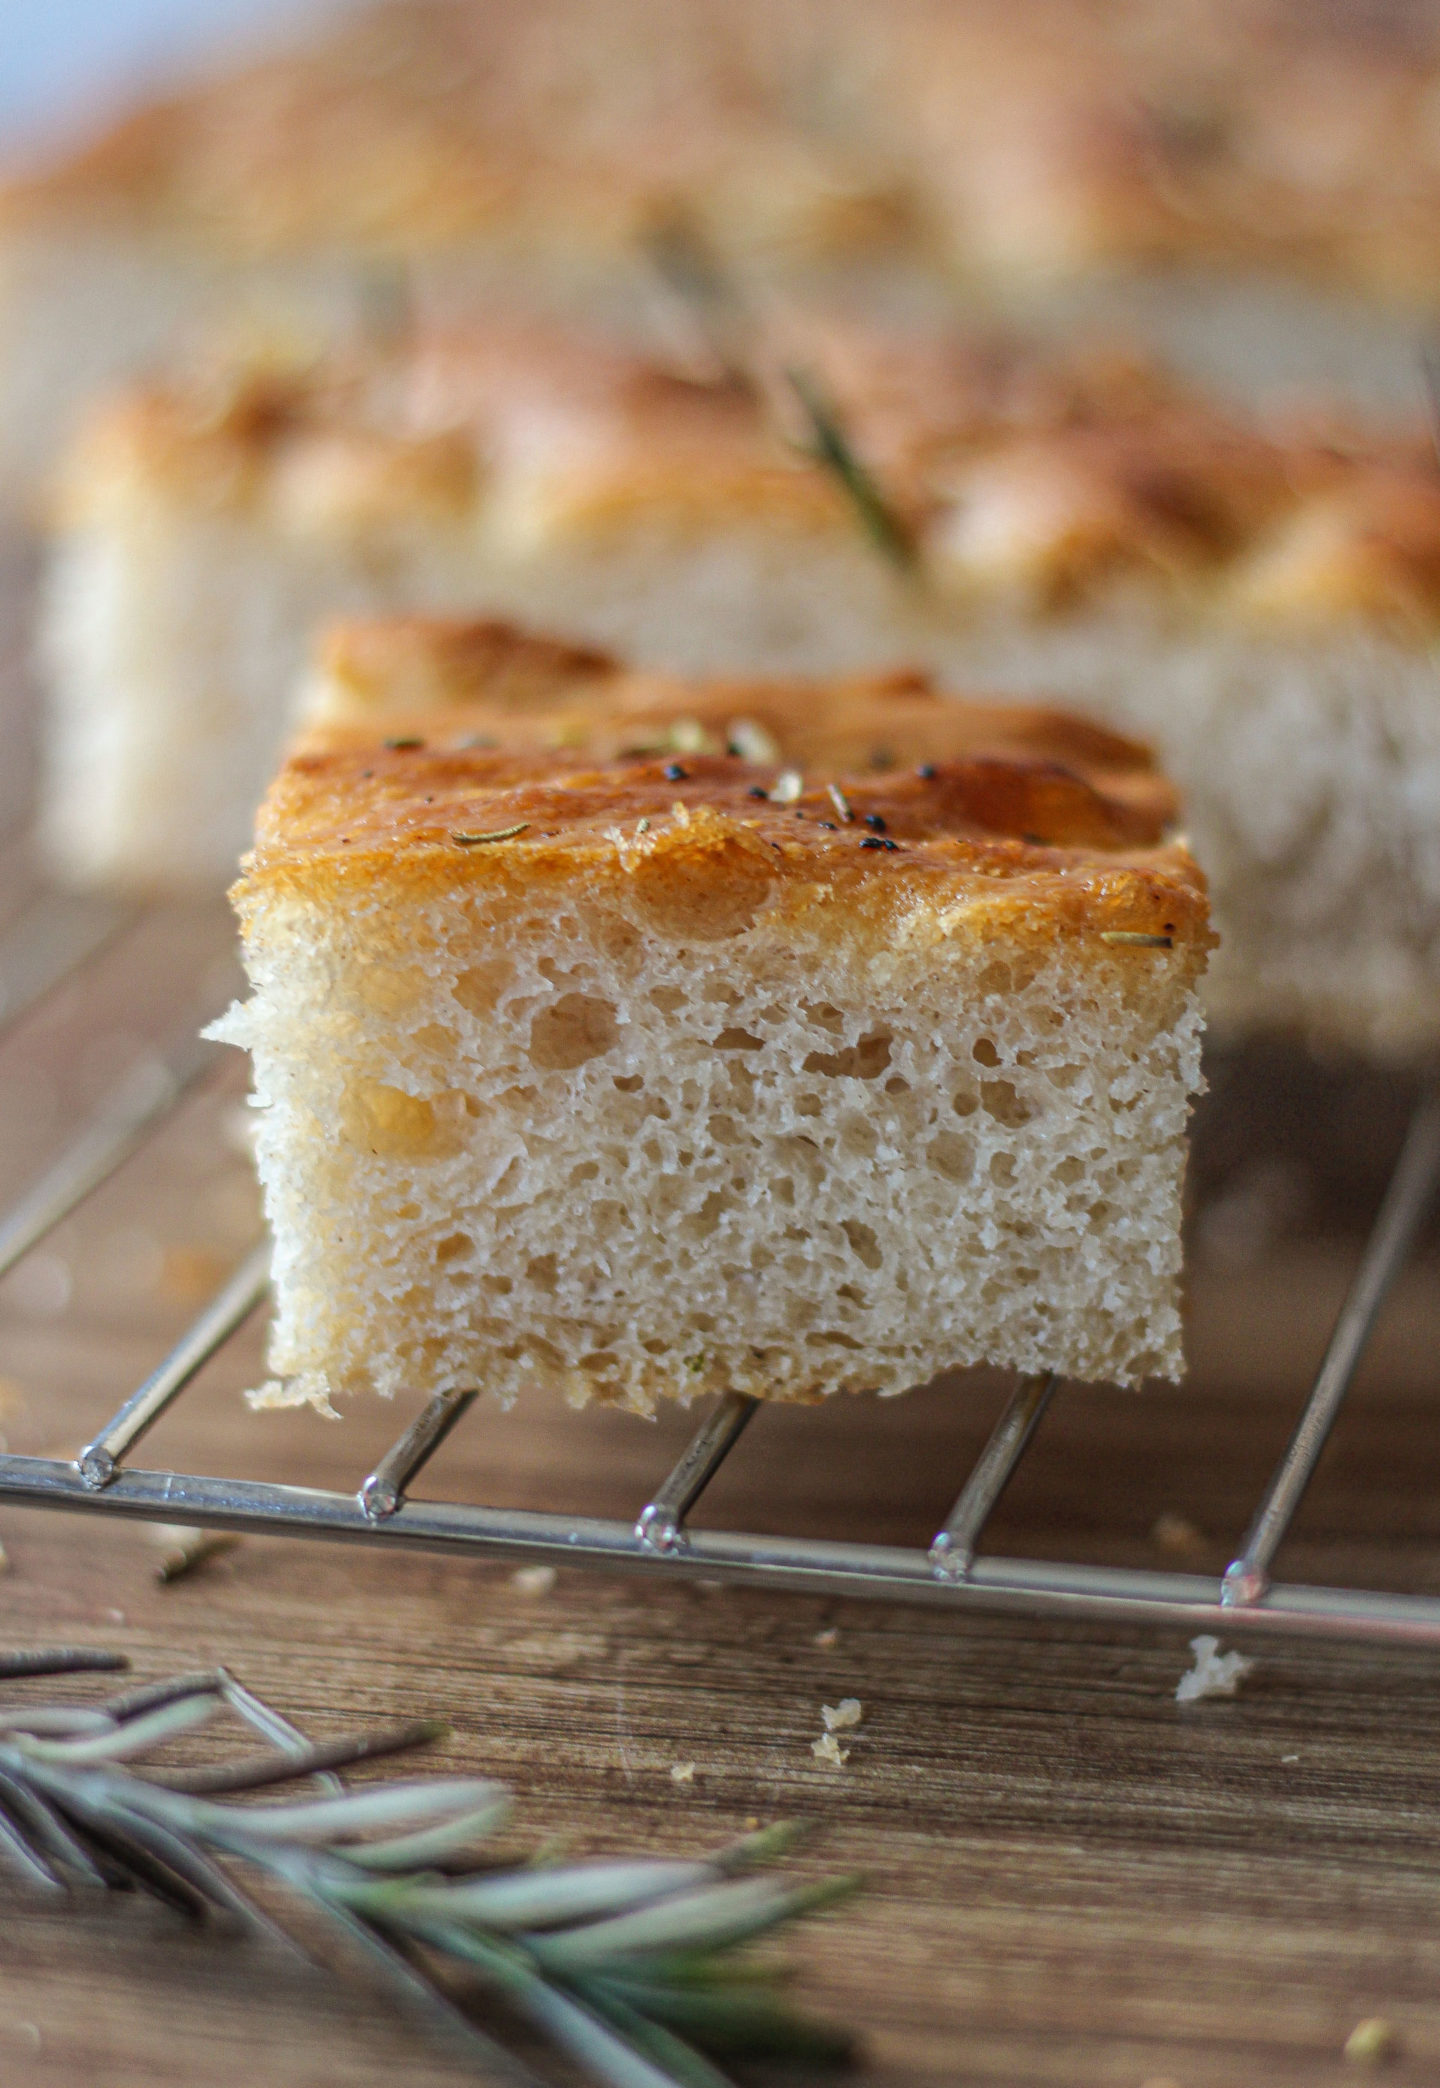
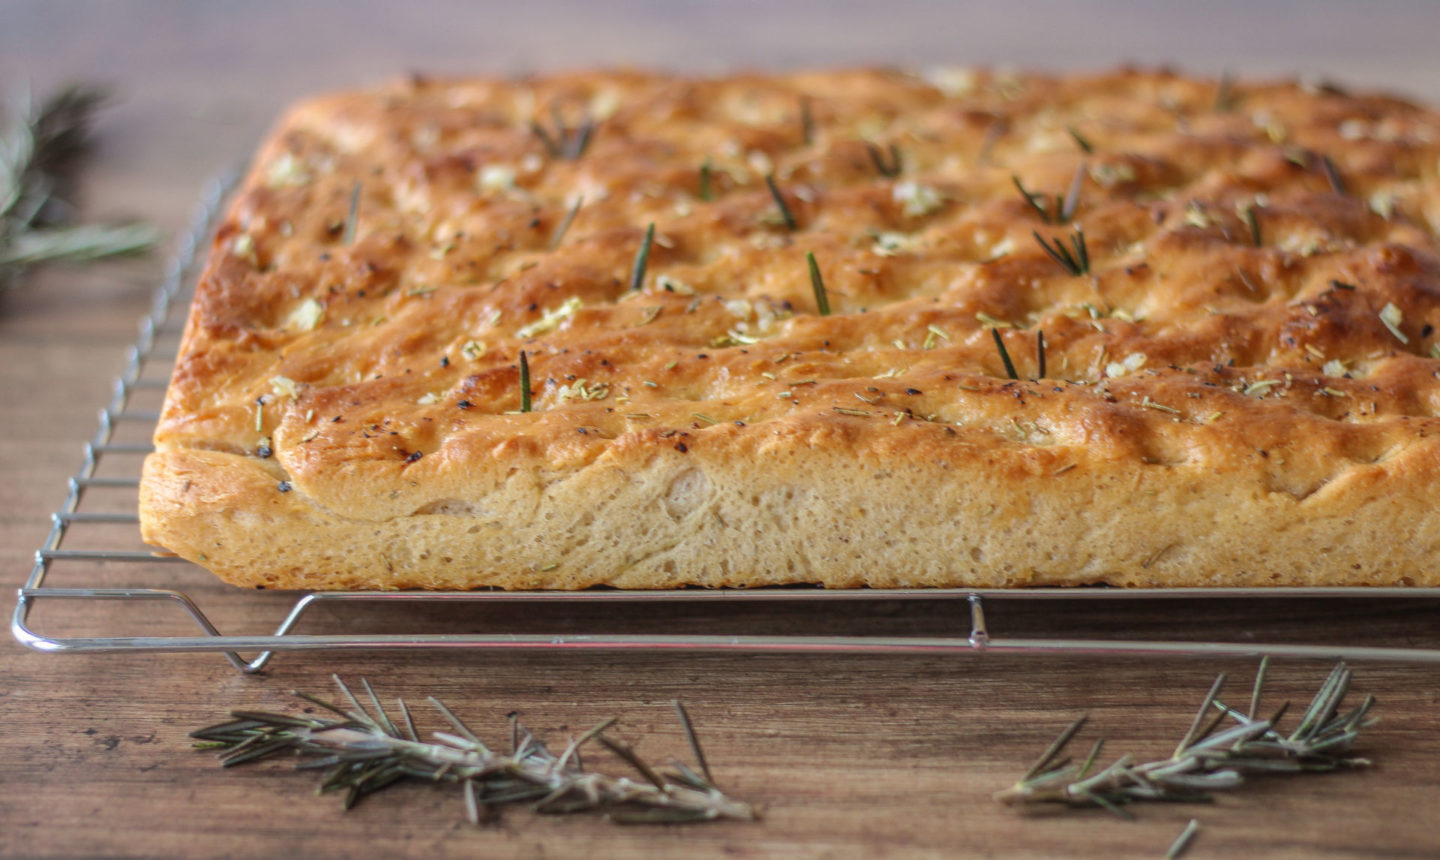
- Soft and springy with a delicious golden crust
- Flavoured with homemade garlic and rosemary infused olive oil
- Surprisingly approachable and simple to make with lots of step-by-step photos to support you all the way!
- Great served with soup, pasta or sliced in half to make sandwiches
- Freezable, so no leftovers go to waste!
If you try this recipe I’d love to see! You can show me by tagging me @bakerjoblog or using #bakerjoblog!
Other bread recipes to try:
- Simple White Cob Loaf
- Simple White Tin Loaf
- Bacon, Cheese and Spring Onion Soda Bread
- Classic Irish Soda Bread
Garlic and Rosemary Focaccia
Equipment
- Medium frying pan
- Large mixing bowl
- 12 x 8 inch traybake pan
Ingredients
- 480 g strong white bread flour
- 7 g instant dry yeast
- 9 g salt
- 330 ml water lukewarm
- 110 ml olive oil
- 2-3 large cloves garlic minced
- 2 tsp dried rosemary
- 1/2 tsp black pepper
Instructions
- Add the olive oil, rosemary, minced garlic and pepper to a cold medium sized frying pan. Place it on a low heat for around 4-5 minutes, stirring often, and remove from the heat once the garlic has become aromatic but not browned. Pour straight into a small bowl.
- Add the strong white flour to a large bowl, then add the yeast and salt to opposite sides of the bowl (to prevent the salt from killing the yeast).

- Add around 3/4 of the lukewarm water and three tablespoons of your garlic-rosemary oil to this large bowl.
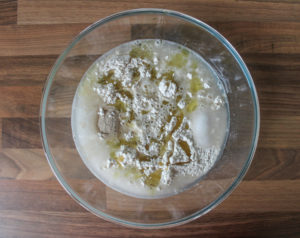
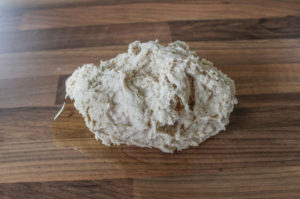
- Begin mixing together with one hand, kneading to combine. You may need to add a little more water to bring it together until it forms a slighty wet, sticky dough.
- Add one tablespoon of the garlic-rosemary oil to your countertop and place the dough on top. Begin kneading the dough on the oil, which helps prevent it from sticking to the counter without having to add more flour.
- Knead the dough for around 10 minutes. It will be slightly awkward to work with at first as it will stick to your hands but keep kneading and it will become less wet and sticky, and after around 10 minutes will form a smooth surface.

- Once sufficiently kneaded, lightly oil your large mixing bowl (no need to clean it first) and place the dough in the bowl. Cover with film or a tea towel and place in a slightly warm place for 1-2 hours to proof until doubled in size. I put mine in my airing cupboard!You'll know it's sufficiently proofed if you gently prod it with your finger and the dimple you made slowly springs back. If it doesn't leave a dimple, it needs more time to proof. If the dimple doesn't spring back, it has over-proofed.

- Lightly oil your 12 x 8 traybake pan with two tablespoons of the garlic-rosemary oil.
- Gently pour your dough into the pan.
- Begin gently flattening the dough and spreading it to the sides and corners with your fingers. It will have some resistance when trying to stretch it so may not want to stay in the corners! If so, simply place a slightly damp tea towel on top for 5-10 minutes. This allows the dough to rest so that you can stretch it further into the corners more easily.
- Add around two more tablespoons of the garlic-rosemary oil and gently spread it across the top with your fingers.
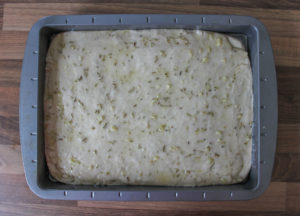
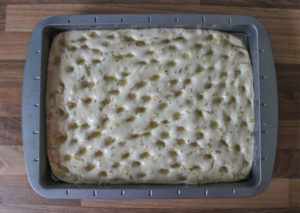
- Press 'dimples' into the dough with your fingers – don't be scared to press all the way down to the bottom of the dough!
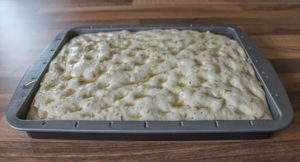
- Place the tray gently into a clean plastic bag, tucking the edges under so no air/draft can get inside the bag. Place on your countertop to proof for one hour. About 20-30 minutes before the dough has finished proofing, preheat your oven to 220°C/200°C fan.

- After the one hour proof, carefully remove the tray from the plastic bag. It should have risen so that the dimples are slightly less defined.
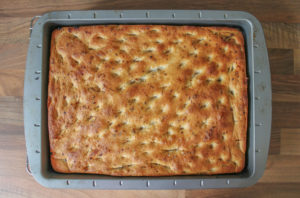
- Place the tray onto the middle shelf of your preheated oven and bake for around 20 minutes until golden brown.

- While still hot from the oven, pour the remaining garlic-rosemary oil over the top. You can use a pastry brush to spread it more evenly across the top if you like.
- Leave to cool in the pan for around 15 minutes before removing it and placing it onto a wire rack to finish cooling.
- Focaccia is best eaten on the day, though will be fine for up to 3 days when stored in an airtight container or double wrapped in film.

Easy to follow instructions
And a great result.
Author
Thanks Laura, glad you enjoyed it!