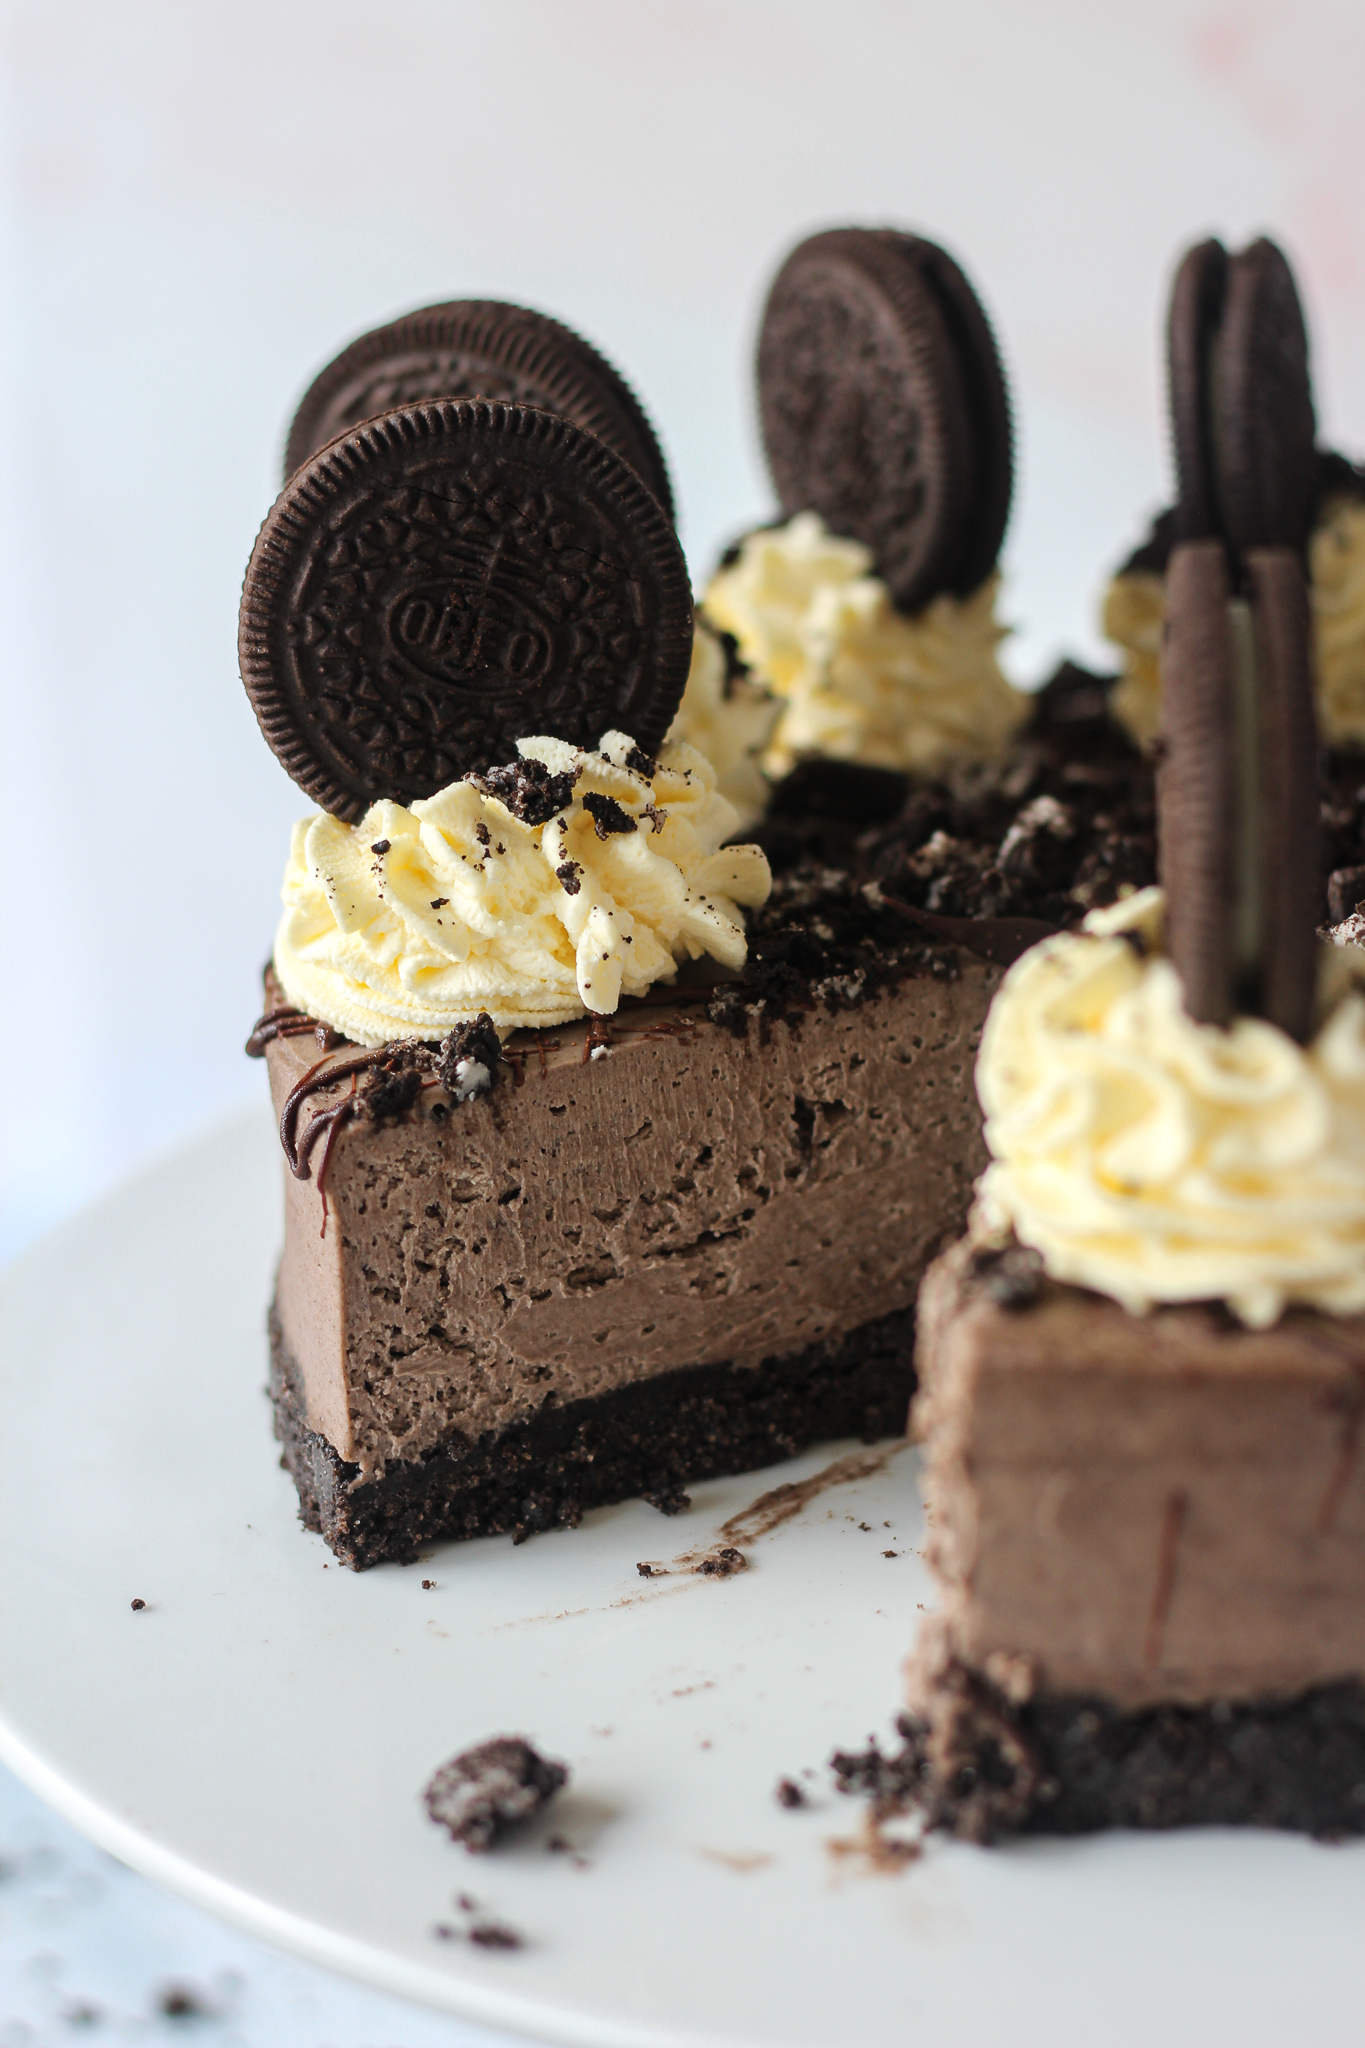
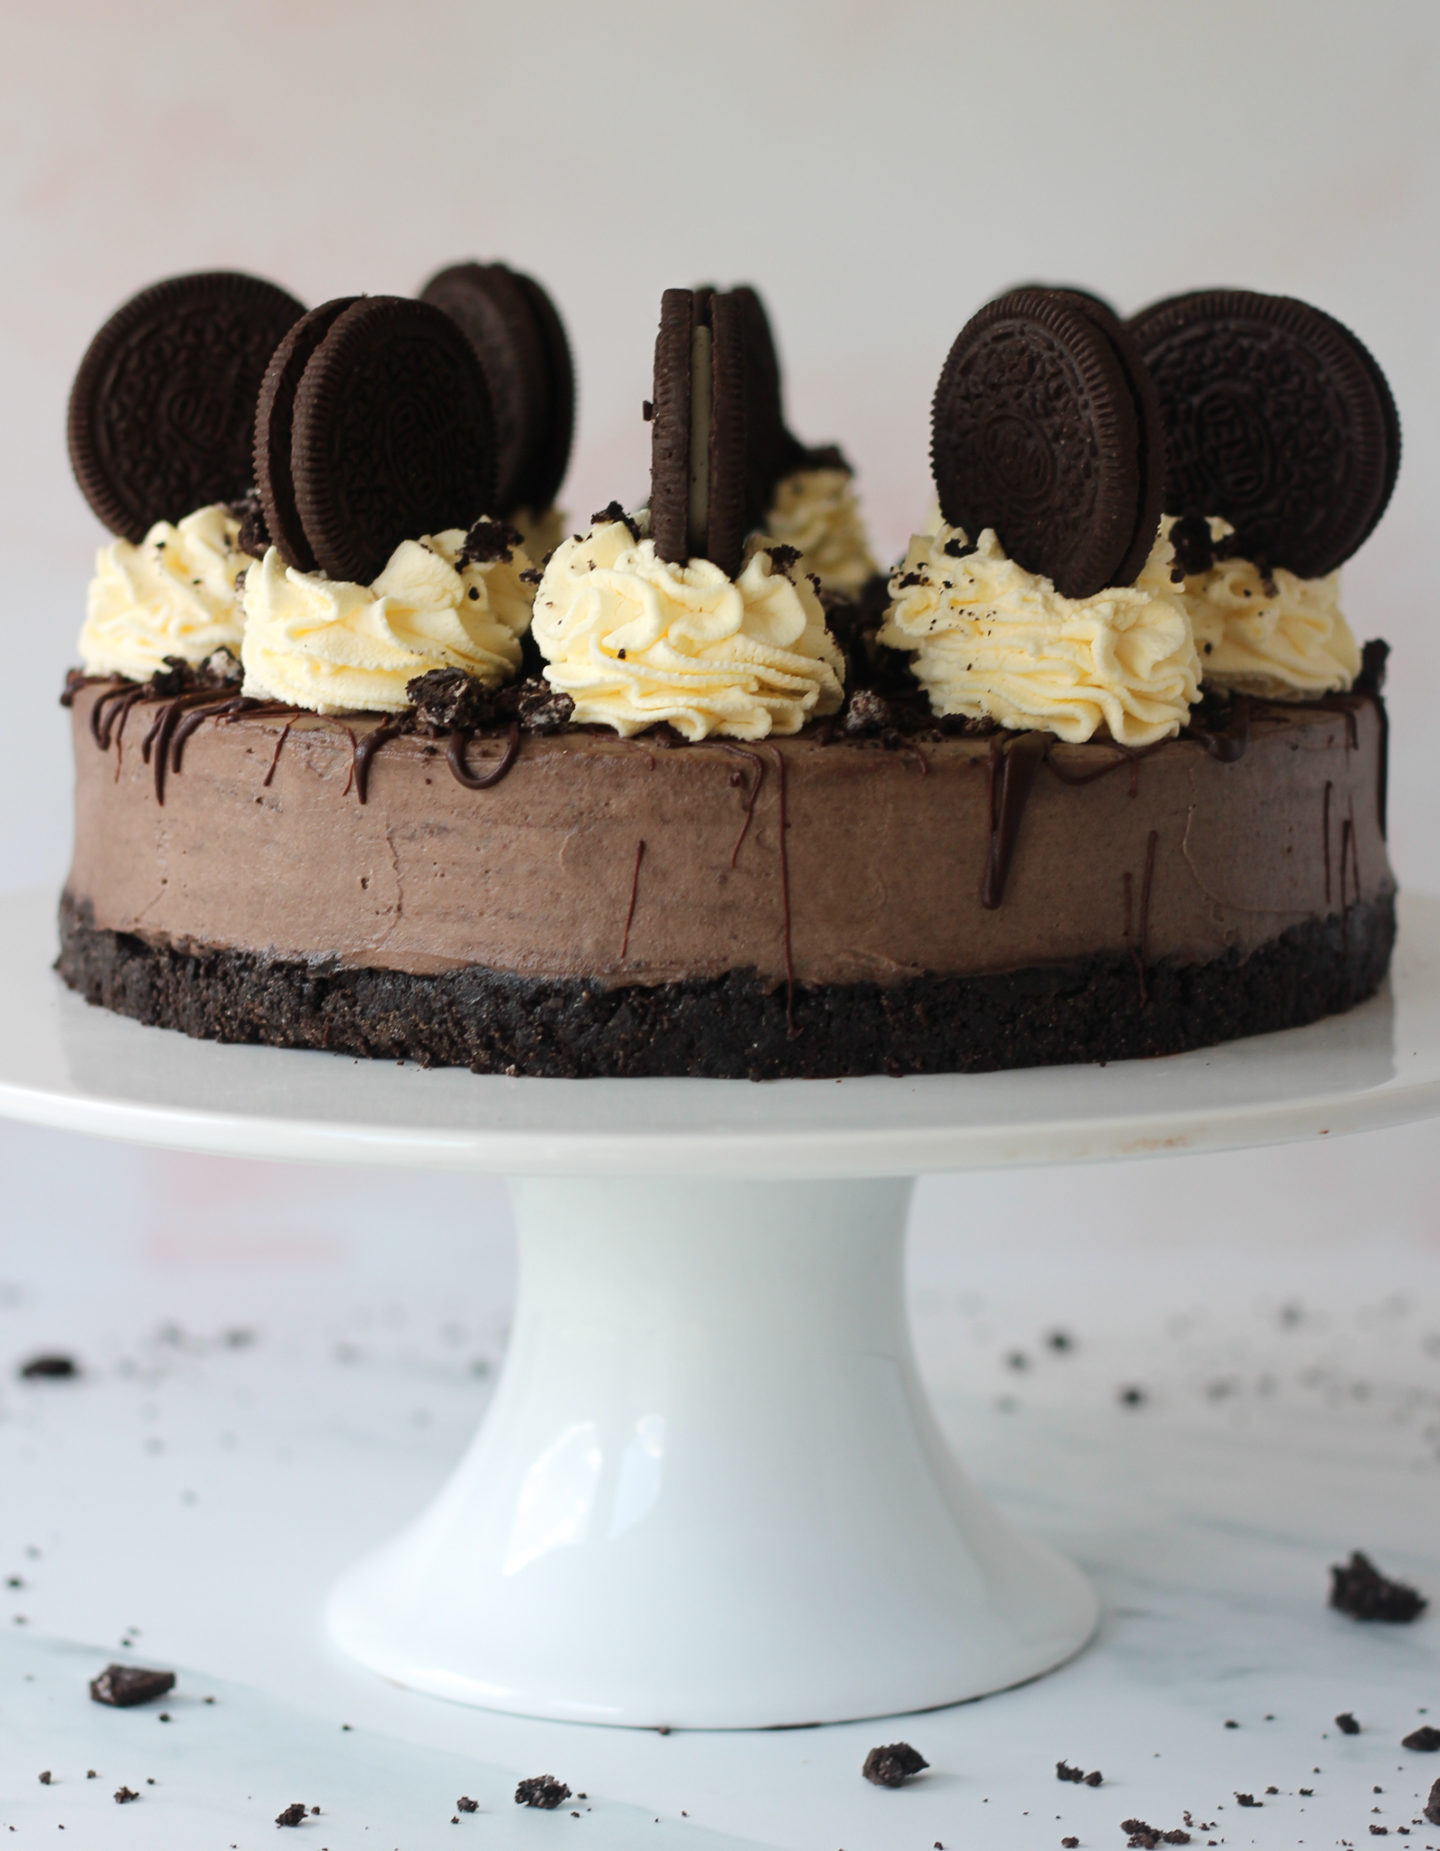
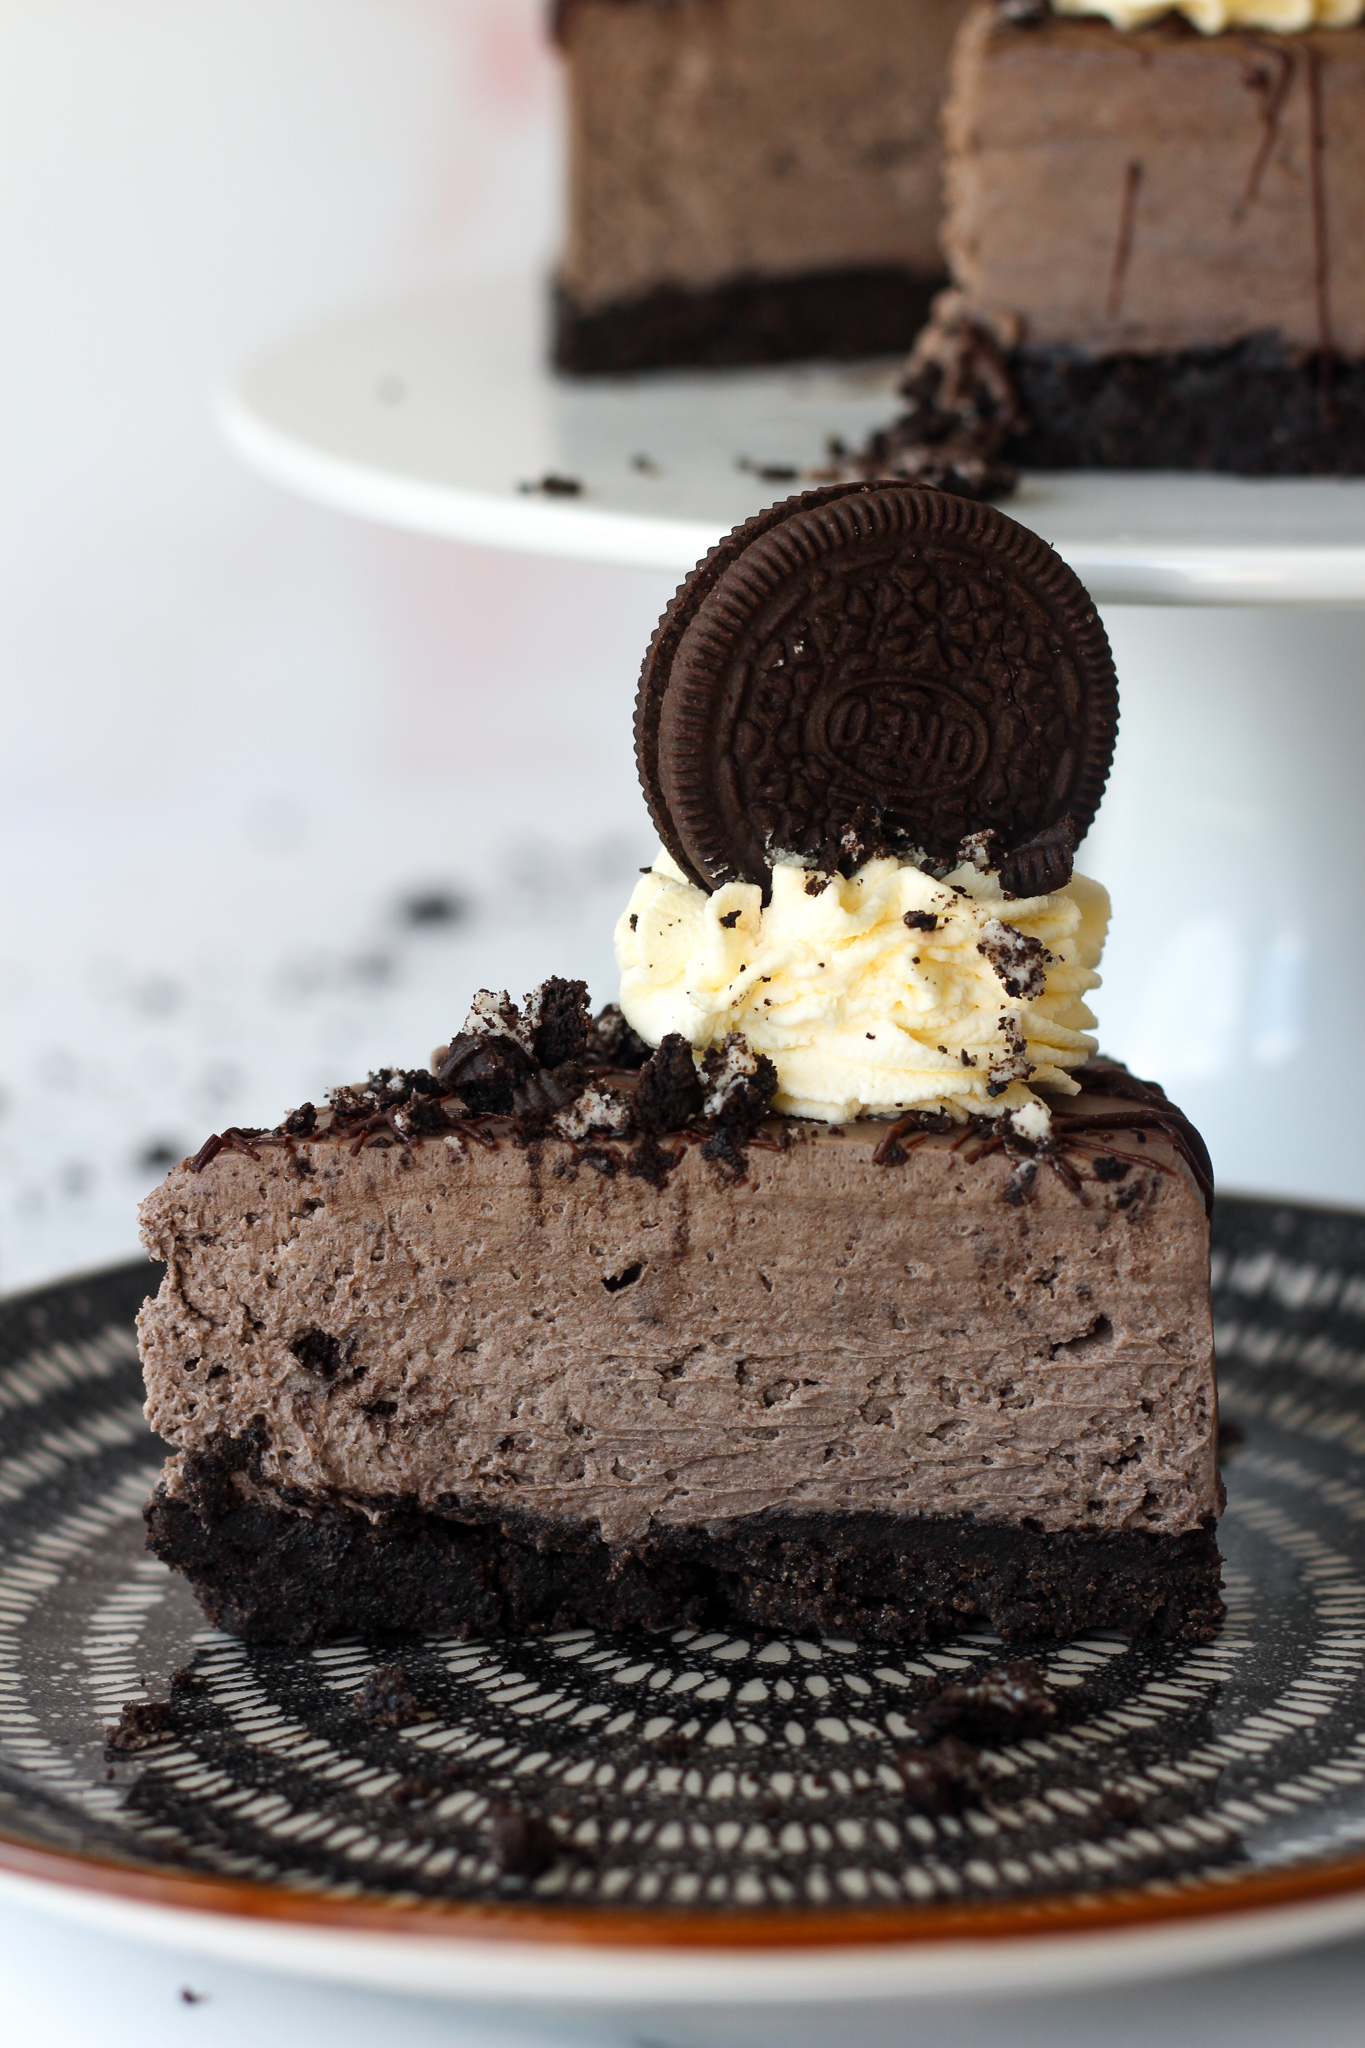
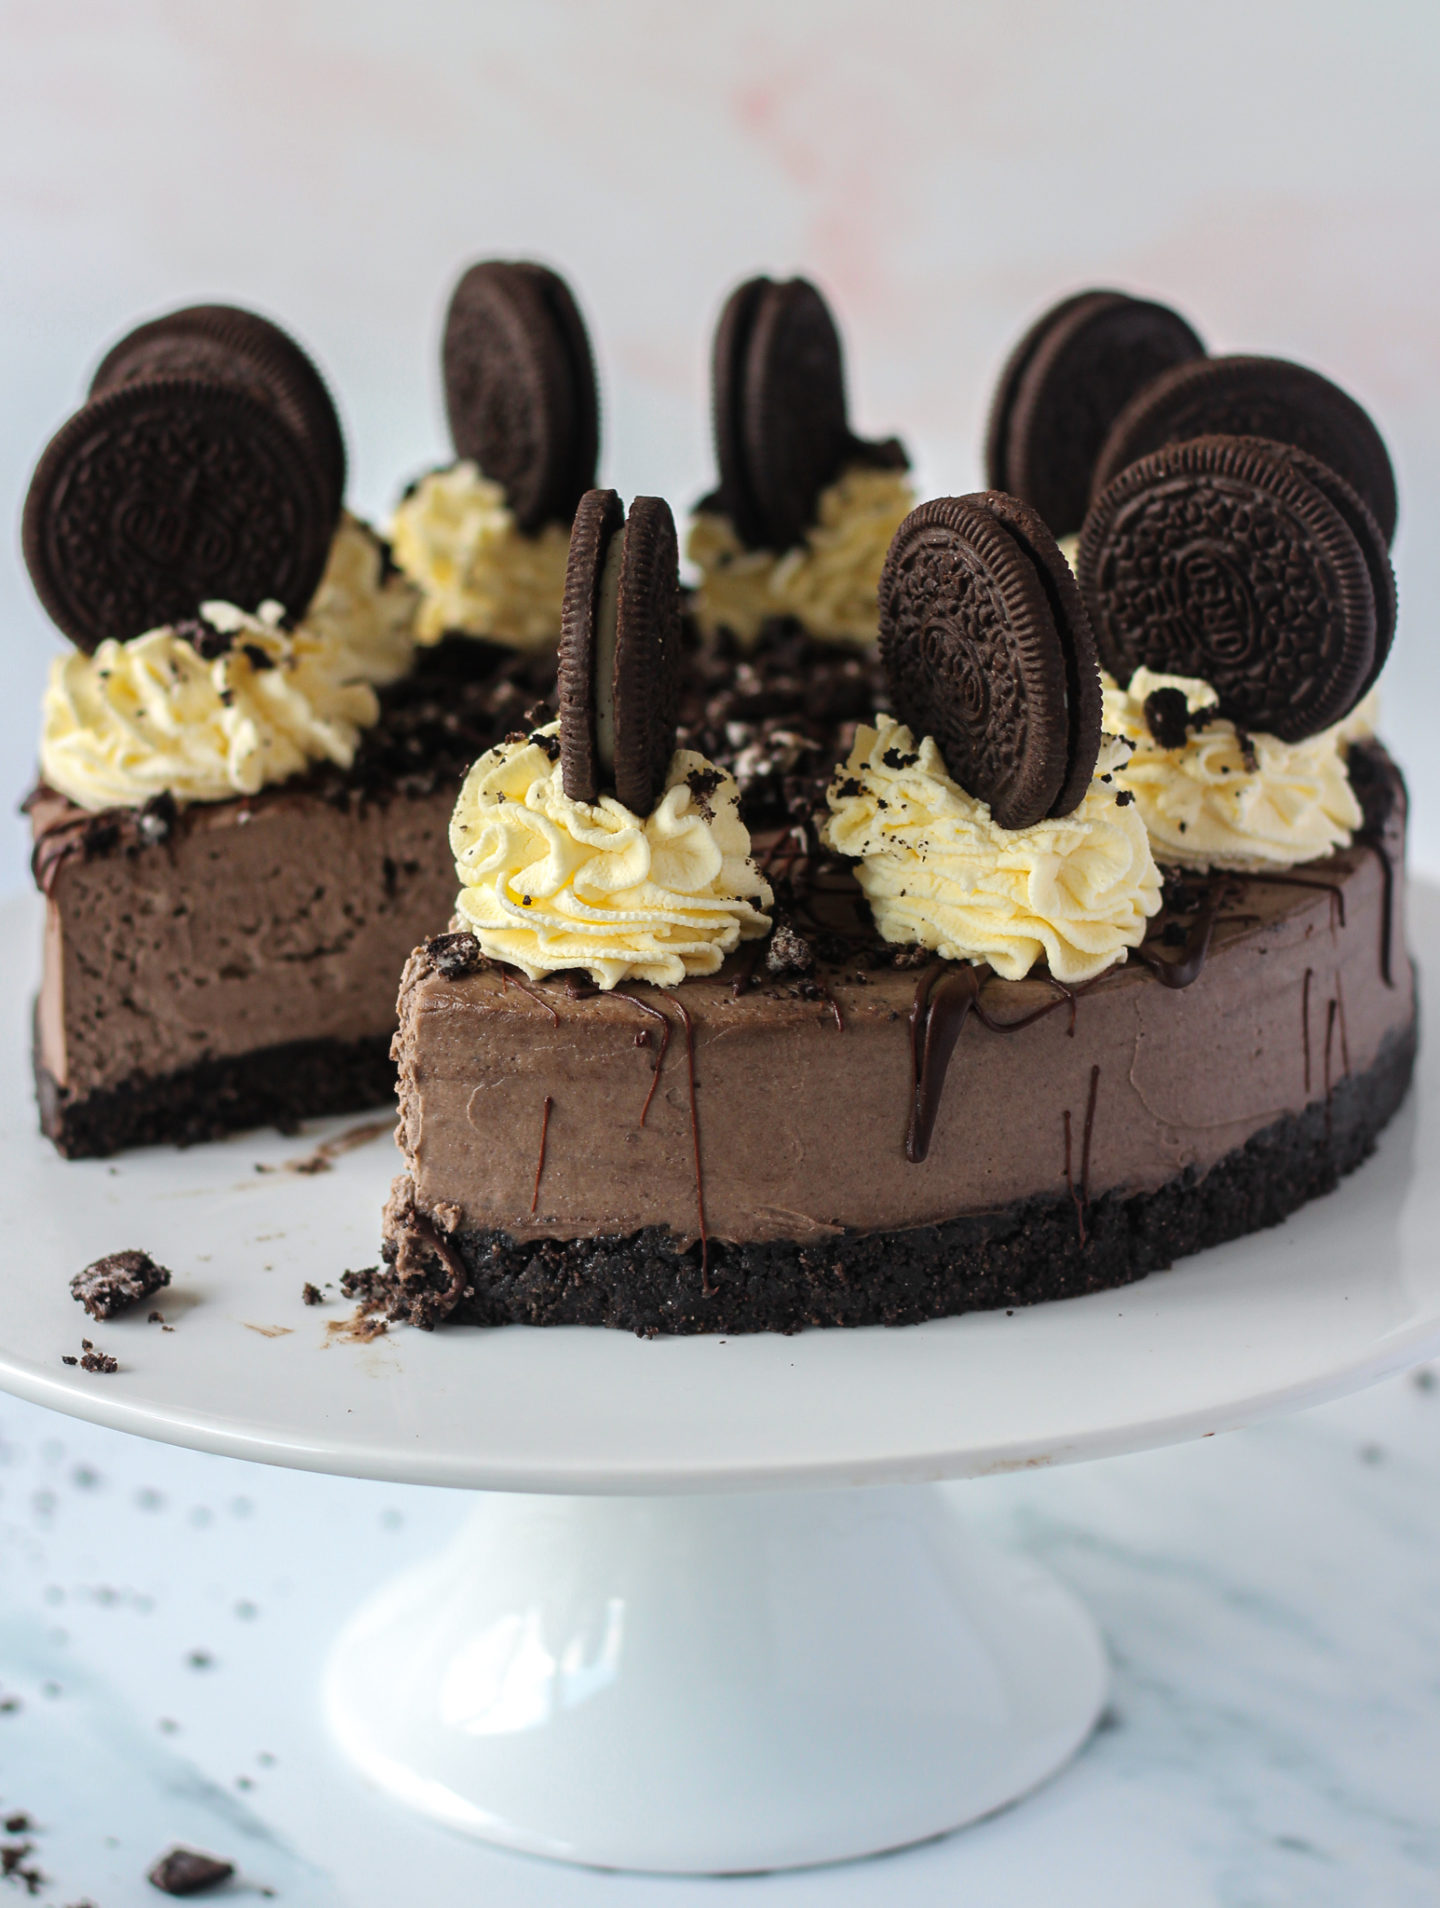
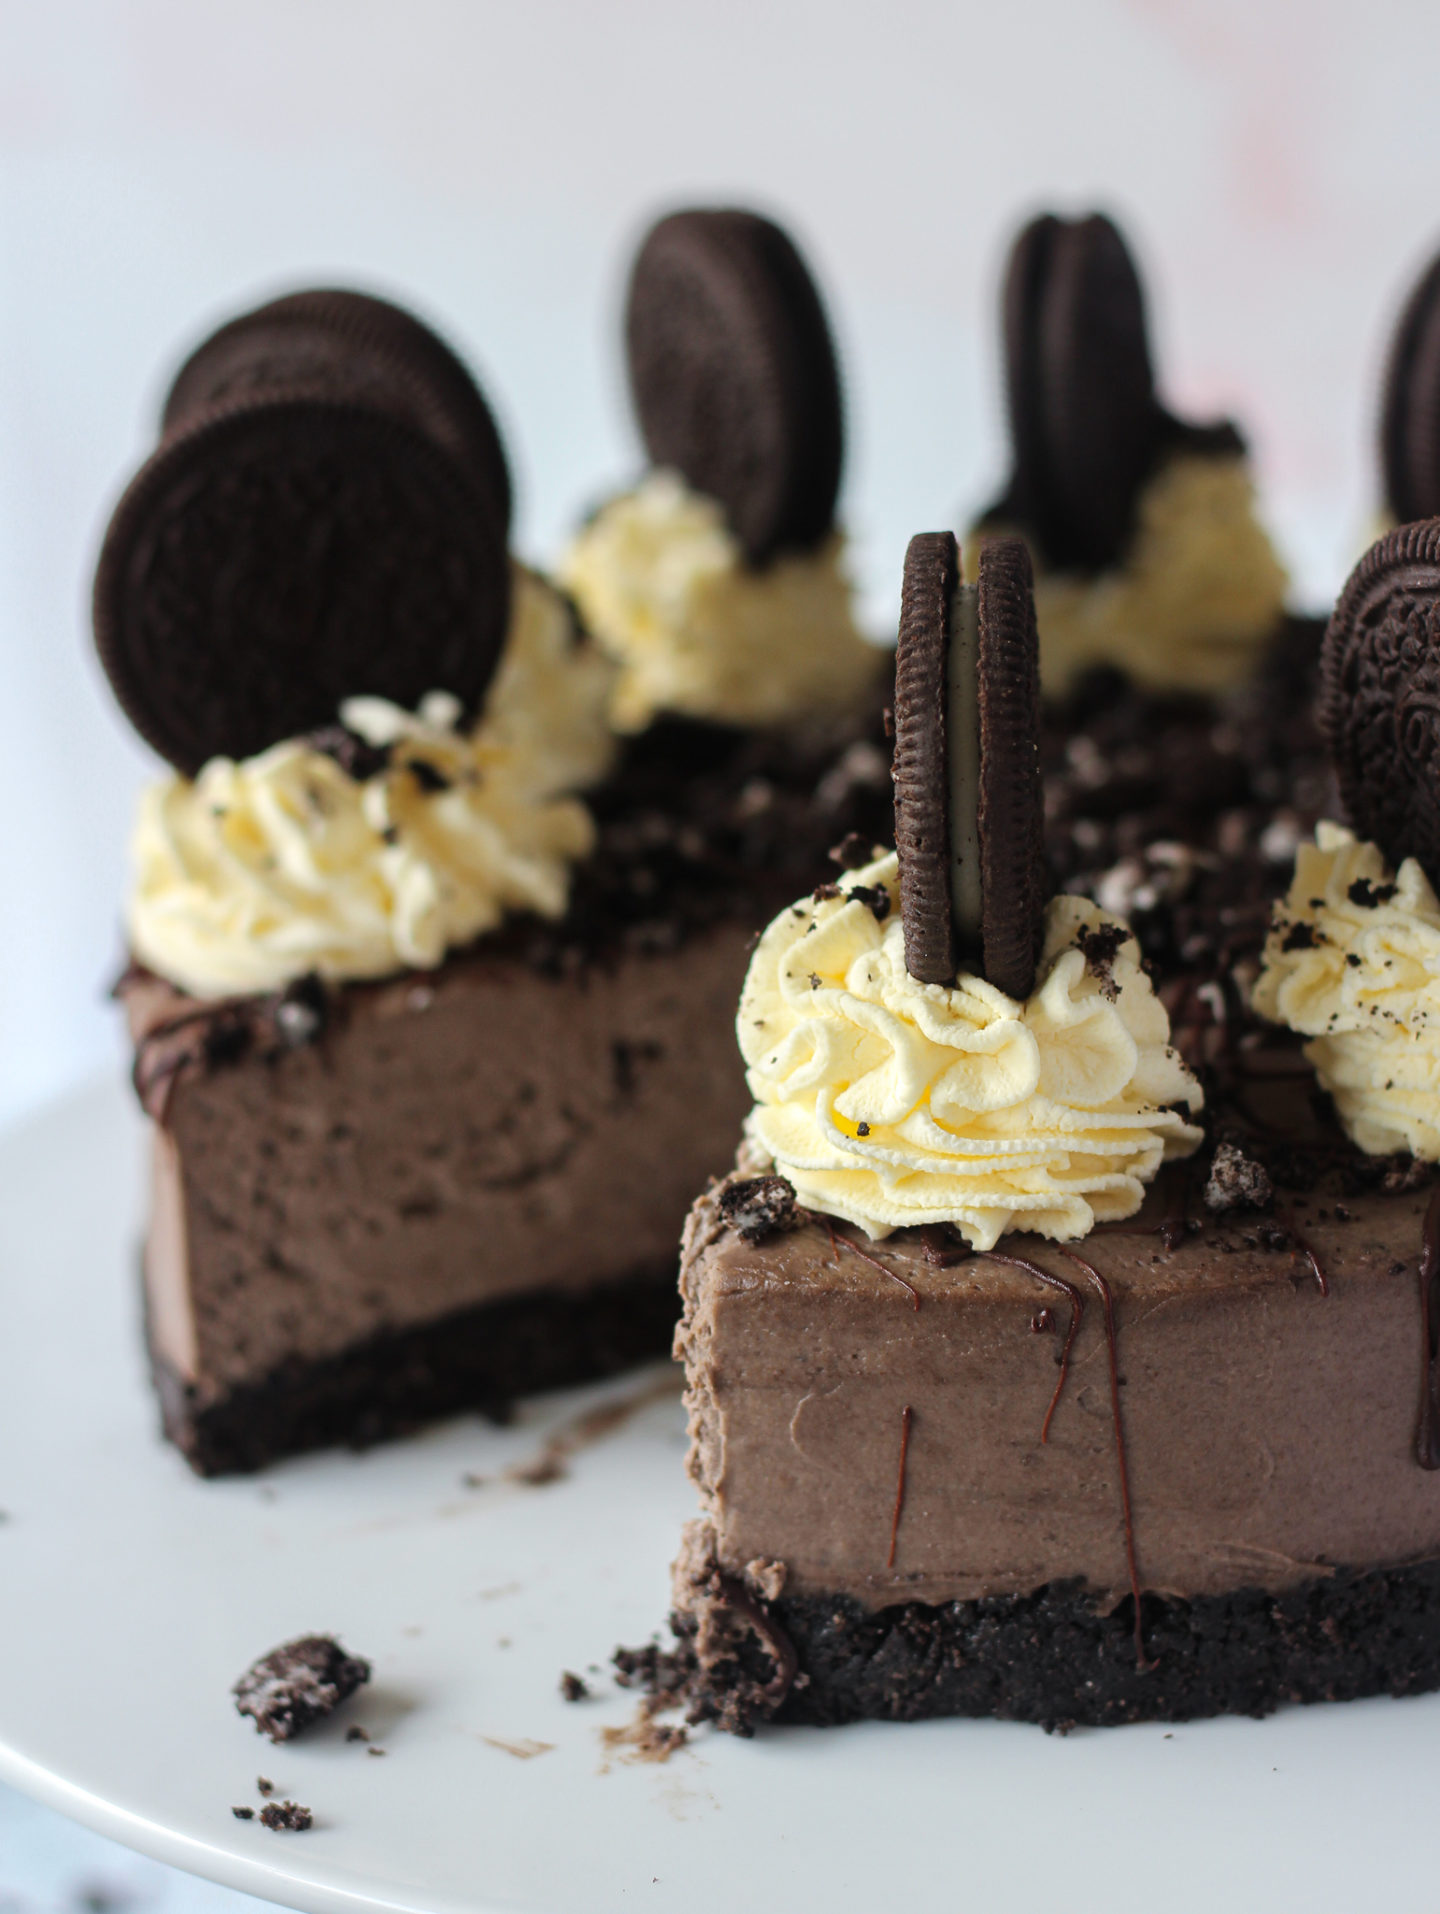
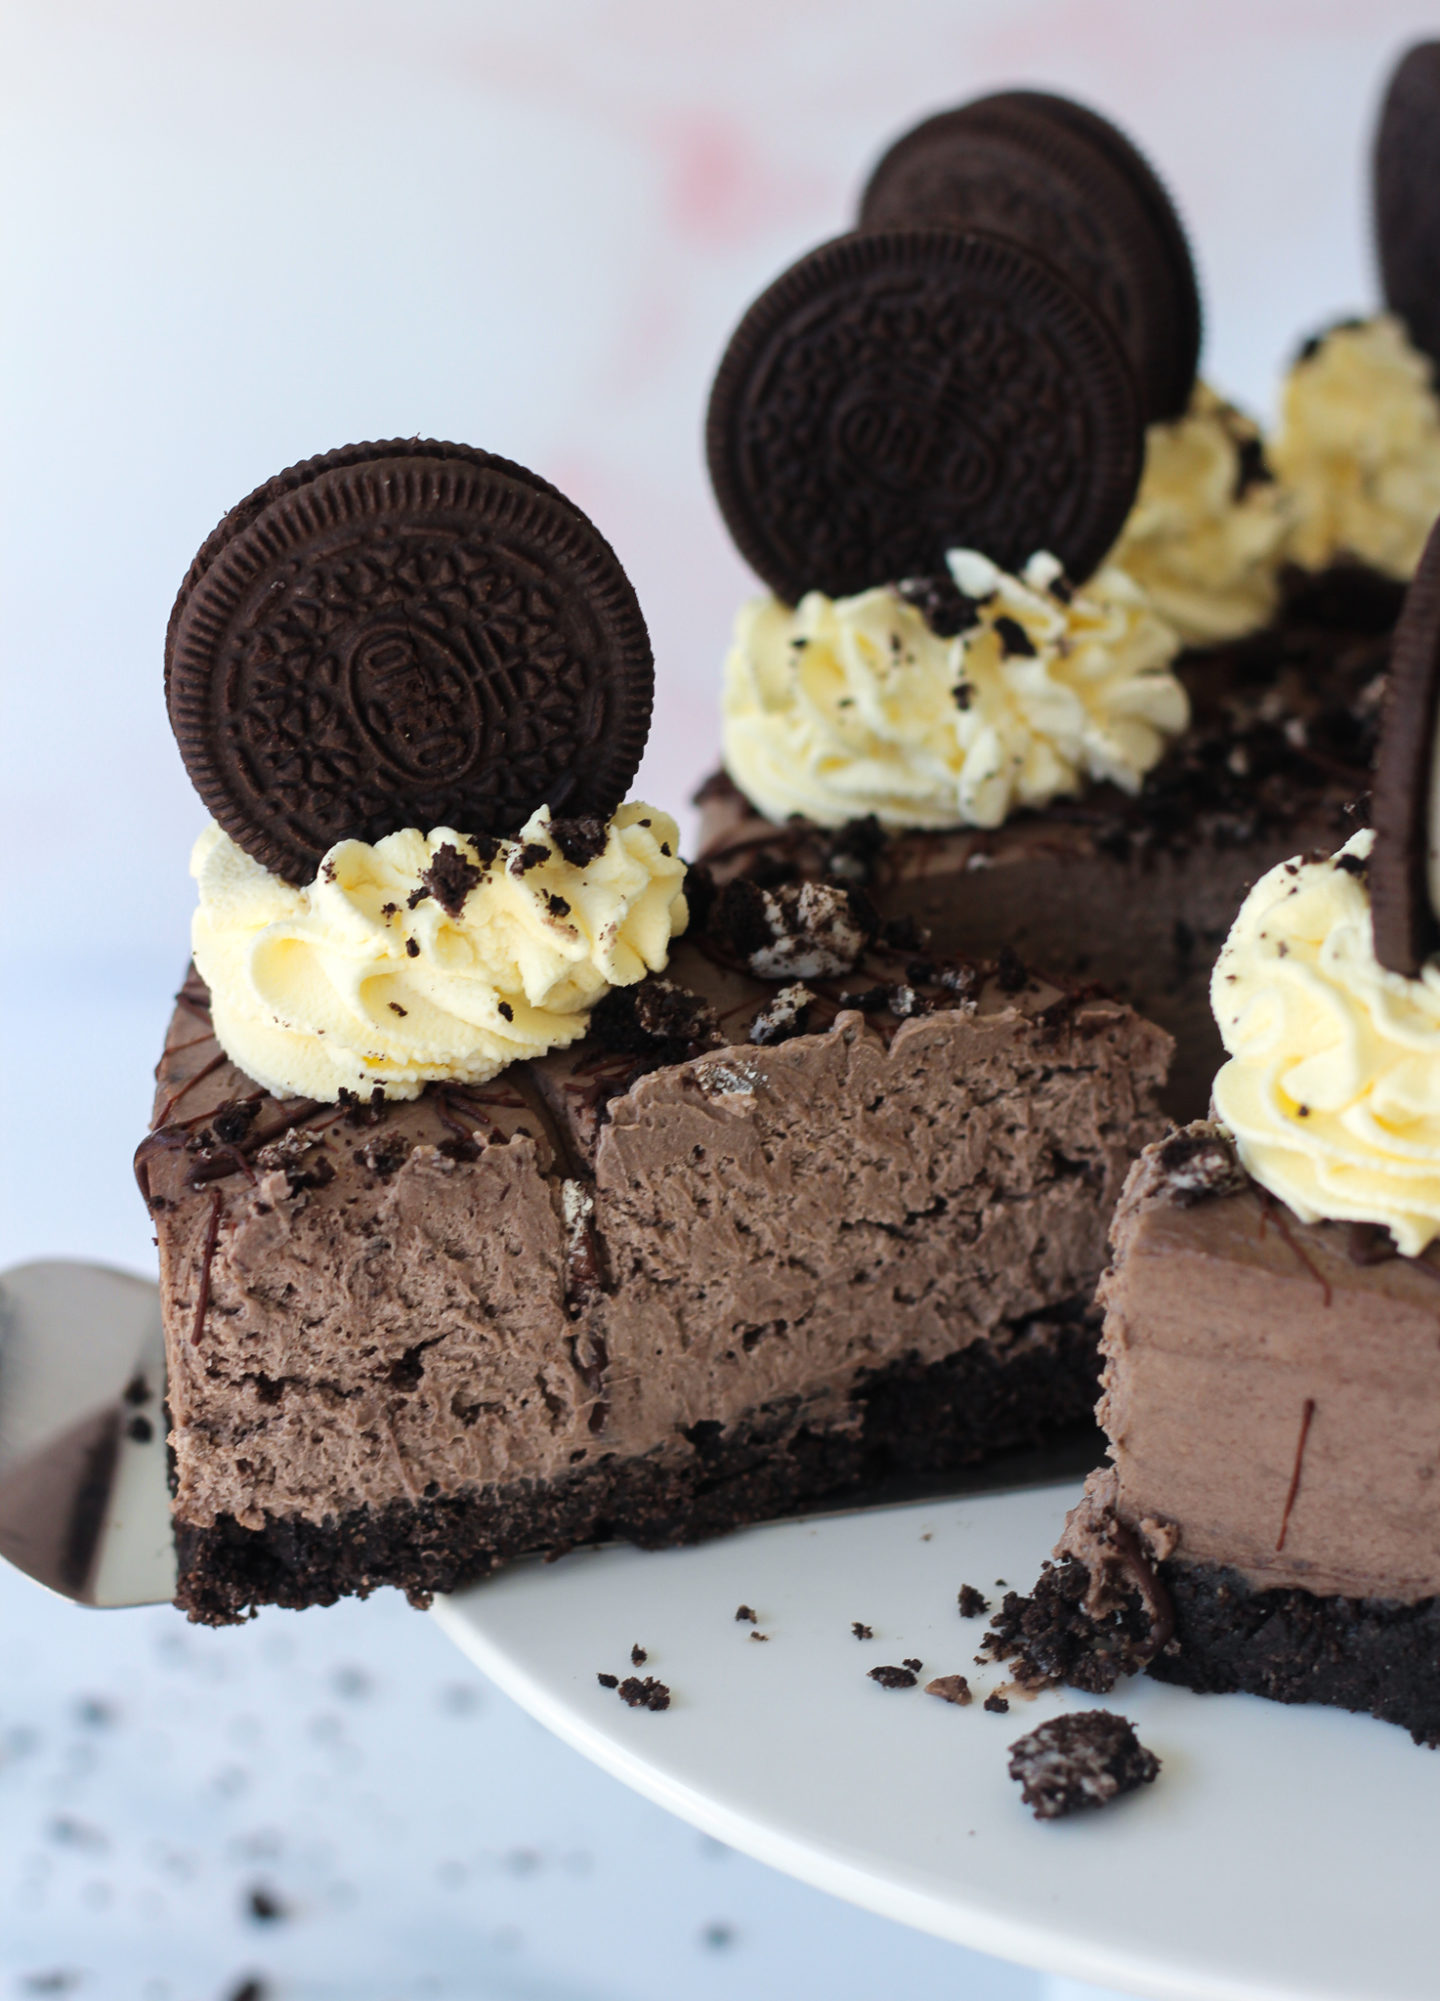
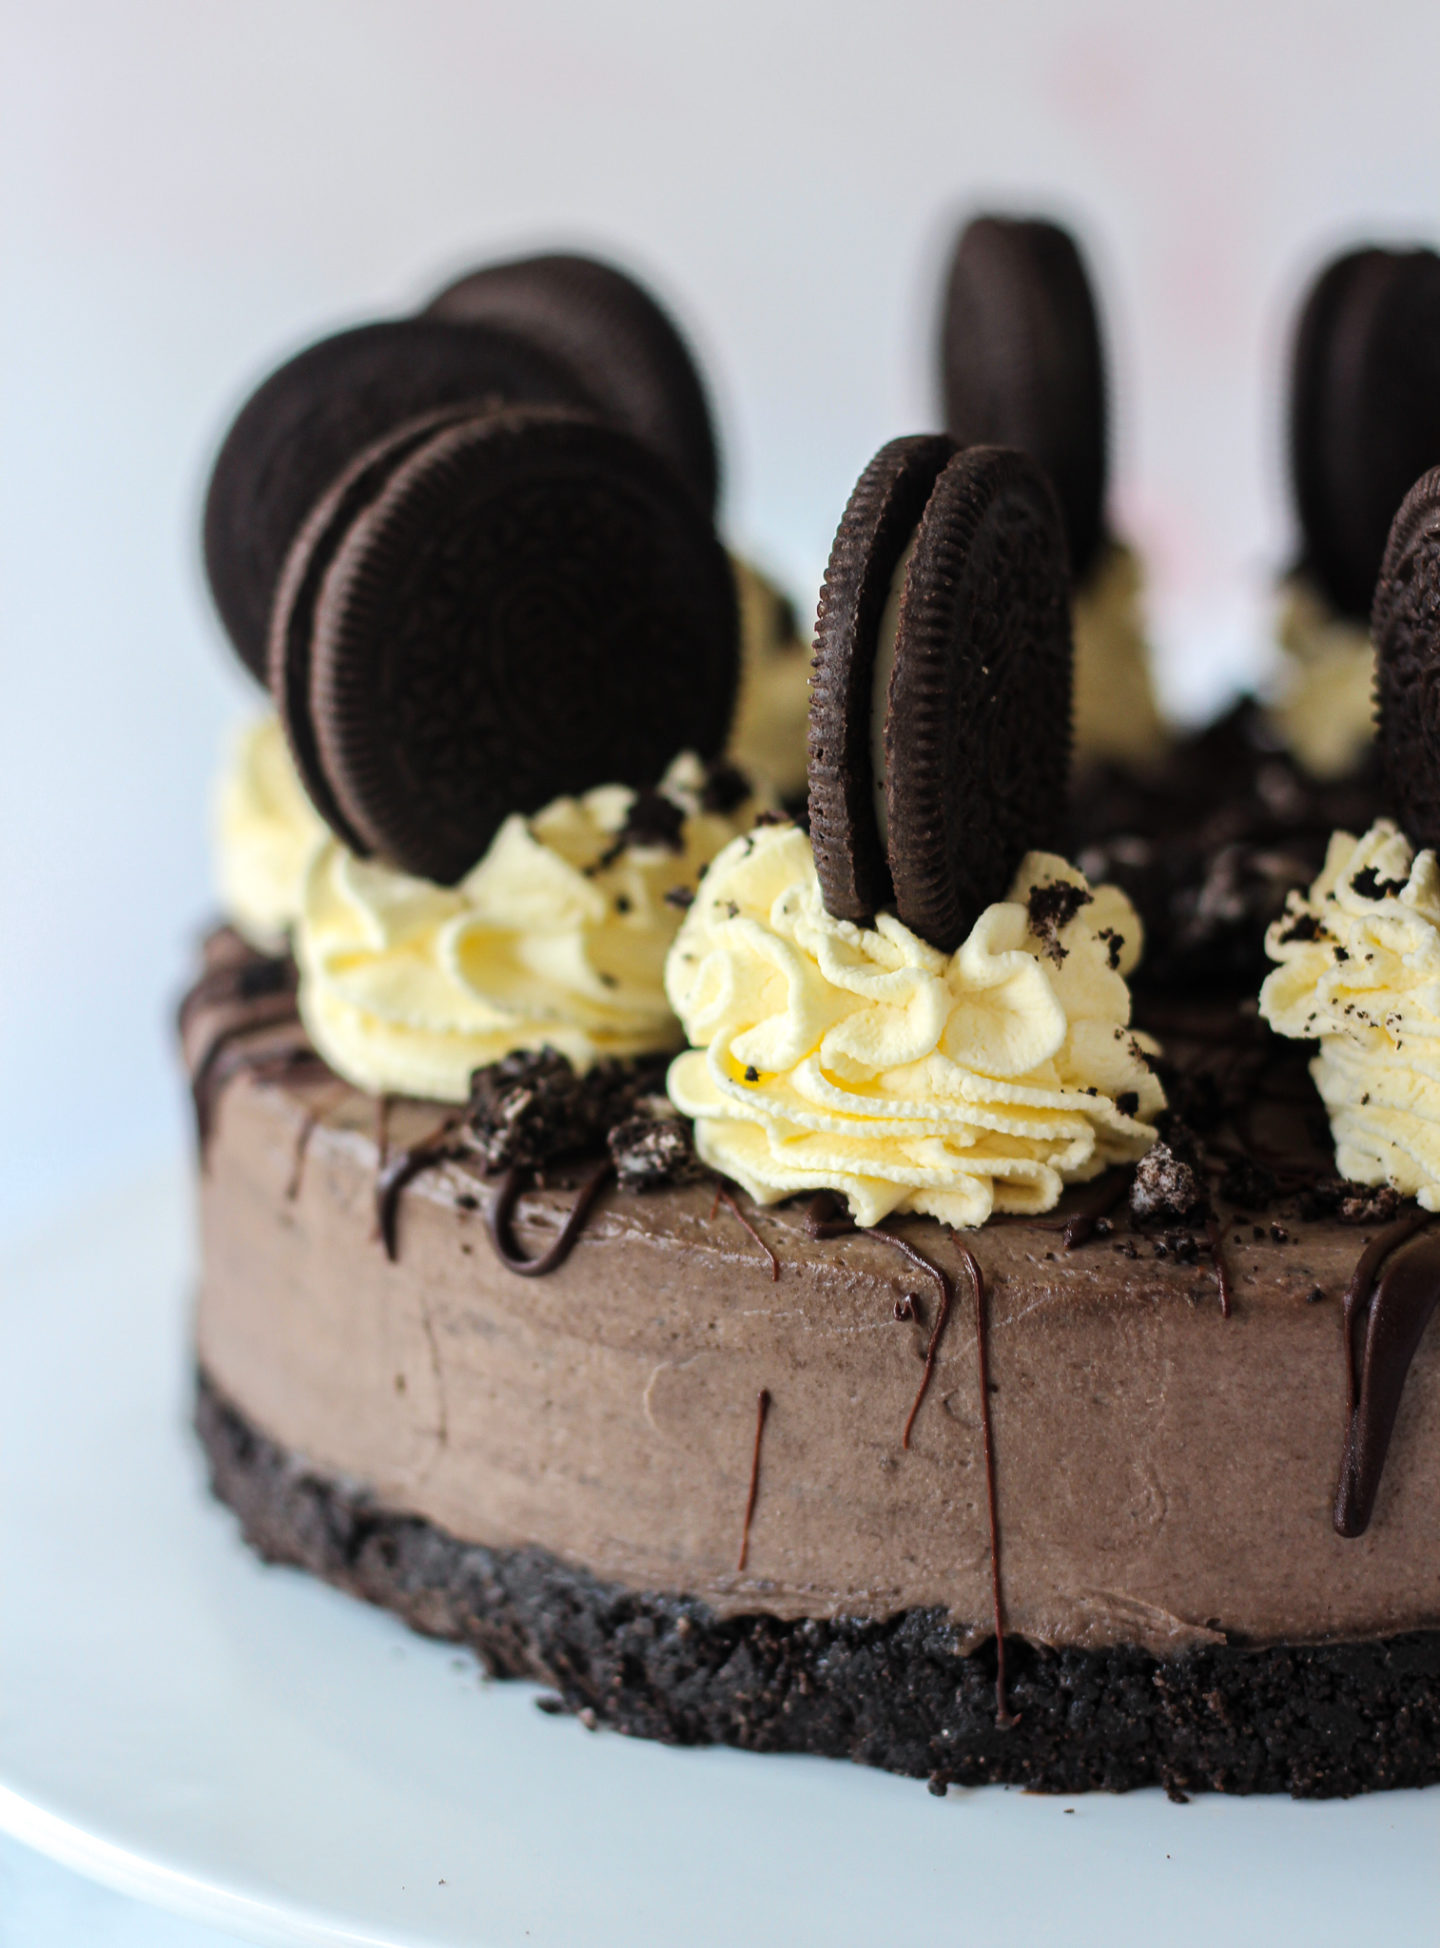
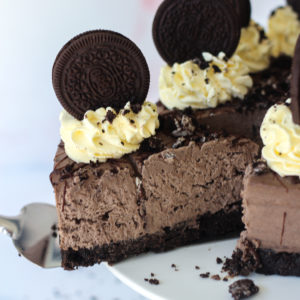
With a delicious Oreo biscuit base, creamy Oreo filling and crushed Oreo topping, this no-bake cheesecake is an Oreo lover’s dream dessert!
This post may contain affiliate links. For more information, see my Full Disclosure.
A few weeks ago, my partner and I were scoffing big ol’ bowls of my No-Churn Oreo Ice Cream on the sofa and I realised that I only had one Oreo recipe on my blog… It didn’t take me long to decide this would be the next, and I am excited to finally share it with you!
This no-bake Oreo cheesecake ticks all the boxes for me. A delicious Oreo biscuit base and an incredibly creamy cheesecake filling, all topped with crushed Oreos, whipped cream and even more Oreos! It’s incredibly easy to make and is the ideal make-ahead dessert. Have I convinced you to try it yet?
No-Bake Oreo Cheesecake Ingredients
This simple Oreo cheesecake recipe sets firm in the fridge with no need for gelatin, so it is suitable for vegetarians! You can find the full ingredient amounts at the end of this post, but to summarise, you’ll need:
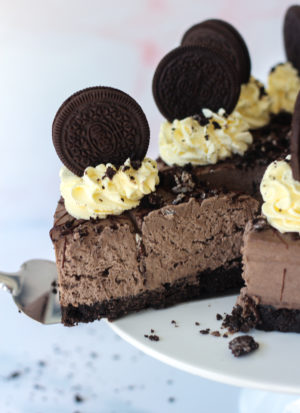
CHEESECAKE BISCUIT BASE
- Crushed Oreos both the biscuits and filling are used to make the biscuit base
- Melted butter to bind the biscuit base and give a lovely buttery flavour
- Light brown sugar helps the base to set firm and adds a touch of sweetness
CHEESECAKE FILLING
- Double cream is whipped to create a firm but creamy cheesecake base
- Full-fat cream cheese gives that smooth and tangy cheesecake flavour
- Icing sugar for sweetness
- Crushed Oreos for more Oreo flavour!
- Vanilla extract just a touch for a little added flavour
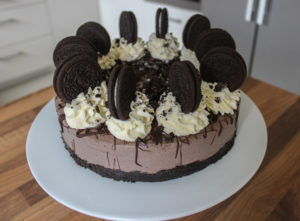
CHEESECAKE DECORATION
- Double cream is whipped to a pipeable thickness to create swirls around the edges
- Dark or milk chocolate is melted to drizzle across the top of the cheesecake
- More Oreos! No explanation needed!
A double pack of Oreos (308g pack) will be enough for the biscuit base, cheesecake filling and Oreo decoration on top!
How to make a no-bake Oreo cheesecake from scratch
You’ll find full instructions with step-by-step photos in my recipe card at the bottom of the post, but to summarise:
- Firstly weigh out your cream cheese and leave it aside to come to room temperature (see why below!)
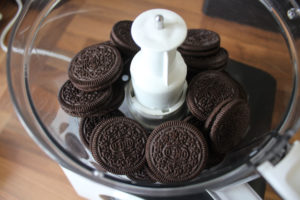
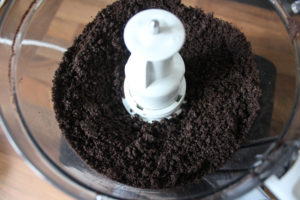
- Crush your Oreos either in a food processor or simply by placing them in a sandwich bag and bashing with a rolling pin!
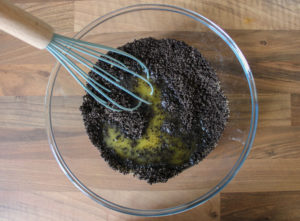
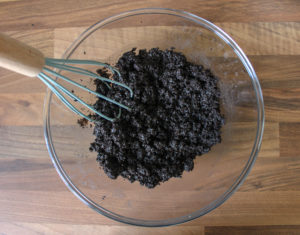
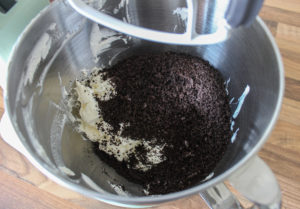
- Add the crushed Oreos, melted butter and light brown sugar to a medium-sized bowl and mix to combine
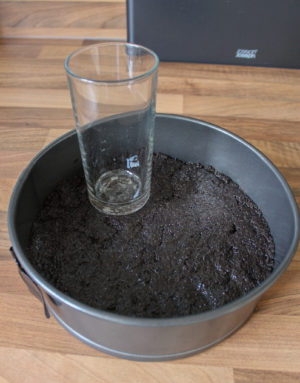
- Spread this mixture into the base of your 20cm/8in deep springform pan and pack it down firmly using a rubber spatula or base of a glass, then place in your fridge to set while you make the cheesecake filling
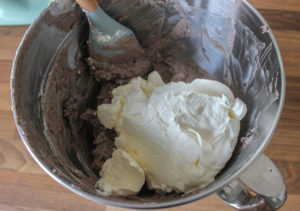
- Using a stand mixer or hand mixer, whisk the double cream until really thick, then place the whipped cream in a separate bowl and set it aside
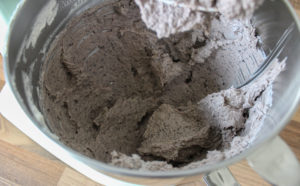
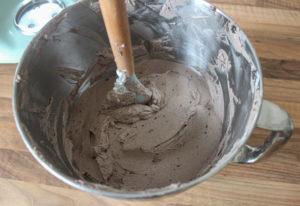
- Using the same mixing bowl used to whip the cream, add the cream cheese, icing sugar, crushed Oreos and vanilla extract, then beat until combined and smooth
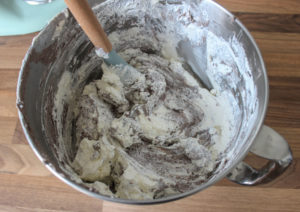
- Next, using a spatula or wooden spoon, fold the whipped cream into the cheesecake mixture until completely combined and smooth
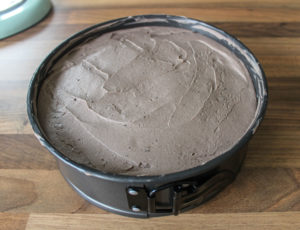
- Pour the cheesecake mixture into your 20cm/8in deep springform pan and level the top with a spatula
- Place it in your fridge to chill for at least 8 hours (ideally overnight) to set firmly before serving!

Tips for making the best no-bake oreo cheesecake
- A springform cake pan is required for this recipe to allow you to remove the cheesecake and place it onto a serving plate! This makes it much easier to cut neat slices of cheesecake 🙂
- Using cold double cream straight from the fridge is best as it will whip up better when cold. This is important as a thicker whipped cream results in a firmer, well-set cheesecake!
- The cream cheese however needs to be at room temperature before mixing with the other cheesecake ingredients. This helps it to incorporate smoothly to prevent a lumpy cheesecake filling.
- The cream cheese also needs to be full-fat – not a lighter version. Lower fat cream cheese doesn’t contain enough fat to allow the cheesecake to set firmly, so you’ll end up with a soft, sloppy cheesecake filling!
- I recommend making the cheesecake the day before you need it to allow it to chill overnight. This gives it plenty of time to set firmly to ensure it’s ready to serve when you need it!
No-Bake Oreo Cheesecake FAQs
What is the best way to crush Oreo biscuits to make cheesecake?
I use my food processor to crush my Oreos as it’s much quicker! However, if you don’t have a food processor you can simply place the Oreos inside a sandwich bag and bash them with the end of a rolling pin until finely crushed!
Is no-bake oreo cheesecake vegetarian?
This Oreo cheesecake contains no gelatin to help it set, so is vegetarian friendly!

Why is my no-bake cheesecake not firm after chilling?
One of the main causes is not allowing it to chill and set in the fridge for long enough. I recommend chilling overnight to give plenty of time to set (or at least 8 hours).
This can also be caused by not whipping the double cream until really thick, or by using reduced-fat cream cheese – full-fat cream cheese is a must!
Can I use different Oreo flavour variations for this no-bake cheesecake?
Absolutely! I haven’t personally played around with other flavours myself yet, but you can definitely experiment with flavours; just use the same amount of Oreo biscuits 🙂
One suggestion would be to use mint flavoured Oreos and then use my No-Bake Mint Chocolate Cheesecake filling!
How should I store a no-bake Oreo cheesecake?
This cheesecake needs to be kept in the fridge between servings due to the fresh dairy ingredients.
How long will a no-bake cheesecake keep for?
This cheesecake should keep well for up to 5 days, though check the individual use-by dates on your ingredients as if they expire earlier, so will your cheesecake!
Can a no-bake Oreo cheesecake be frozen?
This cheesecake should freeze well. Allow it to set firmly in the fridge first, then keep it in the cake pan and double wrap in film before storing in the freezer. It would be best to freeze it undecorated and then decorate after defrosting. It should keep well in your freezer for around 3 months.
To conclude, this no-bake Oreo cheesecake is:
- Full of Oreo flavour from the Oreo biscuit base, creamy Oreo filling and crushed Oreo topping!
- Indulgent and smooth with a delicious biscuit base
- The perfect make-ahead dessert as it’s best made the night before serving
- A quick and simple no-bake recipe
- A dream dessert for Oreo lovers!
If you try this recipe I’d love to see! You can show me by tagging me @bakerjoblog or using #bakerjoblog!
Other no-bake cheesecake recipes to try:
No-Bake Oreo Cheesecake
Equipment
- 20cm/8inch deep springform cake pan
- Electric hand or stand mixer
- Spatula
Ingredients
Biscuit base
- 260 g Oreos biscuits and filling, crushed
- 100 g unsalted butter melted
- 30 g light brown sugar
Cheesecake filling
- 290 ml double cream cold
- 630 g full-fat cream cheese (I use Philadelphia) room temperature
- 160 g icing sugar sifted
- 240 g Oreos biscuits and filling, crushed
- 1/2 tsp vanilla extract optional
Decoration
- 200 ml double cream cold
- 50 g dark or milk chocolate melted
- 10 Oreos to place on top of the whipped cream swirls
- 1-2 Oreos roughly chopped to sprinkle on top of the finished cheesecake!
Instructions
Biscuit base
- Firstly, weigh out your cream cheese and set it aside to come to room temperature.
- Crush the Oreos (both biscuit and filling) in a food processor, or by placing them into a sandwich bag and bashing with the end of a rolling pin!
- Add the crushed Oreos and light brown sugar to a medium-sized bowl and whisk to combine.
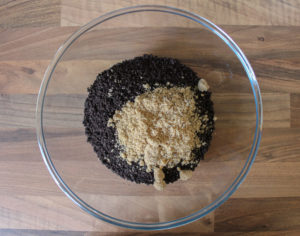
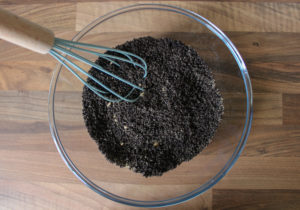
- Add the melted butter and whisk to combine.
- Spread the biscuit mixture into the base of your 8in/20cm deep springform pan. Press the mixture down firmly with a rubber spatula or the bottom of a glass. Packing the biscuit mixture tight ensures the base sets firmly in the fridge.

Cheesecake filling
- Using a stand mixer or hand mixer, whisk the cold double cream in a large mixing bowl on medium-high speed until really thick. The thickened cream helps the cheesecake to set firmly so keep whisking until very thick!
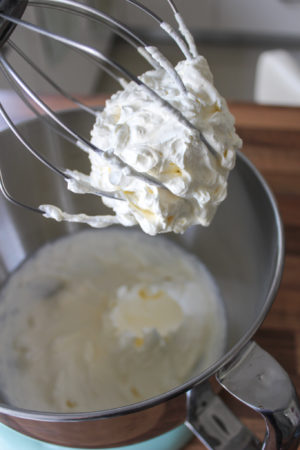
- Transfer the whipped cream into a smaller bowl and set aside. You can now use the same large mixing bowl to mix the cheesecake ingredients; no need to clean the bowl first.
- To the large mixing bowl, add the cream cheese, icing sugar, crushed Oreos and vanilla extract. Change the whisk attachment to a beater attachment and then beat on medium speed until smooth and well combined (around 30 seconds).
- Next, add the whipped cream back into the large mixing bowl and using a spatula, fold through the mixture until completely combined and smooth.
- Pour the cheesecake mixture into your springform pan and level the top with your spatula. Place in the fridge to chill for at least 8 hours (ideally overnight) to set firmly.
Decoration
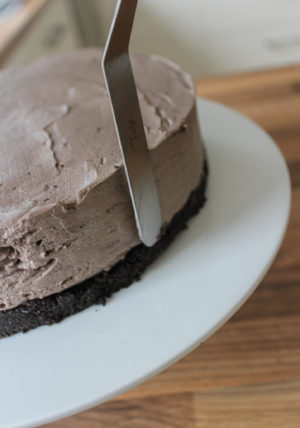
- Once your cheesecake has set firmly, remove it from the springform pan. To remove the cheesecake from the pan base, slowly and gently run a sharp knife underneath the cheesecake to loosen it, which will allow you to slide it more easily onto your serving plate/stand. Warming the knife under warm water and drying it beforehand can help a little too!
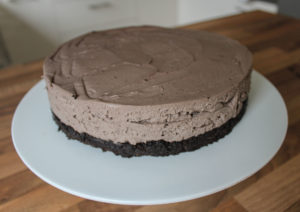
- Using a palette knife, smooth the sides and top of the cheesecake. This is optional but it makes it look a little neater.
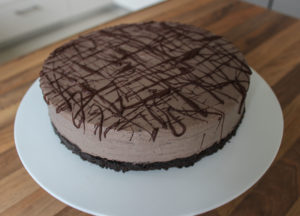
- Melt 50g dark or milk chocolate and drizzle it across the top of the cheesecake using a fork.
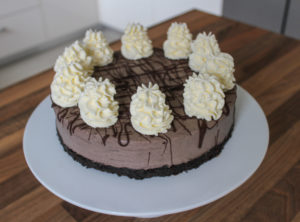
- Whip some more double cream as explained above, until quite thick (enough to hold the weight of an Oreo!). Using a piping bag and your chosen piping nozzle, pipe 10 swirls around the outside of the cheesecake.
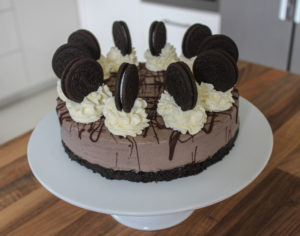
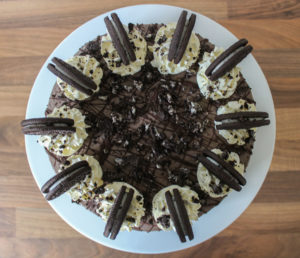
- Place Oreos on top of each swirl, then chop up the remaining 2 Oreos and sprinkle across the top of the cheesecake.
- Store in the fridge between servings. The cheesecake can keep well for up to 5 days, although check the expiry dates of your double cream and cream cheese as if they expire earlier, so will your cheesecake!
Notes
- A double pack of Oreos (308g pack) will be enough for the biscuit base, cheesecake filling and Oreo decoration on top!
