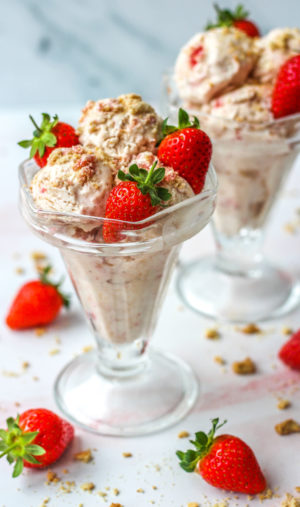
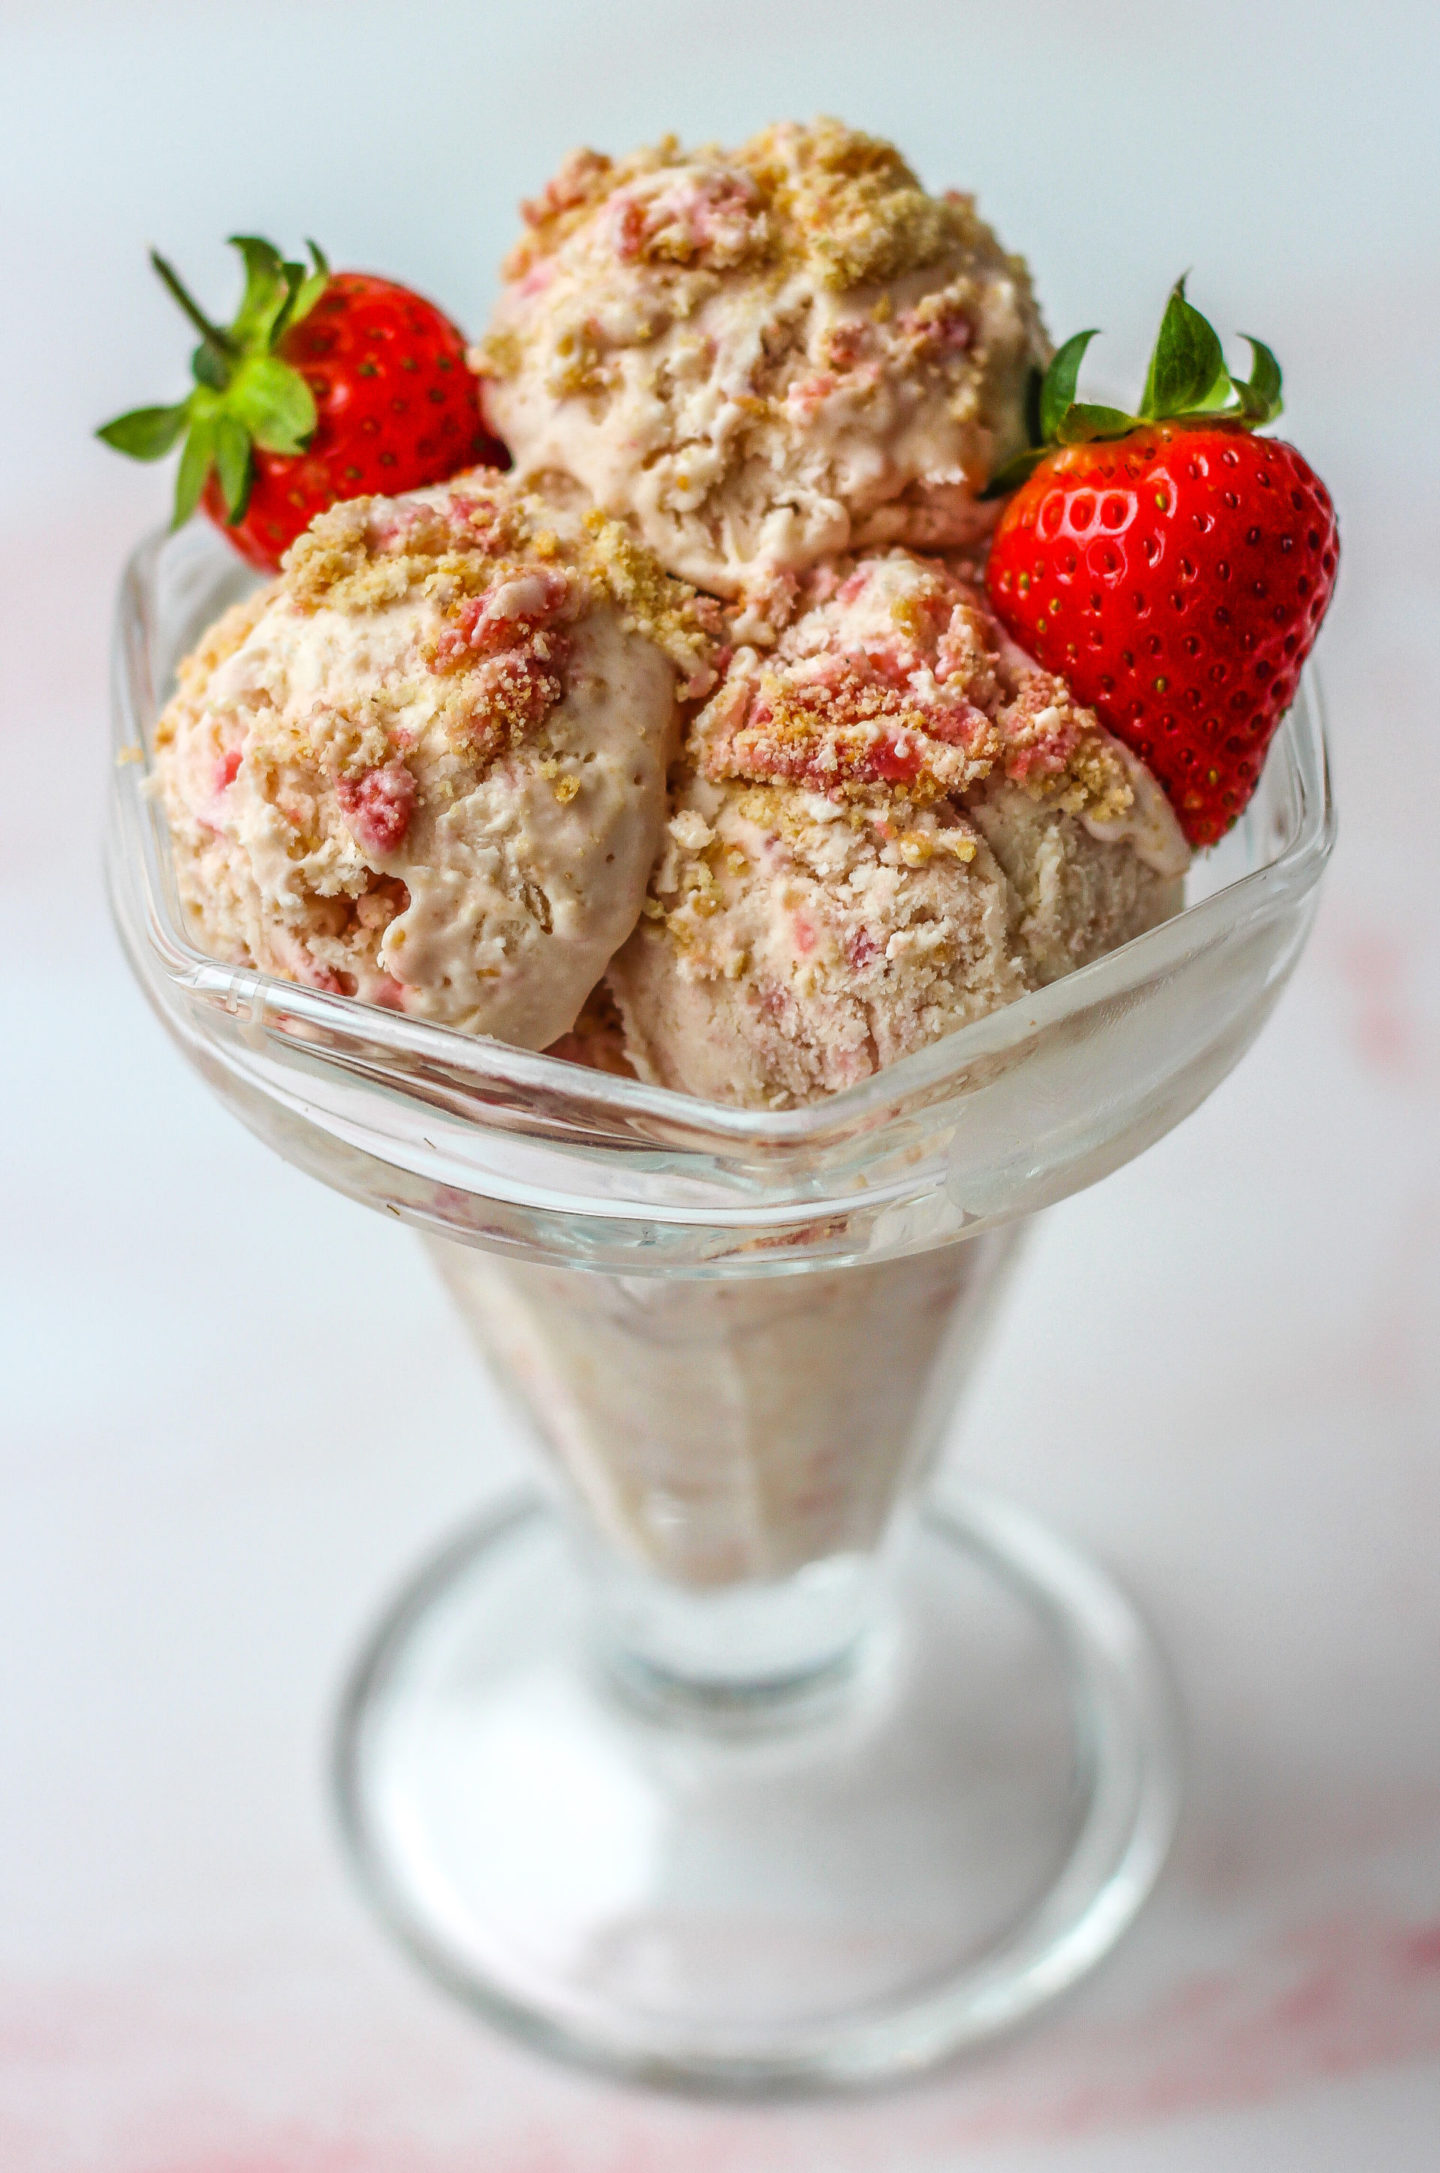
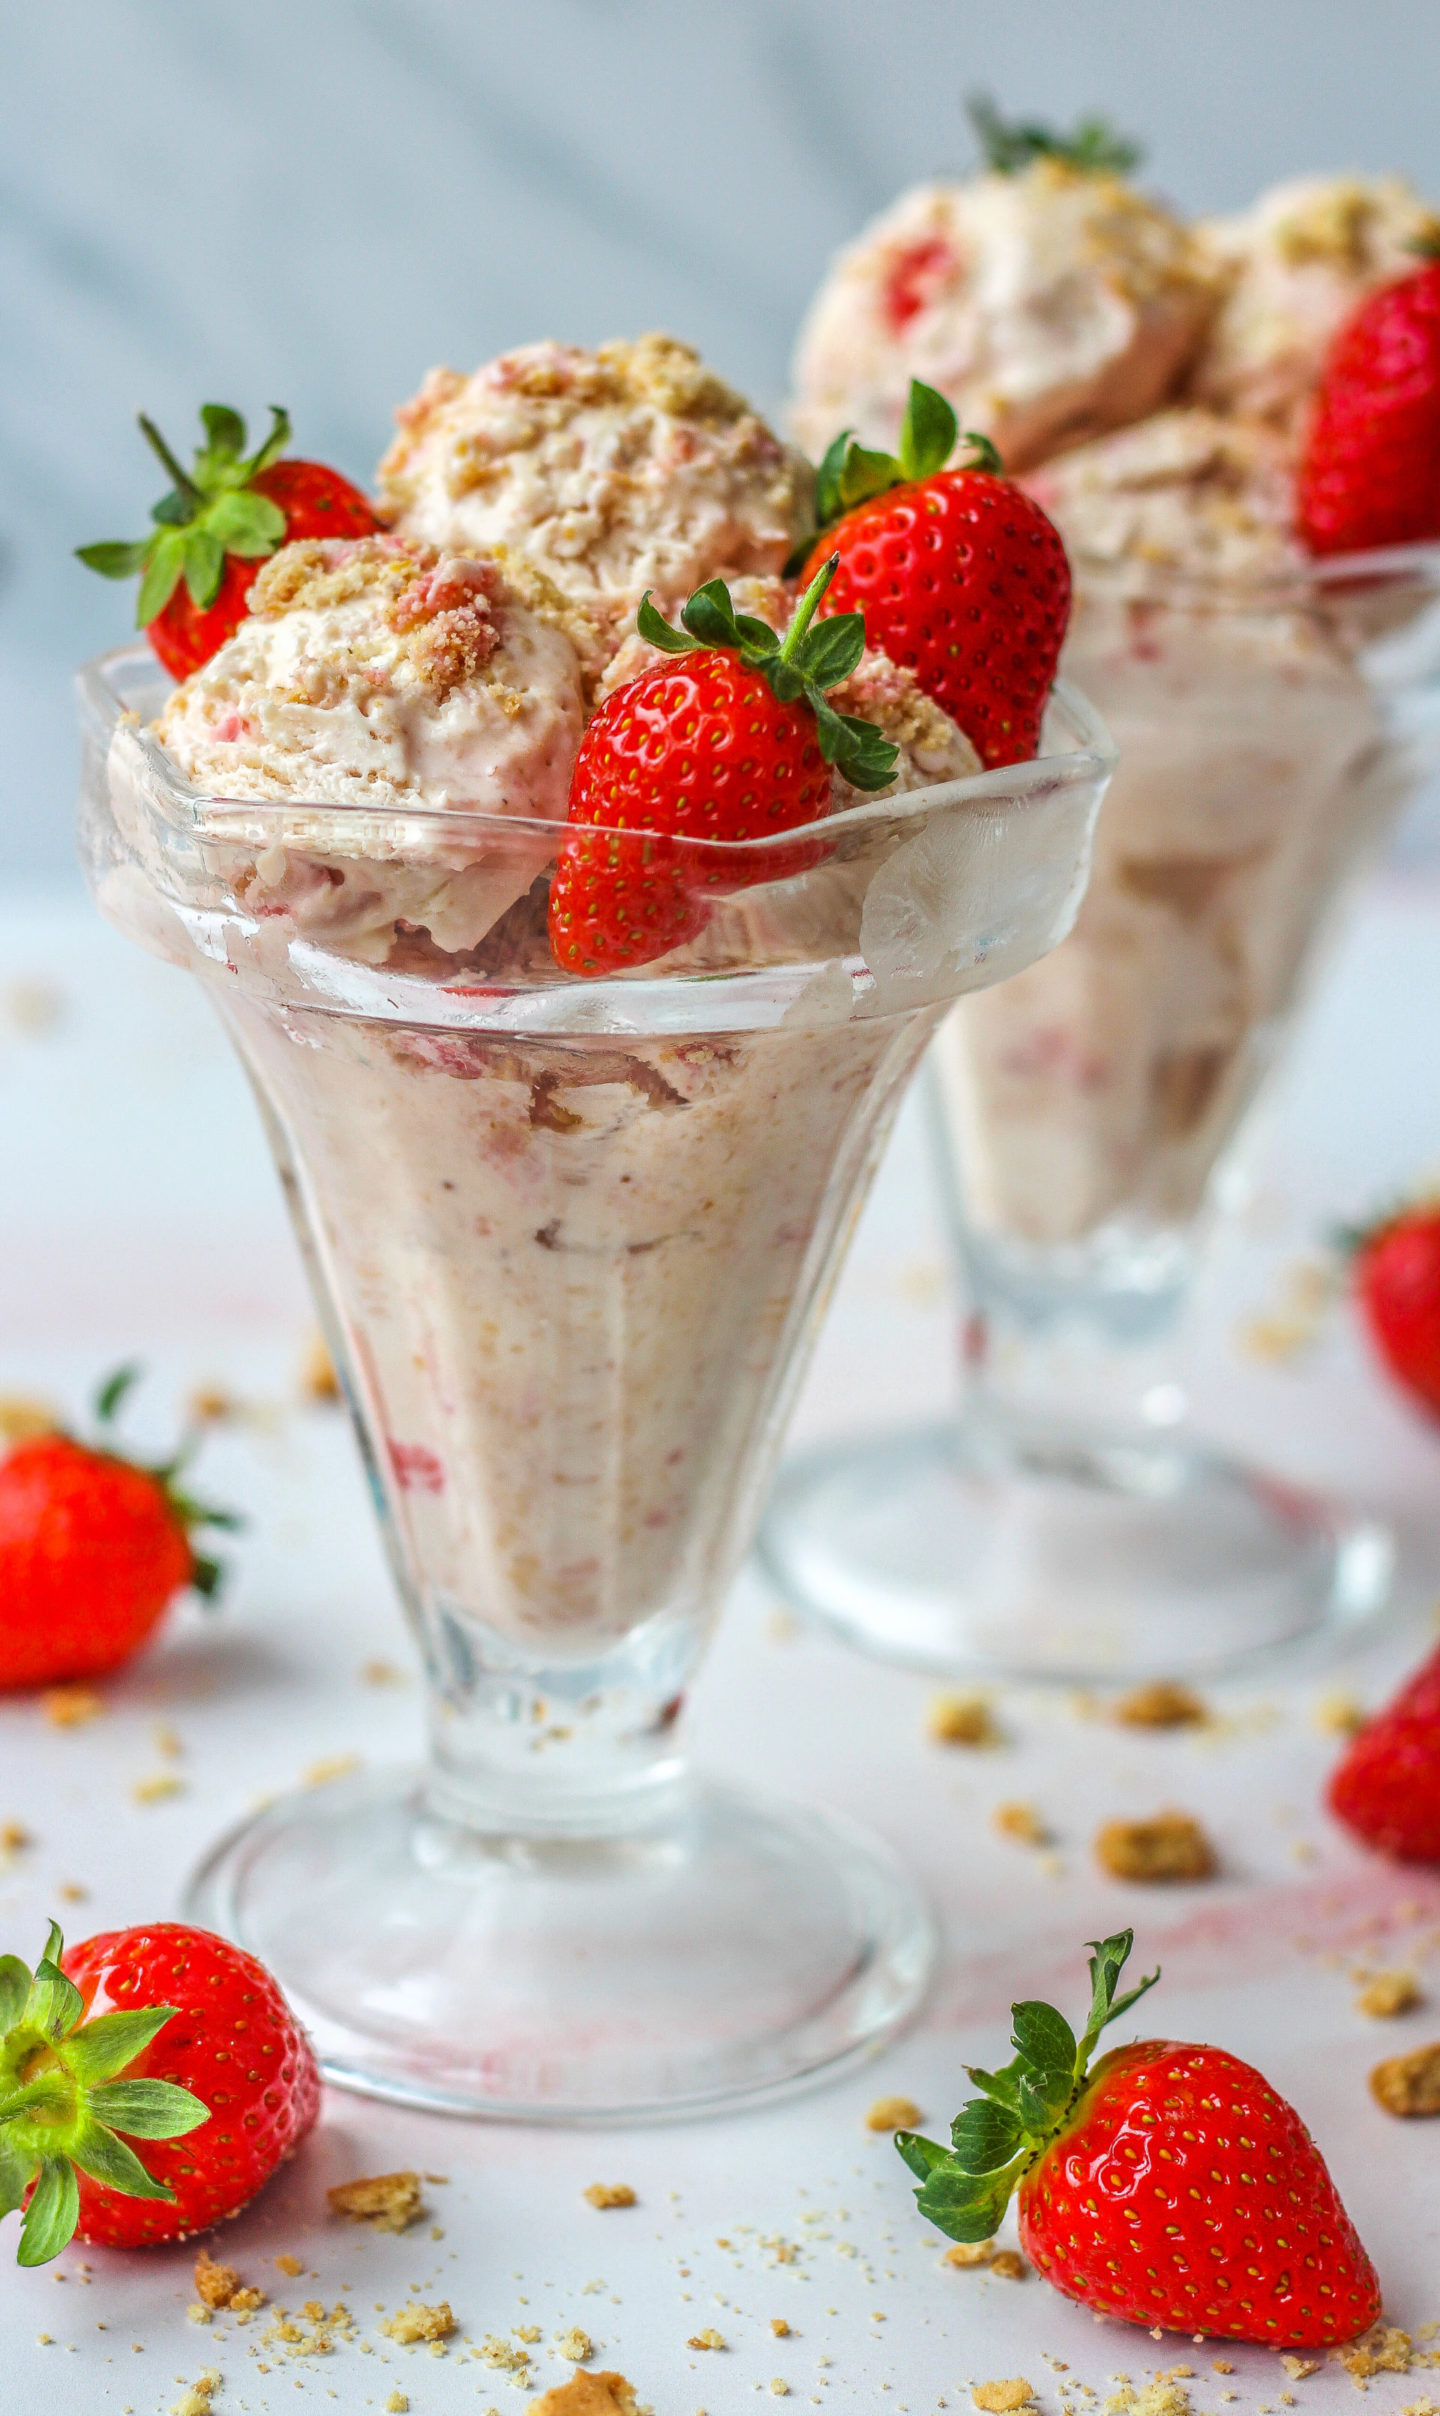
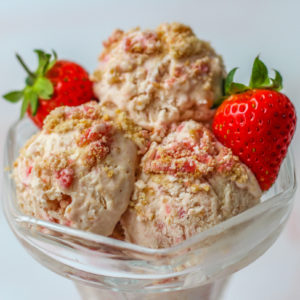
Made without an ice cream maker, this easy no-churn strawberry cheesecake ice cream is a truly simple make-ahead summer dessert!
This post may contain affiliate links. For more information, see my Full Disclosure.
After creating my No-Churn Oreo Ice Cream and realising how amazingly easy it is to make, I had to try a different version ASAP. This no-churn strawberry cheesecake ice cream is made using the same ice cream base but is packed full of crushed digestive biscuits, cream cheese, and fresh strawberries!
What does no-churn mean?
No-churn means no ice cream maker is needed for this recipe. It all comes together quickly in your mixing bowl and then firms up in your freezer. No-churn ice cream is definitely the easiest dessert I’ve made so far!
(Check out my No-Churn Biscoff Ice Cream too!)
No-Churn Strawberry Cheesecake Ice Cream Recipe
I love strawberry cheesecake, so this ice cream flavour had to be the next one I tried. Speaking of which, have you tried my No-Bake Strawberry White Chocolate Cheesecake yet?
But we’re talking ice cream today. Incredibly easy, creamy, delicious homemade ice cream! So, what ingredients do you need?

Strawberry cheesecake ice cream ingredients
This easy, homemade, no-churn strawberry cheesecake ice cream recipe contains the following ingredients:
- Double cream
- Condensed milk
- Fresh strawberries
- Caster sugar
- Cream cheese
- Crushed digestive biscuits
- Vanilla
Fresh strawberries are used in this recipe and with the addition of some caster sugar, are puréed to give a deliciously concentrated strawberry flavour. This is a quick and easy step which I’ll talk more about below!
I use full-fat cream cheese and crushed digestive biscuits; Graham crackers are a good alternative to digestives if you can’t find them. The vanilla extract is optional but I like the added flavour a little vanilla brings to the ice cream mixture.
How to make no-churn strawberry cheesecake ice cream without an ice cream maker
Full instructions for this from-scratch ice cream recipe with step-by-step photos can be found at the bottom of this post, but here’s a quick summary:
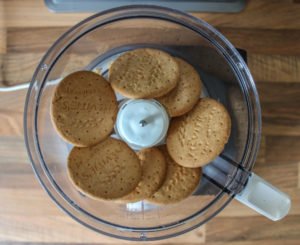
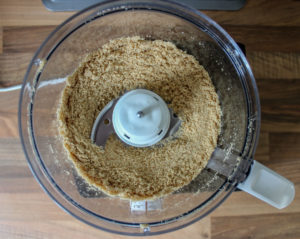
- Crush your digestive biscuits into crumbs using a food processor or finely chop them with a knife. Alternatively, you can put them inside a ziplock/sandwich bag and crush with a rolling pin!
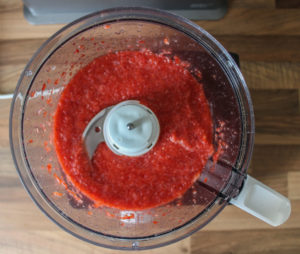
- Blend the strawberries in your food processor or finely chop them
- Simmer the blended/chopped strawberries and caster sugar on a medium heat on your hob, and stir often until bubbling and thickened. Pour into a shallow bowl to cool in the fridge
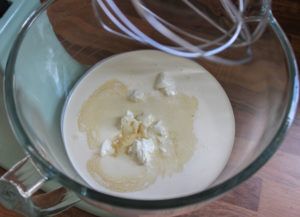
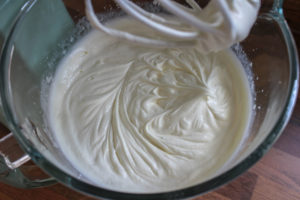
- Using a stand mixer or hand mixer with a whisk attachment, whisk the double cream, condensed milk, vanilla, and cream cheese together until thickened
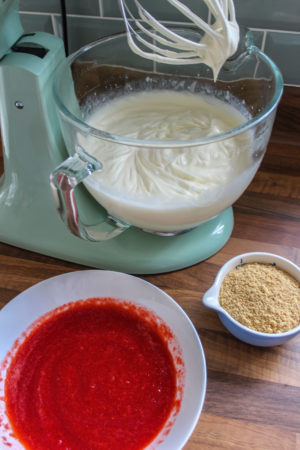
- Separate out 40ml of strawberry purée and 20g crushed digestives and set them aside in two small bowls (this is to go on top of your ice cream once in the loaf tin)
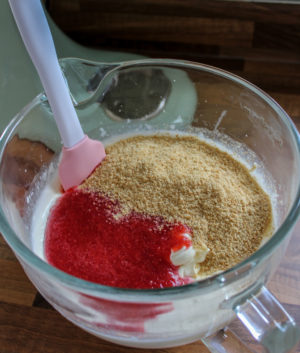
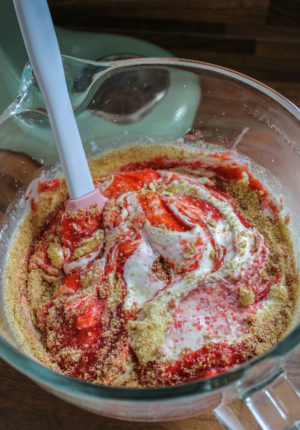
- Pour the remaining strawberry purée and crushed digestives into your mixing bowl and gently fold through the creamy mixture until well combined
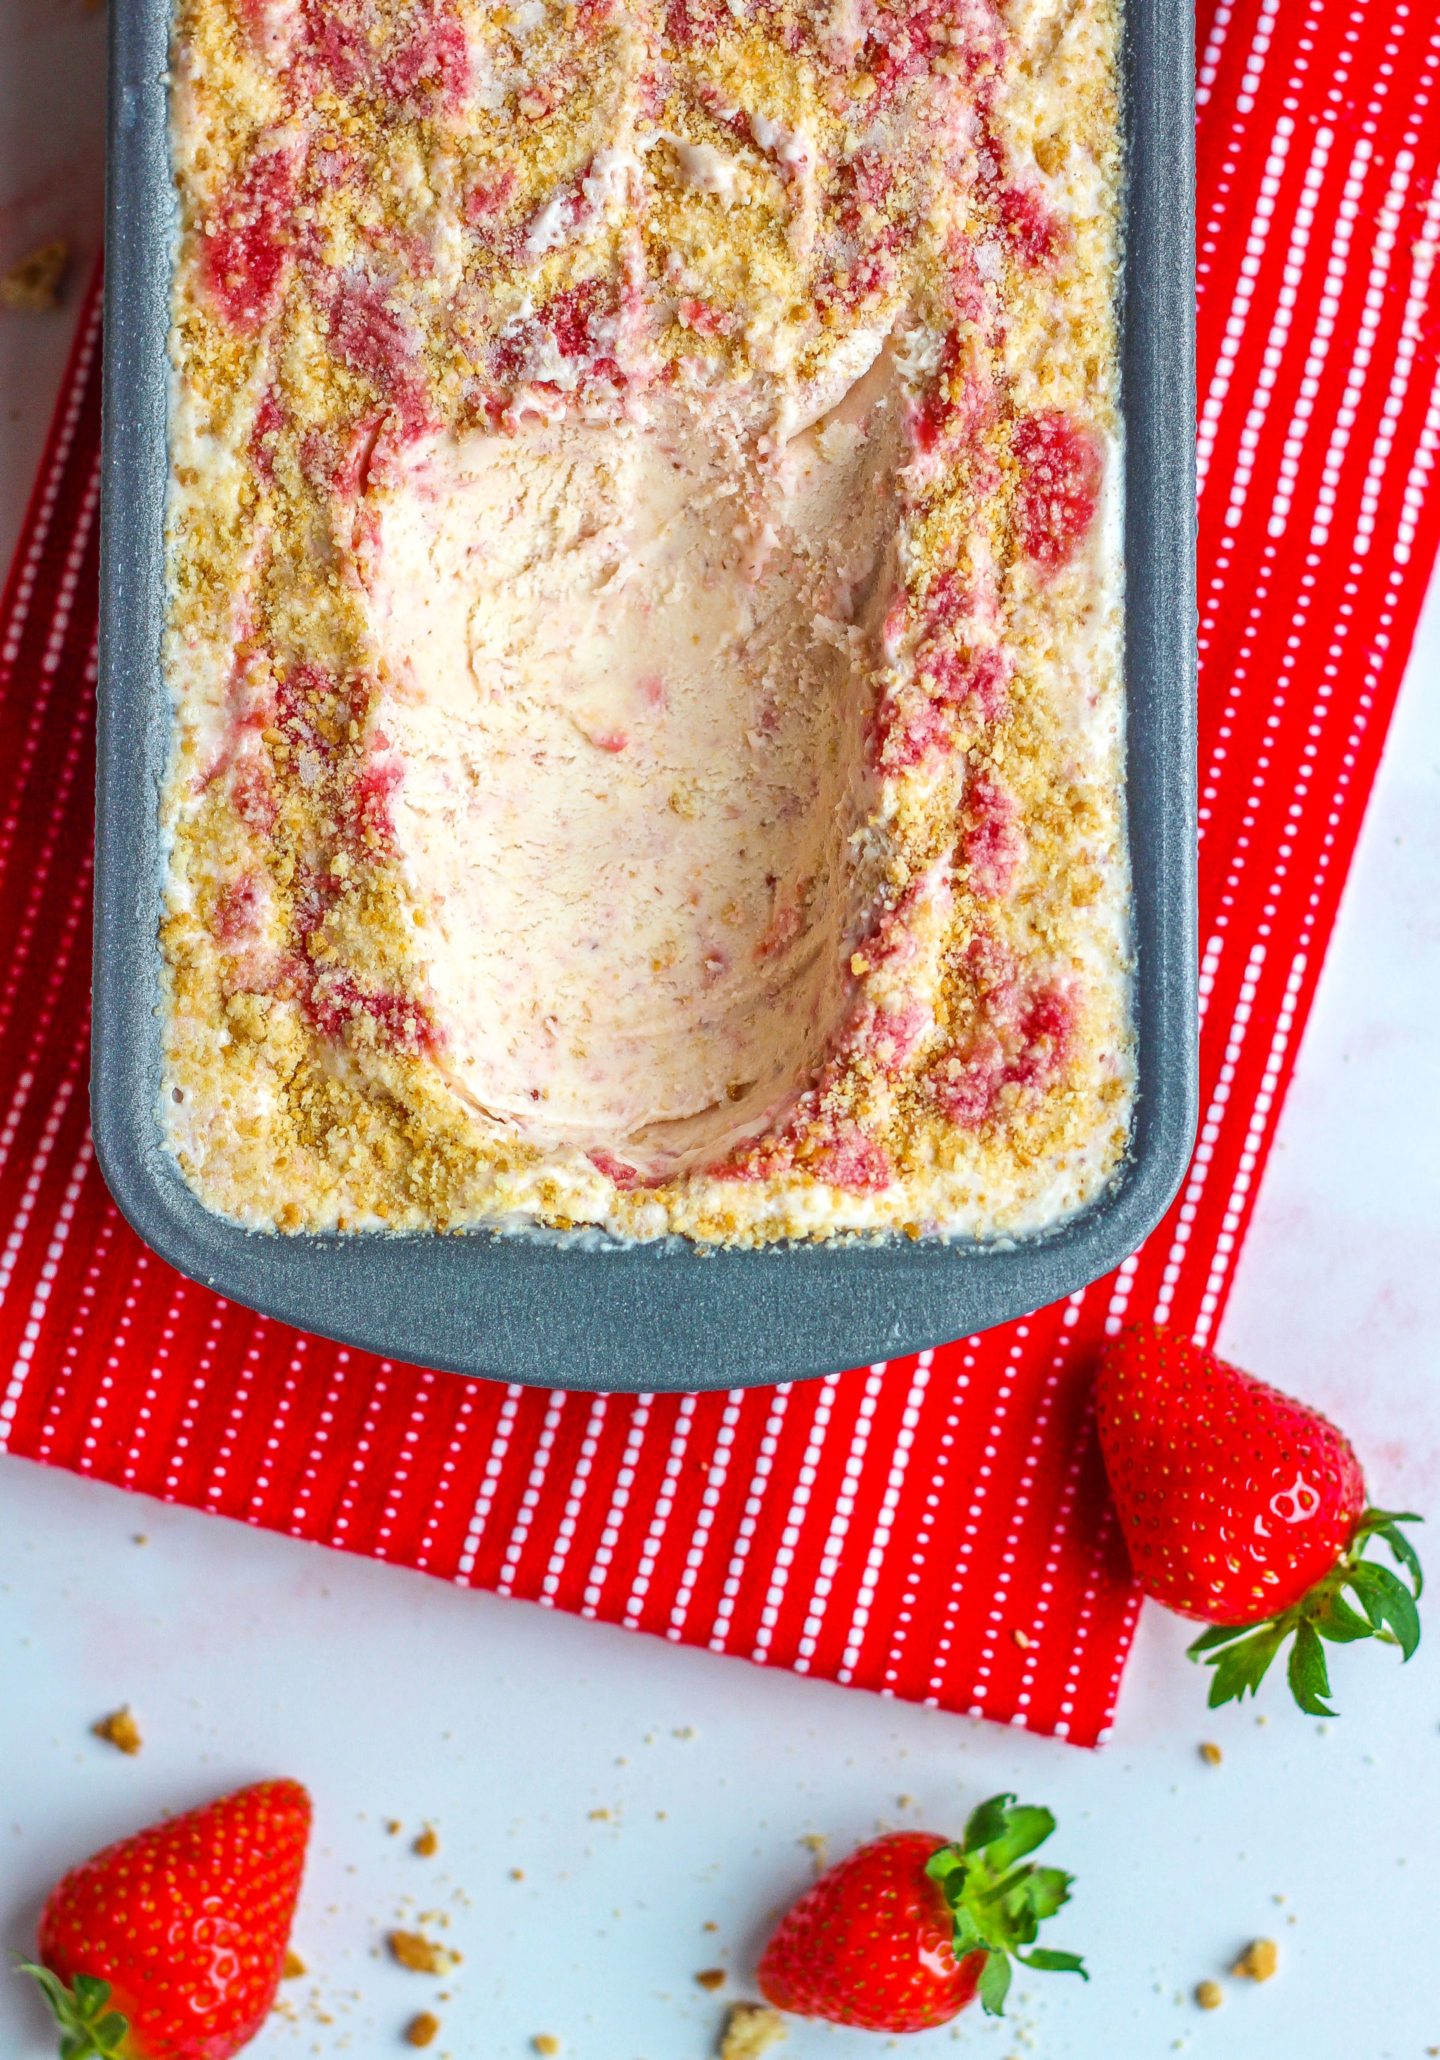
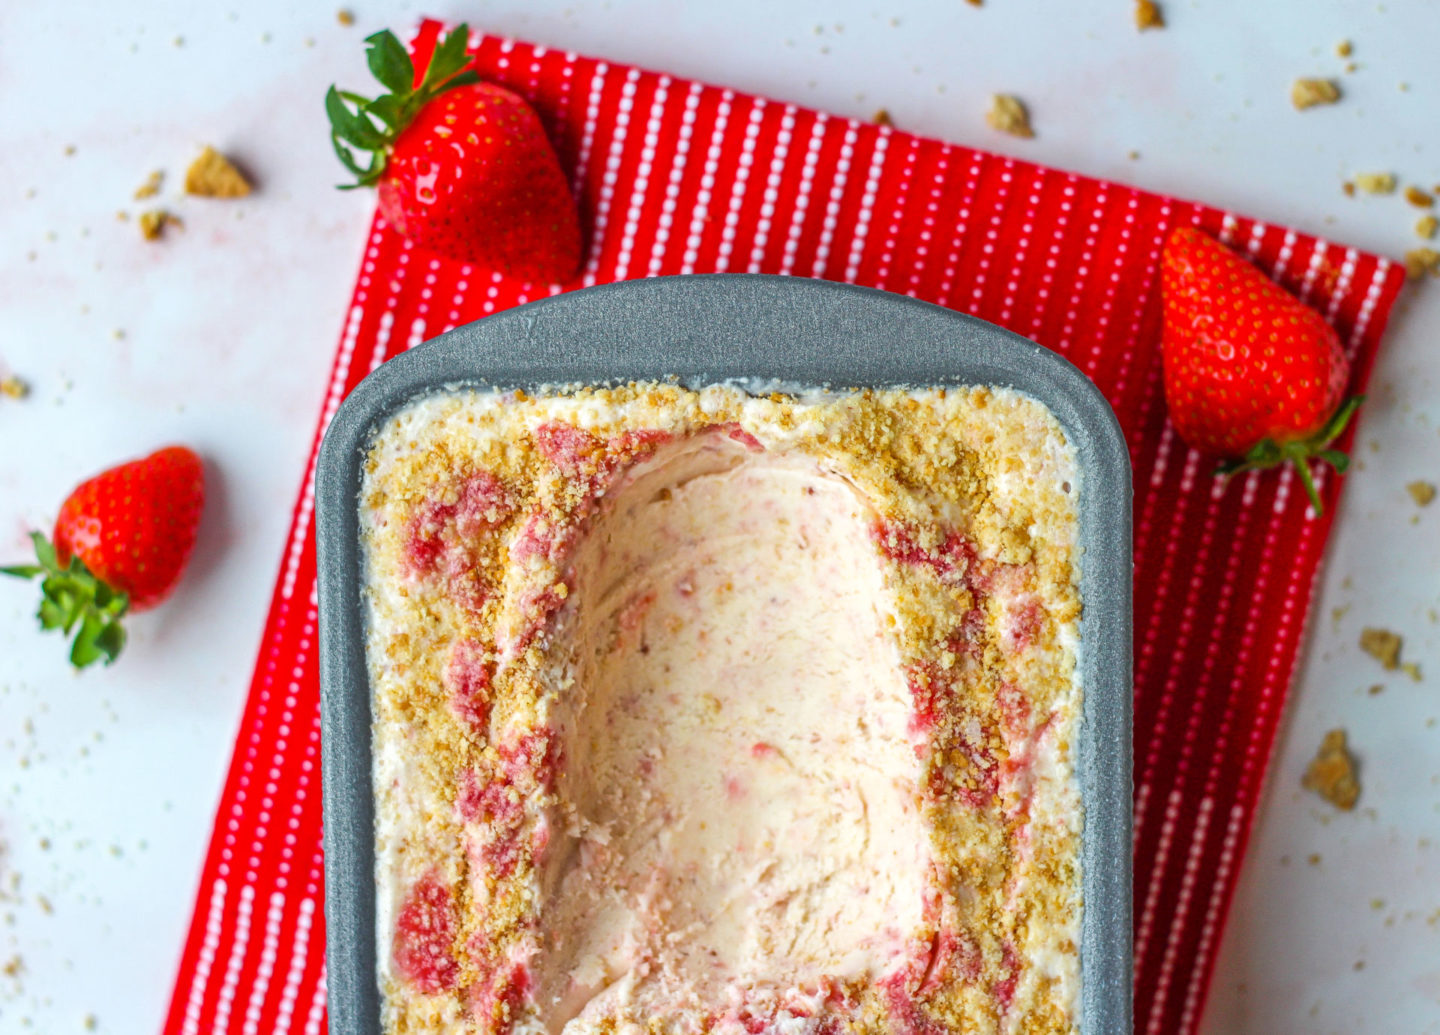
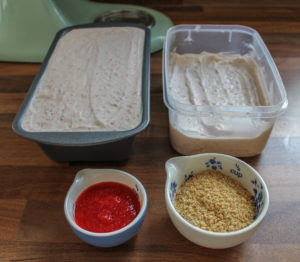
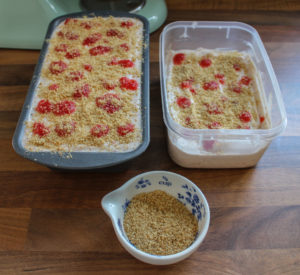
- Pour the mixture into a 2lb/1kg loaf tin all the way to the top. There will be some mixture leftover which you can pour into an airtight container
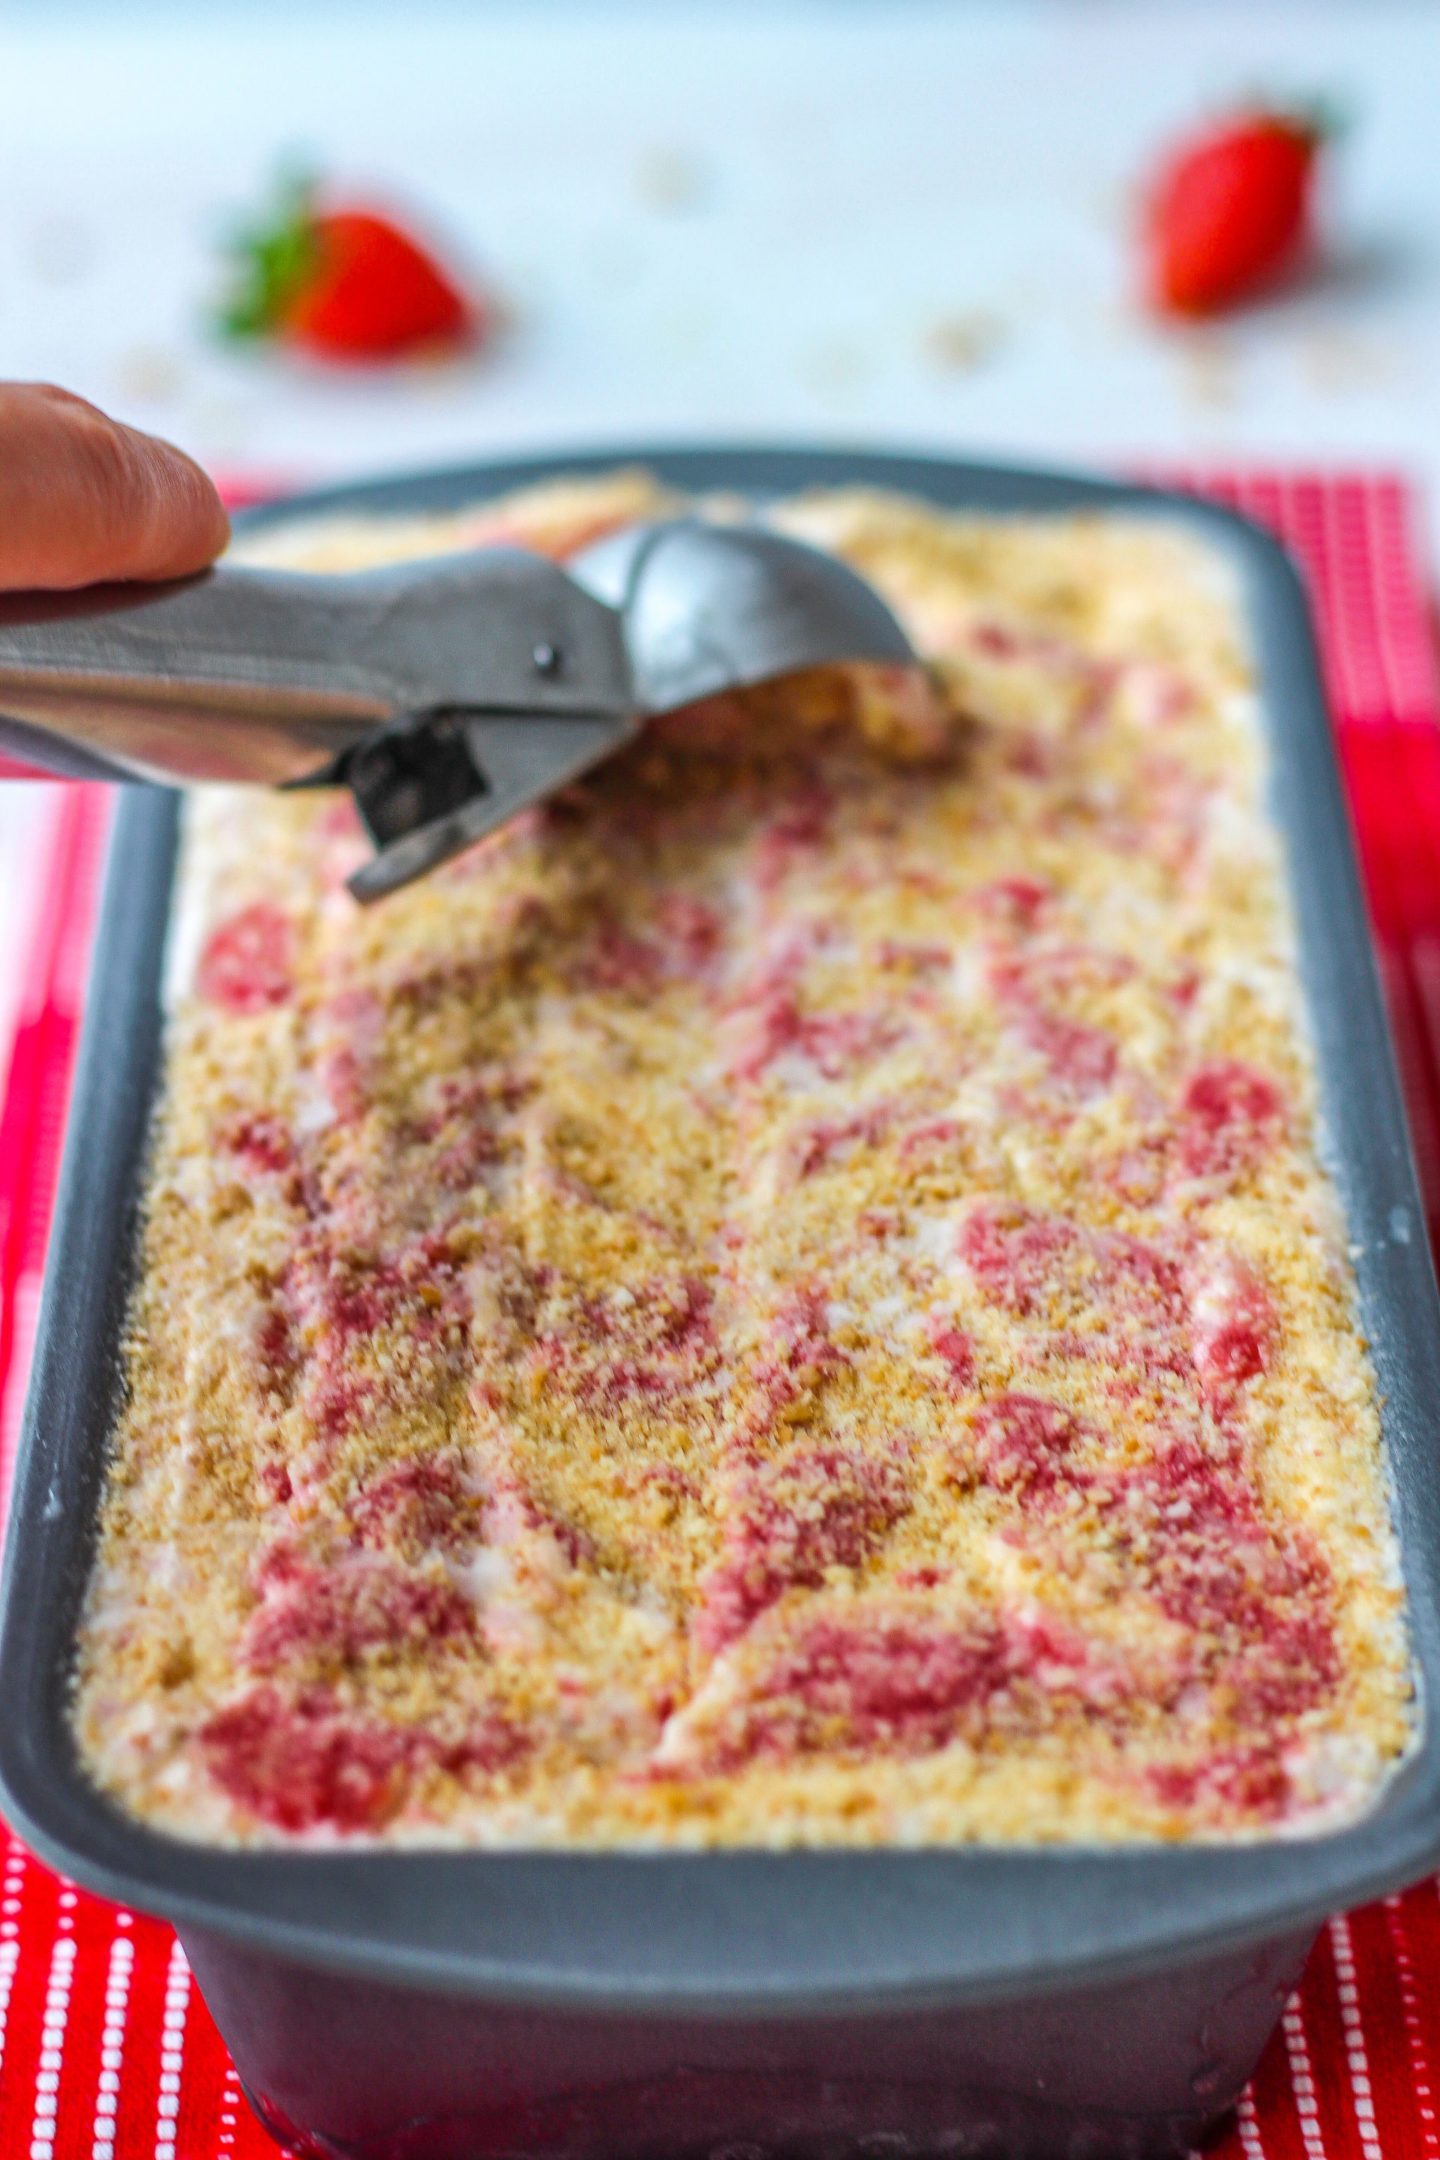
- Drop your remaining strawberry purée onto the ice cream mixture and then sprinkle the remaining crushed digestives on top
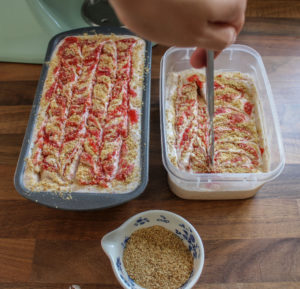
- Using a knife, swirl the strawberry and biscuit topping around
- Double wrap in film and place in your freezer to firm up – you’re all done!
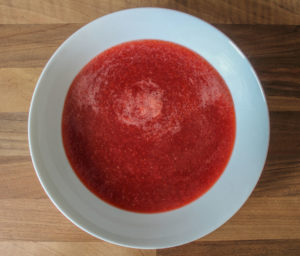
How to make strawberry purée
As mentioned above, this is a really quick and easy step which takes just a few minutes and results in a thickened strawberry mixture which has a concentrated real strawberry flavour!
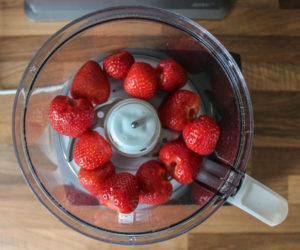
First, place the fresh strawberries into your food processor and blitz to a lumpy liquid, or very finely chop the strawberries.
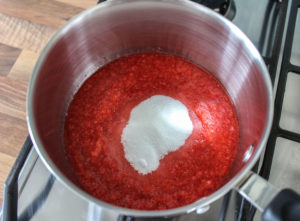
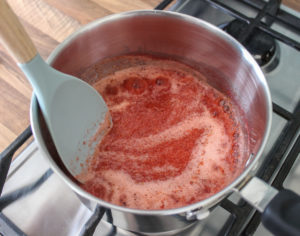
Place the strawberries into a small saucepan with some caster sugar and place on a medium heat on your hob. Stir the mixture often and after a few minutes, the mixture will be bubbling and a little thicker.
Once you see bigger bubbles forming (see step-by-step photos in my full recipe instructions) remove from the heat, pour the mixture into a shallow bowl and leave to cool for 5 minutes before placing in the fridge to continue cooling. The mixture will thicken more as it cools. That’s it!
Tips for making the best no-churn ice cream
- Keep your double cream in the fridge until you need it – cold cream whips up best!
- Graham crackers can be used instead of digestive biscuits if you can’t find these
- For whipping the double cream, condensed milk, cream cheese, and vanilla together, I use setting 7 on my KitchenAid stand mixer. This takes me around 2 minutes to thicken to soft peaks. If using another type of stand mixer or hand mixer, whisk on a medium-high setting until thickened as shown in my recipe instruction photo
- There will be a little ice cream mixture left over after filling your 2lb/1kg loaf tin; you can pour this into an airtight container. You could then gift it to someone else, or keep it as bonus ice cream!
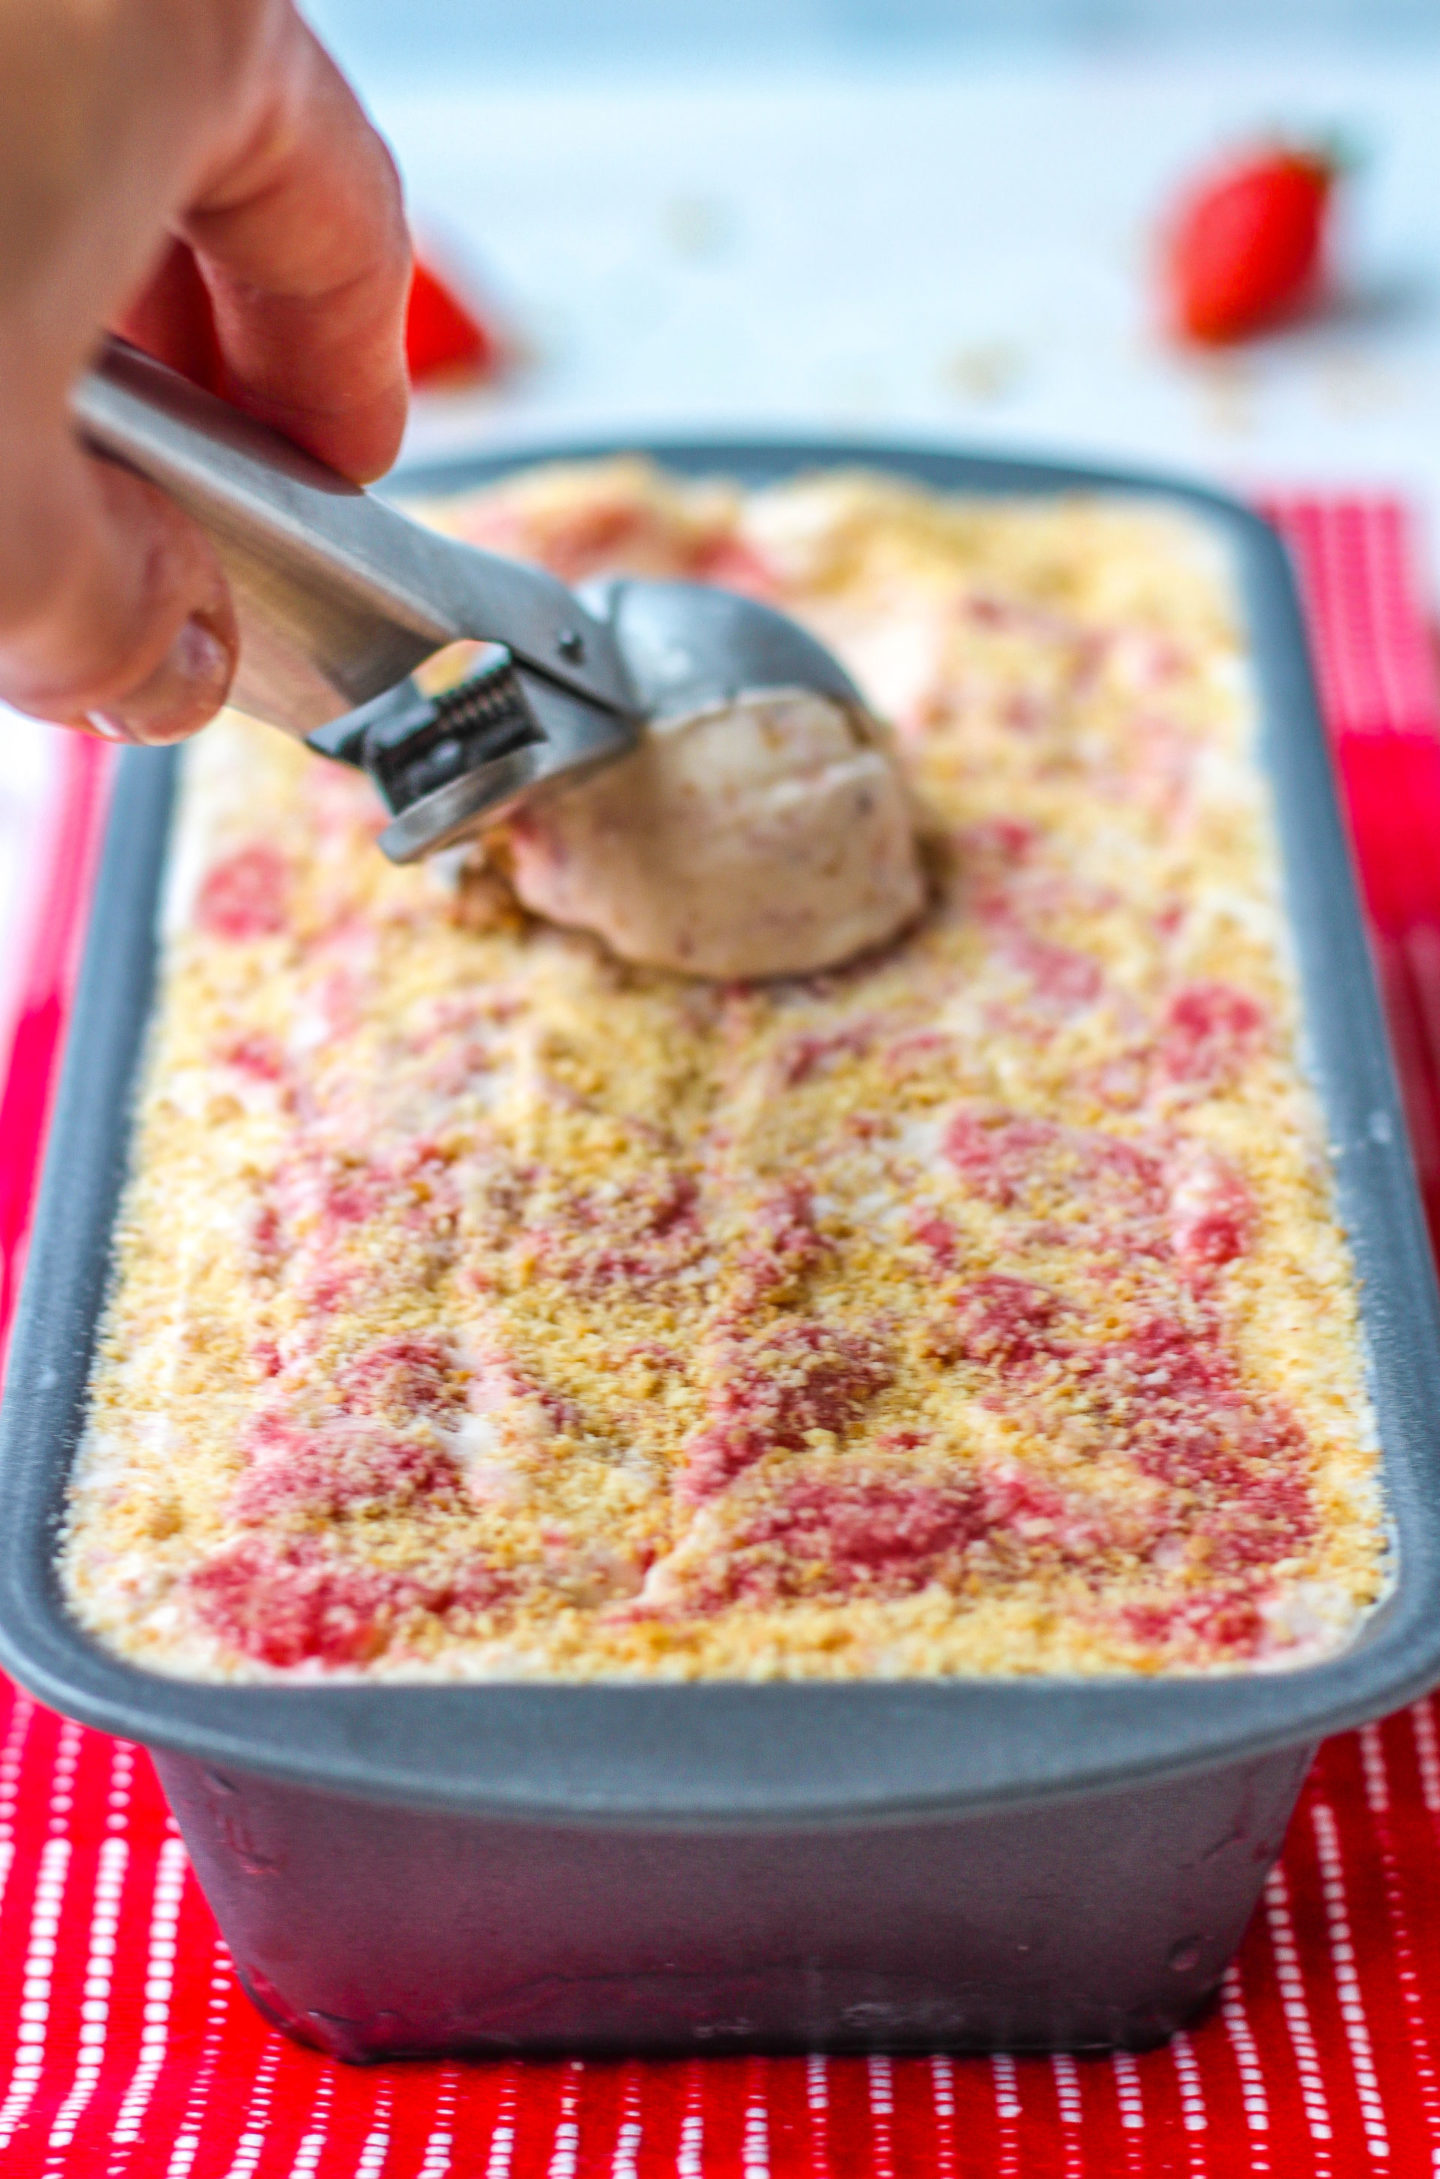
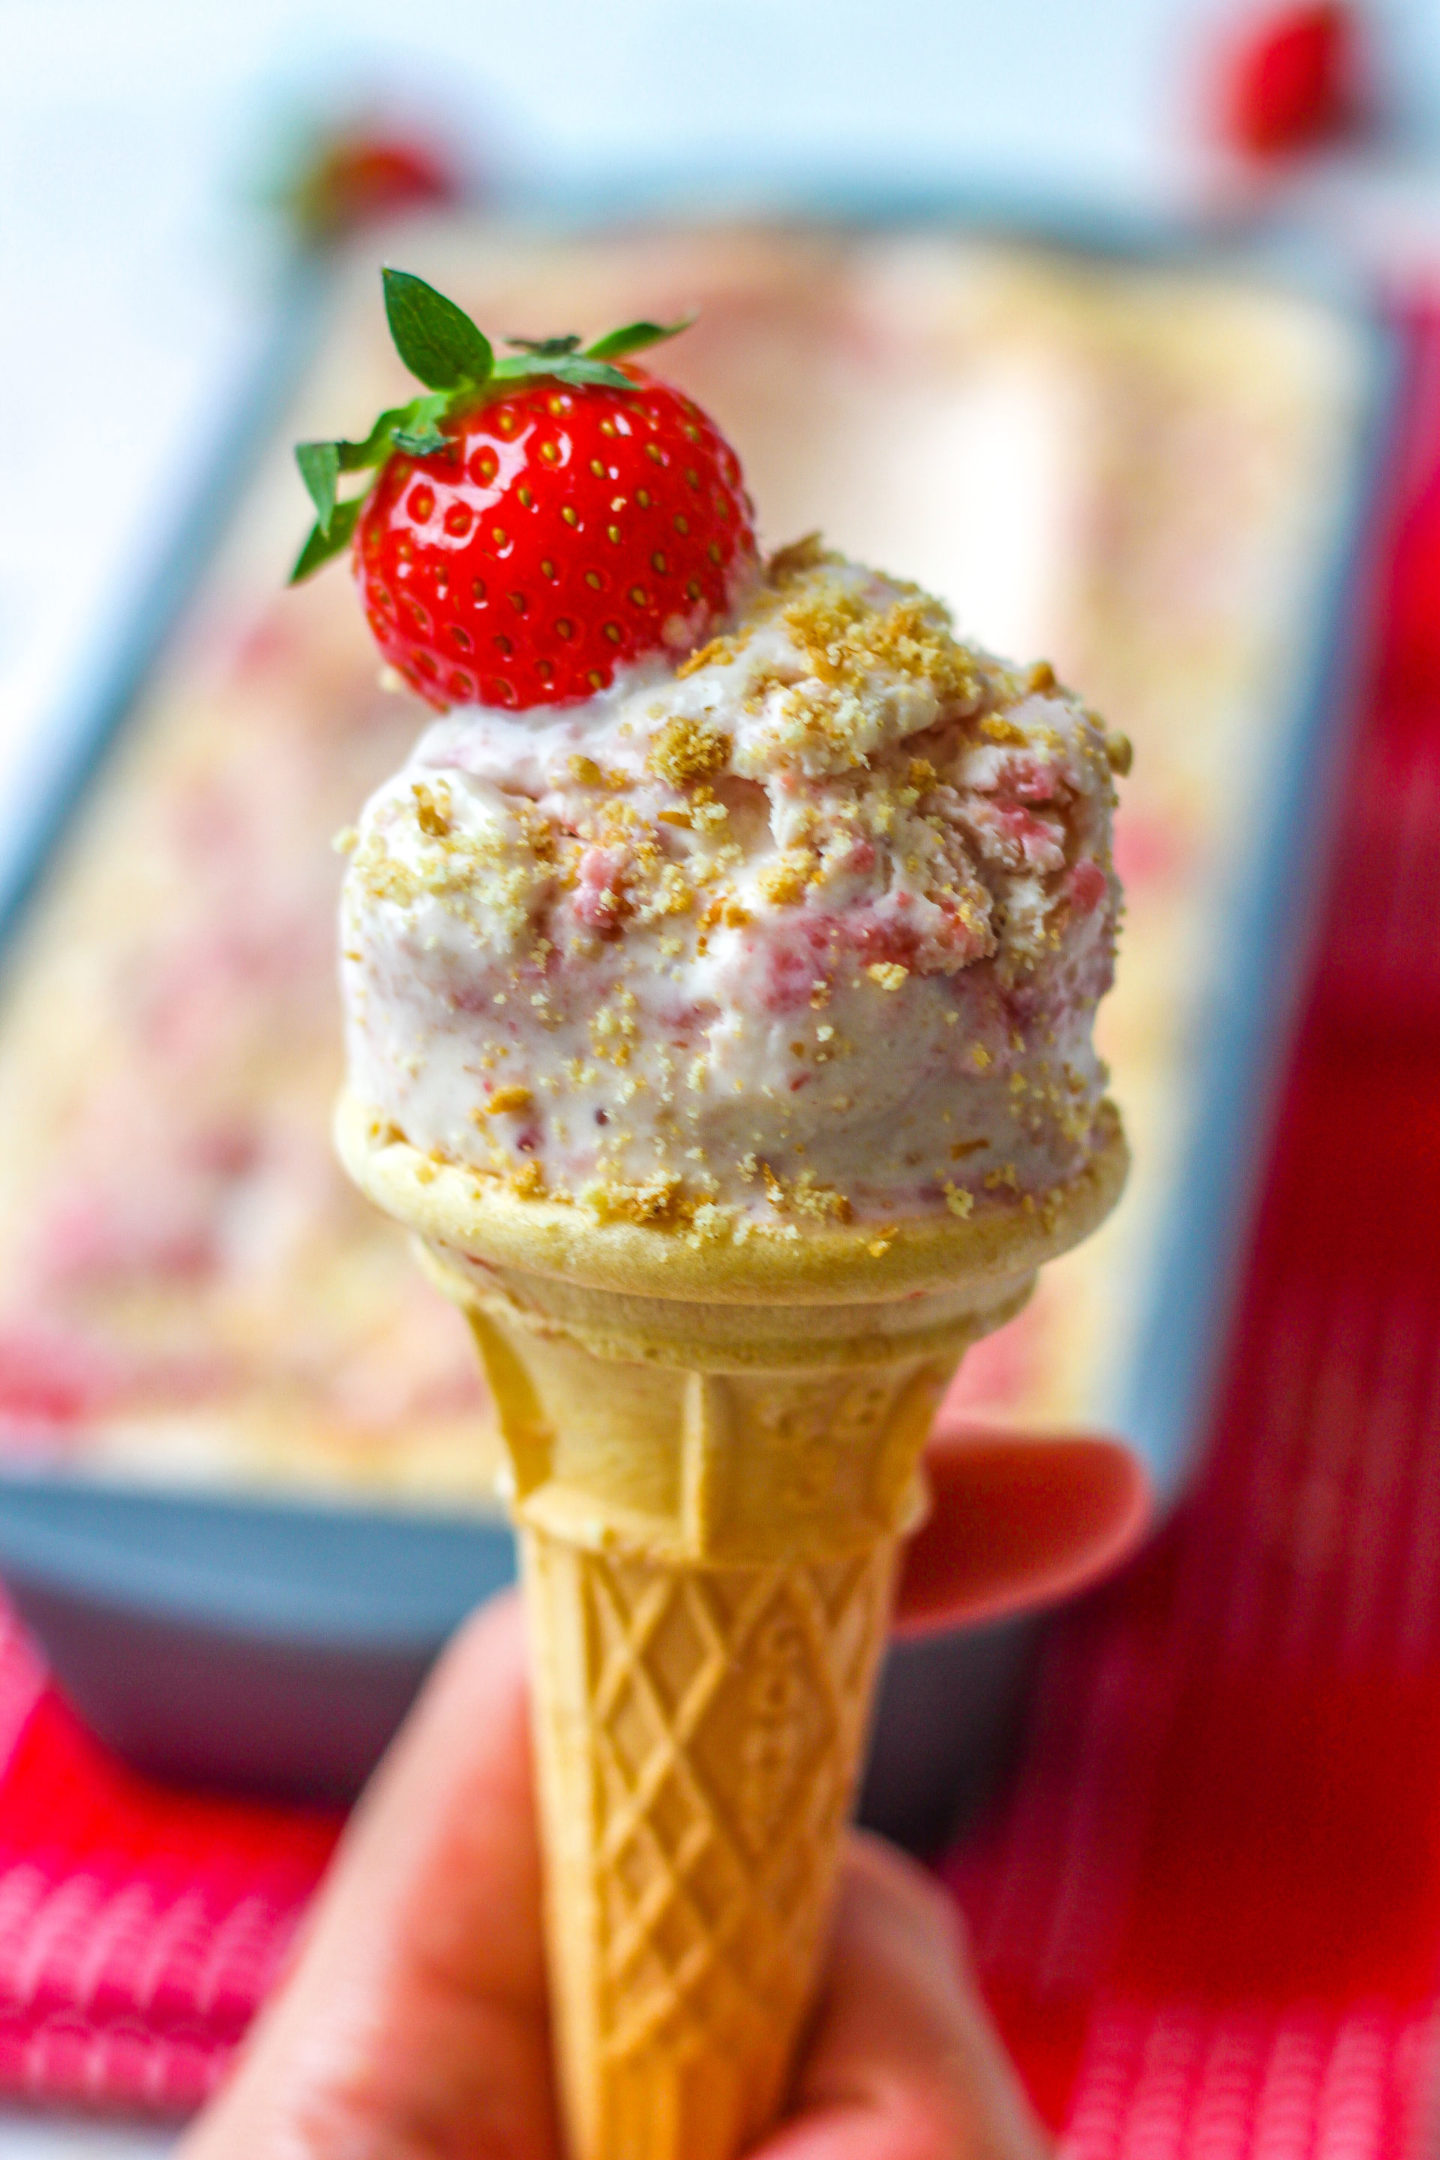
- Homemade ice cream tends to melt a little quicker than store-bought or churned ice cream. Therefore simply serve straight away and keep your loaf tin in the freezer between servings. However, this ice cream tends to set a little firmer than my No-Churn Oreo Ice Cream and No-Churn Biscoff Ice Cream so you may even need to wait a couple of minutes to scoop it once out of the freezer!
How long does homemade no-churn ice cream keep in freezer?
Homemade ice cream needs to be eaten sooner than store-bought ice cream – I’d say this is best eaten with 3-4 weeks. Good luck trying to make it last that long though; this stuff is addictive!
To keep at its best make sure it is at least double wrapped in cling film or stored in an airtight container to prevent crystallisation.
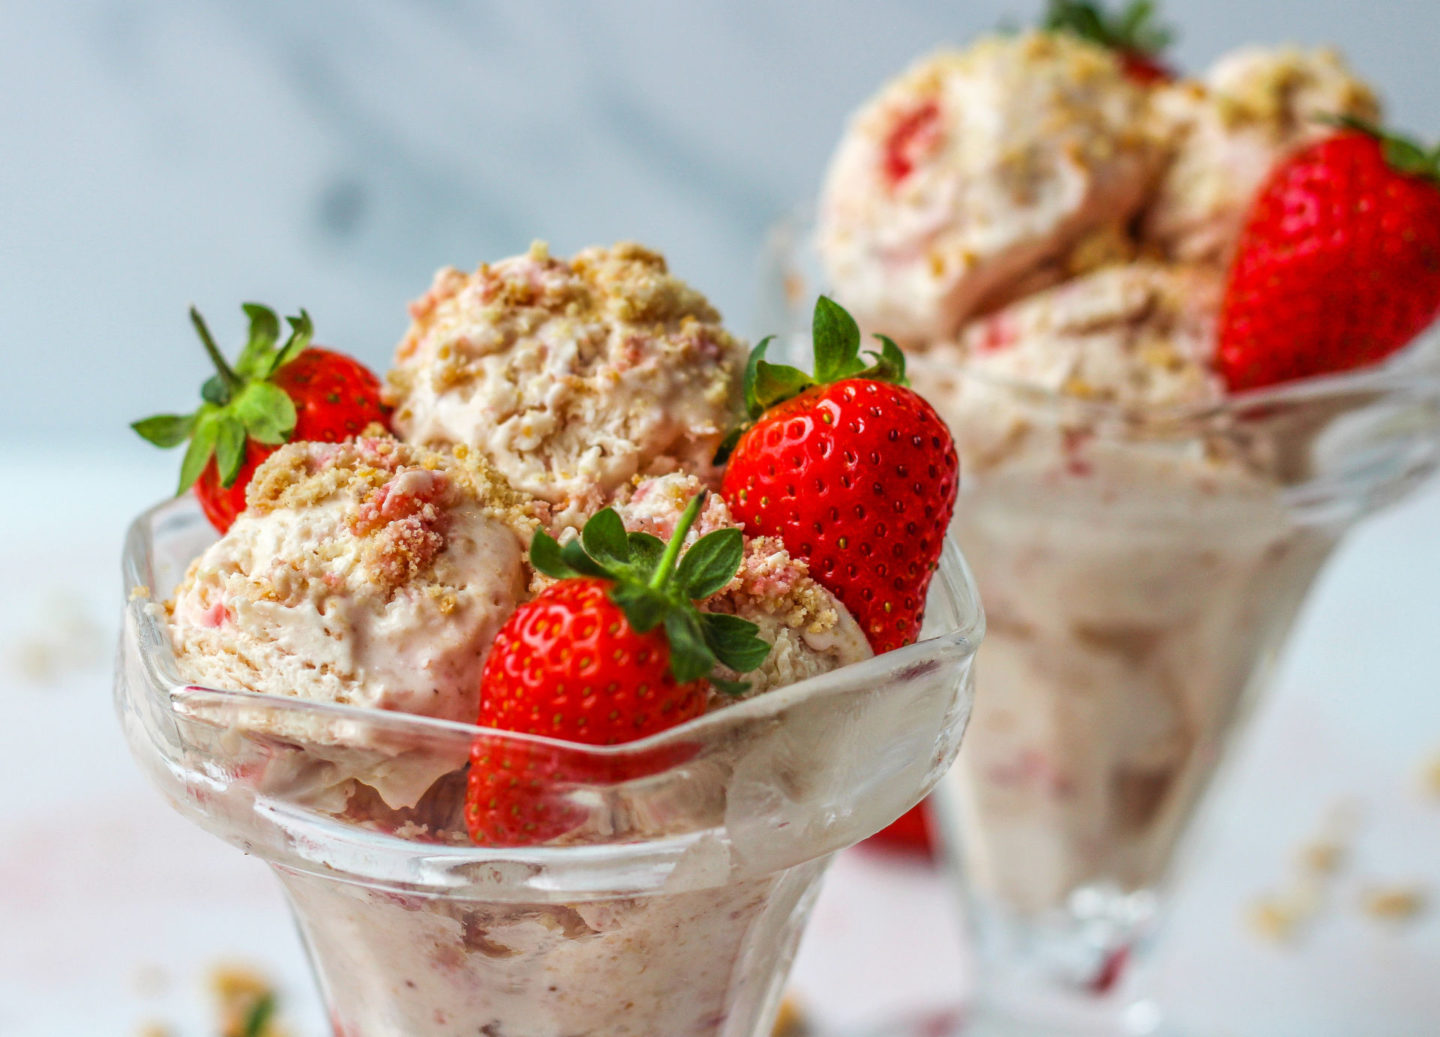
To summarise, this simple recipe for no-churn strawberry cheesecake ice cream:
- tastes just like strawberry cheesecake
- is truly so, so quick and easy to make
- requires no ice-cream maker
- contains natural flavouring from real strawberries
- is a great make-ahead summer dessert!
If you try this recipe I’d love to see! You can show me by tagging me @bakerjoblog or using #bakerjoblog!
Other no-bake and dessert recipes to try:
- No-Churn Mince Pie Ice Cream
- No-Bake Mint Chocolate Cheesecake
- No-Churn Biscoff Ice Cream
- Lemon Bars
- No-Churn Oreo Ice Cream
- No-Bake Lemon Cheesecake
- White Chocolate Coconut Truffles
- No-Bake Fresh Fruit Tart
- No-Bake Strawberry White Chocolate Cheesecake
- Cocoa Dusted Chocolate Truffles
- No-Bake Healthy Chewy Snack Bars
- Strawberry Pavlova
No-Churn Strawberry Cheesecake Ice Cream
Equipment
- Electric stand/hand mixer fitted with whisk attachment
- 2lb/1kg loaf tin
- Small saucepan
- Spatula
- Optional: food processor
Ingredients
- 100 g digestive biscuits (around 7 biscuits) ground to fine crumbs using food processor/finely chopped/crushed in sandwich bag with rolling pin
- 300 g fresh strawberries blended in food processor/finely chopped
- 30 g caster sugar
- 500 ml double cream cold
- 1 tin condensed milk 397g sized tin
- 200 g cream cheese room temperature
- 1/2 tsp vanilla extract level
Instructions
- Crush/chop your digestive biscuits into crumbs either using a food processor, finely chopping by hand, or placing them in a ziplock/sandwich bag and crushing with a rolling pin.
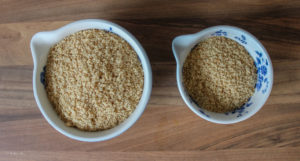
- Separate 20g of digestive crumbs into a smaller bowl (this will be used to top your ice cream once in the loaf tin). The remaining 80g will be folded into your ice cream mixture.
Strawberry Purée
- Remove the stems from the strawberries and either blend them in your food processor to a chunky liquid or finely chop them by hand.
- Add the strawberries and caster sugar to a small saucepan and place it on a medium heat on your hob.
- Stirring often with a heatproof spatula, heat until bubbling and thickening slightly (this should only take a few minutes).
- Once thick bubbles begin forming and the mixture is slightly thicker, remove the saucepan from the heat, pour the mixture into a shallow bowl and leave to cool slightly for 5 minutes. After 5 minutes, cover with film and place in the fridge to continue cooling. It will thicken further as it cools.
- Once cooled, separate out 40g of strawberry purée into a smaller bowl (this will be used to top your ice cream once in the loaf tin). The remaining purée will be folded into your ice cream mixture. Put it aside with your small bowl of 20g digestive crumbs.

Ice Cream Mixture
- Pour the double cream, condensed milk, cream cheese, and vanilla extract into the bowl of your stand mixer (or a large bowl if using an electric hand whisk) and with the whisk attachment fitted, whisk on medium-high speed until thickened to the point it holds soft peaks. This takes around 2 minutes on setting 7 on my KitchenAid stand mixer.
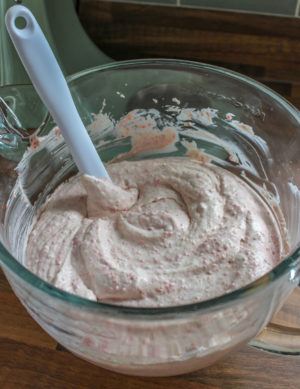
- Using a spatula, gently fold the larger bowls of digestive crumbs (80g) and strawberry purée into this mixture until well combined and distributed.
- Pour the mixture into your 2lb/1kg loaf tin and fill it all the way to the top. There will be some extra mixture; I pour this into a small airtight container.

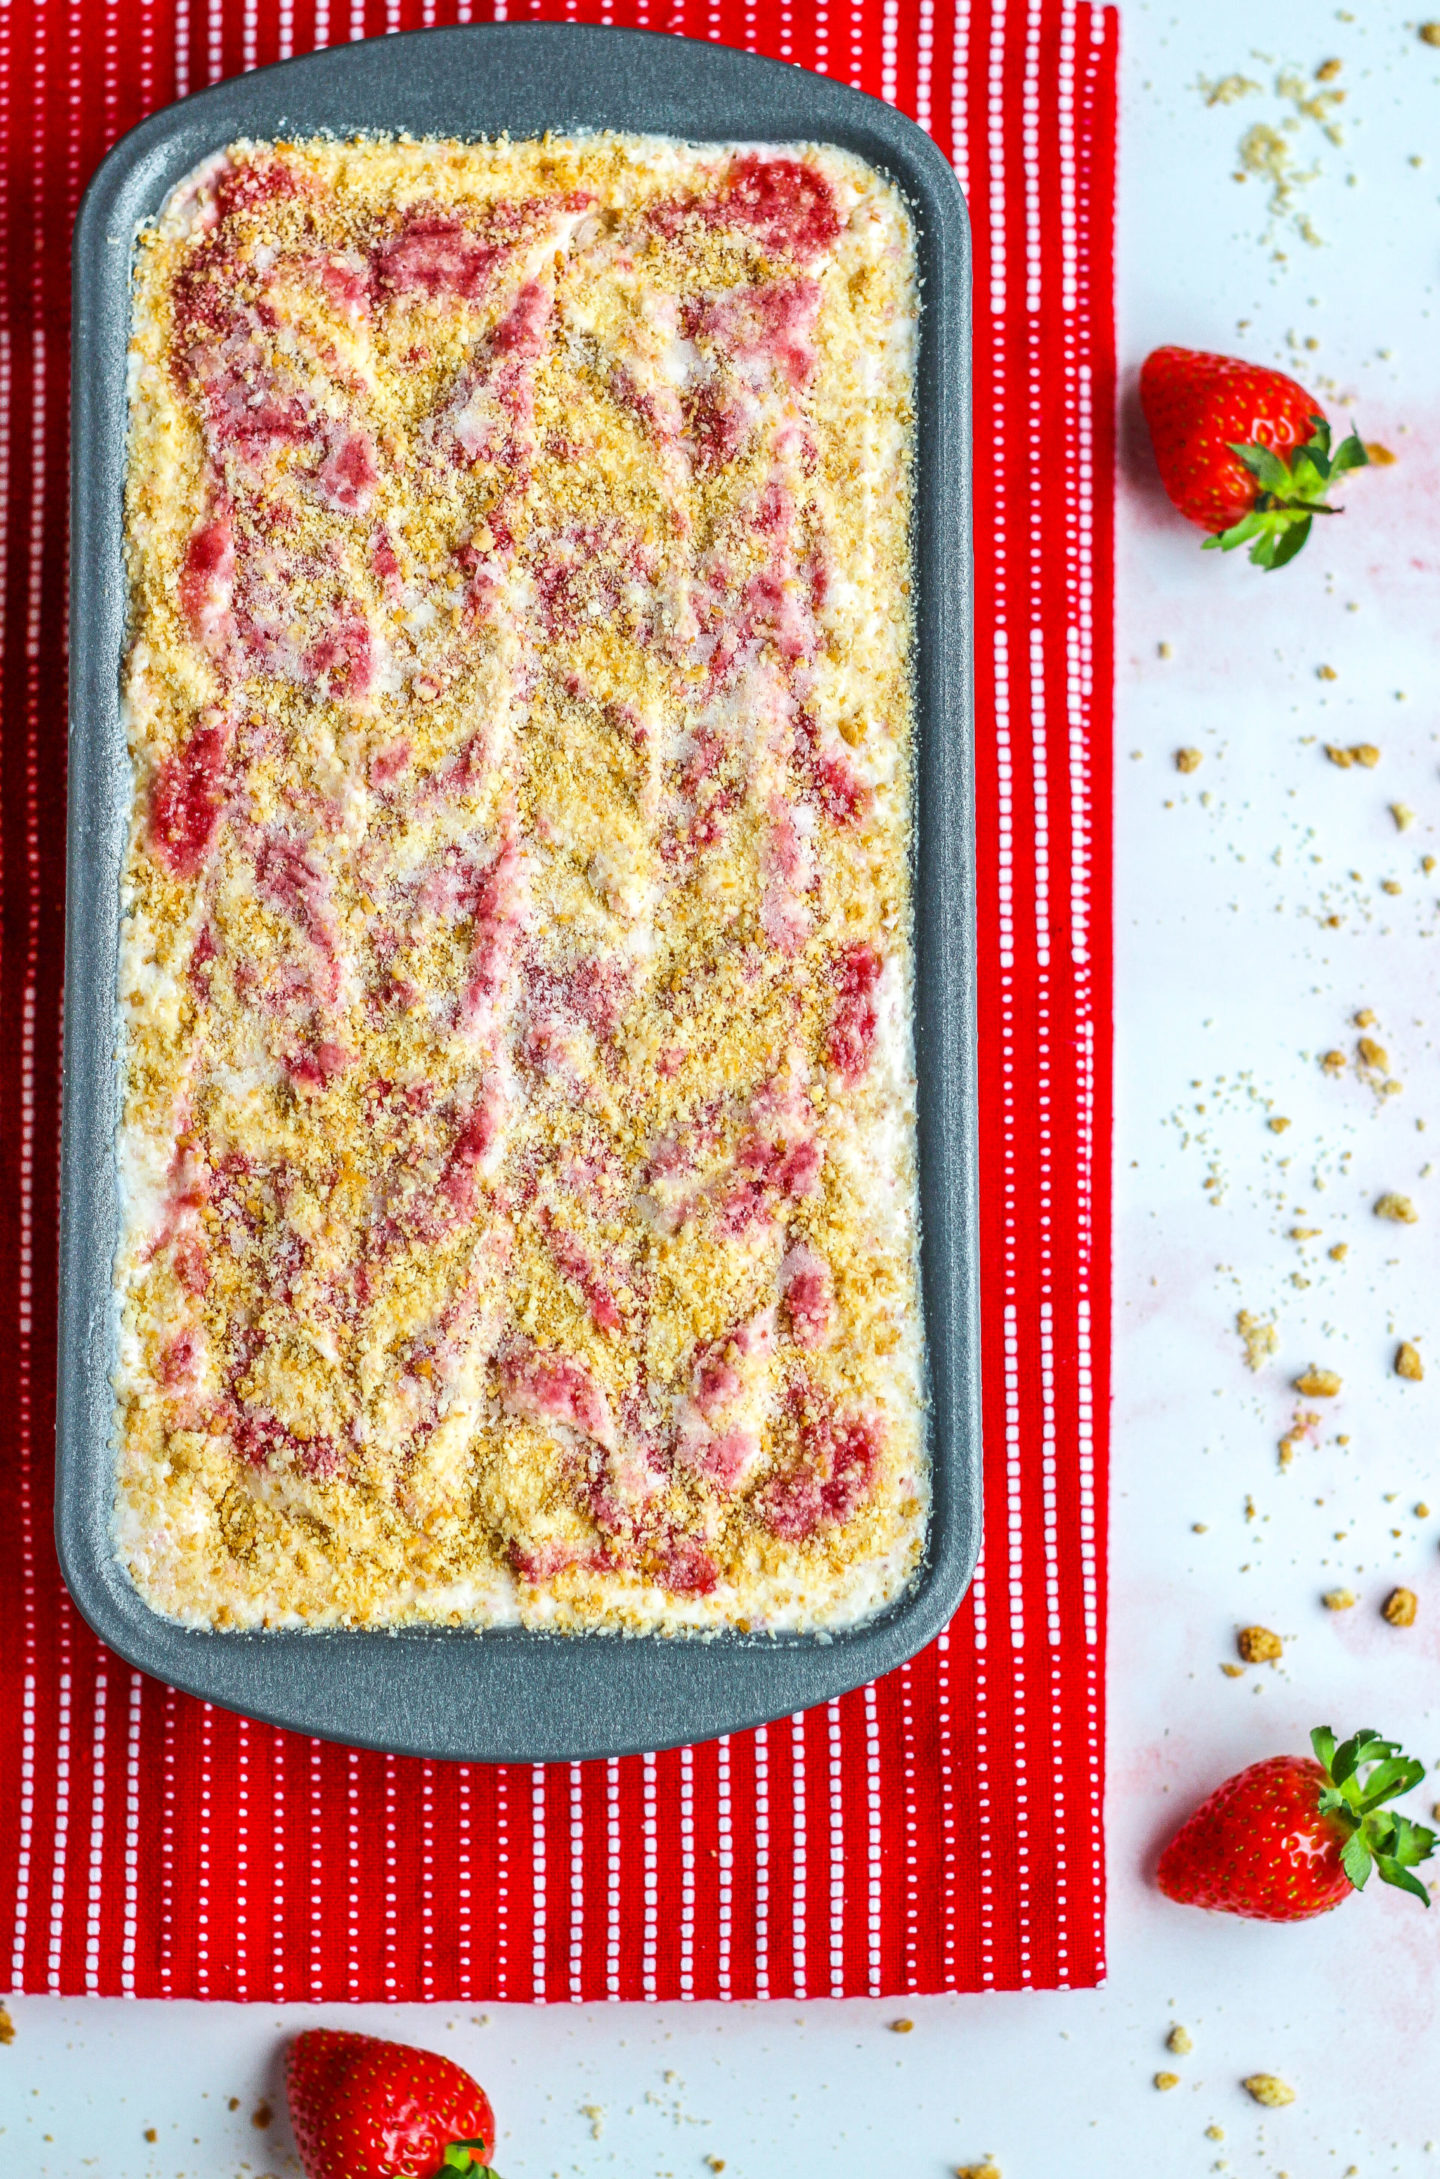
- Now grab your 2 little bowls of leftover digestive crumbs (20g) and strawberry purée (40g). Add all of the purée on top with a spoon and then sprinkle most of the digestive crumbs on top of the ice cream in the loaf tin (and leftover ice cream too if you like).

- Using a knife, swirl through the ice cream mixture however you like; I go vertically and then horizontally to create this pattern as shown.
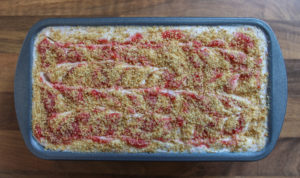
- Sprinkle your remaining digestive crumbs on top to finish.
- Double wrap the loaf tin tightly in film and store it in the freezer. Cover the leftover ice cream with the lid of the plastic container or film if you used a different type of storage.
- Leave to firm up in the freezer for at least 6 hours or ideally overnight.
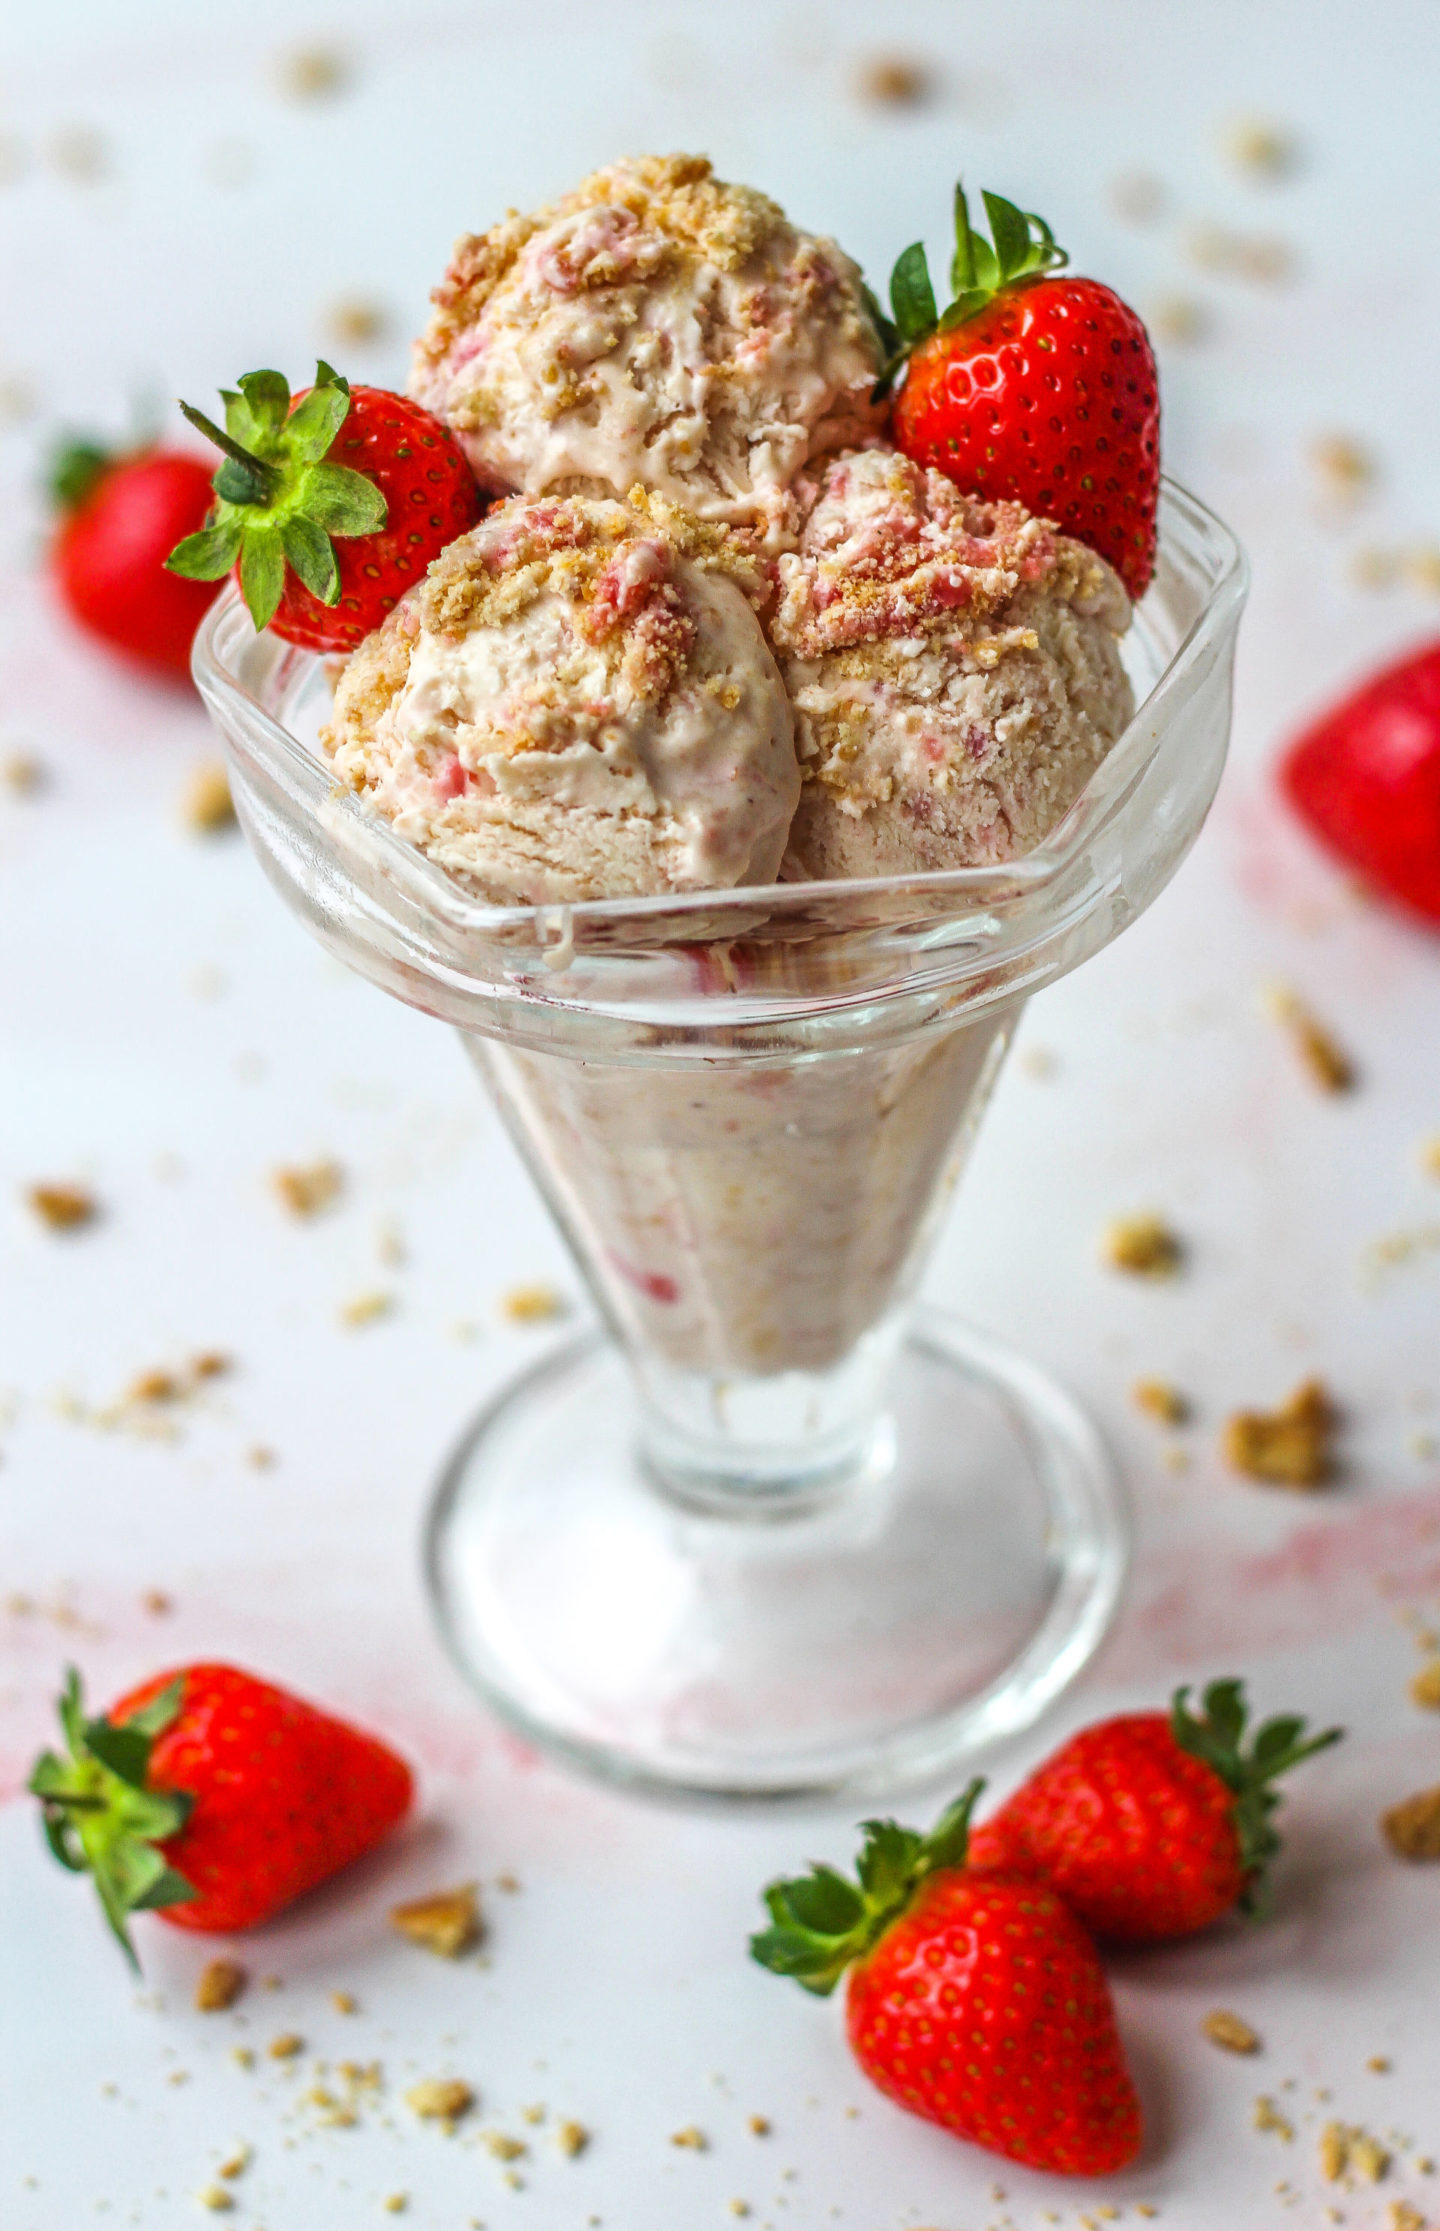
- It can be quite firm when you come to serve it but should be easier to scoop after 5 minutes left at room temperature. However, it can melt quite quickly so keep the loaf tin in the freezer between servings.
- Best eaten within 3-4 weeks.