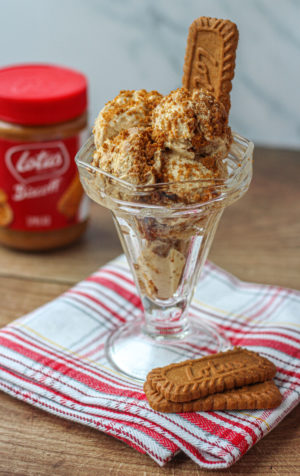
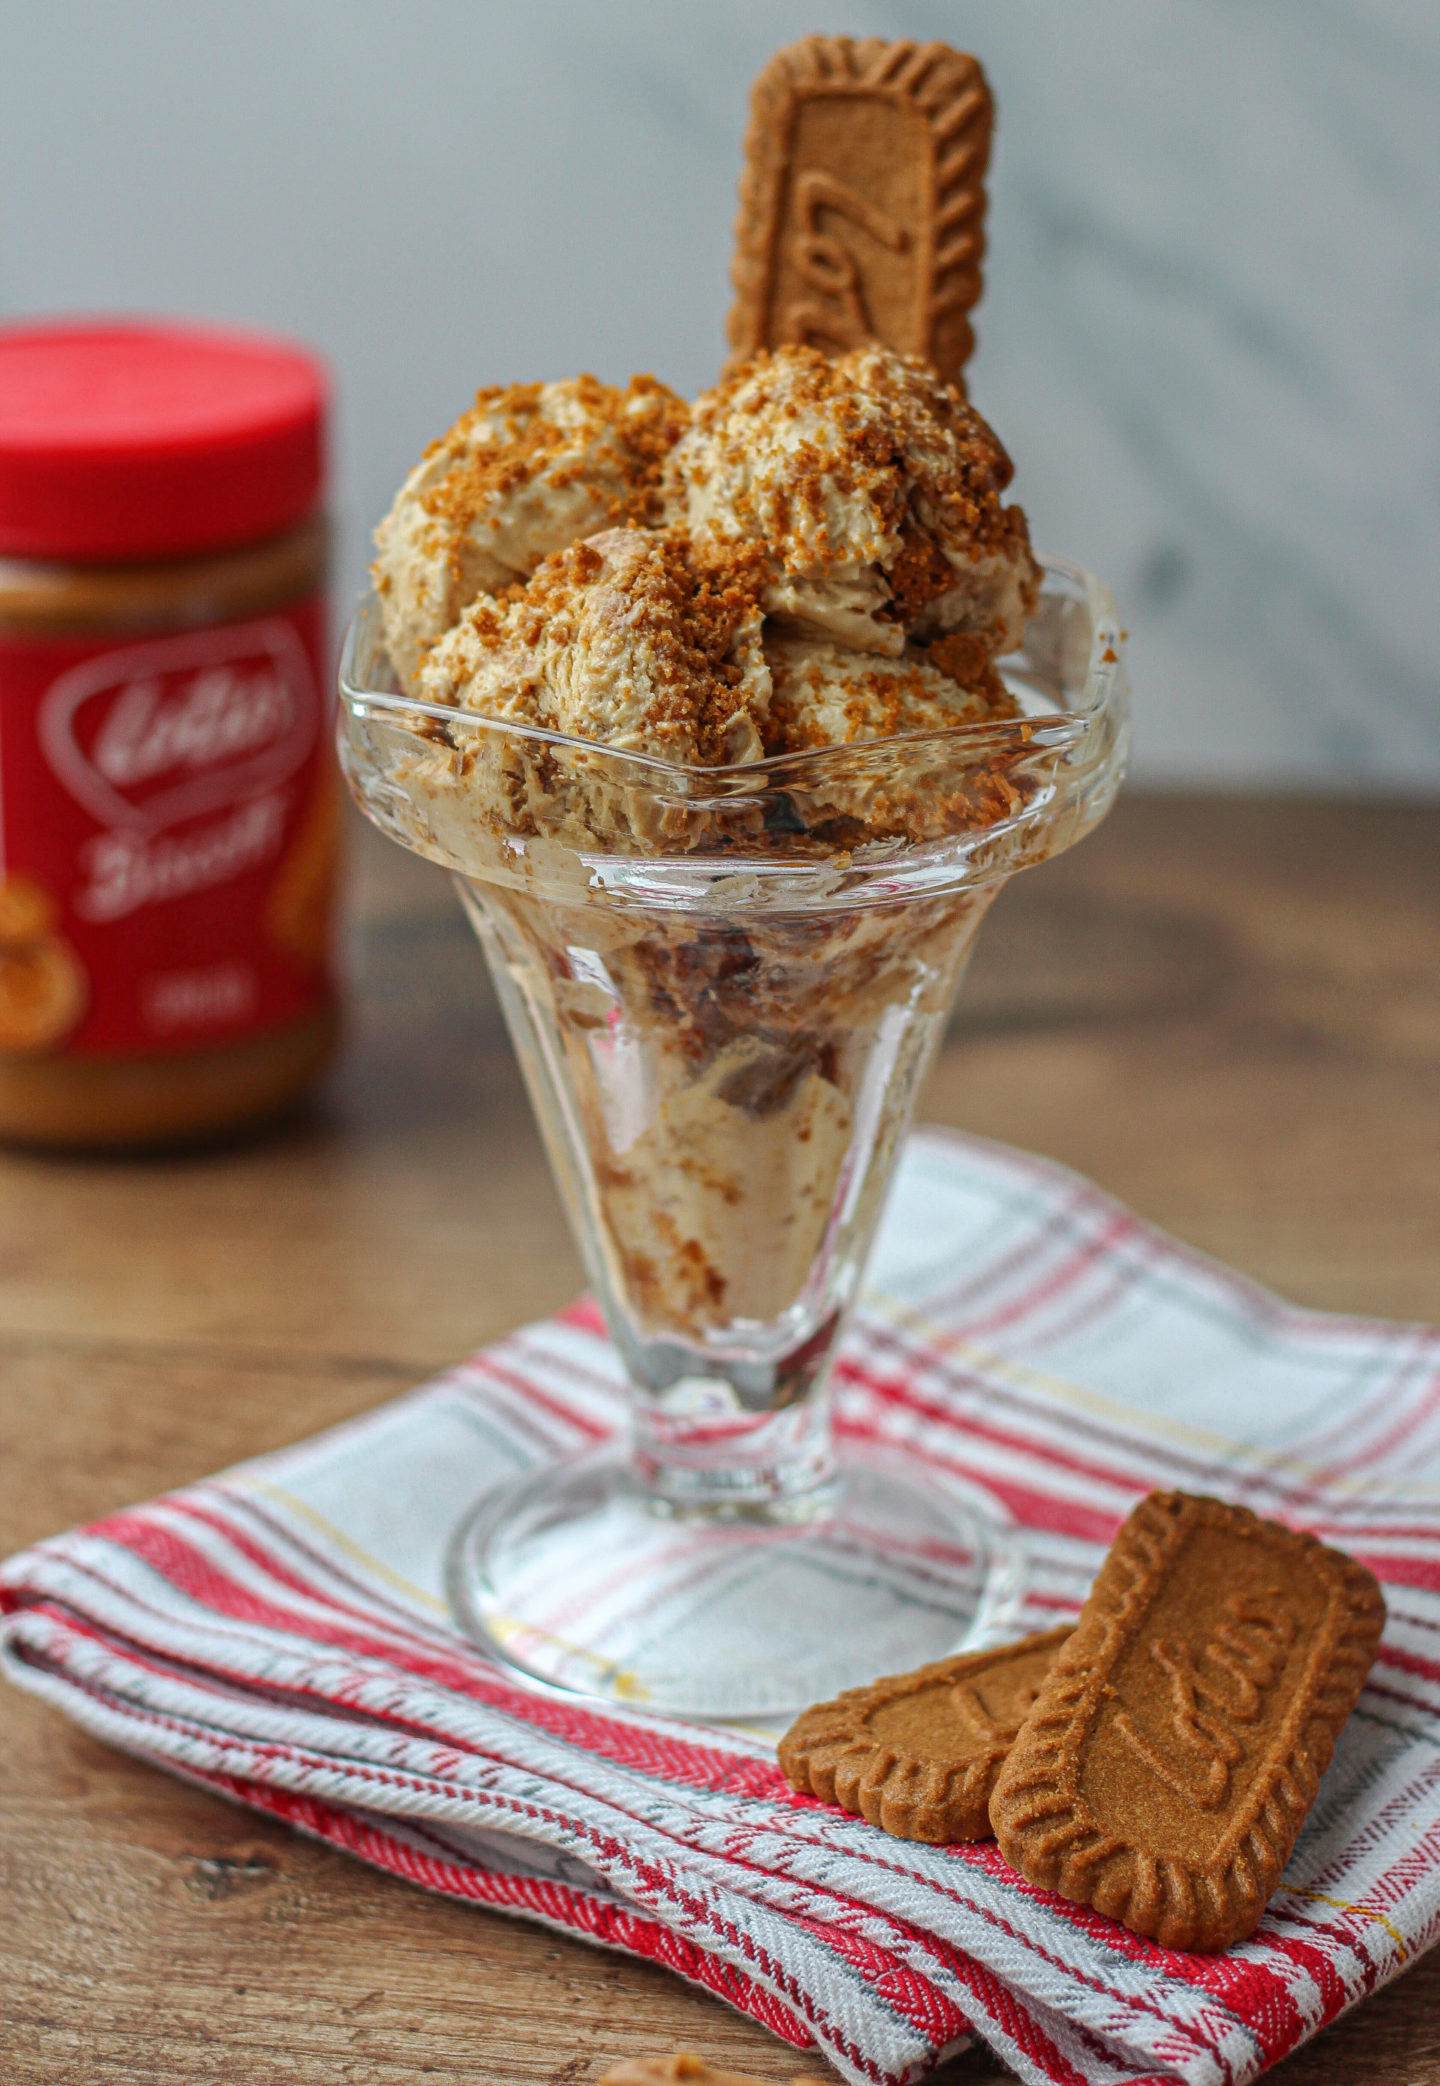
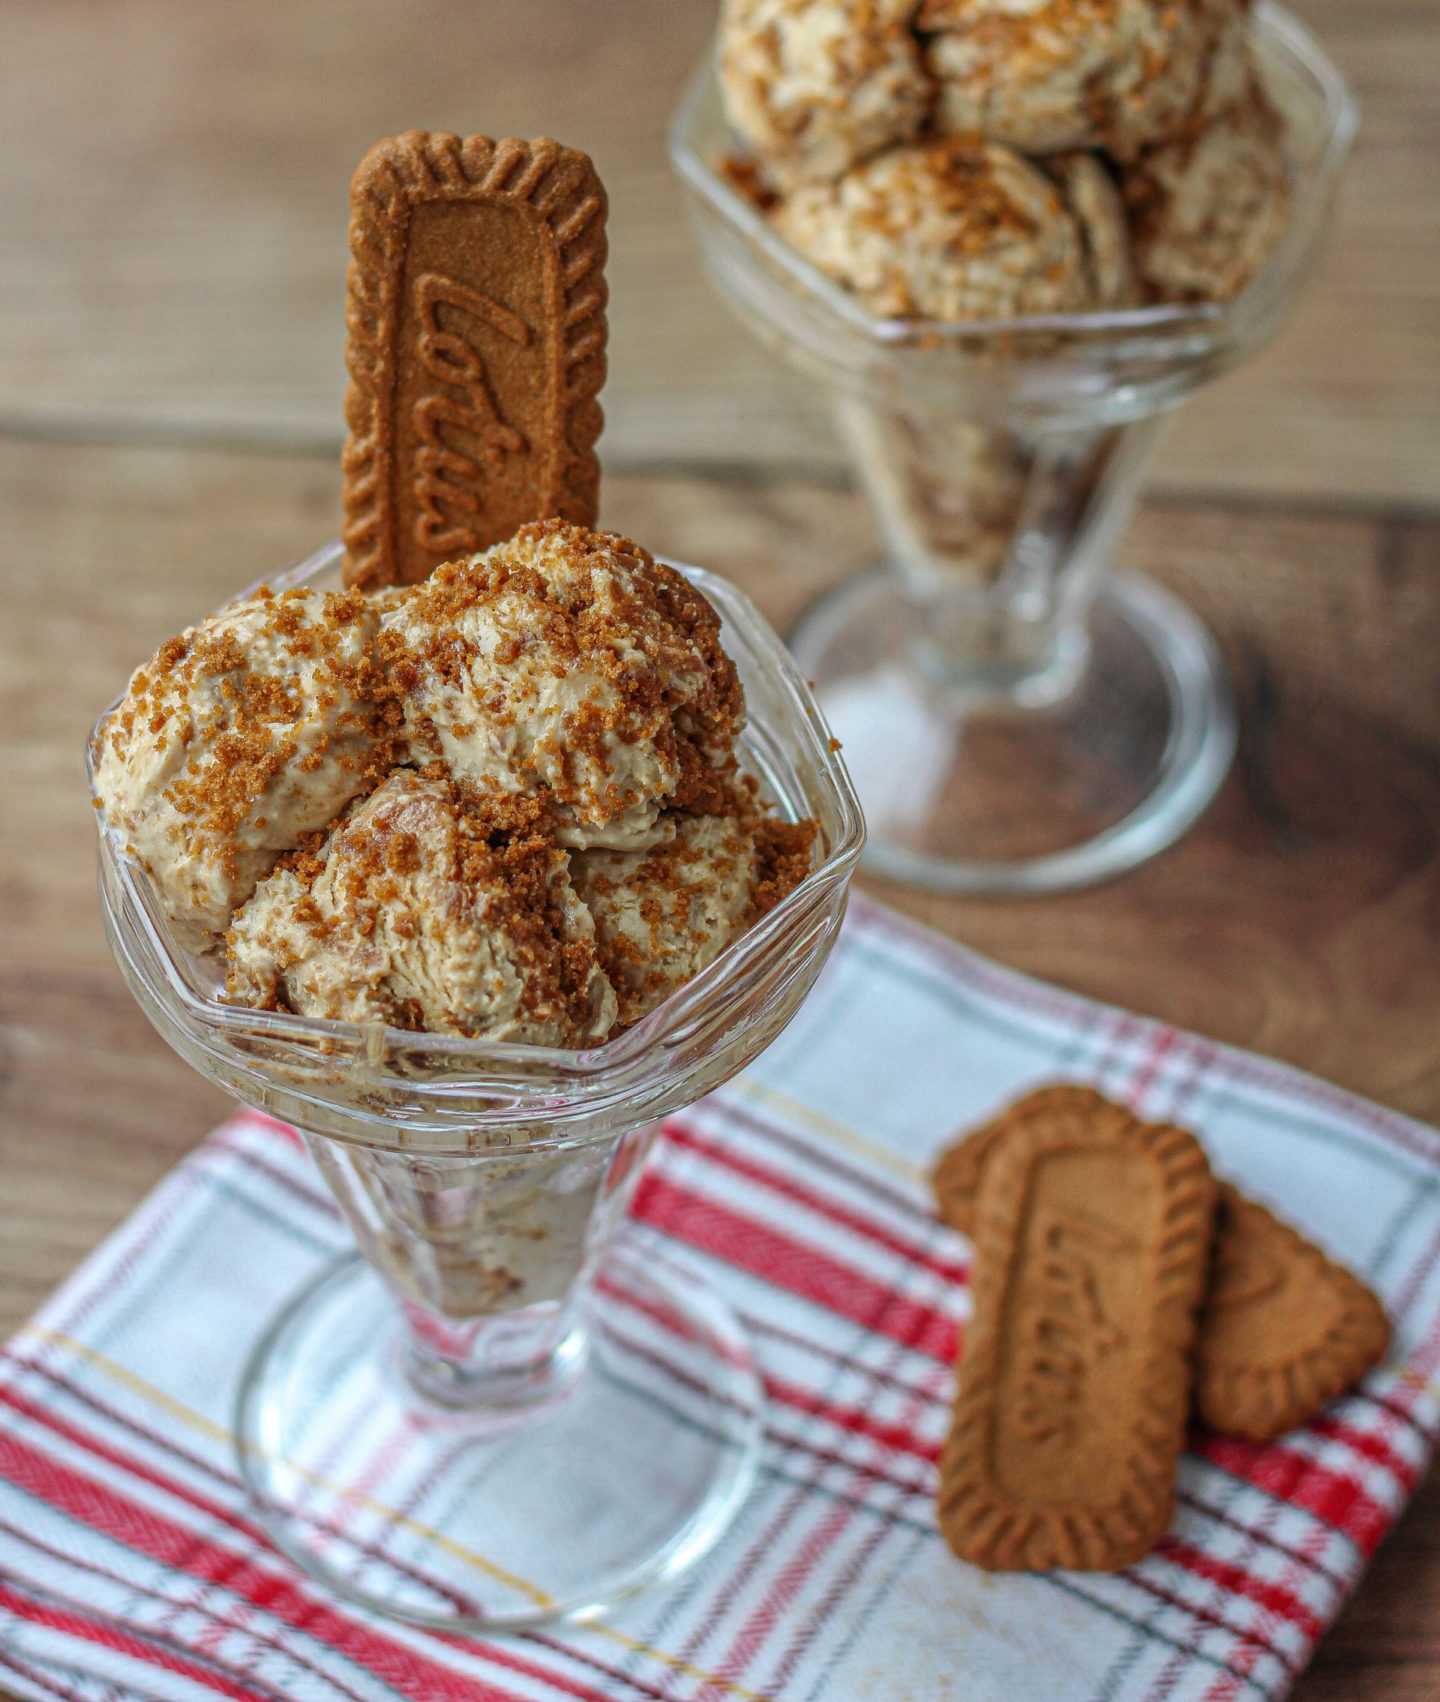
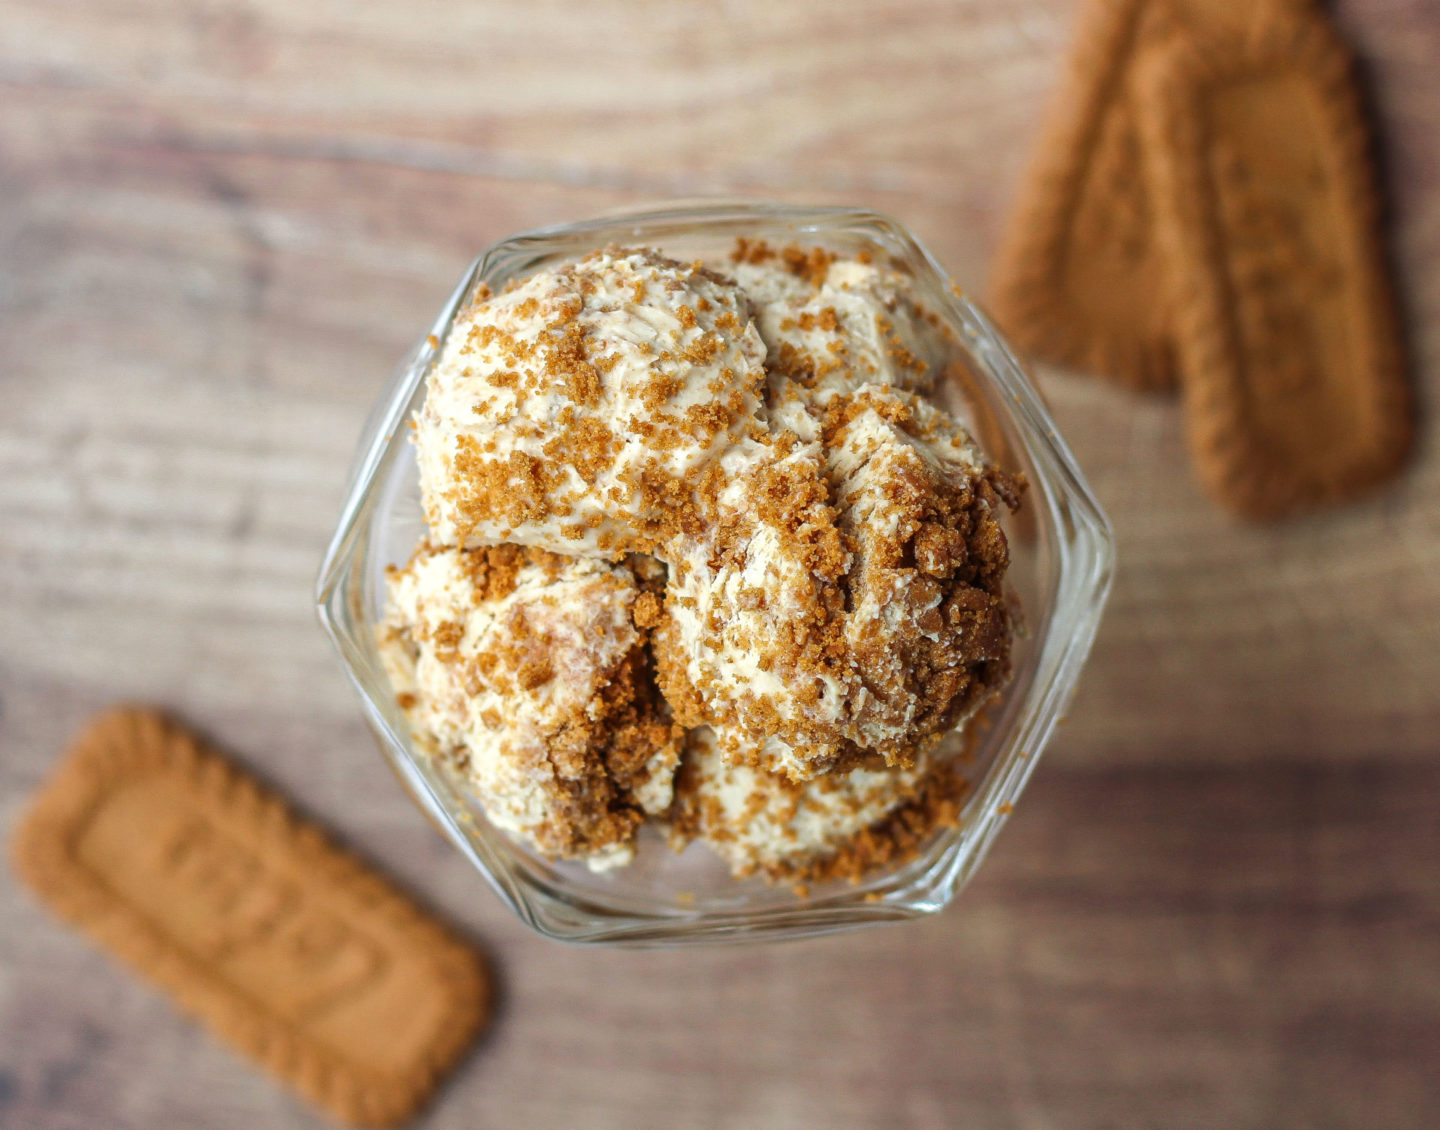
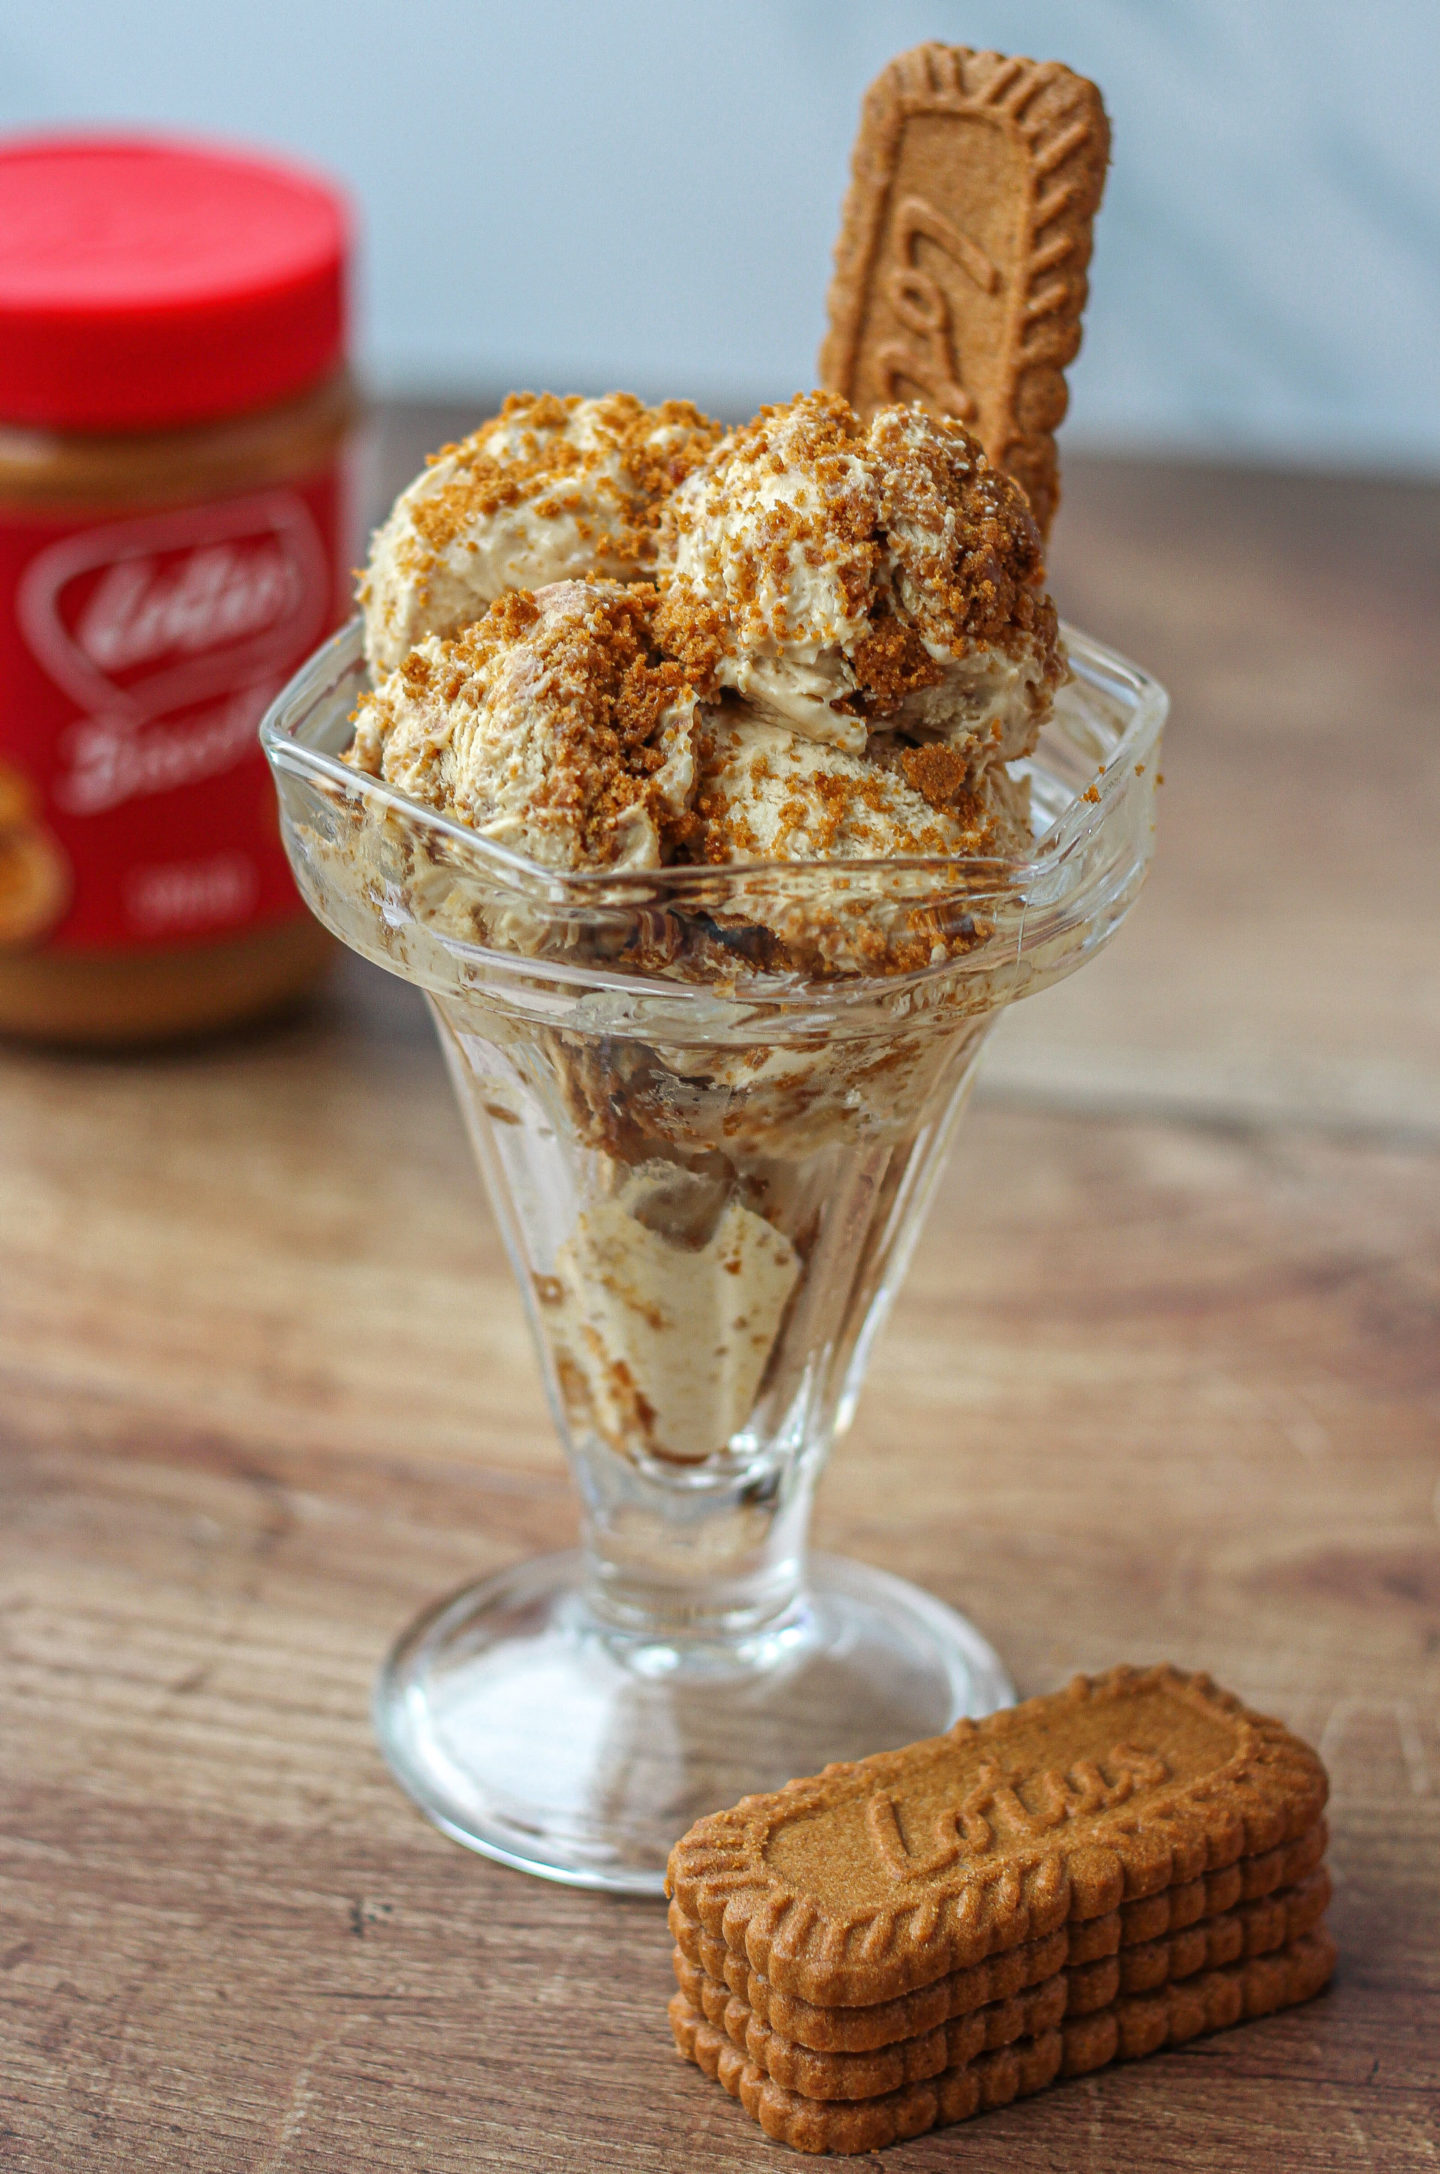
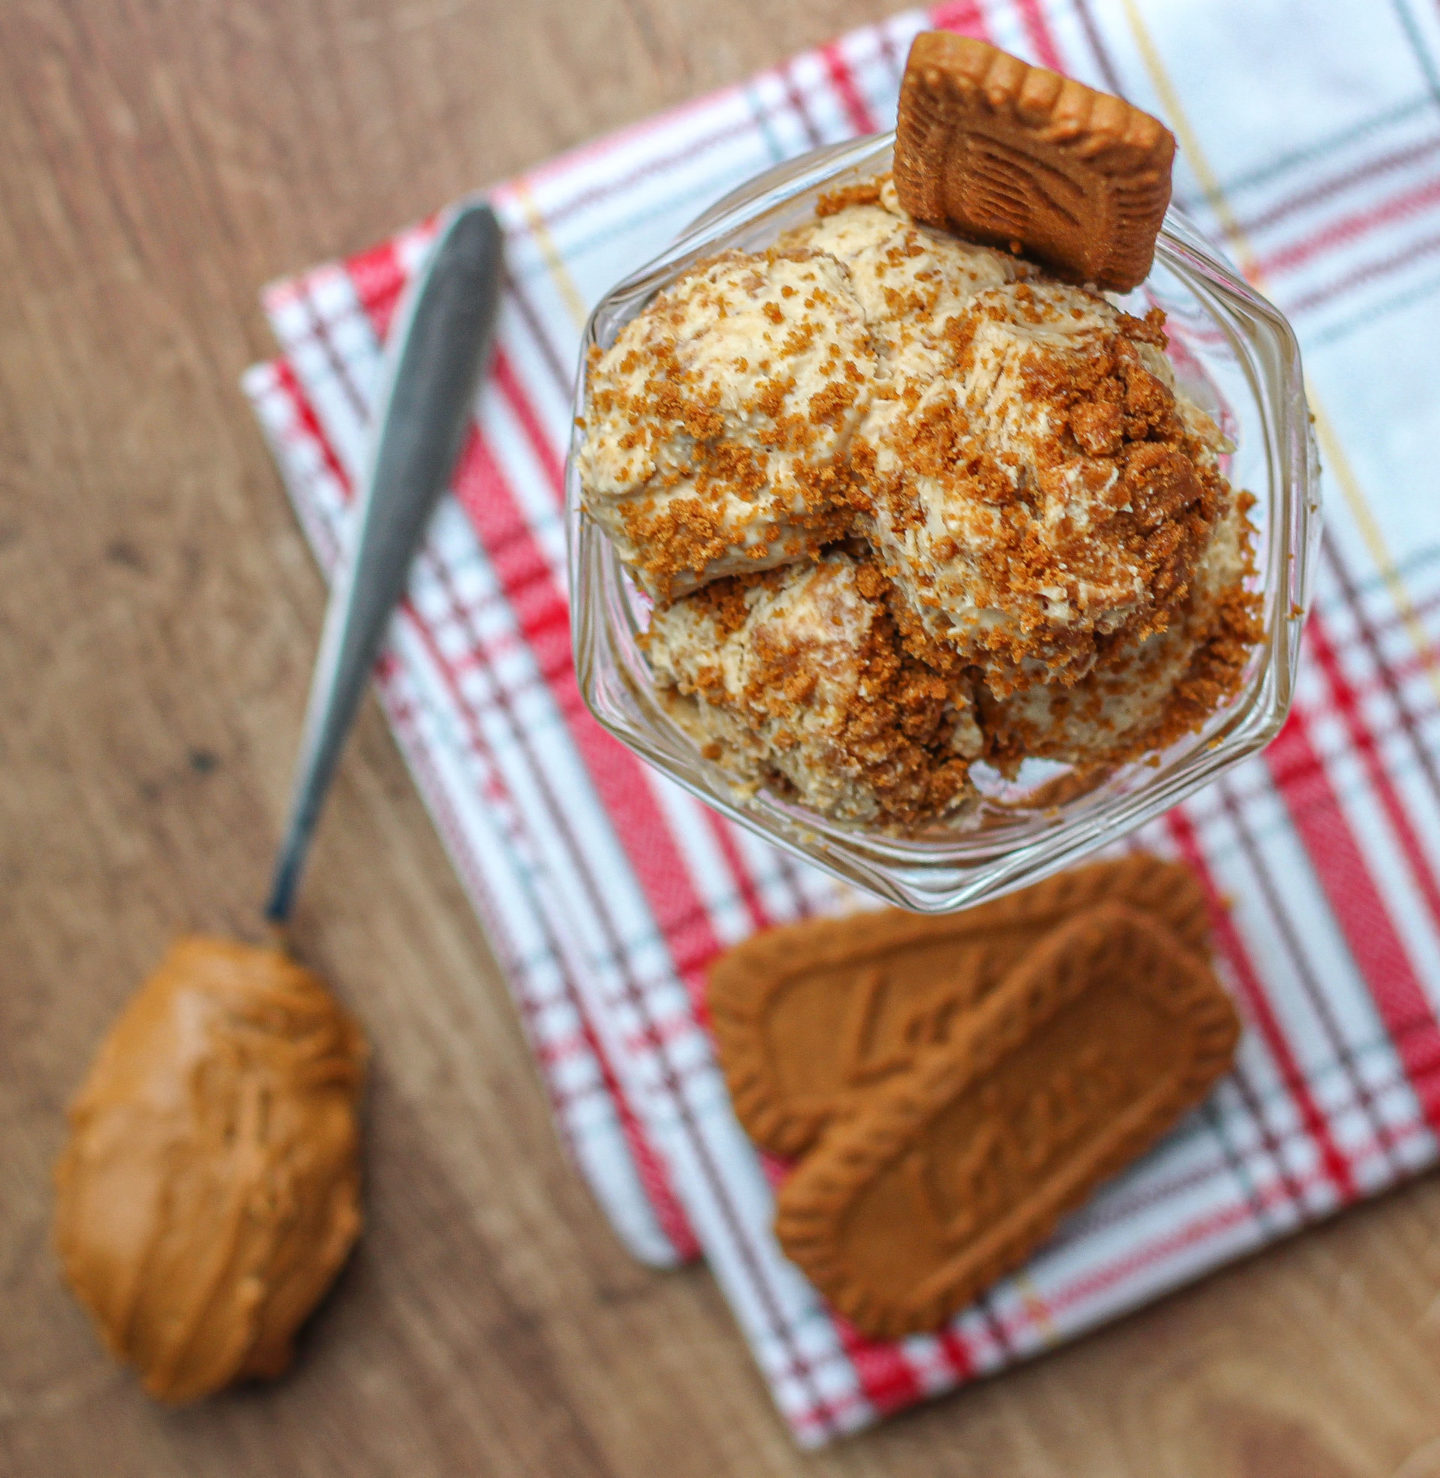
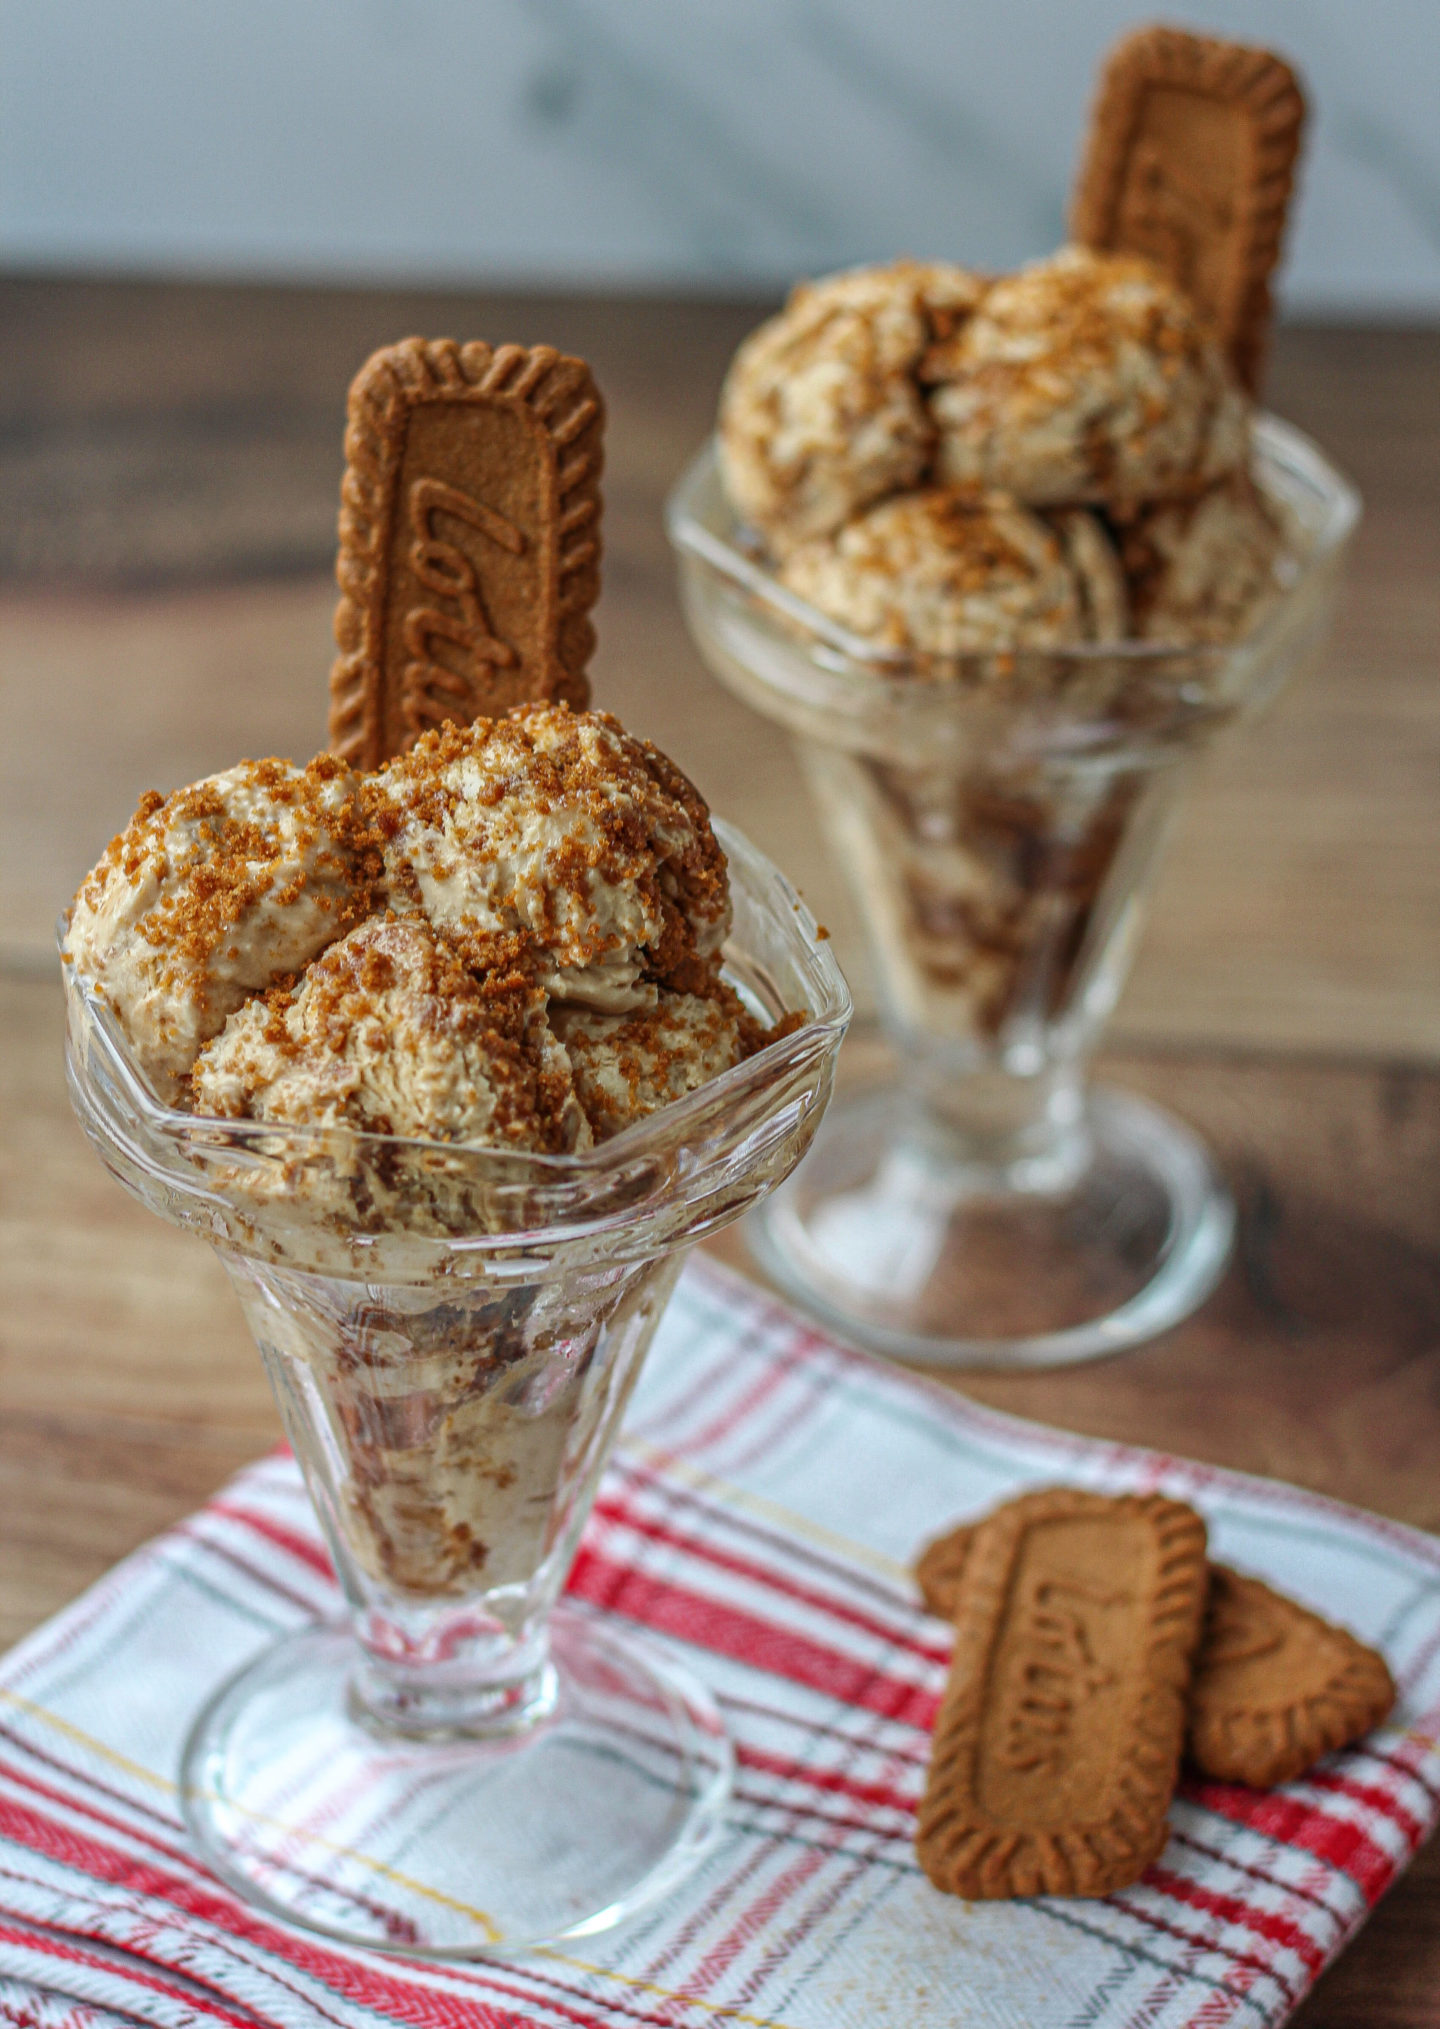
Packed full of both Lotus Biscoff biscuits and creamy Biscoff spread, this no-churn Biscoff ice cream is seriously delicious and so, so easy to make!
This post may contain affiliate links. For more information, see my Full Disclosure.
After sharing my No-Churn Oreo Ice Cream and my No-Churn Strawberry Cheesecake Ice Cream, I really wanted to share one more ice cream recipe with you this summer. And what better way to round them off than with this irresistible no-churn Biscoff ice cream!
What is Lotus Biscoff Spread?
This super creamy and addictive spread is made out of finely ground Biscoff biscuits. If you’ve not tried Biscoff biscuits before, they’re caramel-like with a hint of cinnamon. They’re deliciously sweet and crunchy; personally I find it impossible to eat just one!
Imagine those flavours in a smooth spread, similar in texture to peanut butter or Nutella. Creating a homemade ice cream recipe with Biscoff flavouring was one of my best ideas yet I think!
What does no-churn ice cream mean?
No churn ice cream means it’s made without an ice cream maker. Honestly, since making my no-churn ice cream recipes, I wonder why anyone would need an ice cream maker!
No-churn ice cream is surprisingly easy to make. Dangerously so, in fact! Once you’ve tried this recipe you’ll want to have homemade ice cream in your freezer at all times.
No-Churn Biscoff Ice Cream Ingredients
This simple no-churn ice cream recipe contains just 5 ingredients:
- Condensed milk
- Double cream
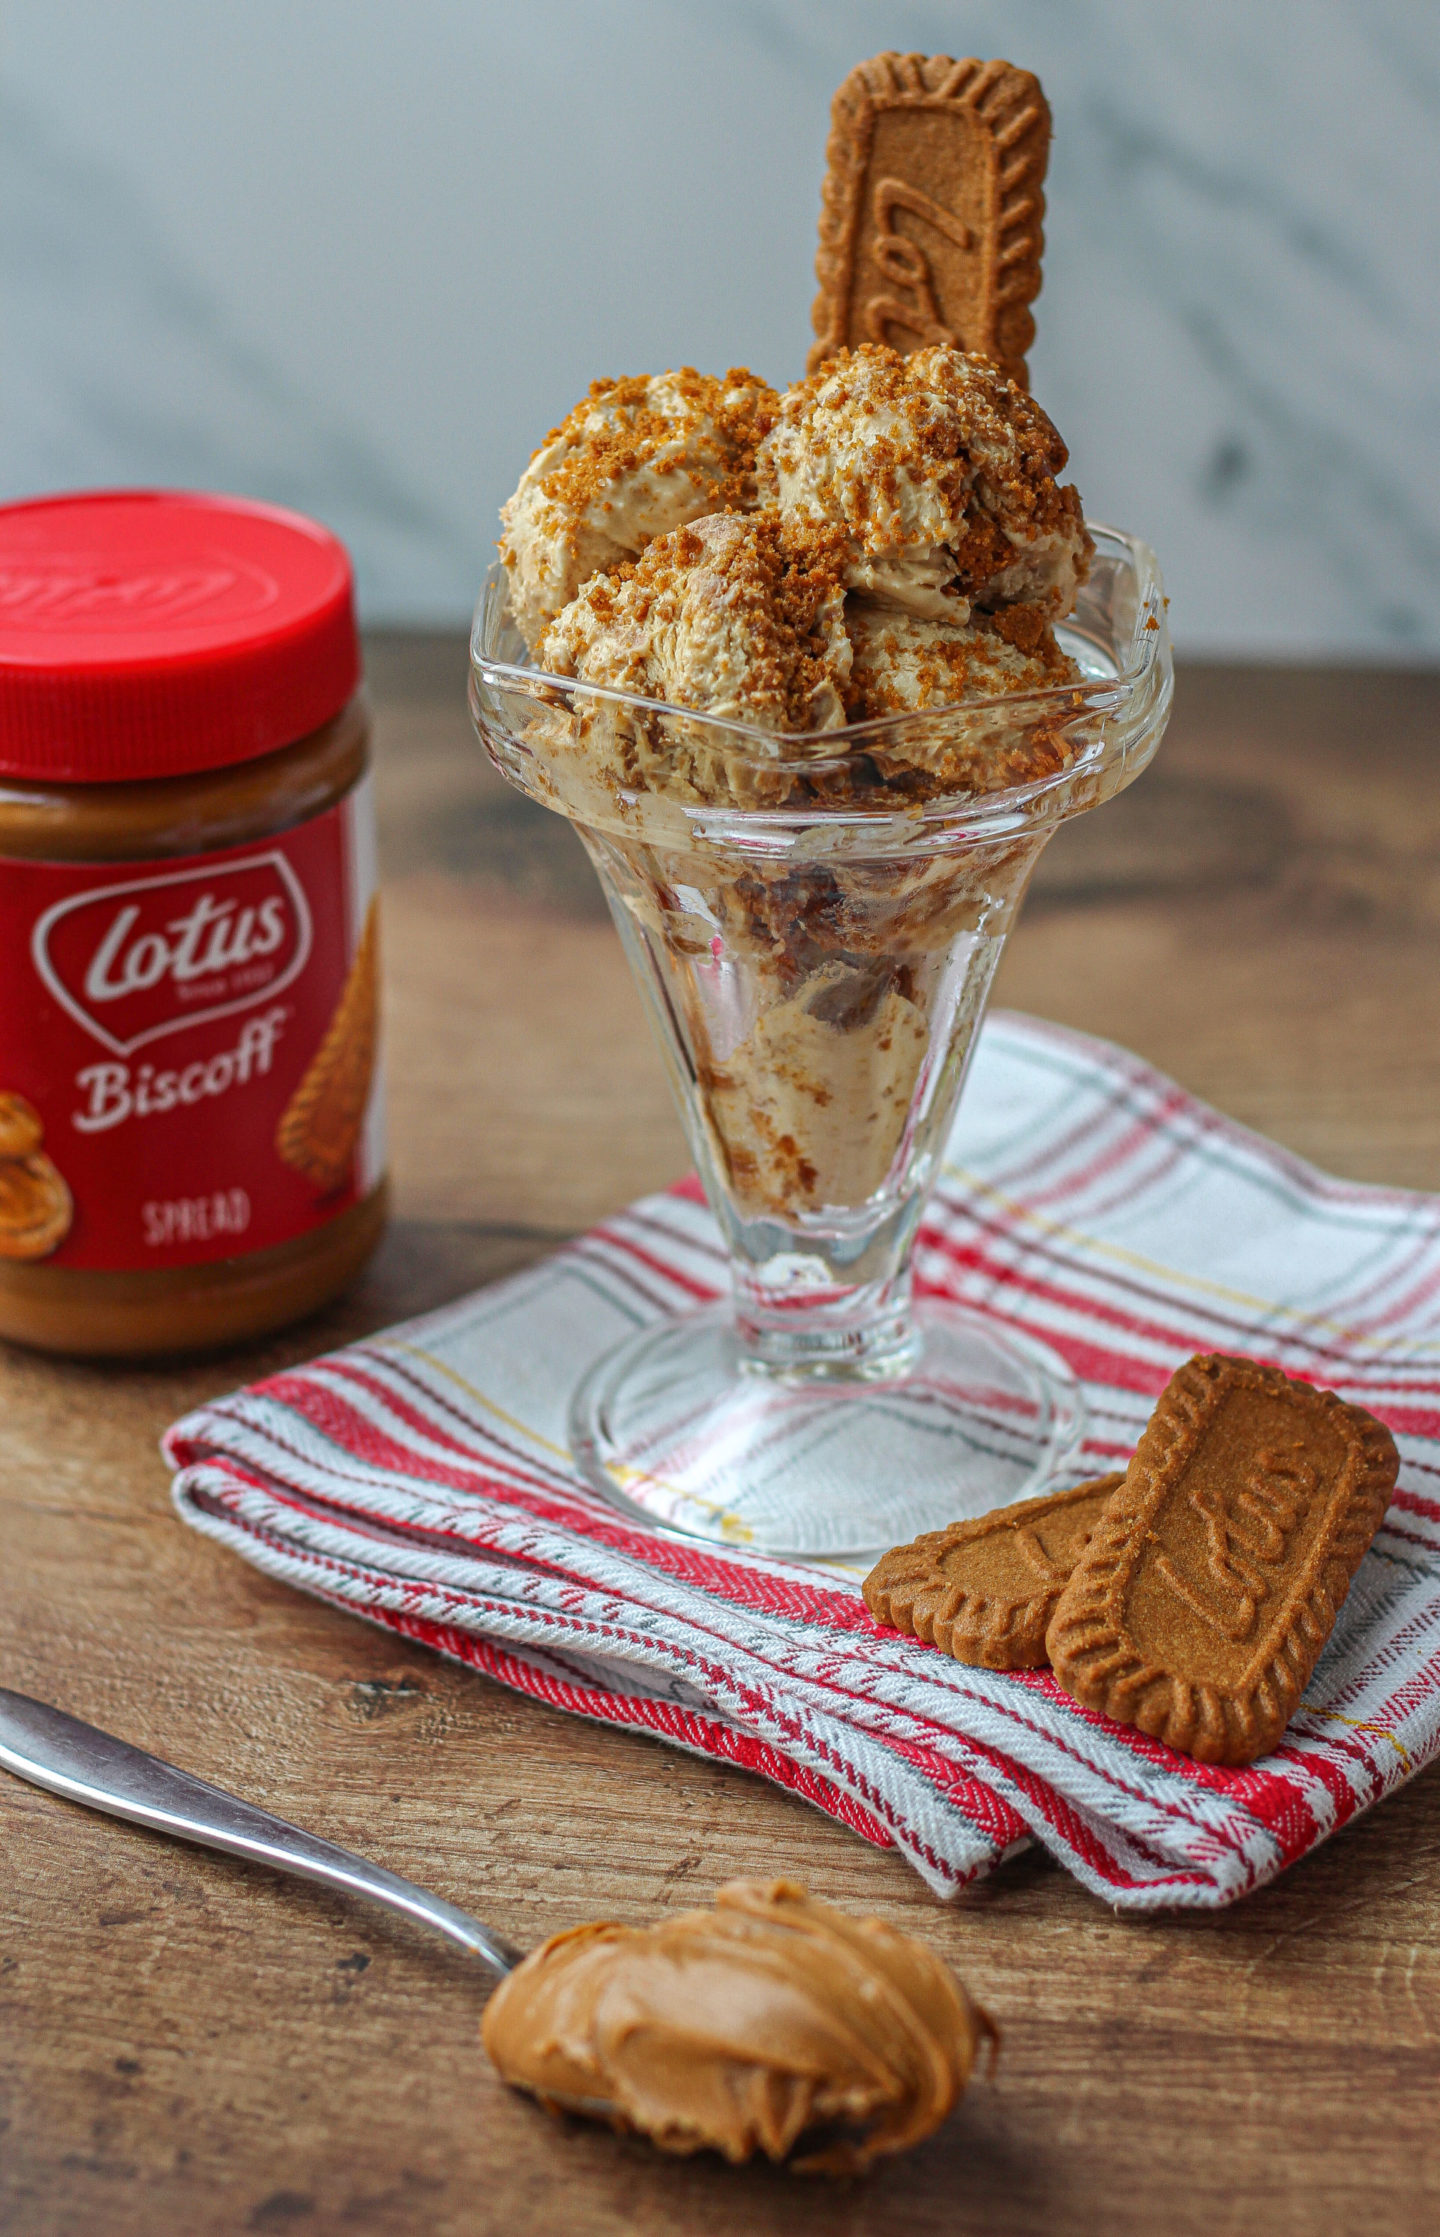
- Lotus Biscoff biscuits
- Lotus Biscoff spread
- Vanilla extract
I wanted this to taste unmistakably of Biscoff, so I used both biscuits and spread! The vanilla extract is optional but I like to add just half a teaspoon for a little added flavour.
So, how do all of these ingredients come together to make this insanely delicious Biscoff ice cream?
How to make homemade Biscoff Ice Cream
This easy no-churn ice-cream recipe comes together so quickly and easily – you’ll be amazed! You can find my full instructions with step-by-step photos at the bottom of this post, but here’s a summary:
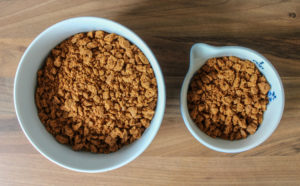
- Chop up your Lotus Biscoff biscuits roughly with a knife, or pulse in a food processor. You could also put them in a sandwich/ziplock bag and bash with a rolling pin!
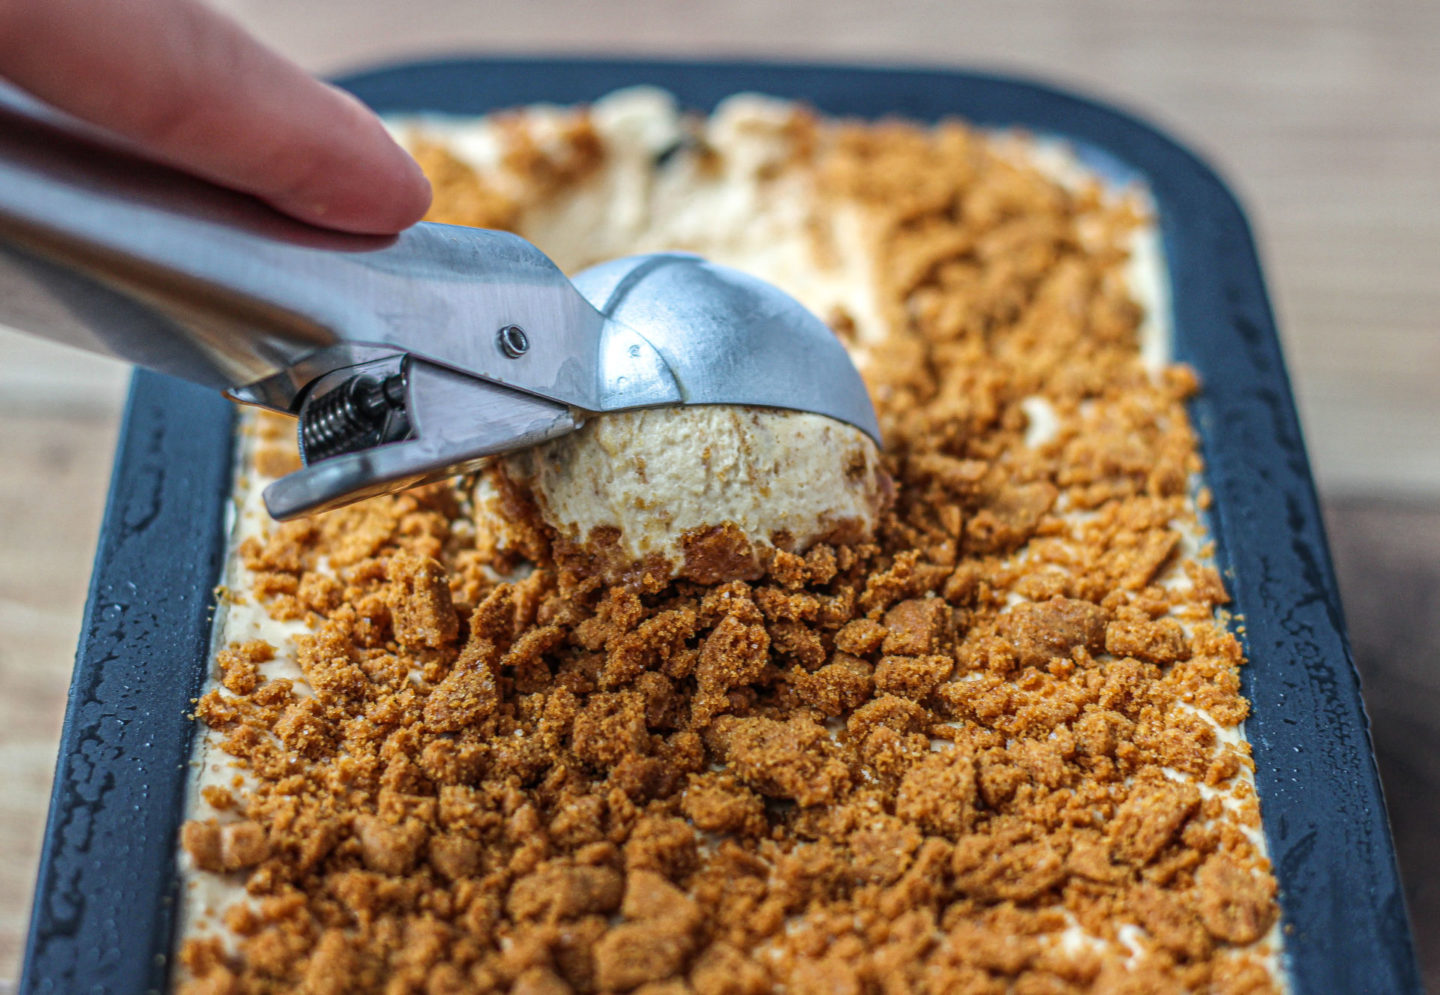
- Keep 50g of the chopped/crushed biscuits aside to sprinkle on top before freezing
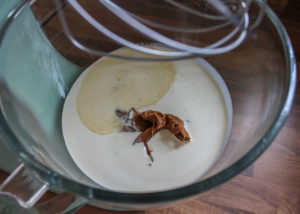
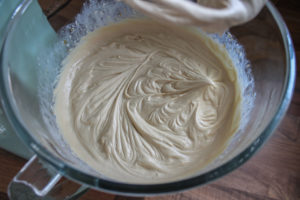
- Whisk the double cream, condensed milk, vanilla extract and Biscoff spread using an electric hand mixer or stand mixer until thick and holding soft peaks
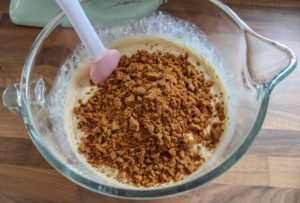
- By hand, fold the crushed Biscoff biscuits into this mixture with a spatula until evenly distributed
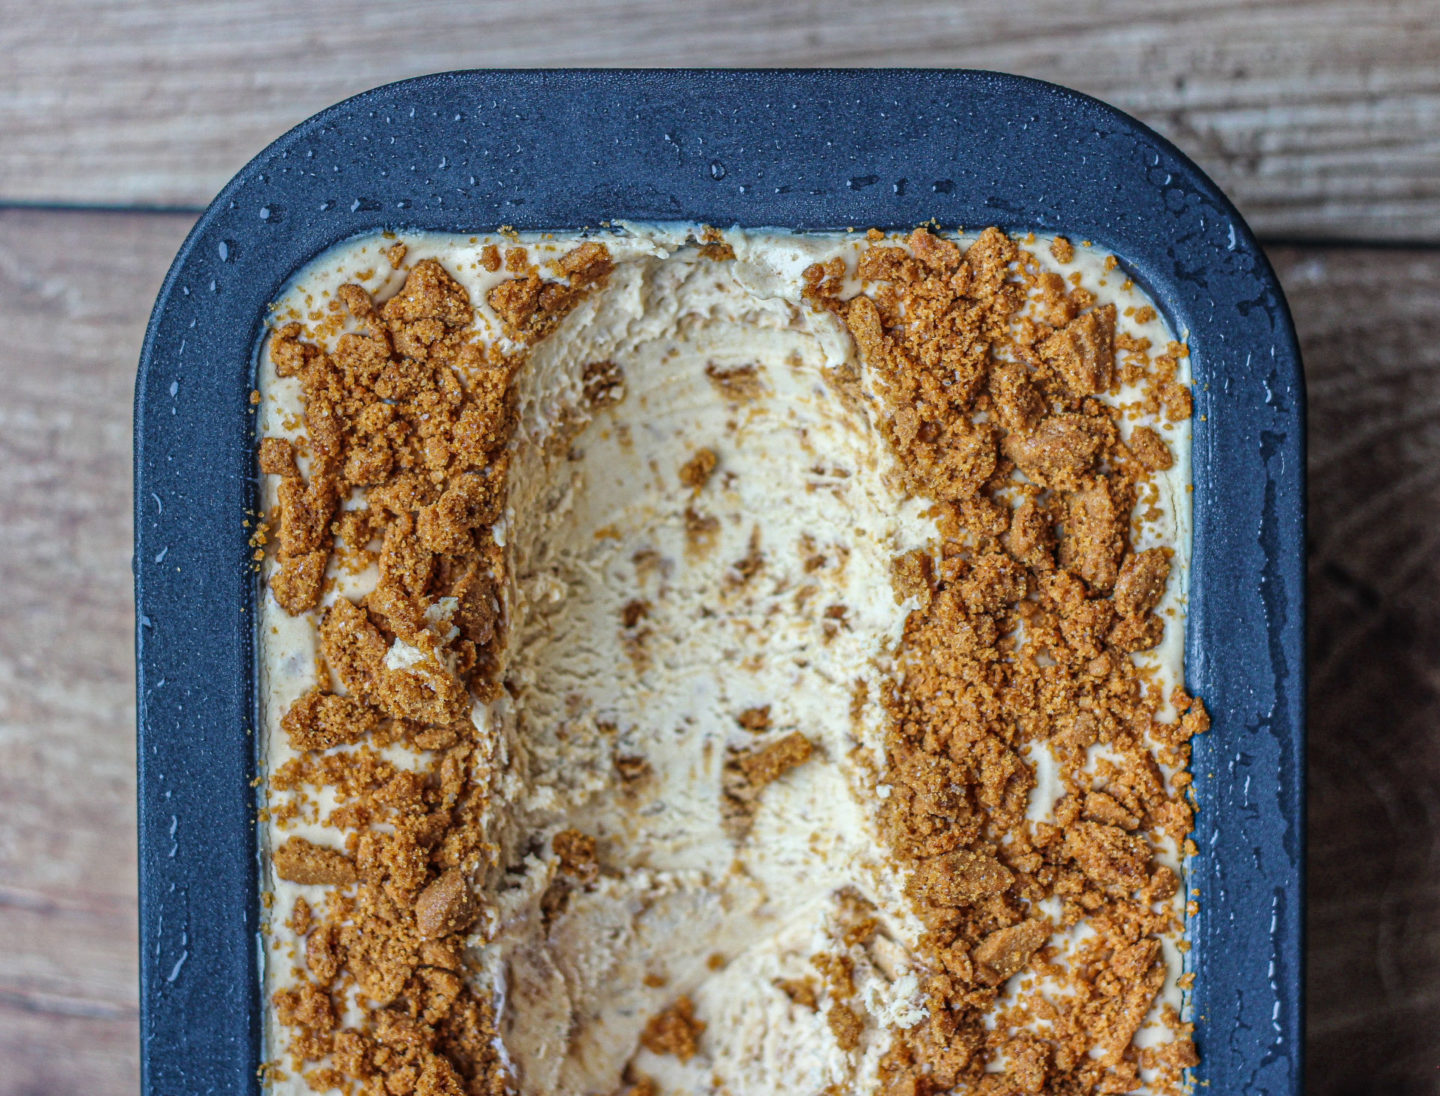
- Pour mixture into a 1kg/2lb loaf tin all the way to the top – there will be some mixture leftover which you can pour into a small plastic container
- Sprinkle the remaining 50g of crushed Biscoff biscuits on top, double wrap the loaf tin in film and freeze for at least 6 hours or ideally overnight. Done!
Tips for making the best Biscoff ice cream
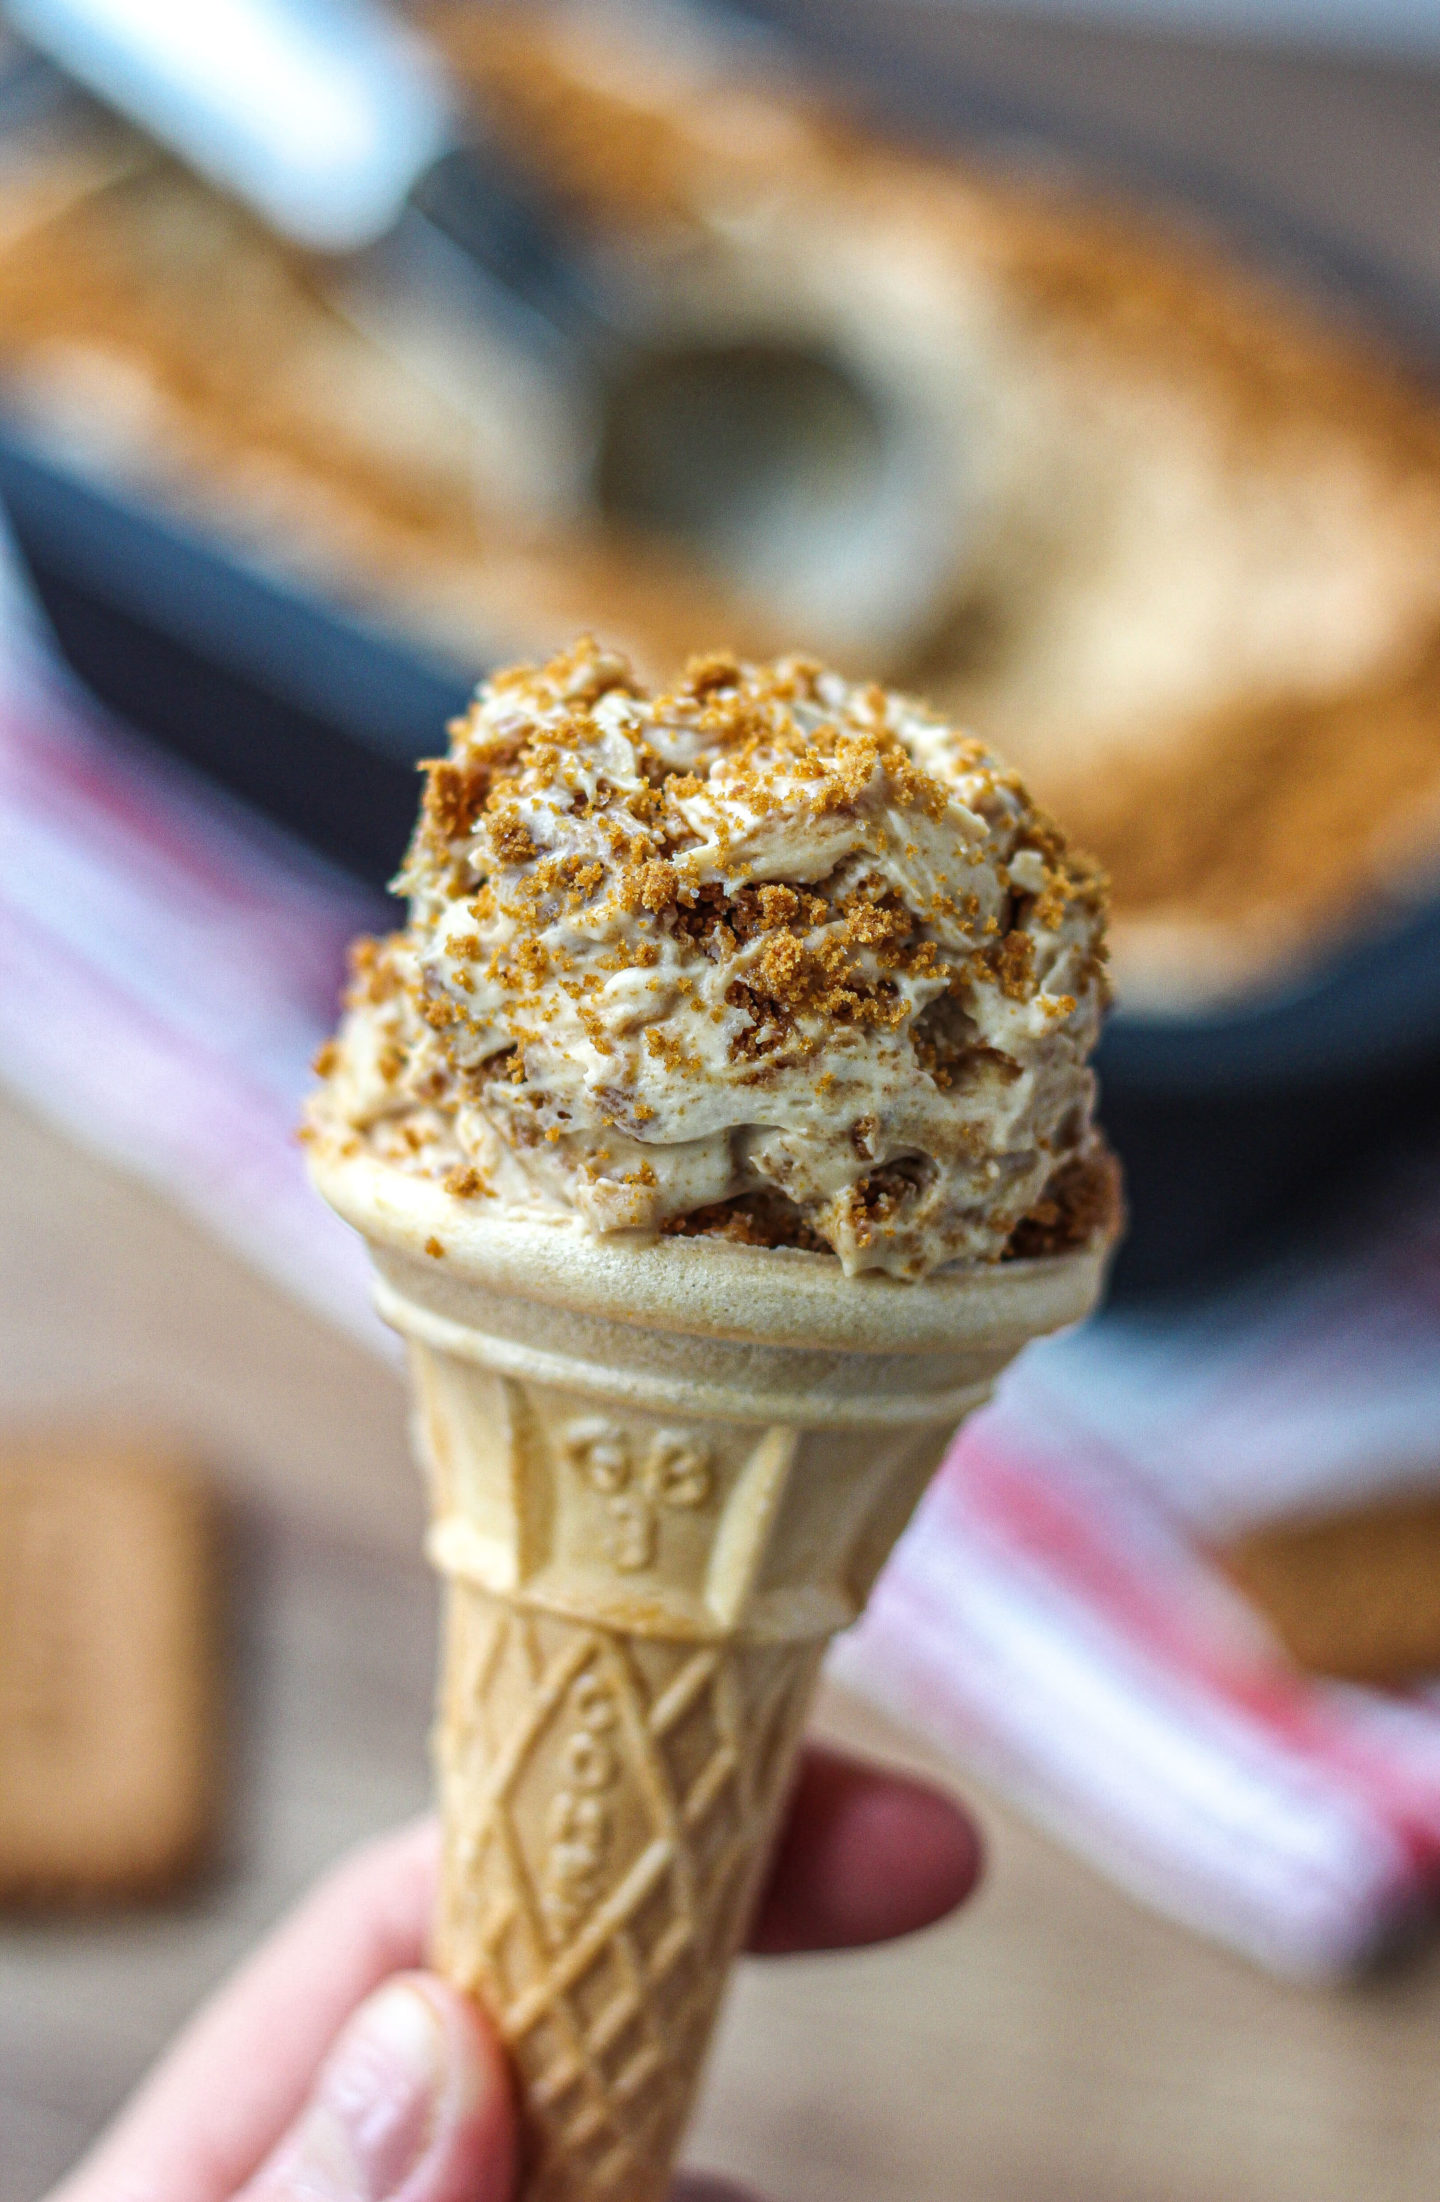
- To get a good mixture of fine crumbs and larger chunks of Biscoff biscuit, I prefer to chop the biscuits by hand with a knife. I find this gives more control than a food processor, which can quickly turn them all into fine crumbs. You can have ice cream with a slight crunch or one that’s super-smooth – the texture is up to you!
- If using a KitchenAid stand mixer like me, I find that the ice cream mixture whips up nicely into soft peaks after around 2 minutes on setting 7. However, if using another type of hand mixer or stand mixer, simply whisk the mixture on high speed until it thickens and holds soft peaks (as shown in my step-by-step photos in the recipe card below).
- Make sure to use double cream straight from the fridge so it’s nice and cold – cold creams whips up best!
- This recipe makes a little more ice cream than will fit in a 1kg/2lb loaf tin, so just pour the leftover ice cream into a small plastic container as bonus ice cream!
- Churned or store-bought ice cream contains more air bubbles than no-churn ice cream, meaning no-churn ice cream tends to melt a little quicker. This isn’t too much of a problem though as this ice cream sets quite firmly, so you have plenty of time to scoop out and devour this ice cream before it melts! Just pop the loaf tin back in the freezer between servings to keep it firm.
How long does homemade no-churn ice cream keep in the freezer?
I find that this homemade Biscoff ice cream is best eaten within 3-4 weeks. After this time crystallisation can occur so the ice cream will no longer be at its best. To maintain quality, at least double wrap the loaf tin in film before storing in the freezer.
Let’s be honest though – it won’t last that long in your freezer, right?
What container can I use to store homemade no-churn ice cream?
As suggested above and shown in my photos, I use a 1kg/2lb loaf tin to store this easy Biscoff ice cream. I find it’s a great size for this recipe, plus it looks good if serving to a crowd.
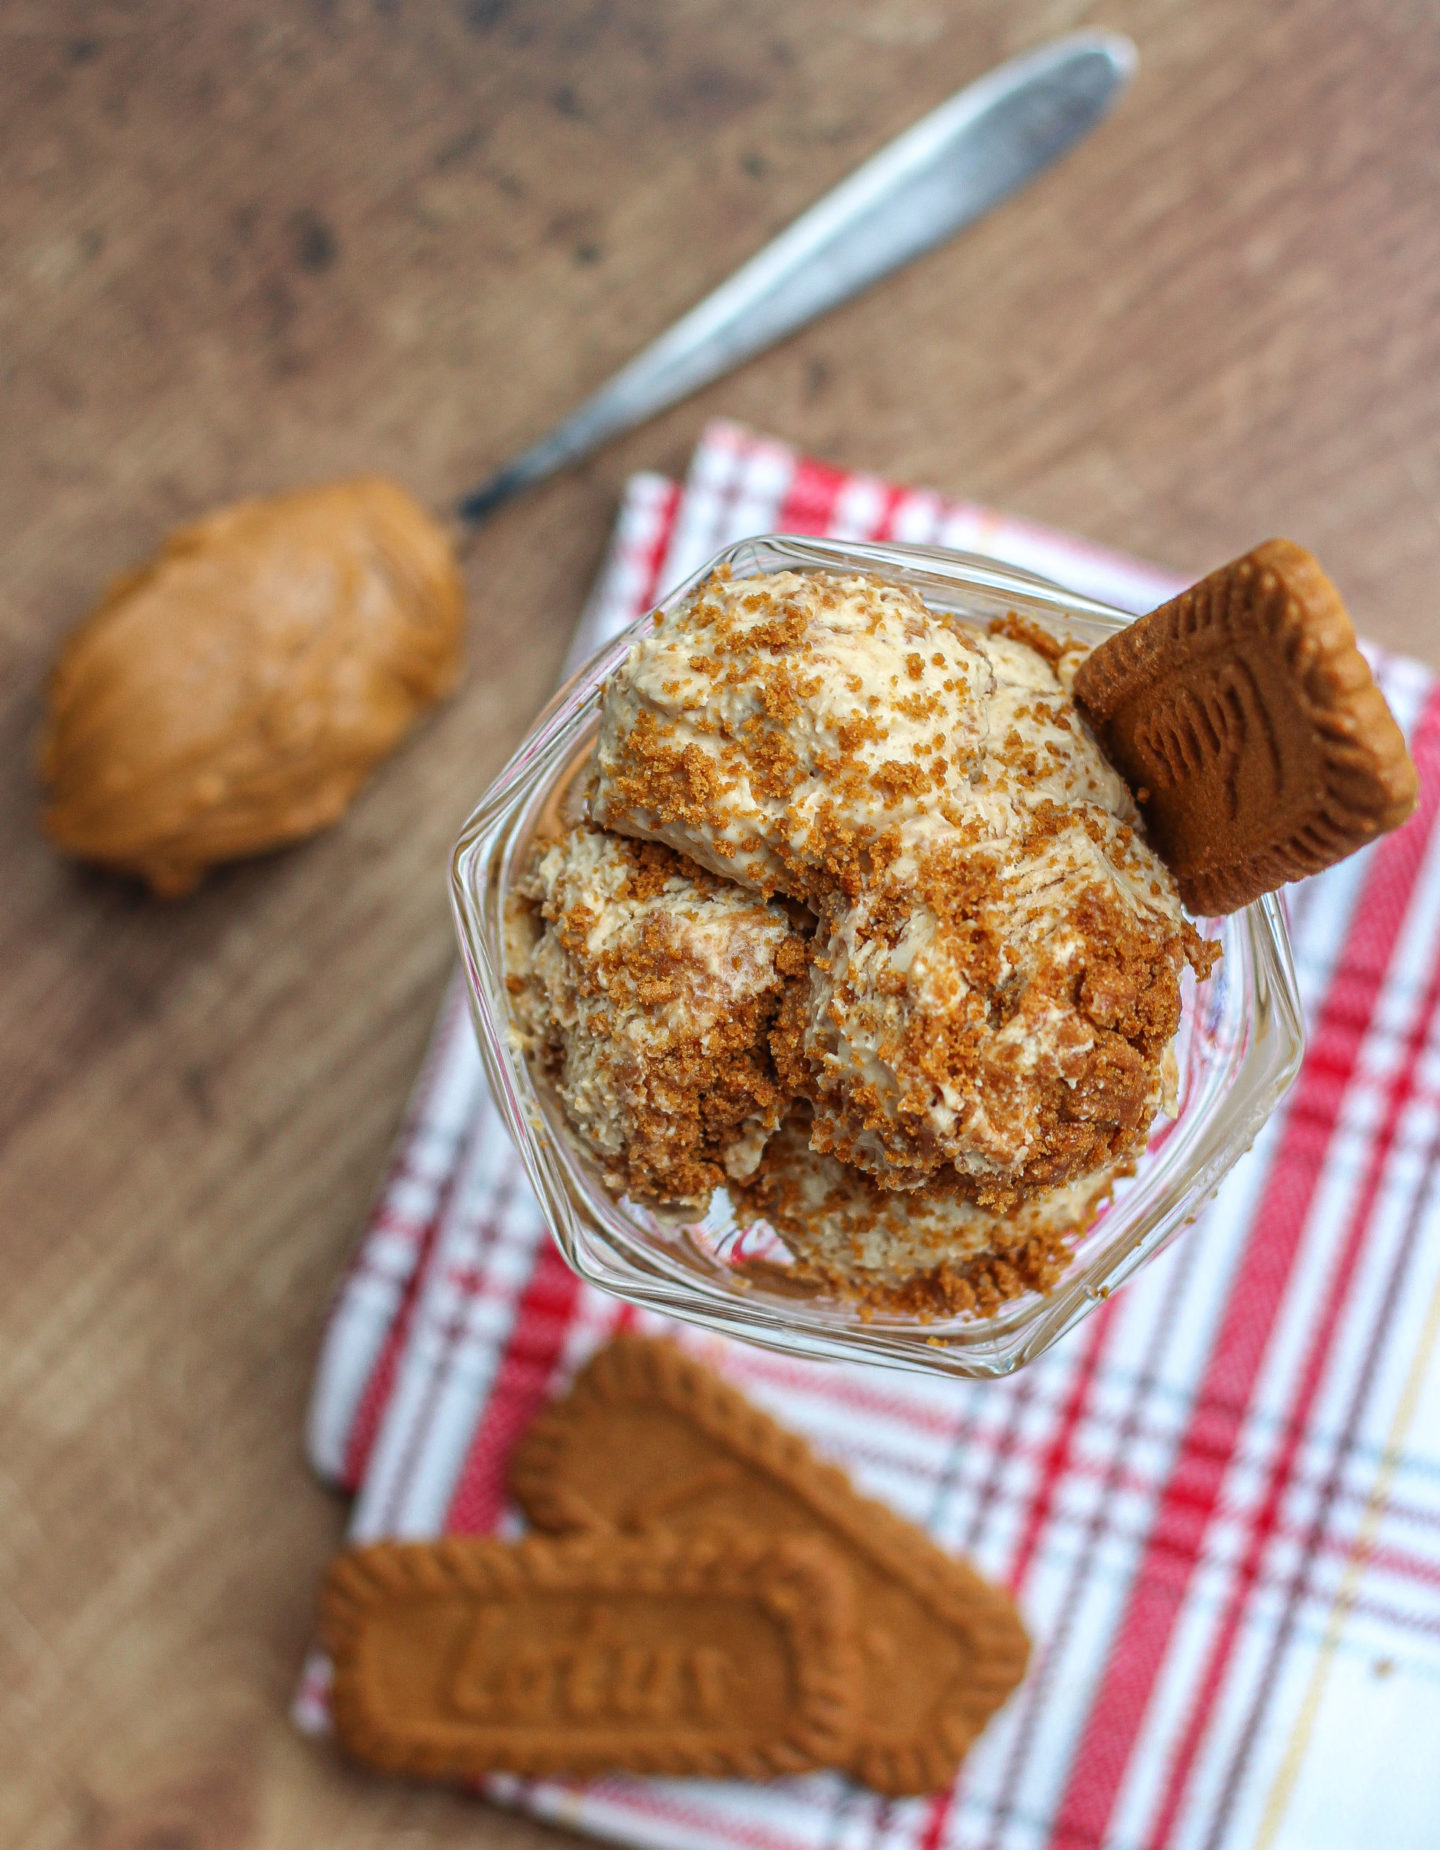
Sprinkling the extra Biscoff crumbs on top really finishes it off nicely too!
How do I know when the ice cream mixture is whisked enough?
You will see that the mixture is noticeably thicker and if you scoop some out with a spatula, it should be firm enough to scoop out of the bowl but soft enough that it slowly drops off the spatula.
It doesn’t need to be super-thick and firm – it’ll firm up really well in the freezer. Check out my step-by-step photos in my recipe card below for an image of how it should look when whipped enough!
To summarise, this no-churn Biscoff ice cream is:
- Full of both Biscoff biscuits and Biscoff Spread
- Made without an ice cream maker
- Genuinely so quick and easy to make
- Made using only 5 ingredients
- An ideal easy make-ahead summer dessert recipe!
If you try this recipe I’d love to see! You can show me by tagging me @bakerjoblog or using #bakerjoblog!
Other no-bake and dessert recipes to try:
- No-Churn Mince Pie Ice Cream
- No-Bake Mint Chocolate Cheesecake
- Lemon Bars
- No-Churn Oreo Ice Cream
- No-Churn Strawberry Cheesecake Ice Cream
- No-Bake Lemon Cheesecake
- White Chocolate Coconut Truffles
- No-Bake Fresh Fruit Tart
- No-Bake Strawberry White Chocolate Cheesecake
- Cocoa Dusted Chocolate Truffles
- No-Bake Healthy Chewy Snack Bars
- Strawberry Pavlova

No-Churn Biscoff Ice Cream
Equipment
- Electric hand/stand mixer with whisk attachment
- 1kg/2lb loaf tin
Ingredients
- 1 tin condensed milk 397g sized tin
- 500 ml double cream cold
- 1/2 tsp vanilla level
- 200 g Biscoff biscuits chopped/crushed and divided: 150g for ice cream mixture, 50g to sprinkle on top
- 200 g Biscoff spread
Instructions
- Chop your Biscoff biscuits with a knife or pulse in a food processor. You could also place them in a ziplock/sandwich bag and use a rolling pin to crush them. Use whichever method you prefer to end up with a combination of fine crumbs and larger chunks of Biscoff biscuits.


- Separate the crushed Biscoff biscuits into two small bowls: 150g to be folded into the ice cream mixture and 50g to sprinkle on top later (once poured into the loaf tin).
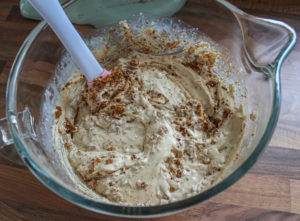
- Pour the double cream, condensed milk, vanilla extract and Biscoff spread into the bowl of your stand mixer (or large bowl if using an electric hand whisk) and with the whisk attachment fitted, whisk on medium-high speed until thickened. The mixture should hold soft peaks as shown in this photo. This takes around 2 minutes on setting 7 on my KitchenAid stand mixer.
- Fold through the 150g of crushed Biscoff biscuits into this mixture with a spatula until well combined.

- Pour the mixture into your 1kg/2lb loaf tin and fill it to the top. There will be some extra mixture which you can pour into a small plastic container.
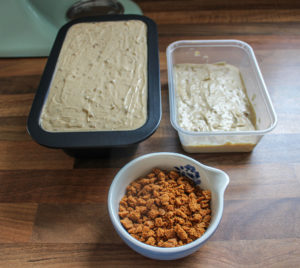
- Finally, sprinkle the remaining 50g of Biscoff biscuit crumbs on top of the ice cream.
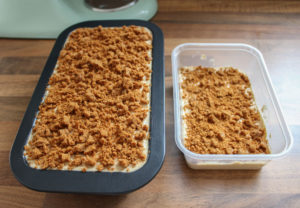
- Double wrap the loaf tin in film and place in the freezer to set. Place the lid on the plastic container of your leftover ice cream before freezing.
- Leave to set firmly in the freezer for at least 6 hours or ideally overnight.
- When first taking the ice cream out of the freezer it can be quite firm but becomes easier to scoop after around 5 minutes at room temperature. However, it can melt quite quickly so keep stored in the freezer between servings!
- Best eaten within 3-4 weeks.