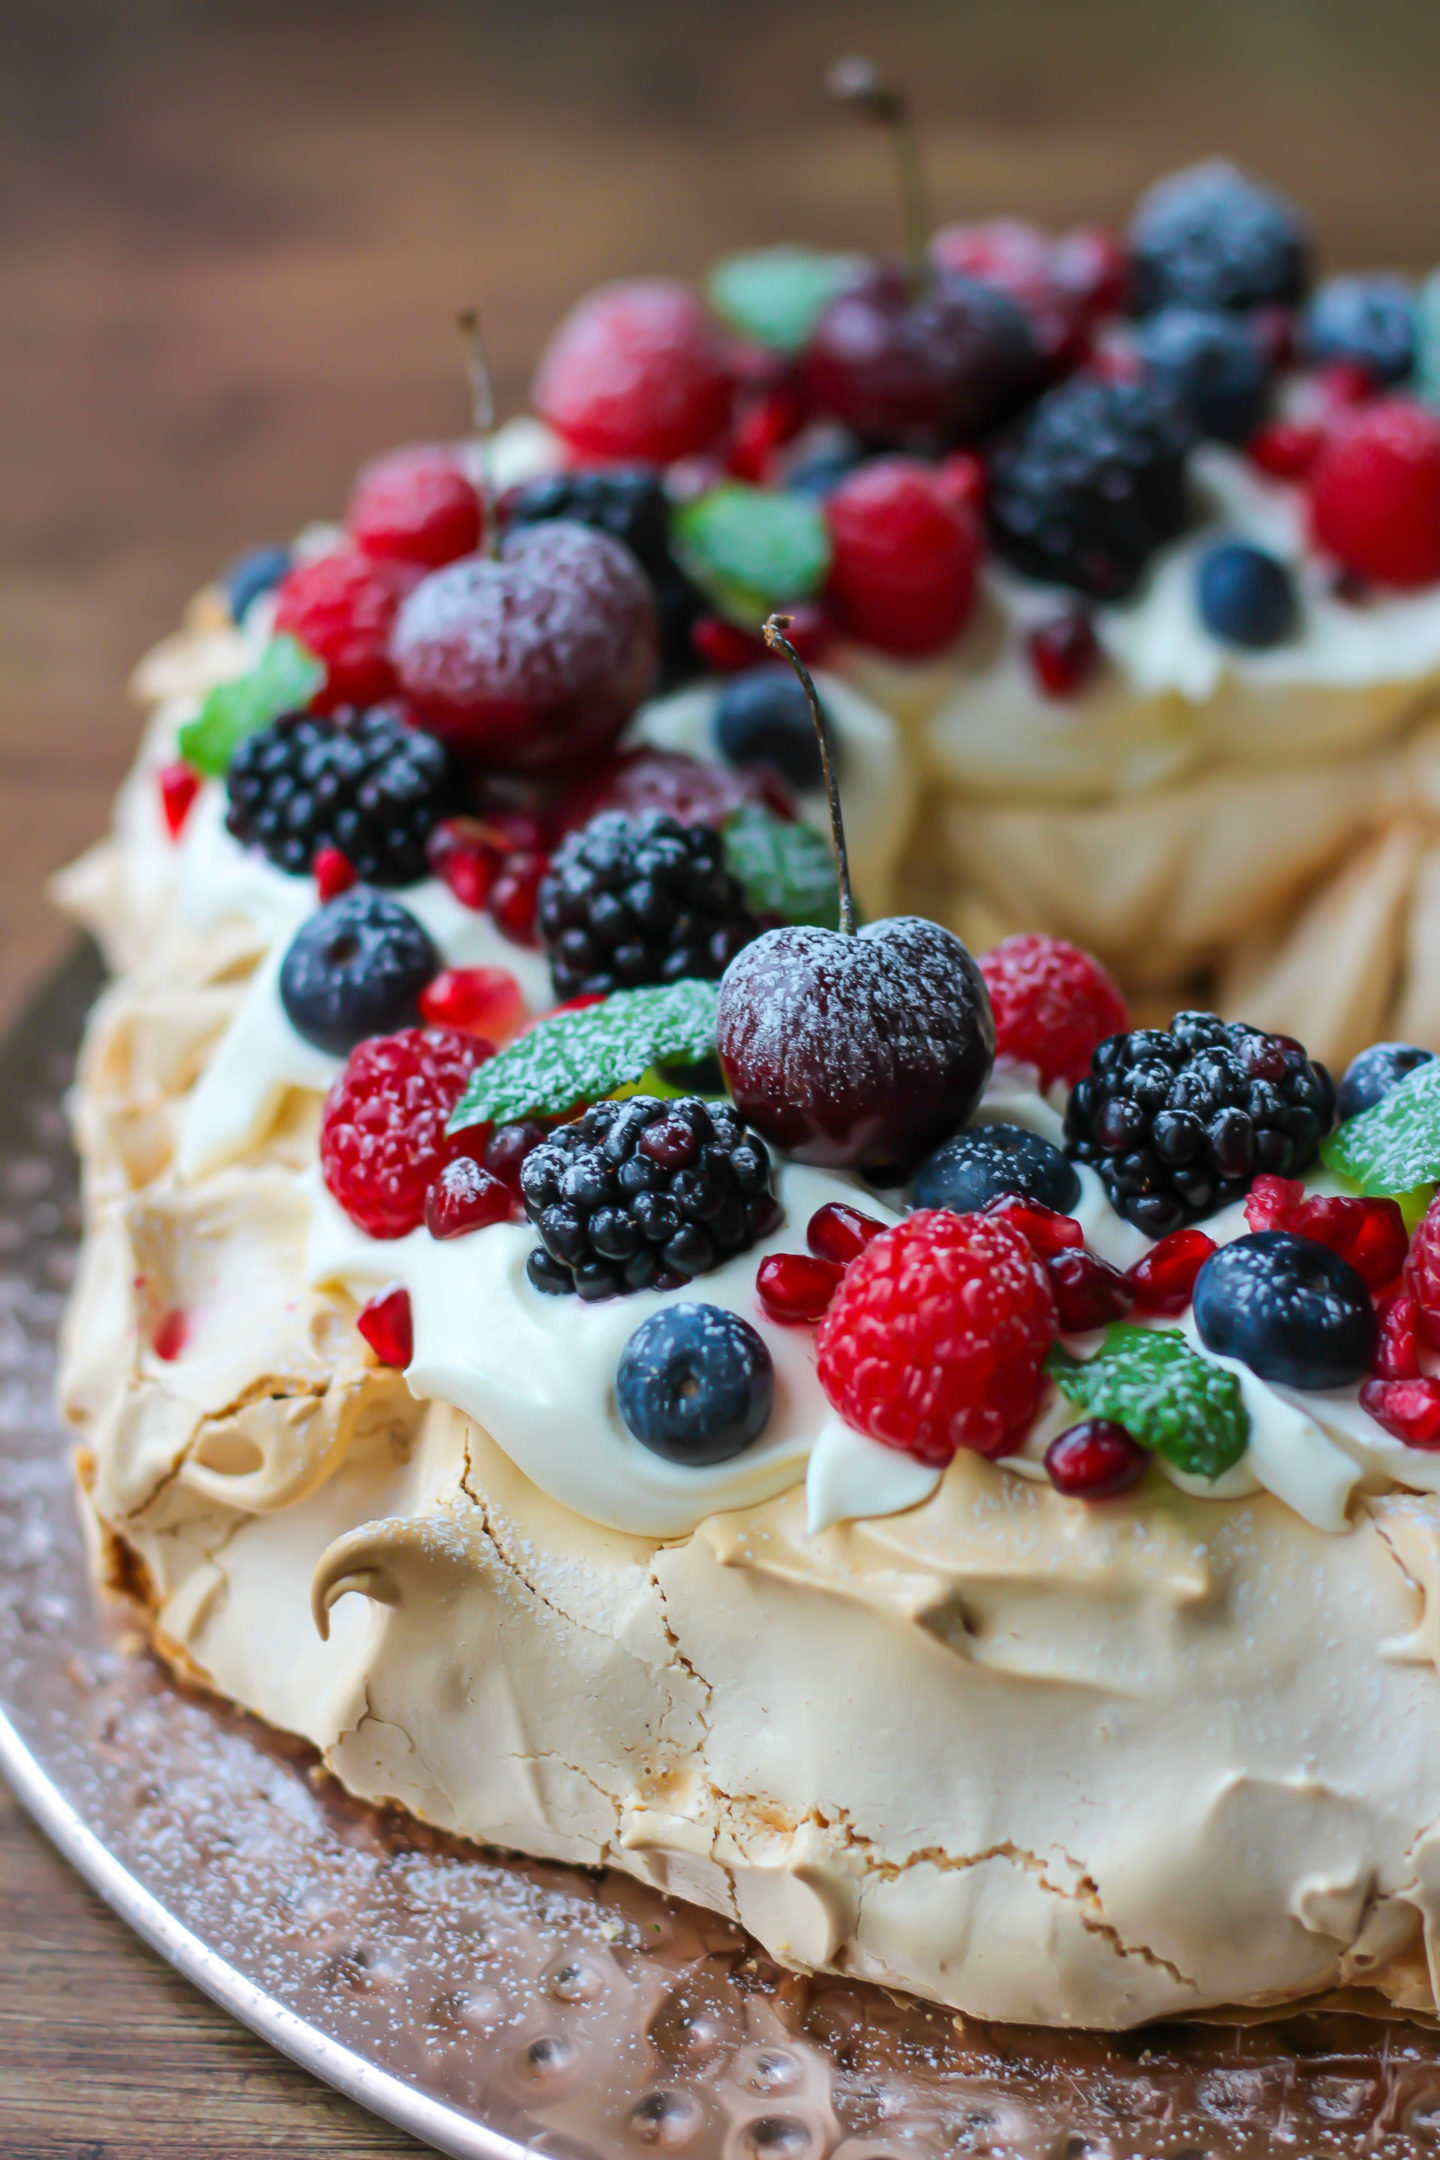
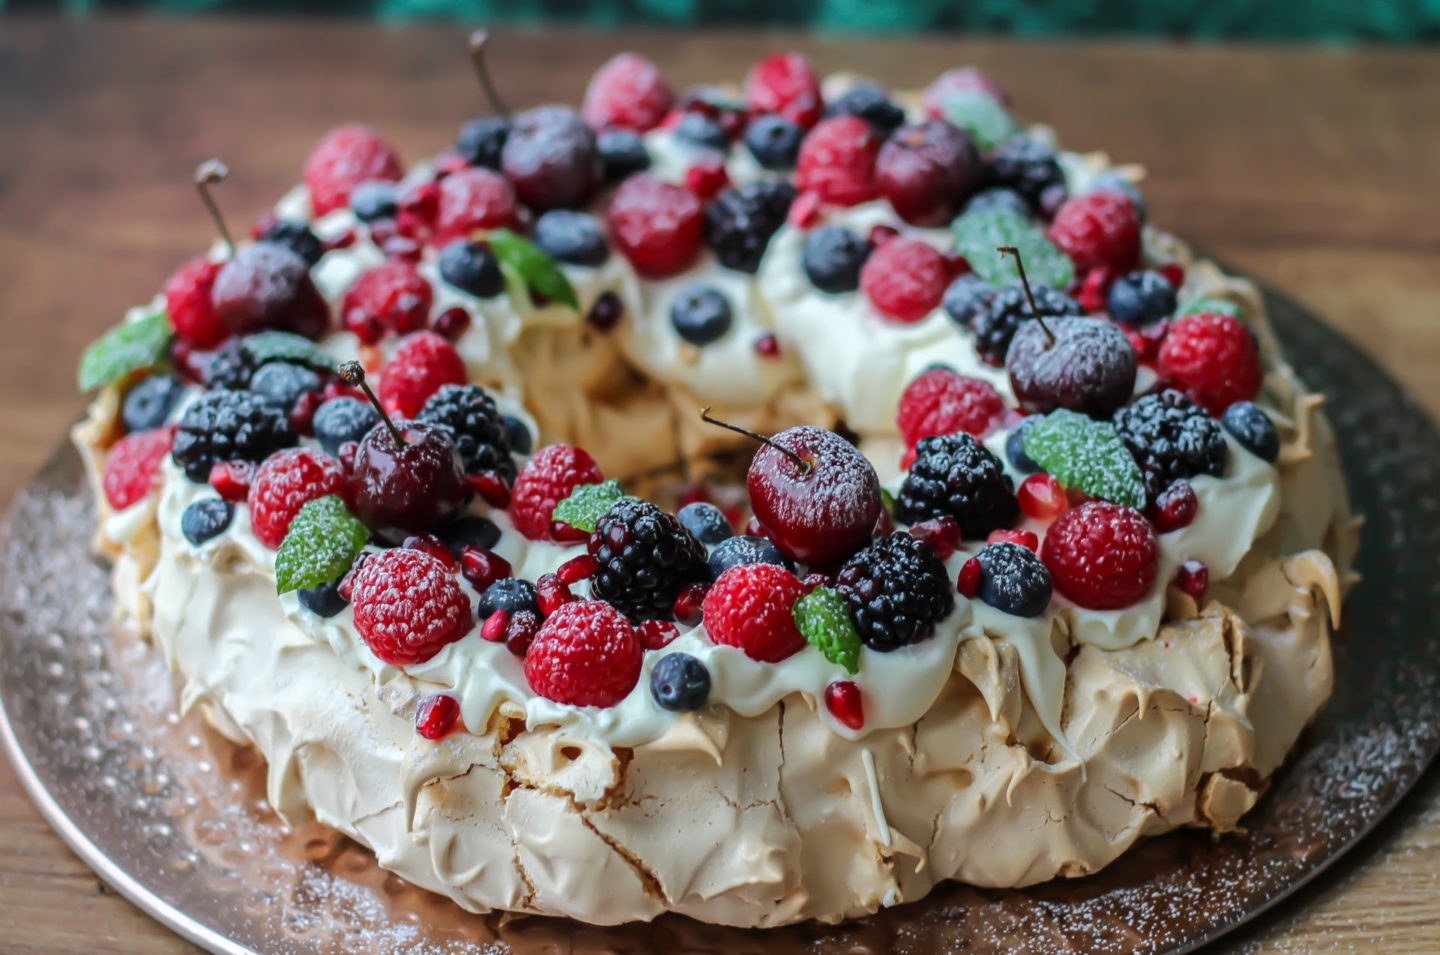
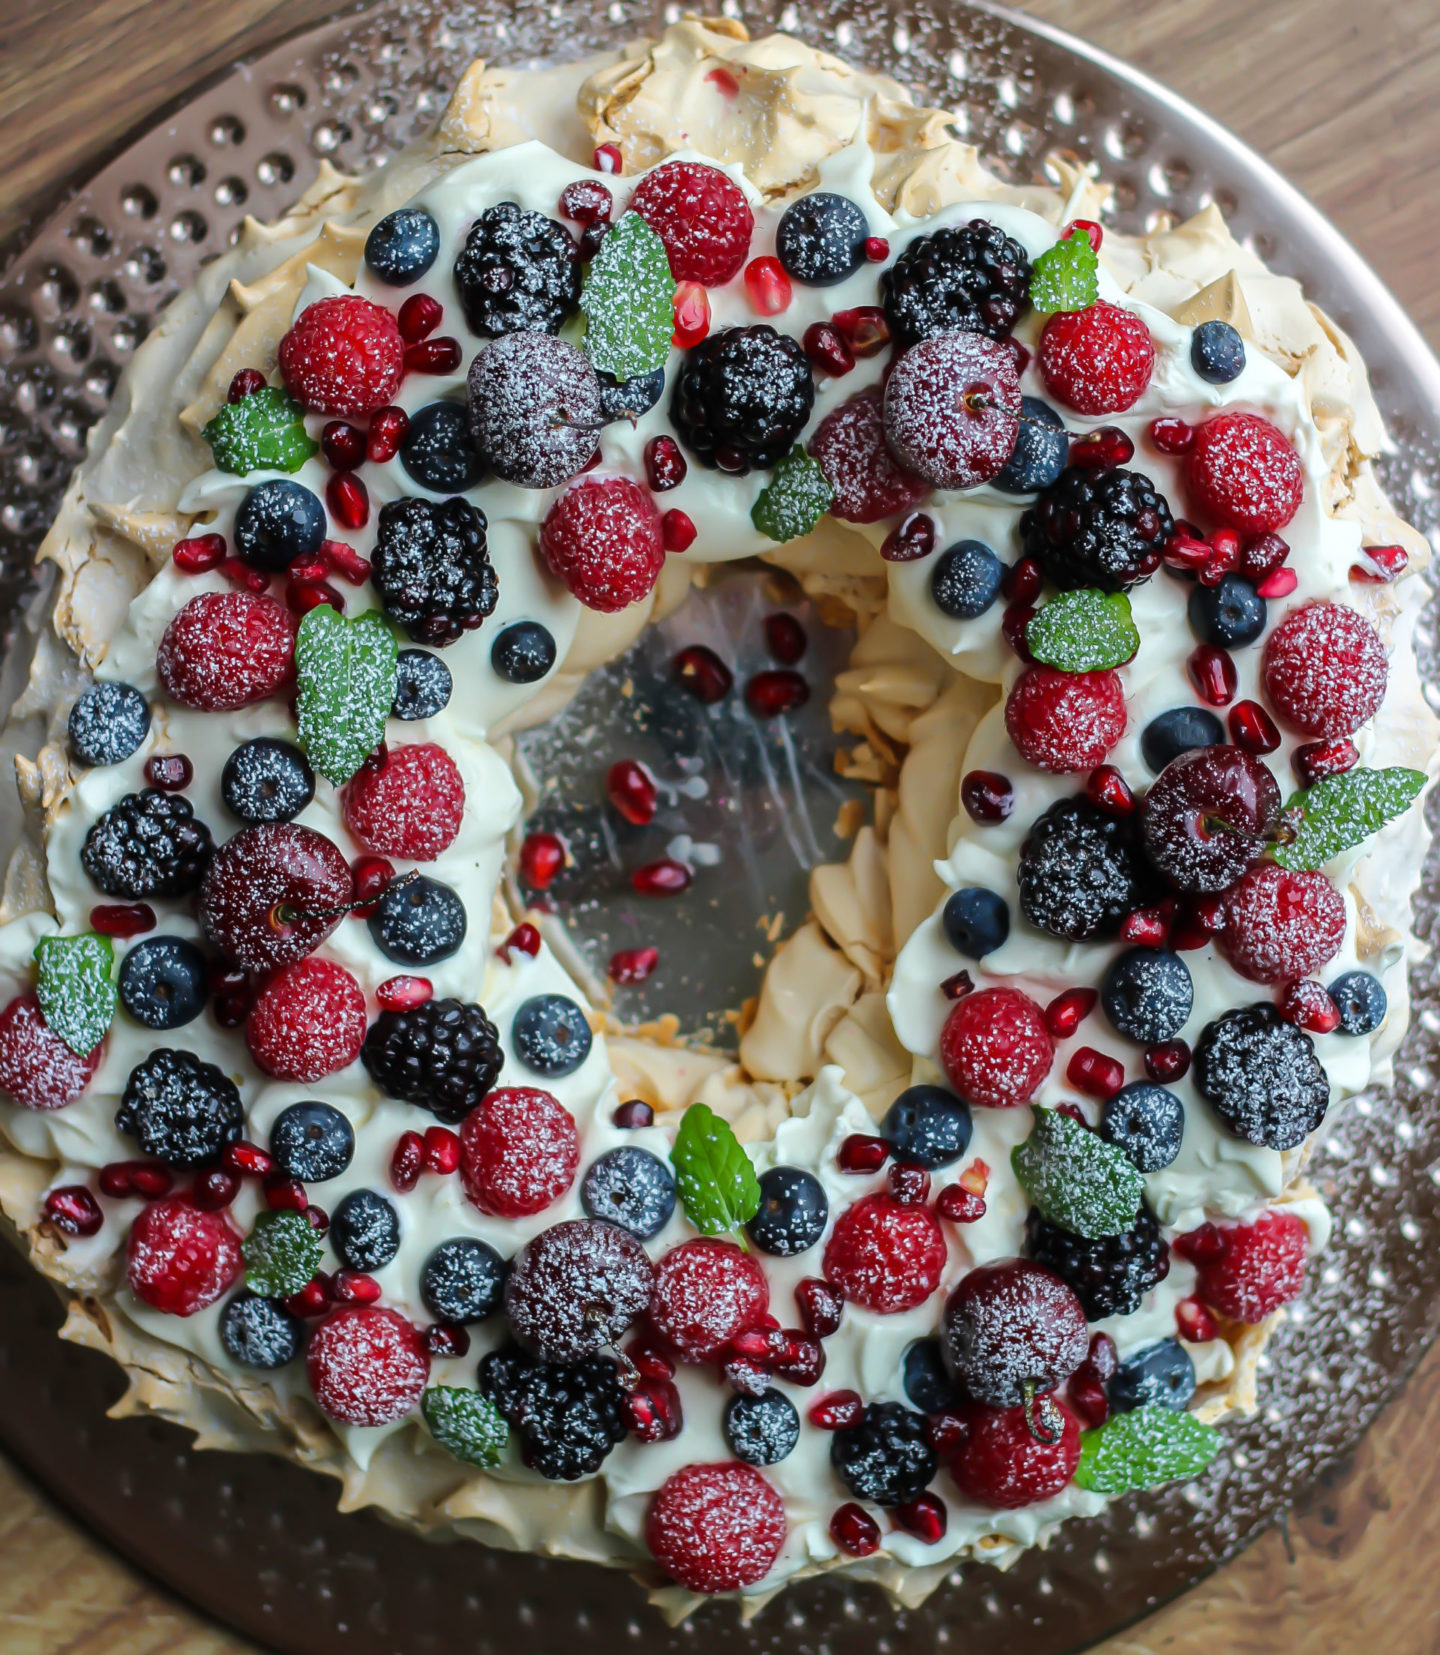
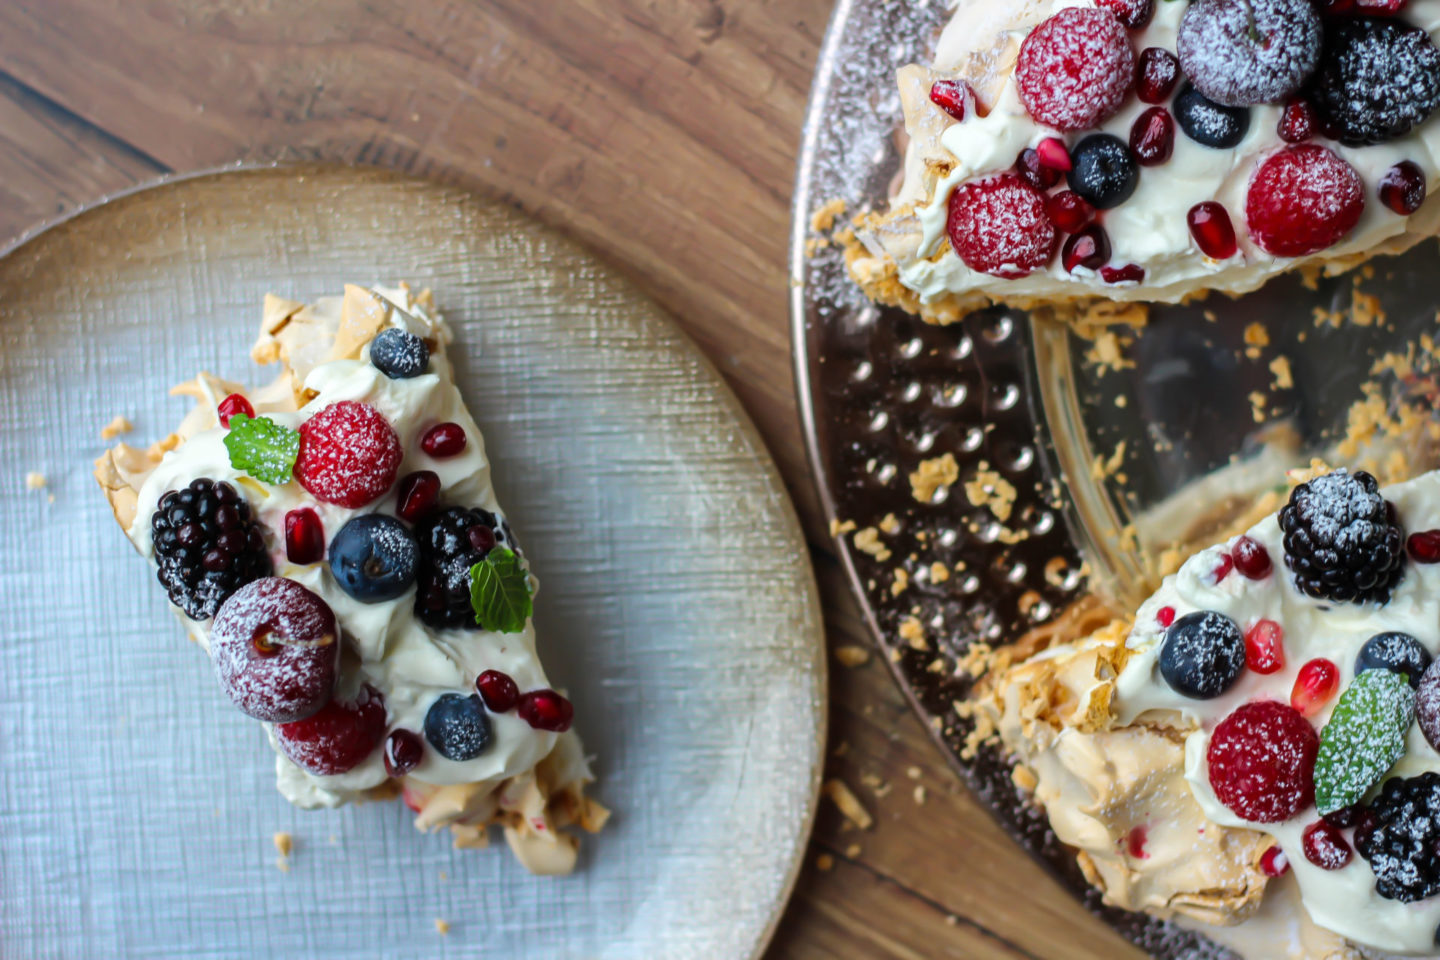
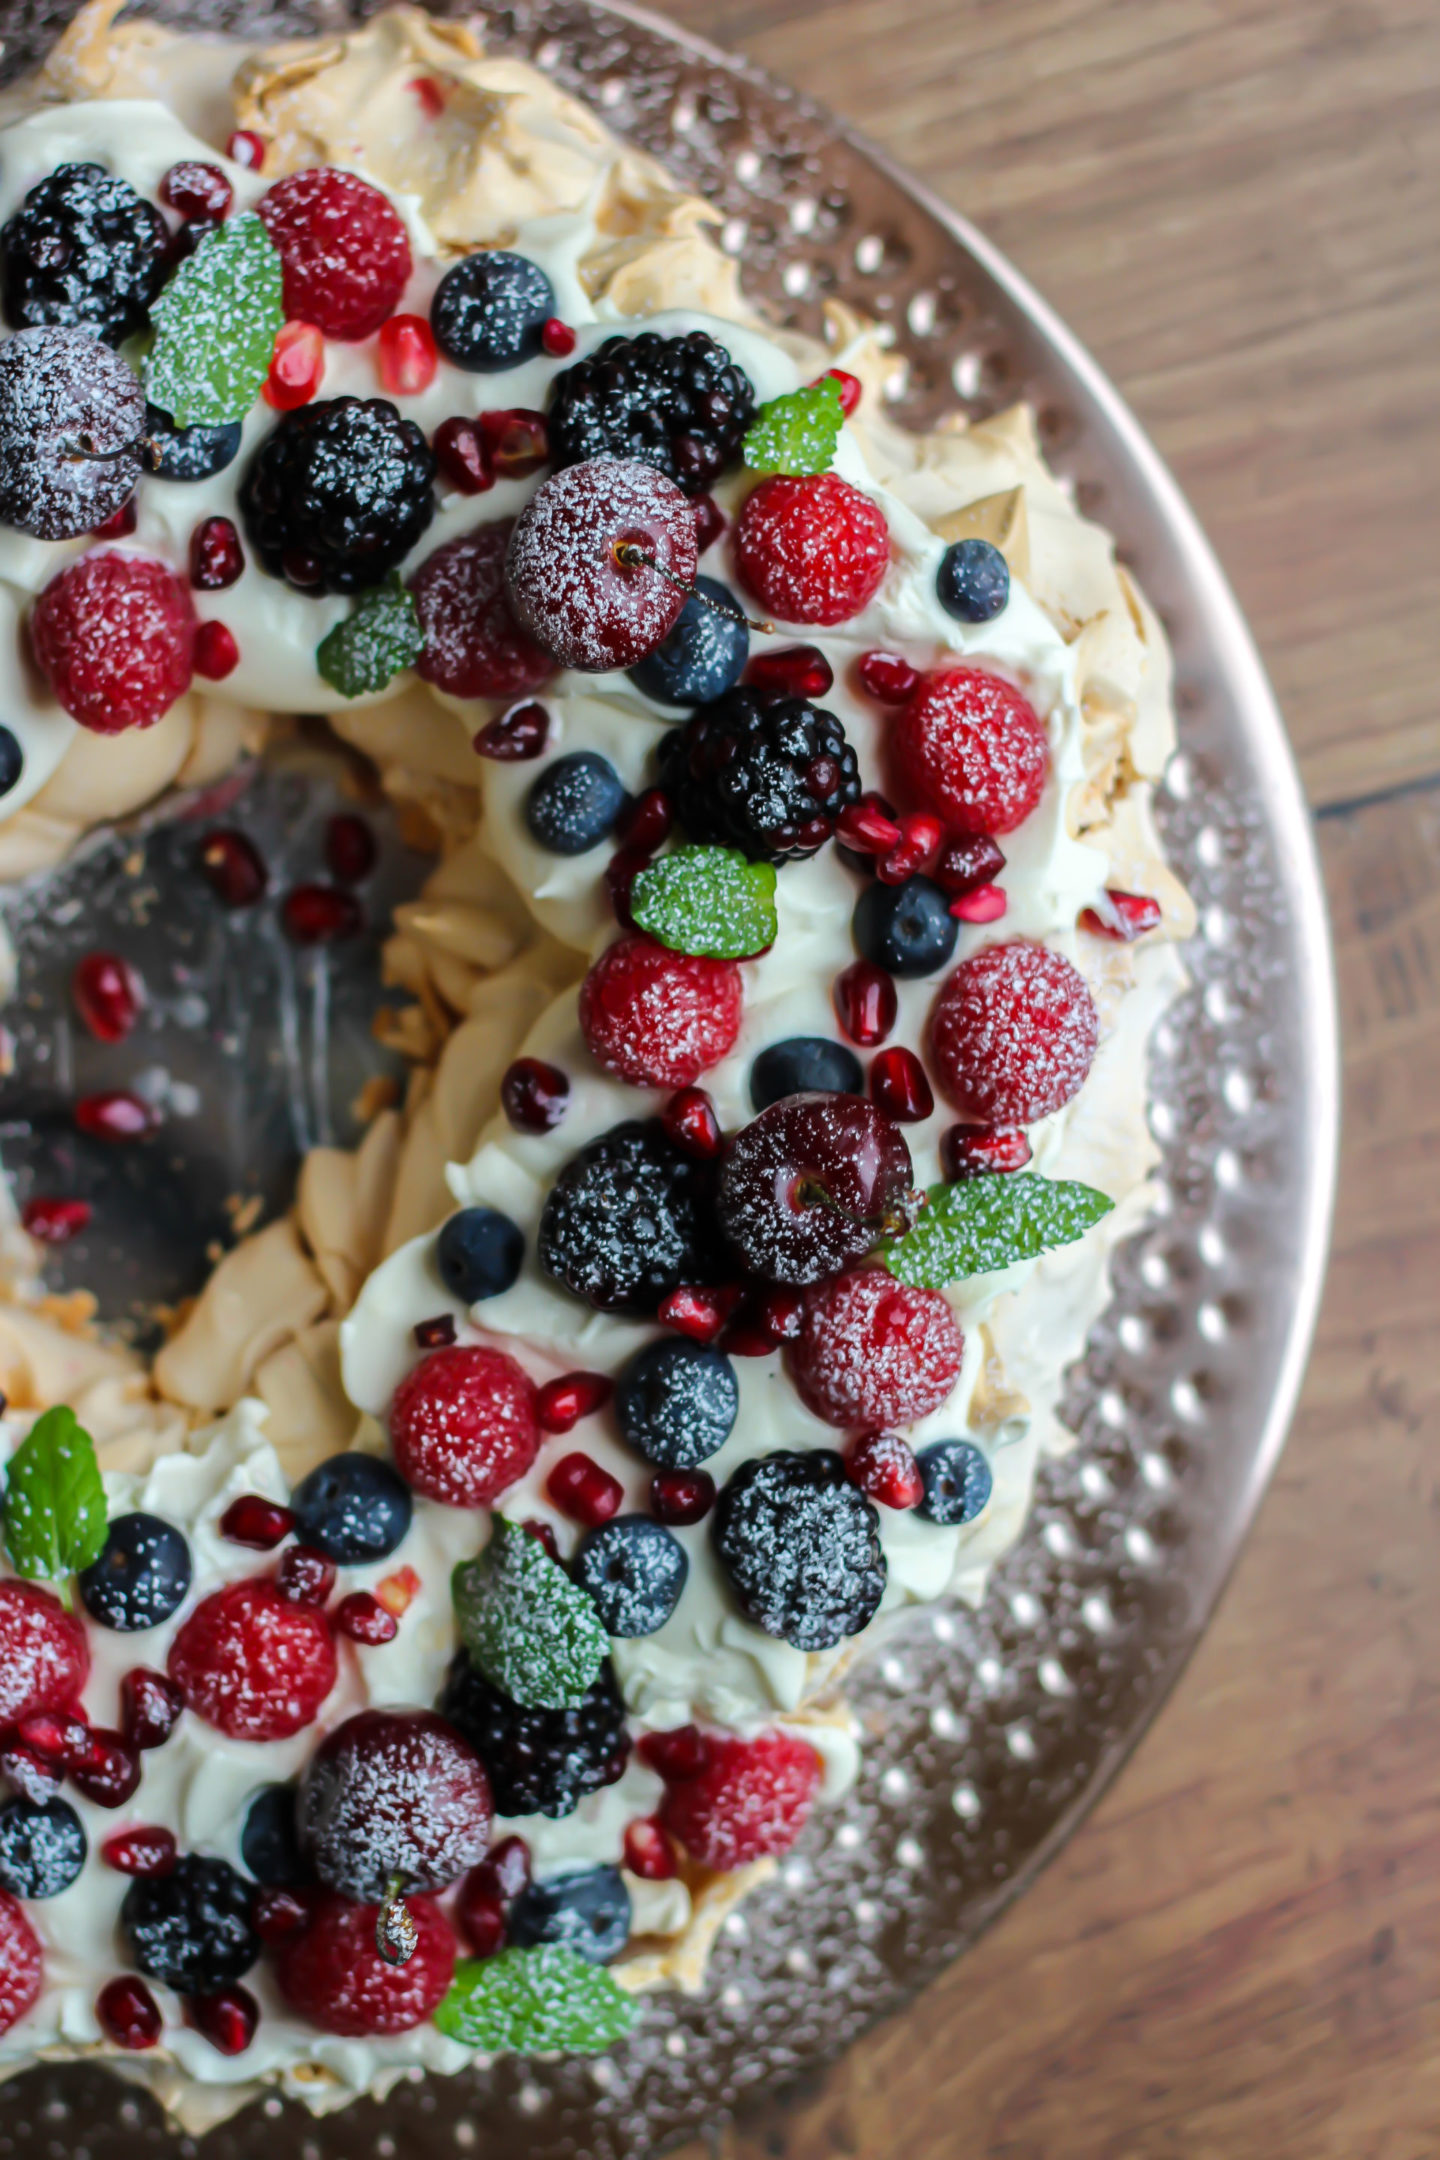
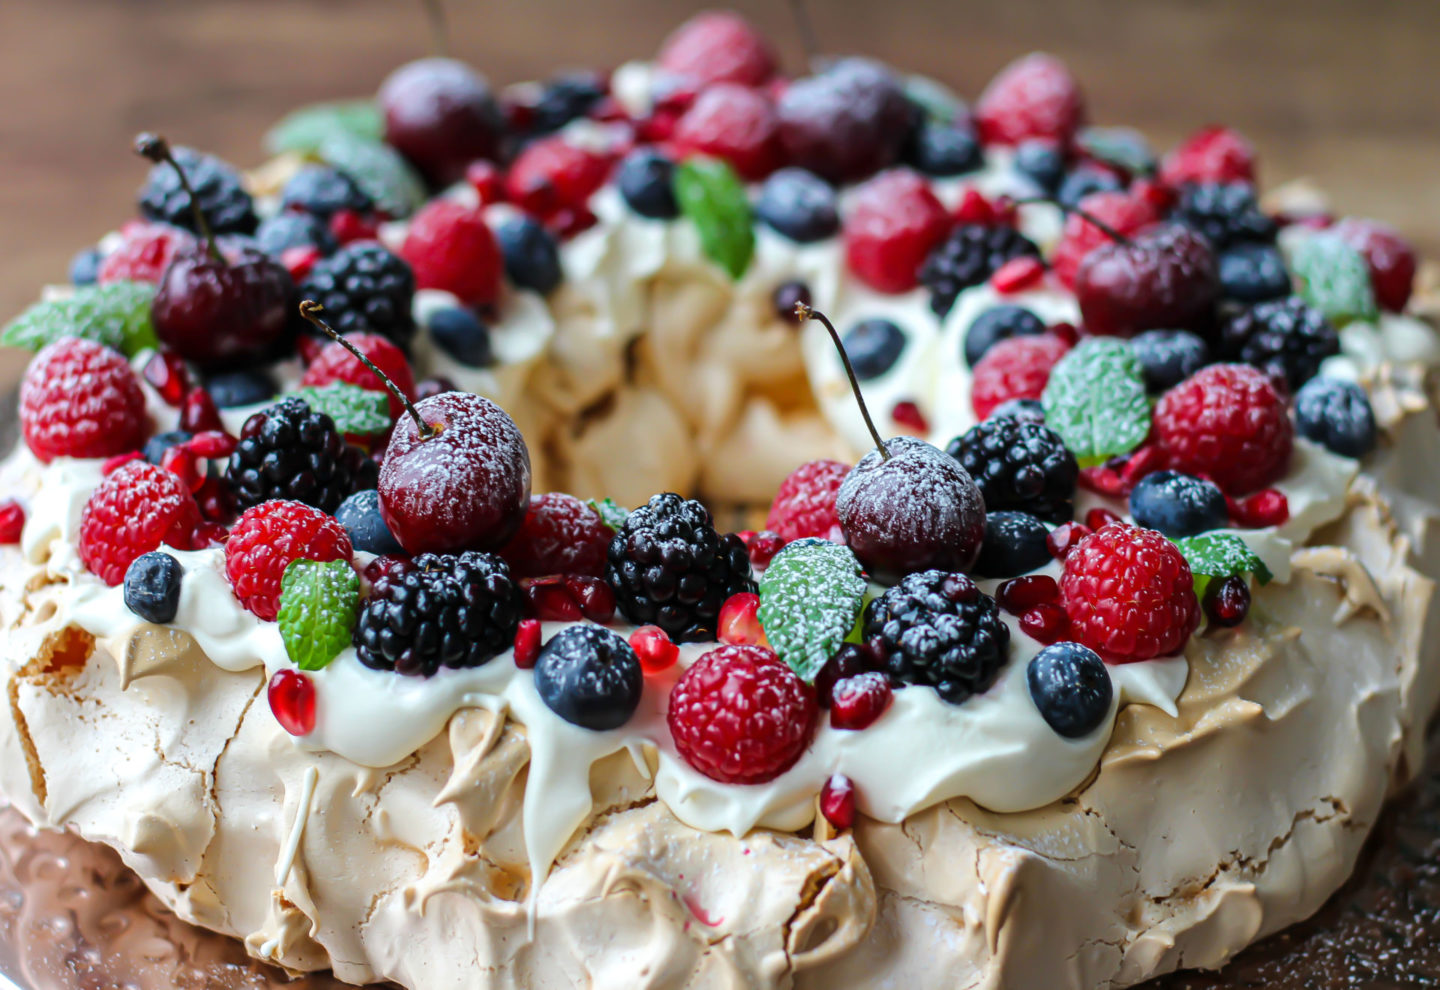
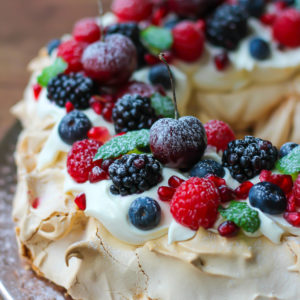
Topped with fresh cream and mixed berries, this Christmas Berry Pavlova Wreath is light and crisp with a marshmallow centre. A truly festive centrepiece!
This post may contain affiliate links. For more information, see my Full Disclosure.
Christmas day is so close now! After an unbelievably strange, difficult year for all of us, I hope that you are able to still celebrate the day.
I’ve tried to spread plenty of festive cheer here on Baker Jo this year! So far I’ve shared several festive recipes such as my Chocolate Orange Bundt Cake, No-Bake Mint Chocolate Cheesecake, Black Forest Swiss Roll and No-Churn Mince Pie Ice Cream.
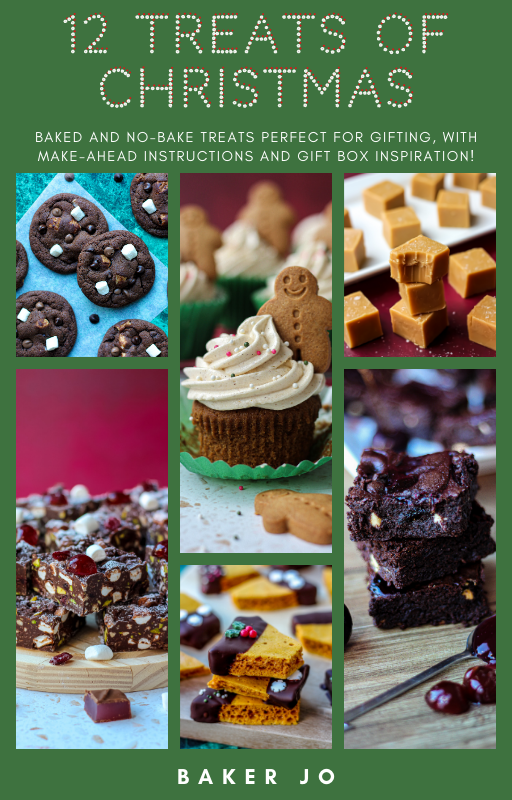
Plus, this year I’ve created an eBook called 12 Treats of Christmas where you’ll find a selection of exclusive Christmas recipes not available on my blog!
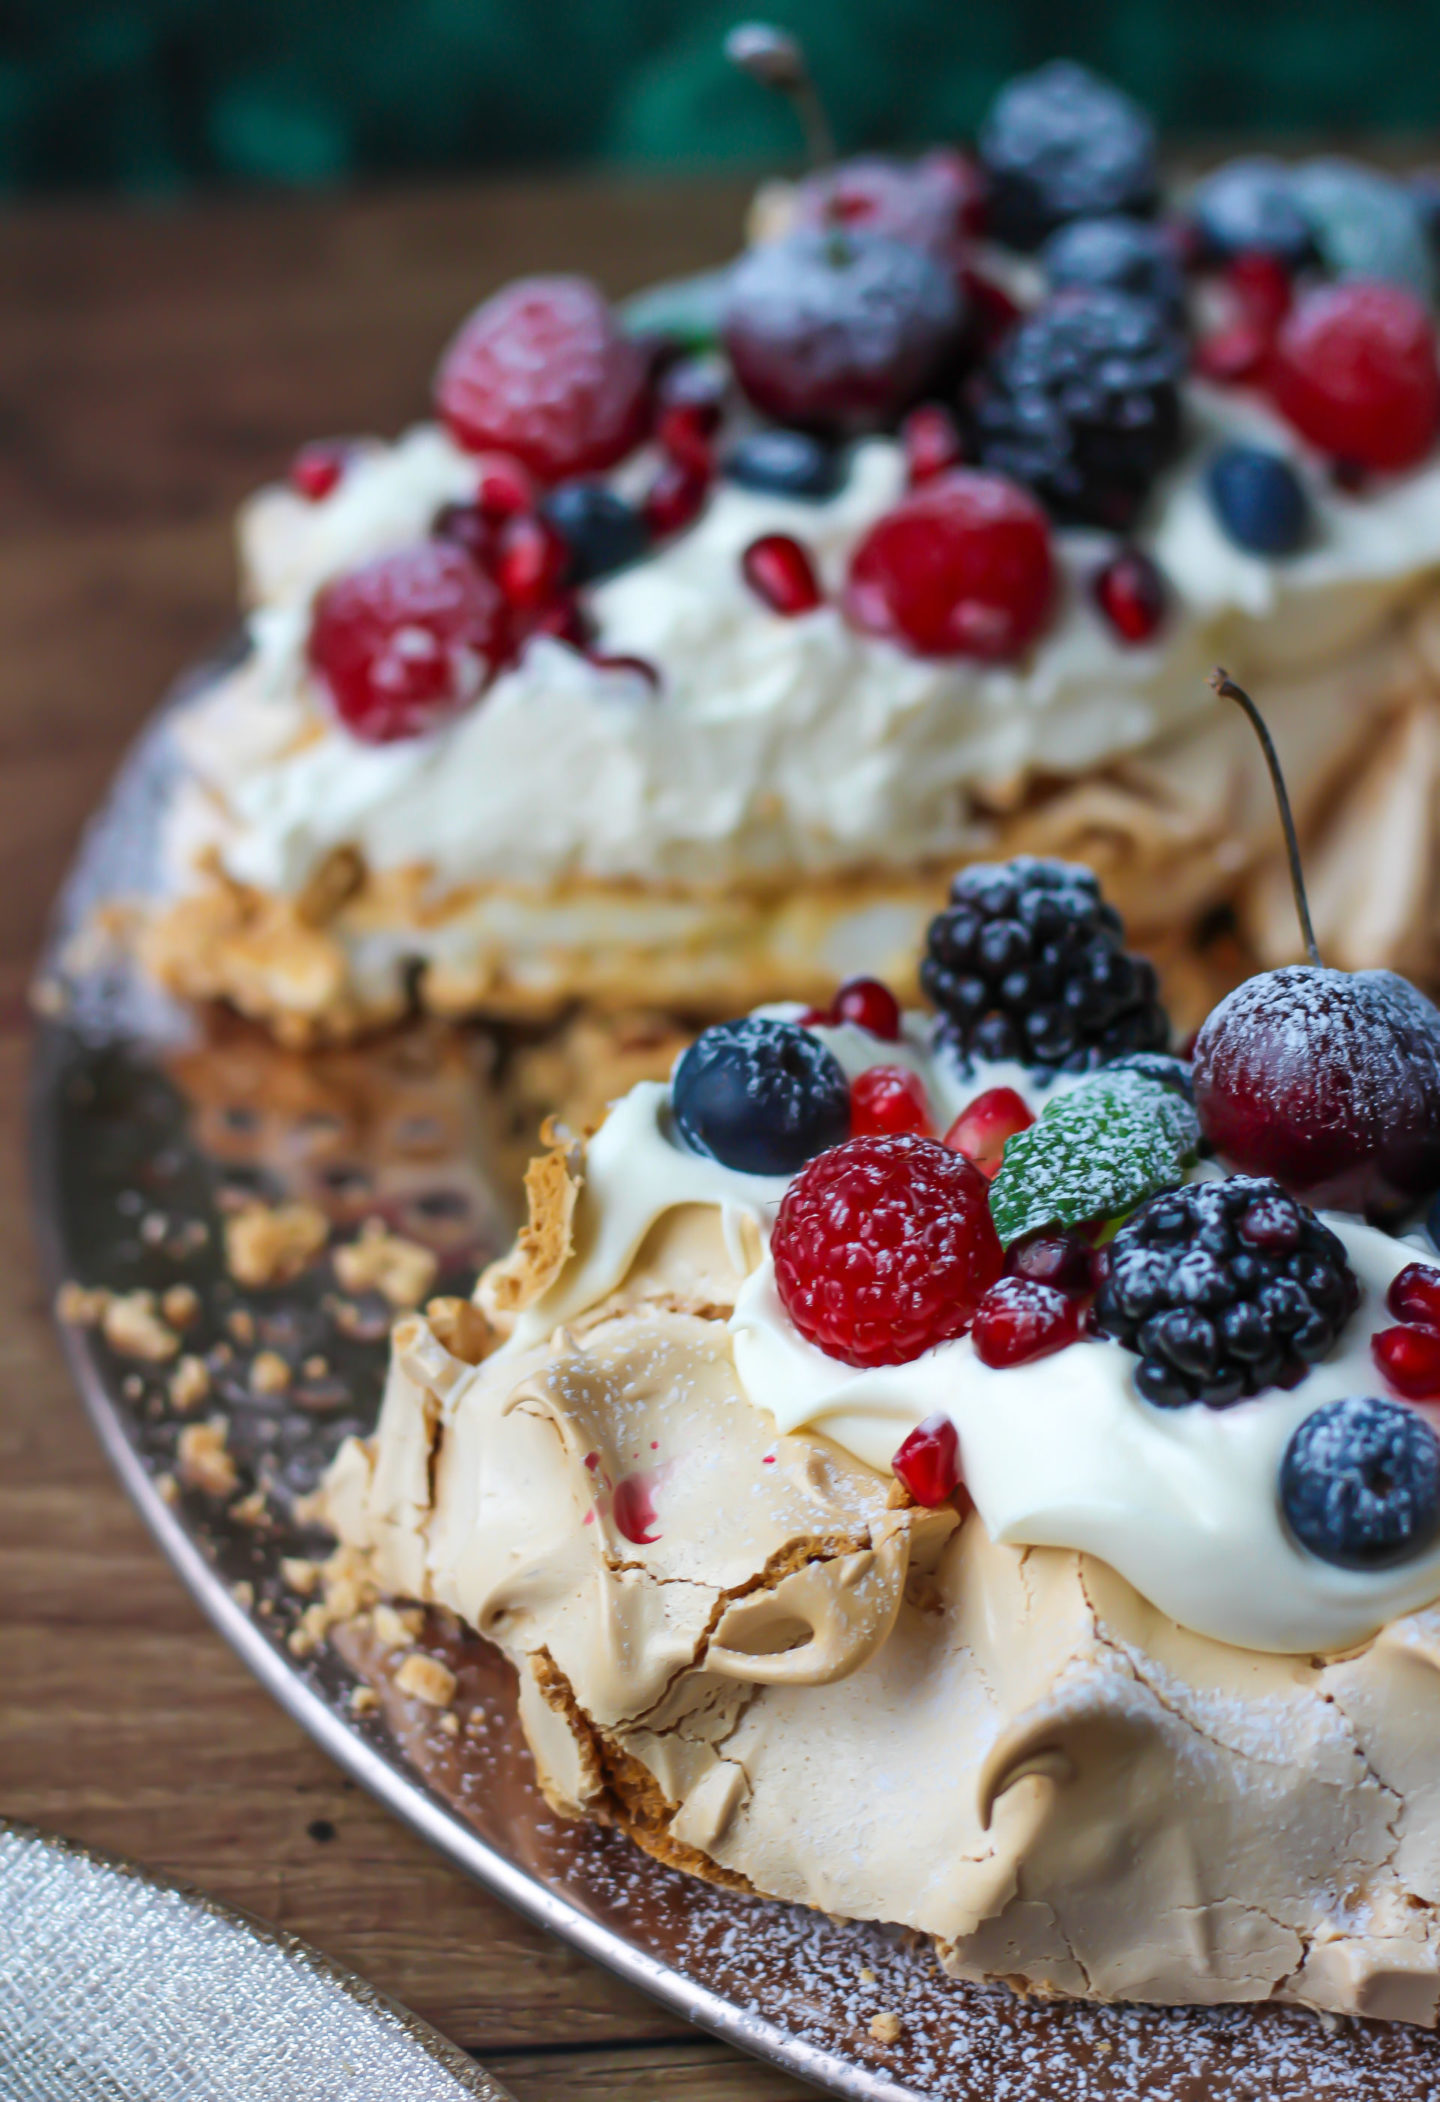
This Christmas berry pavlova wreath would be an ideal Christmas Day centrepiece dessert! Topped with fresh whipped cream, mixed berries and mint, this dessert looks impressive yet is surprisingly easy to make, I promise!
What is pavlova?
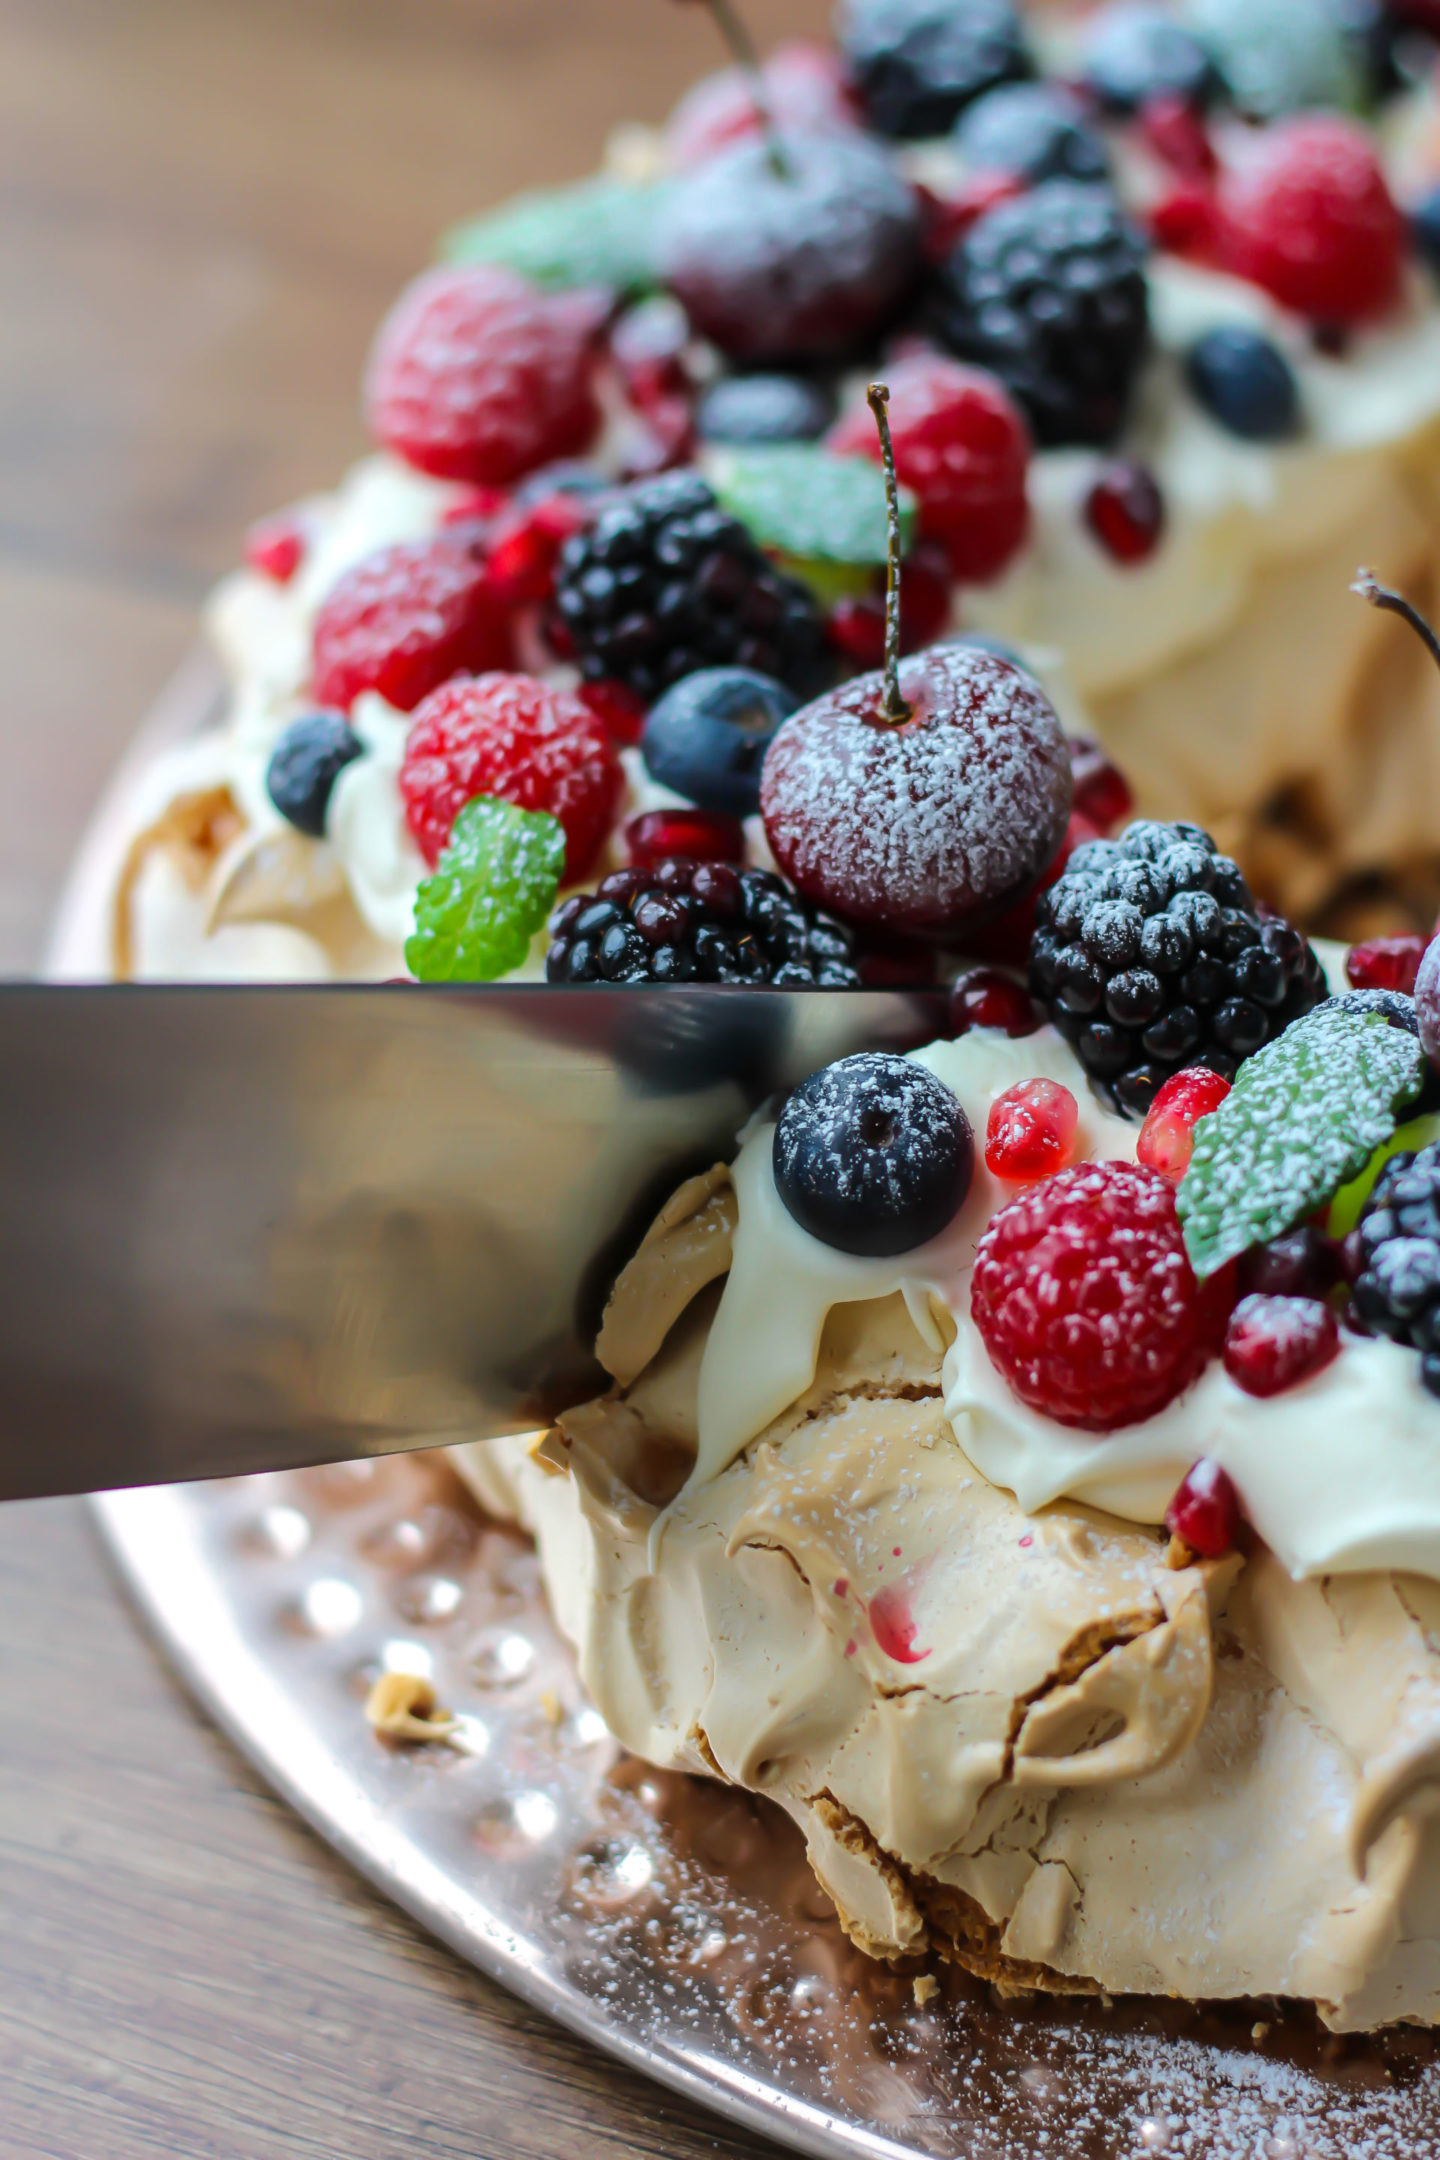
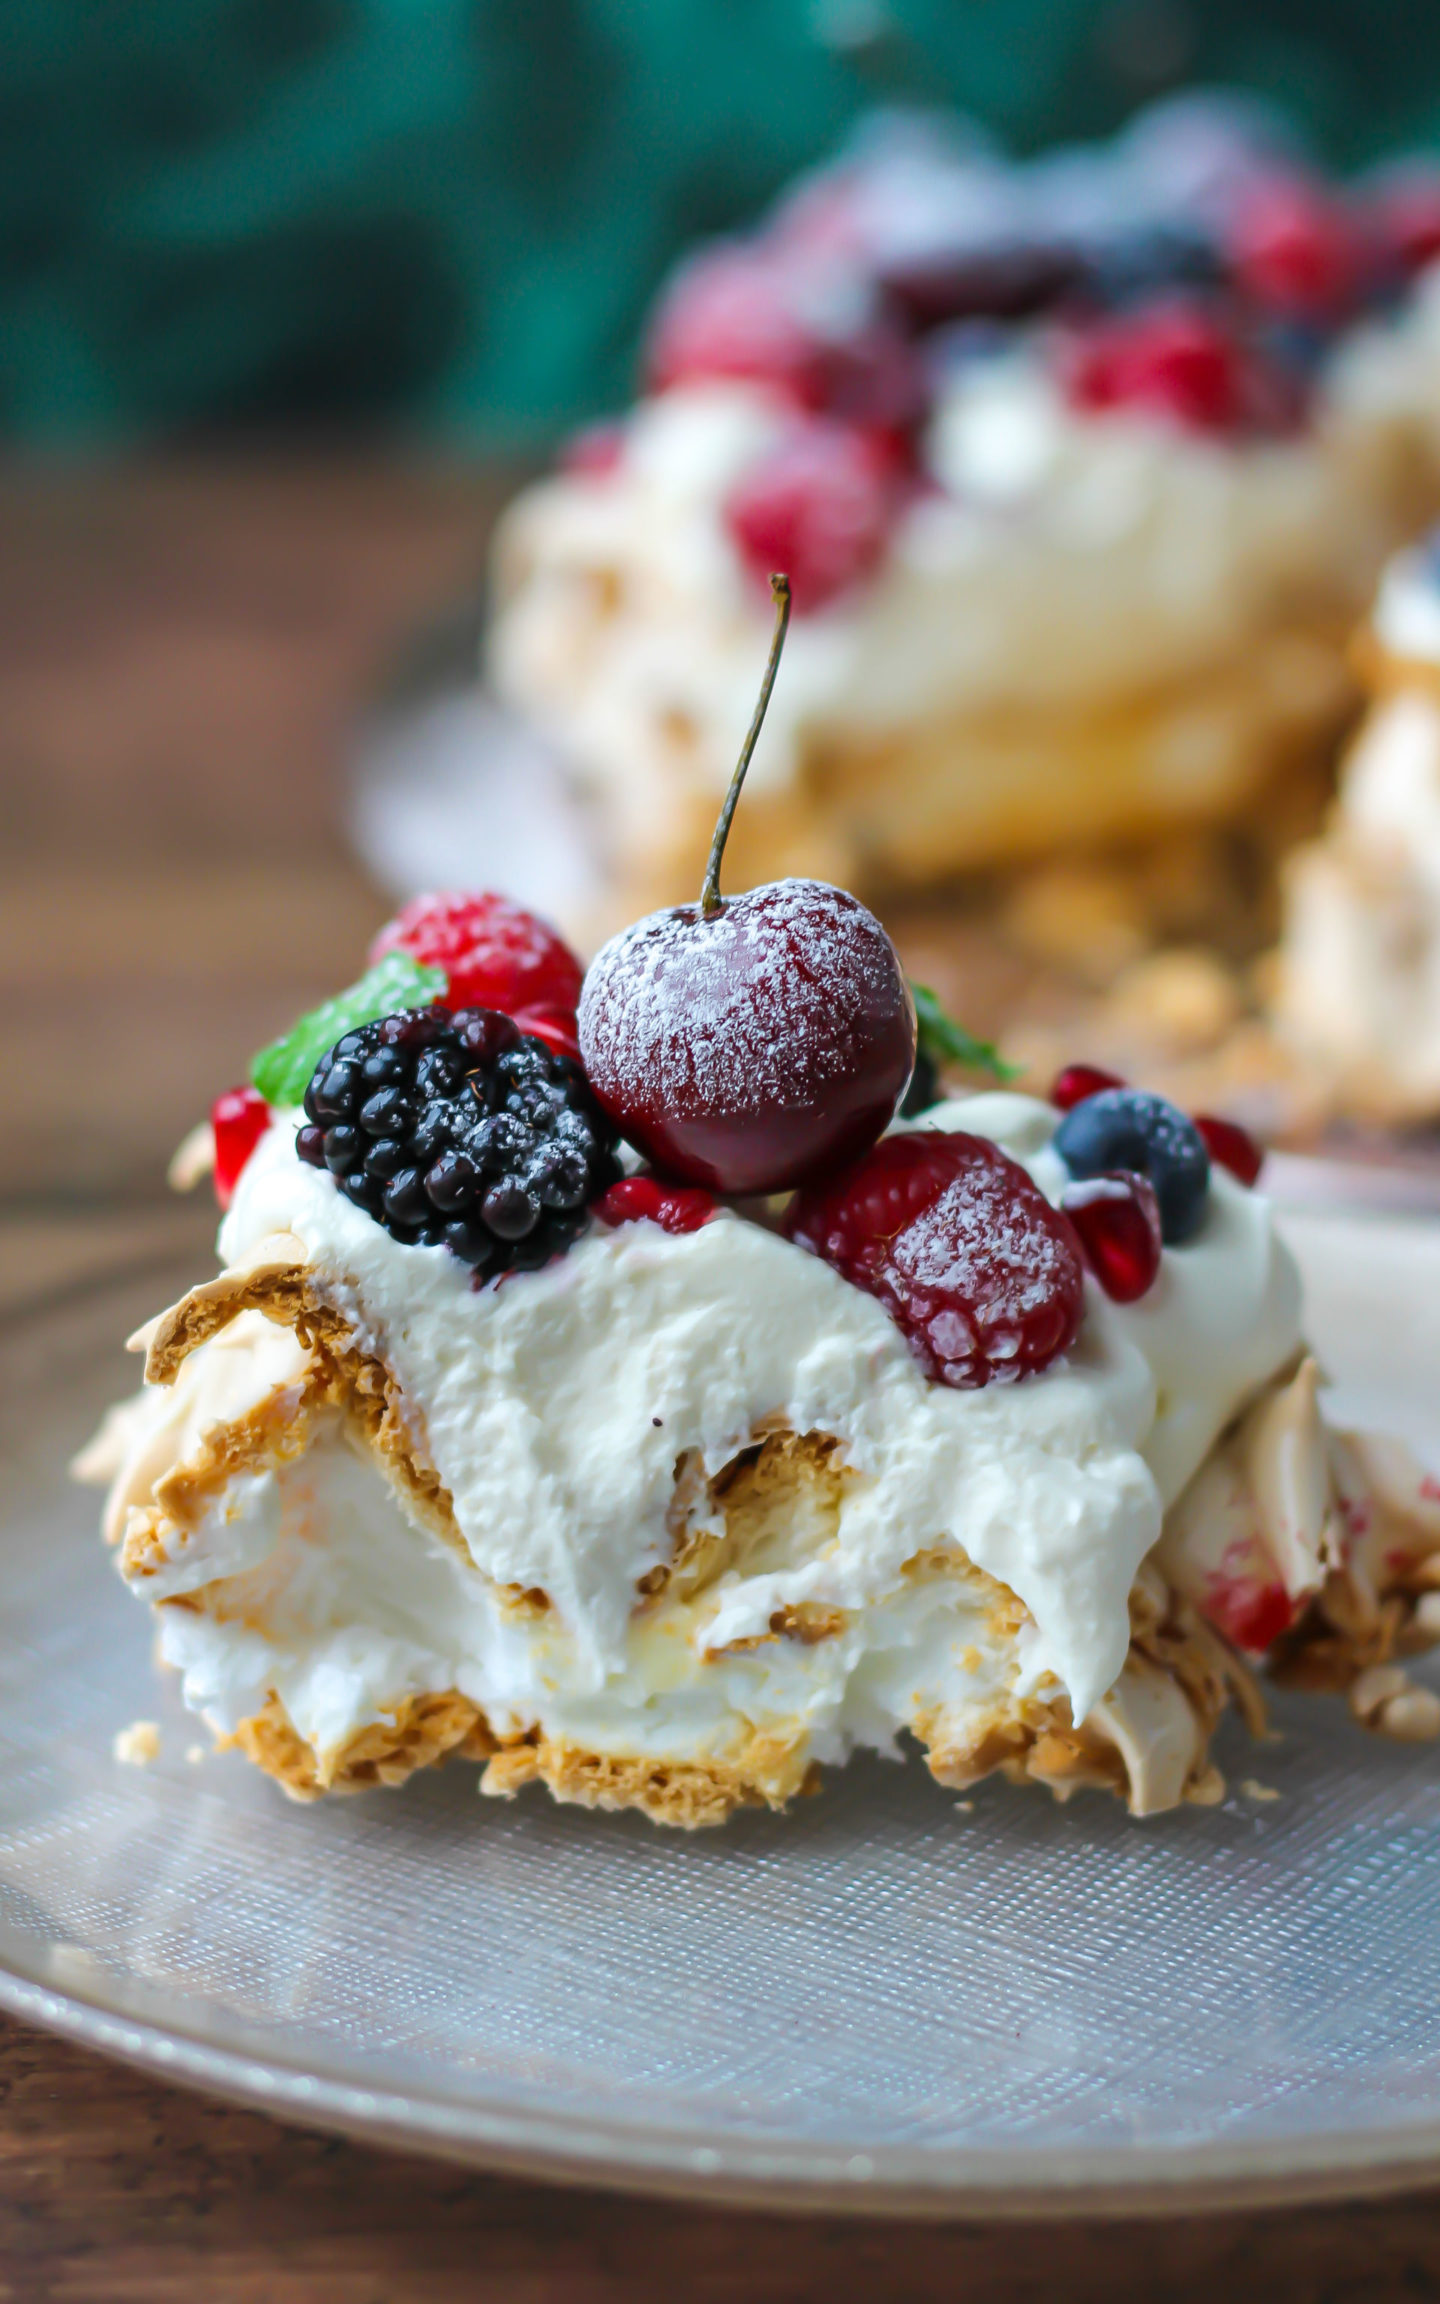
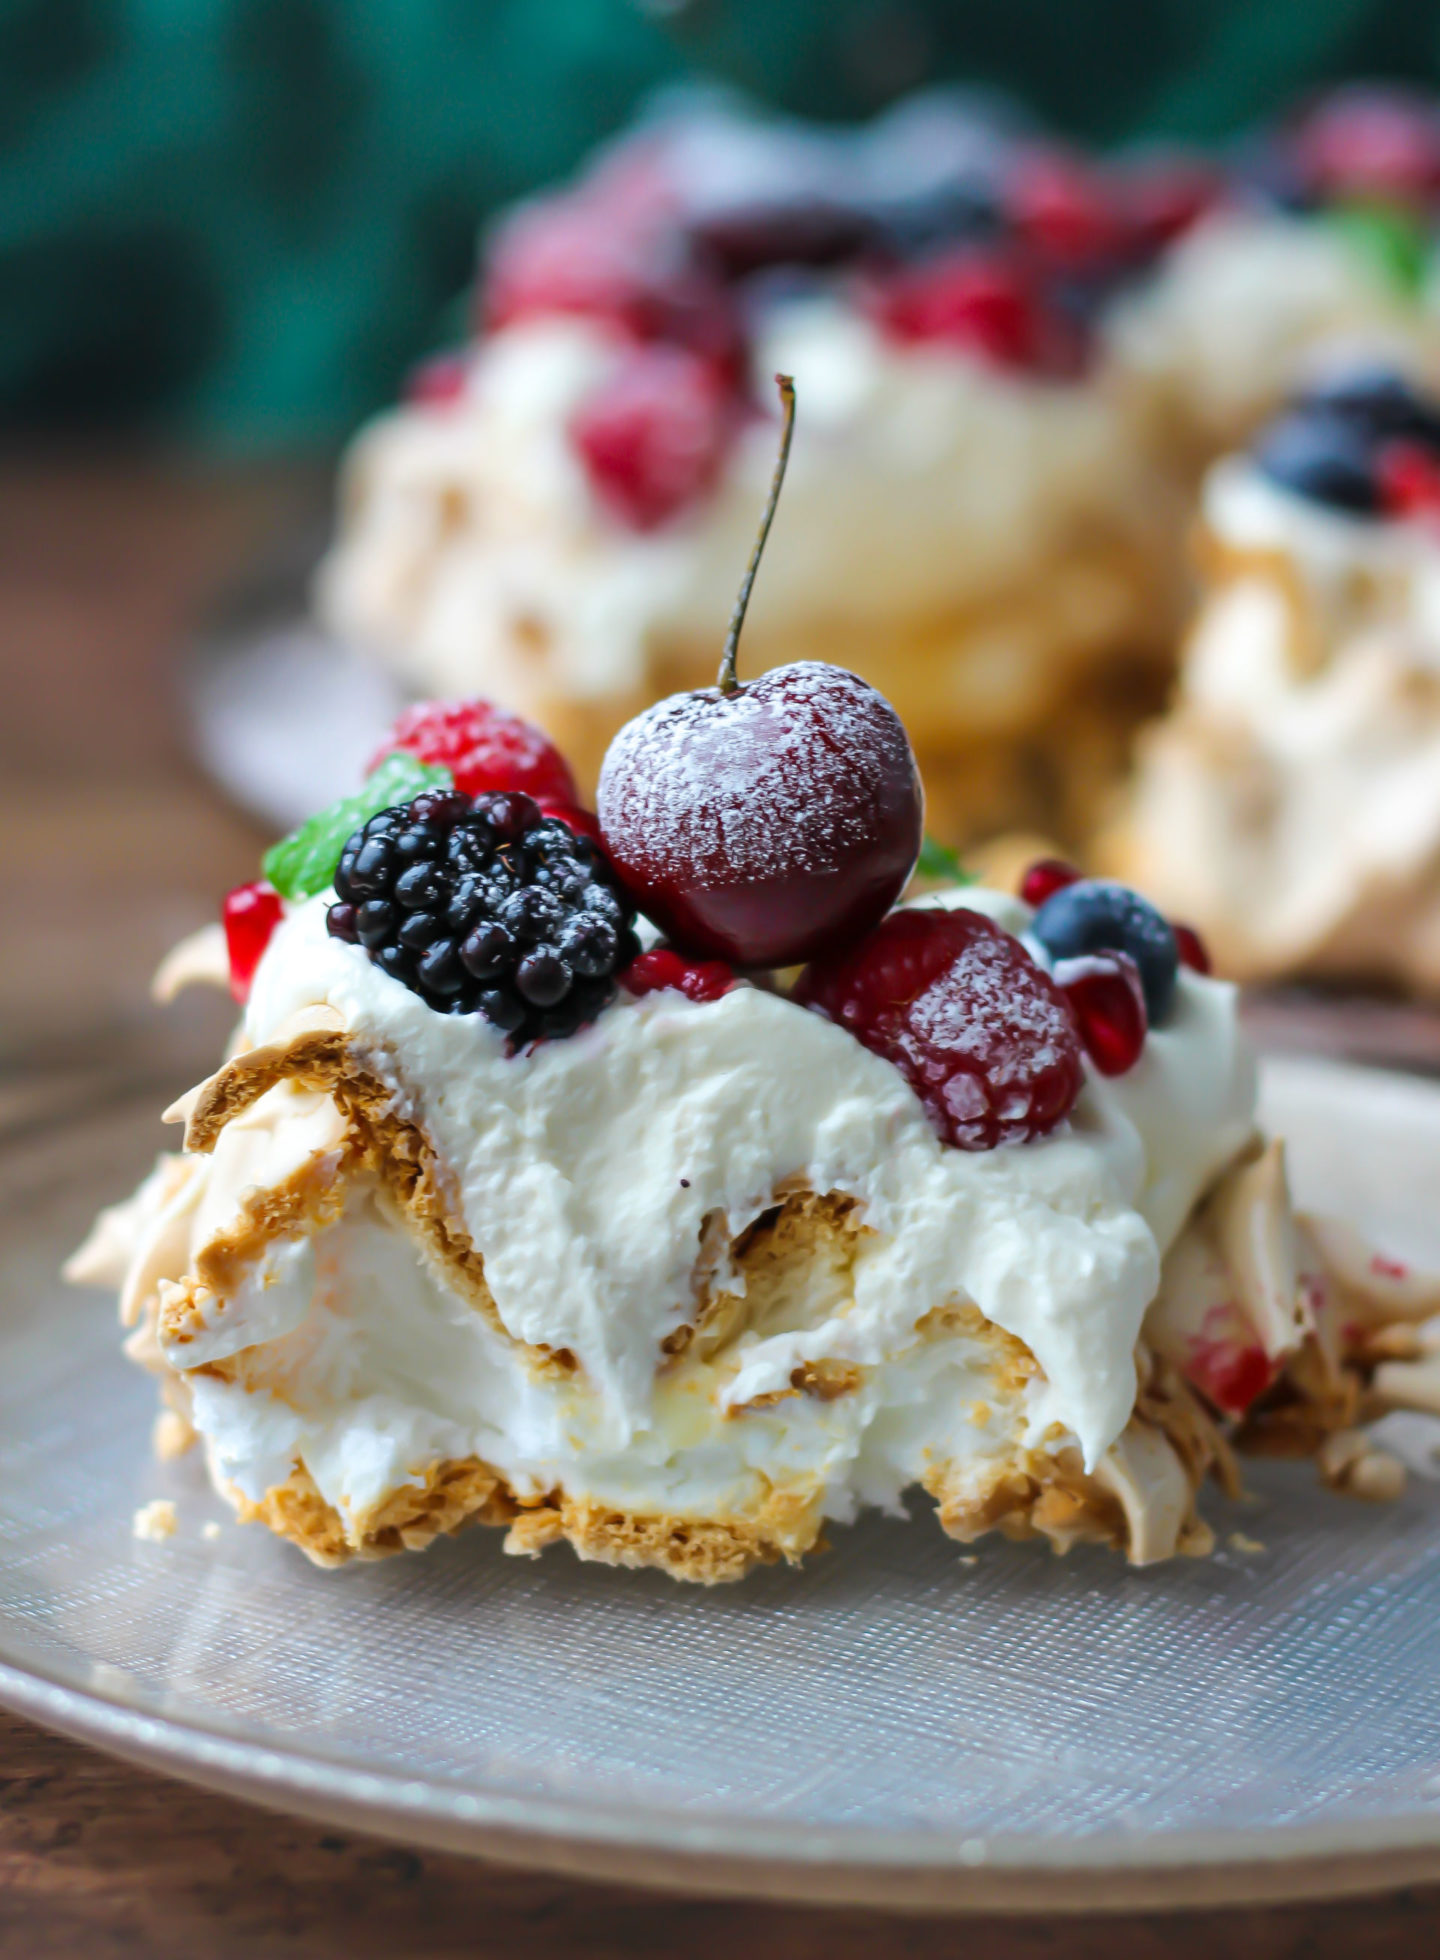
Pavlova is part of the meringue family! It is light and airy, with a crisp exterior and a pillow-soft marshmallow centre. Topped with fresh cream and berries, pavlova is to die for and ticks all the dessert boxes for me!
Christmas Berry Pavlova Wreath Ingredients
This recipe contains just a few simple ingredients! They include:
- Egg whites for the main structure of the pavlova
- Caster sugar is whisked into the egg whites to create the meringue base
- Cornflour helps create the soft, marshmallow texture inside the pavlova by interfering with the egg white proteins
- Cream of tartar helps avoid the collapse of the pavlova by strengthening the egg whites
- Double cream for that softly whipped cream topping
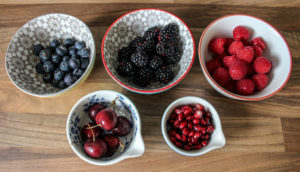
- Mixed berries such as raspberries, blueberries, and blackberries. I added pomegranate seeds and cherries too!
- Mint is optional, but I love the colour and flavour contrast!
How to make a Christmas Berry Pavlova Wreath
Although pavlova may seem a little advanced or technical, it is honestly surprisingly simple to make in just a few steps! I’ve given full instructions with step-by-step photos in the recipe card at the bottom, but to summarise:
- Preheat your oven to 140°C/120°C fan
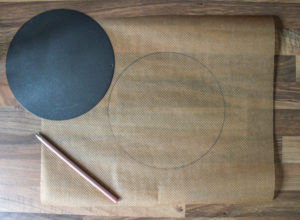
- Using the base of a 20cm cake pan or similarly sized plate, draw a circle on a piece of parchment paper
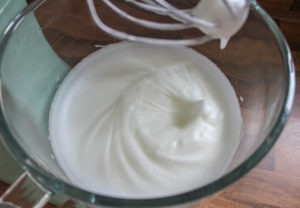
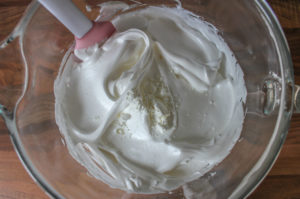
- Using an electric stand mixer or hand mixer, whisk the egg whites and cornflour until they look thick and foamy
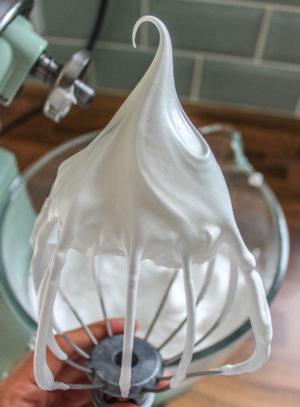
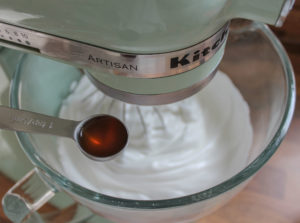
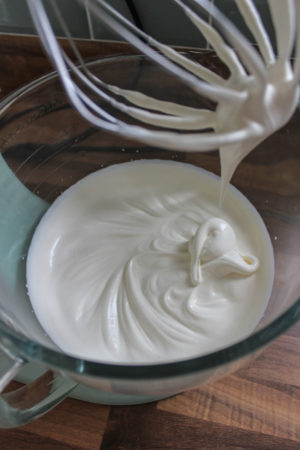
- Slowly add caster sugar with the mixer still running and whisk until the mixture holds stiff, glossy peaks. Whisk in the vanilla briefly to combine
- Add the cornflour and fold into the mixture with a spatula
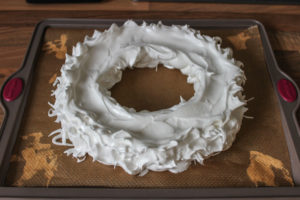
- Place your baking paper onto a baking tray, then spoon the mixture along the circle template to create a rough circle
- Keep adding the mixture to this circle to build it up into a thicker wreath shape
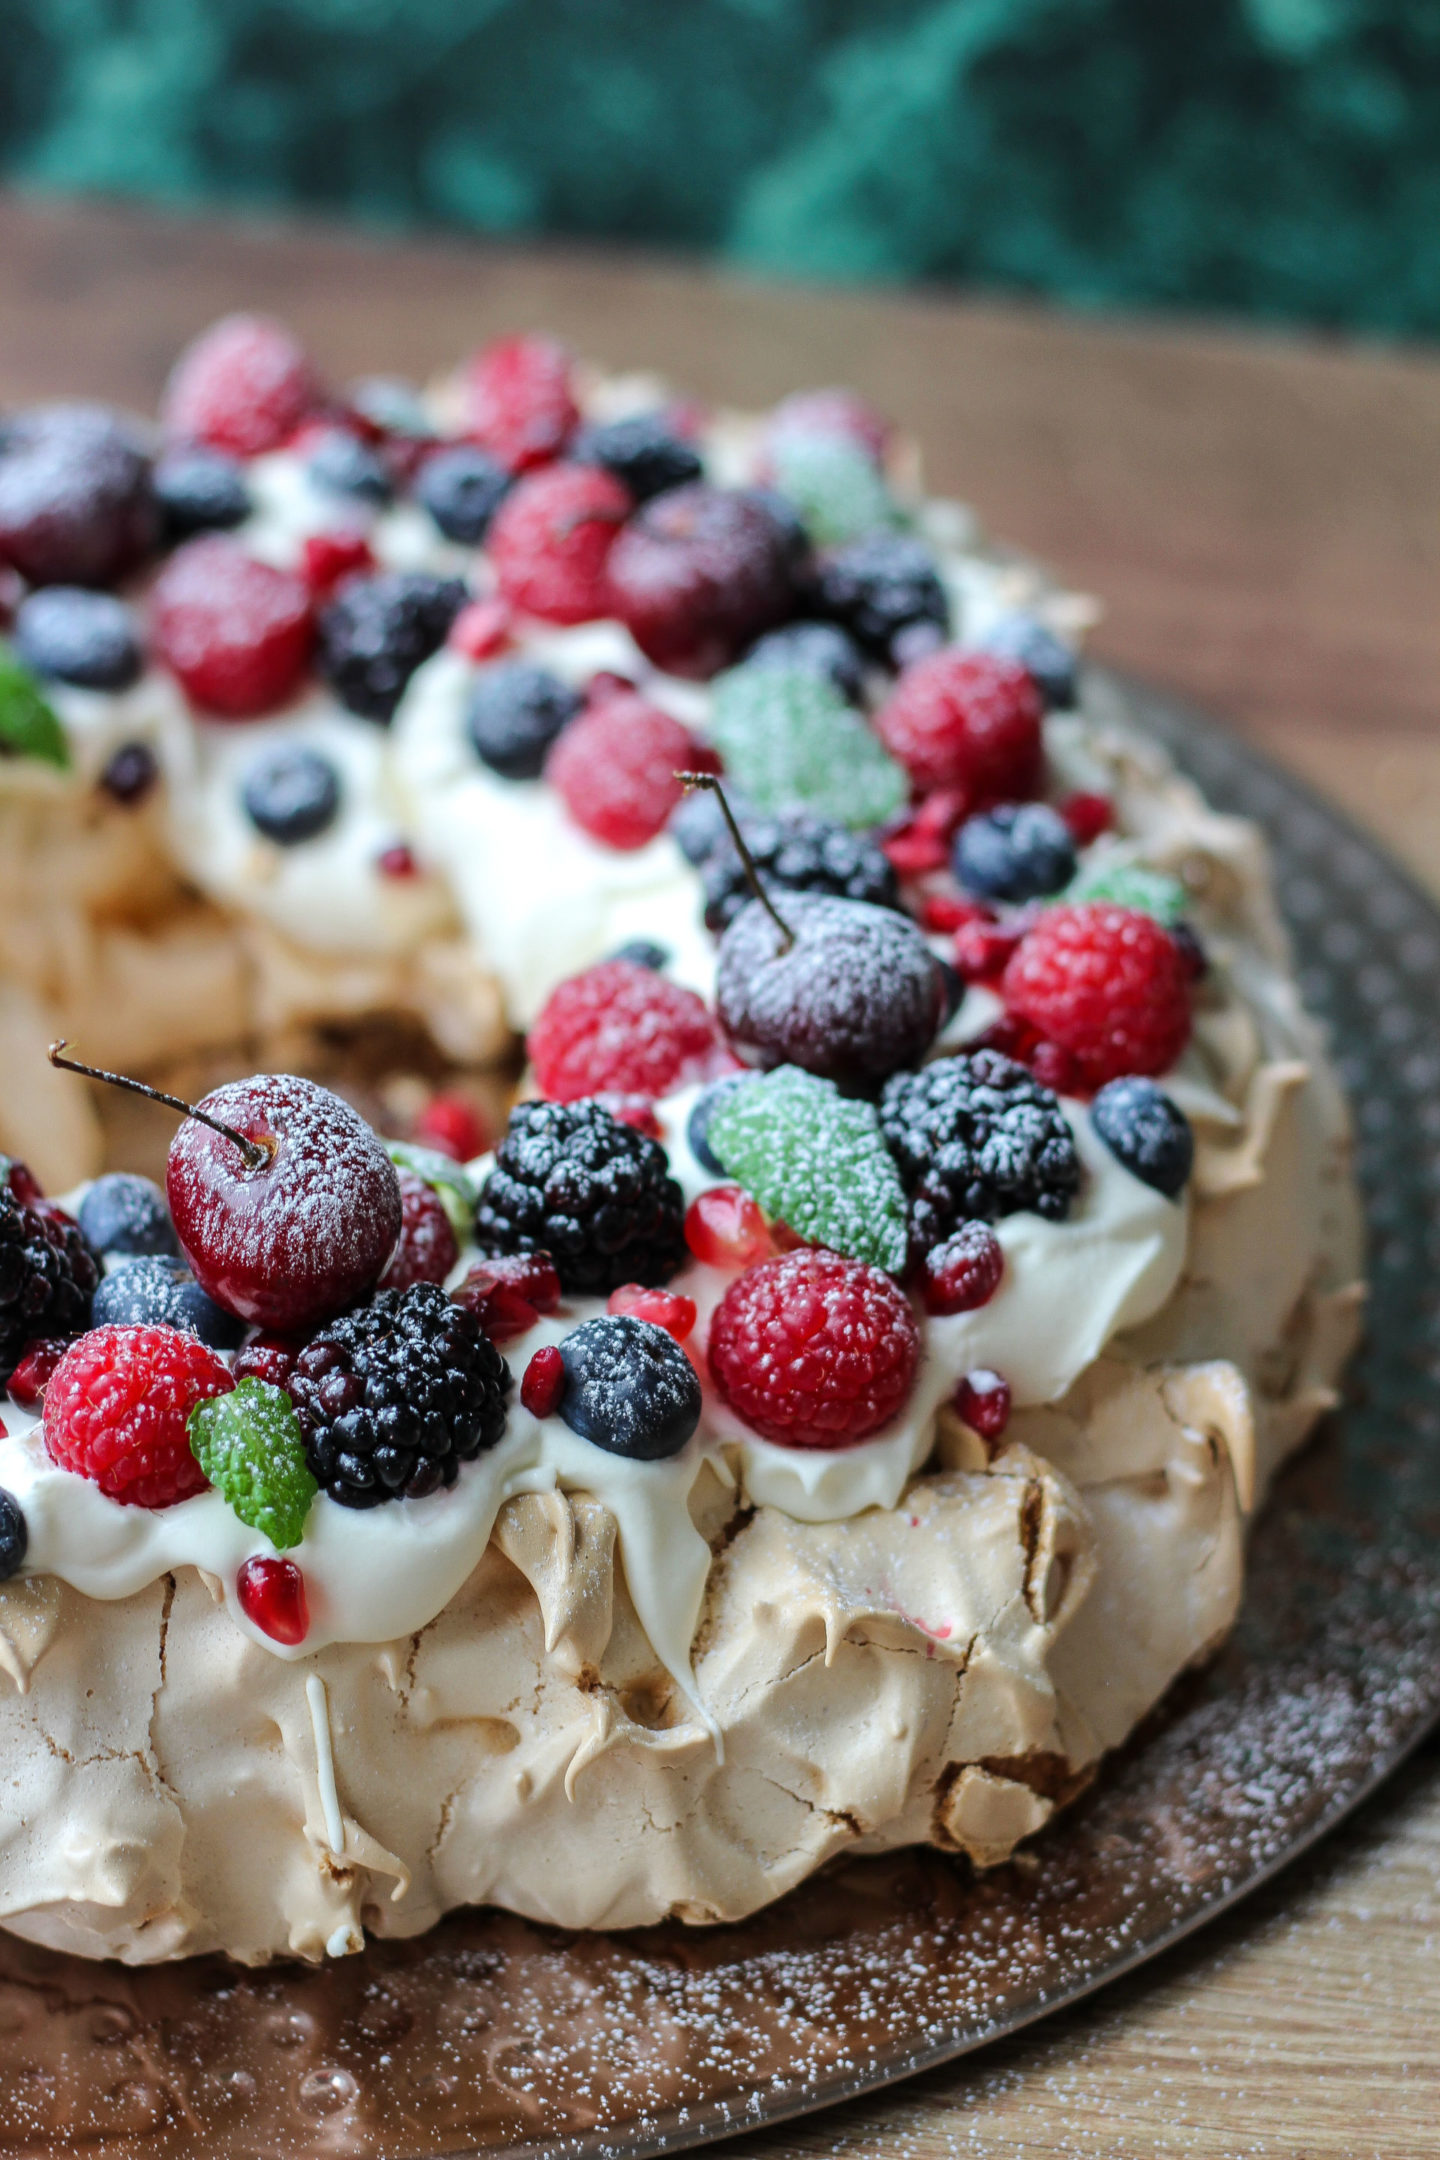
- Create a shallow groove around the top of the wreath (this will make it easier for topping with cream and berries later!)
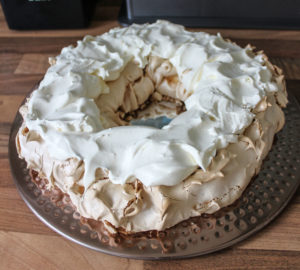
- Bake in your preheated oven for 1 hour, then turn the oven off but leave the meringue inside the oven until it is completely cool (this helps to prevent cracking and collapse of the pavlova!)
- Once completely cool, whip your double cream into soft, spreadable peaks and spread on top of the pavlova
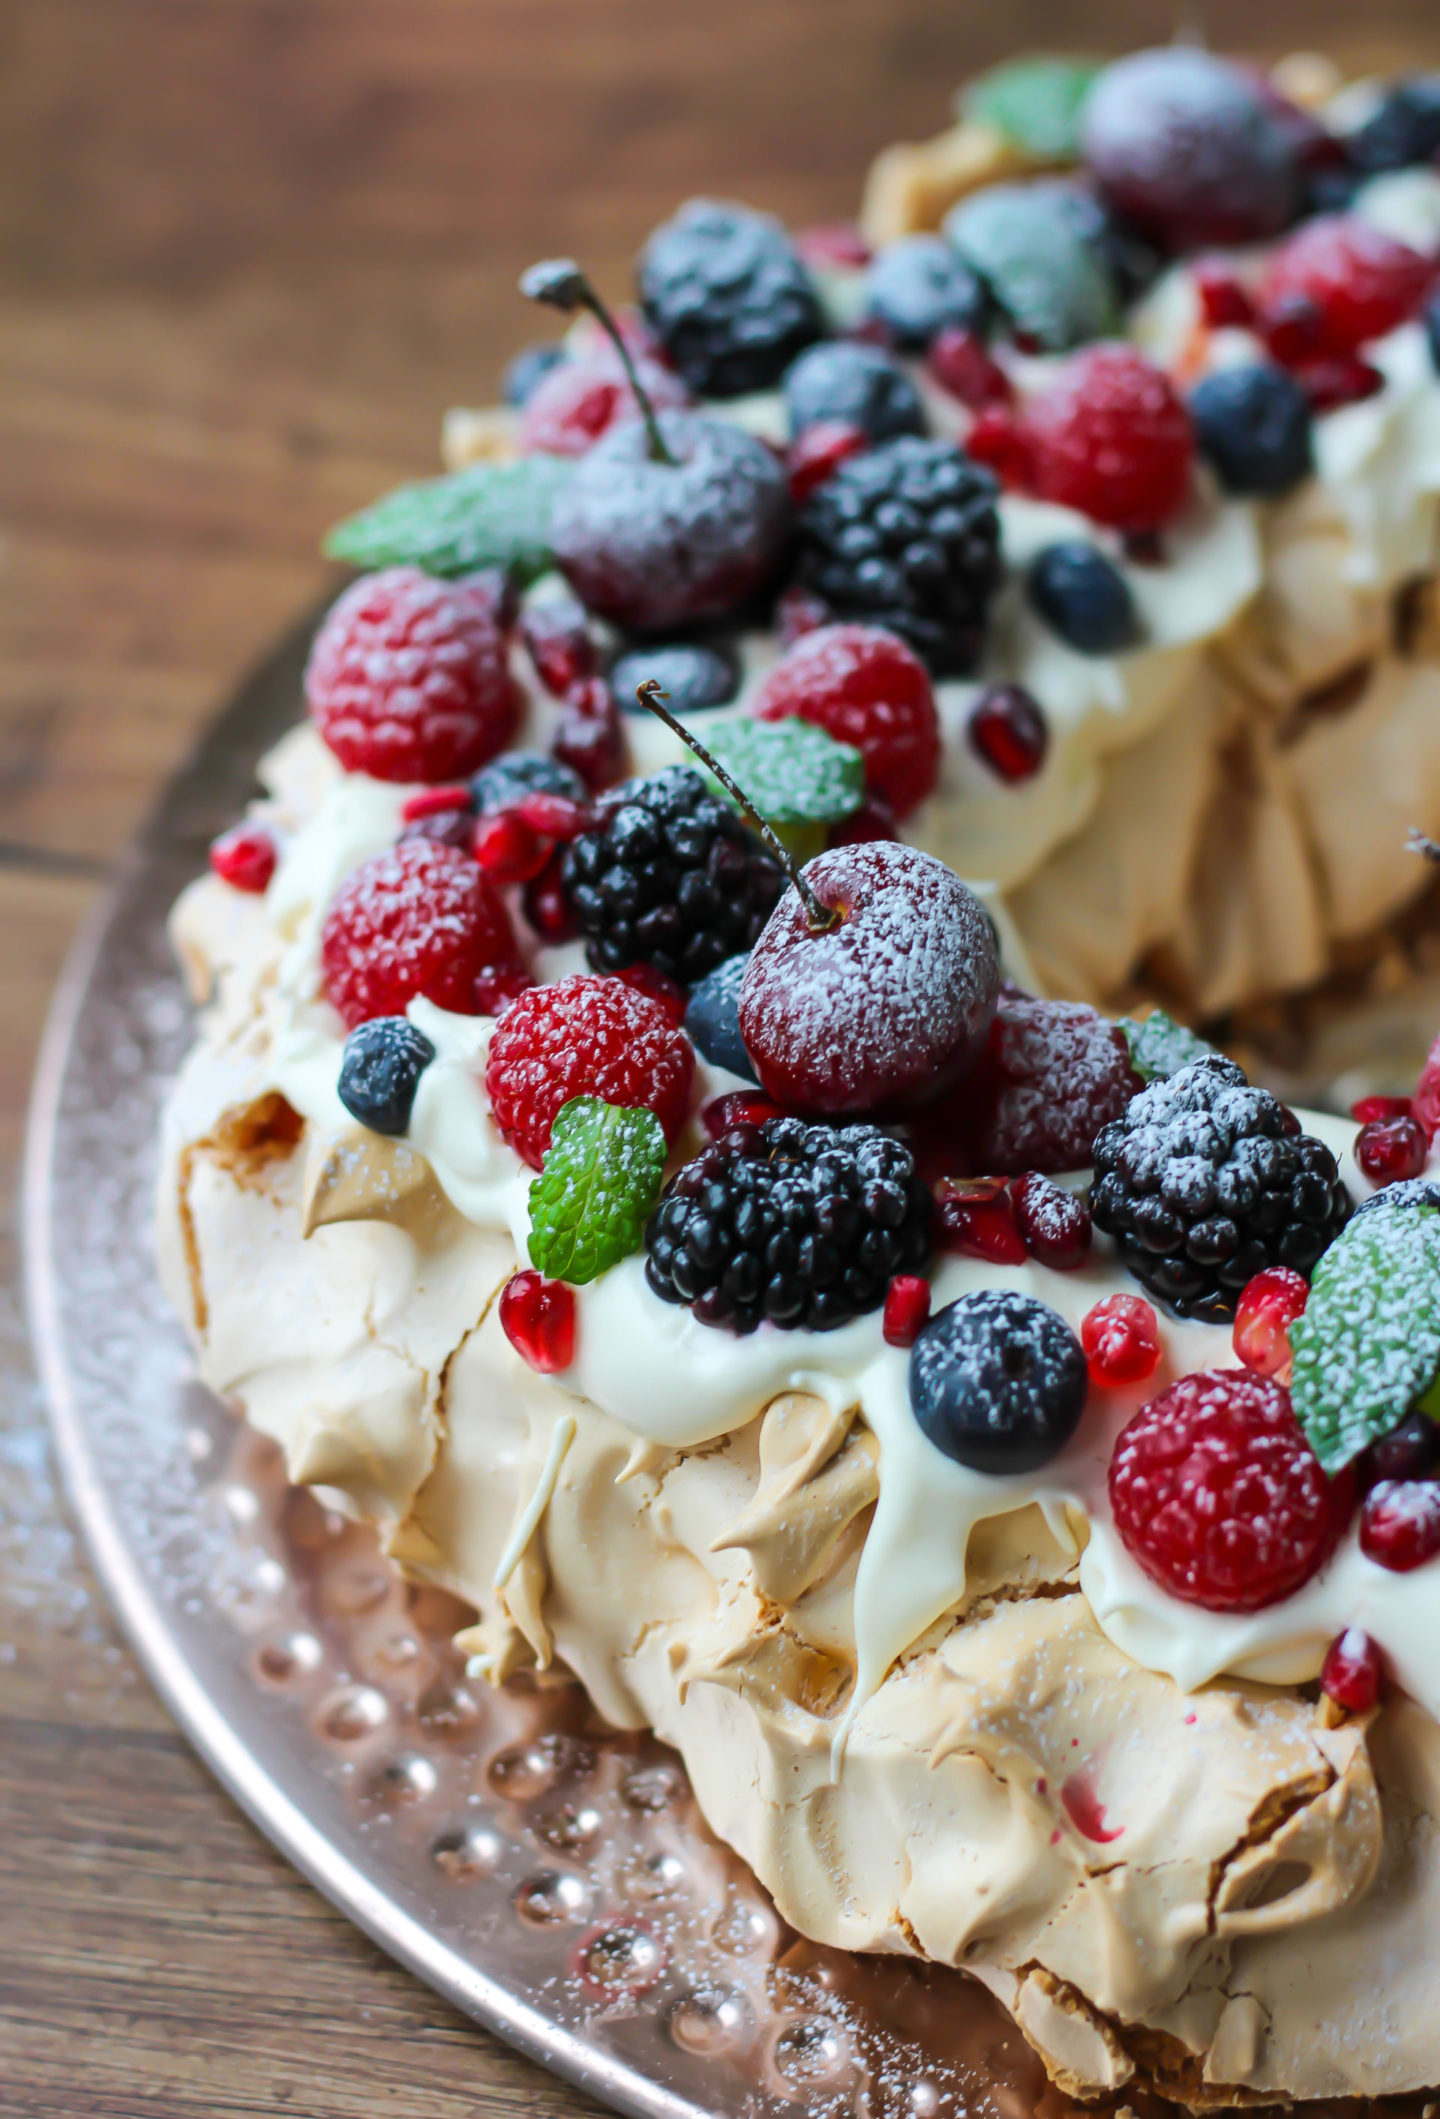
- Add your mixed berries and mint to serve. Dust with some icing sugar to finish and you’re all done!
What’s the difference between meringue and pavlova?
Meringue is made up of simply egg whites and sugar. Pavlova is meringue with the addition of starch and acid to create its unique texture!
The starch used in this recipe is cornflour, and this helps to keep the pavlova centre soft and marshmallow-like. The acid used is cream of tartar, and this keeps the pavlova more stable than standard meringue, by strengthening the egg whites and preventing them from collapsing when baking.
Top tips for making the best Christmas berry pavlova wreath
- It’s important not to have any traces of egg yolk in your egg whites, as this will prevent them from whipping up into a thick foam. See my step-by-step photos in the recipe card below for how I prevent this from happening!
- Ensure your mixing bowl is completely clean and dry, as any grease will affect how well the egg whites whip up too
- For egg whites to whip up well, they should be at room temperature and not straight from the fridge!
Christmas Berry Pavlova Wreath FAQs
How far in advance can I make a Christmas berry pavlova wreath?
You can technically make a pavlova up to 2-3 weeks ahead of time, though it would need to be carefully stored in a cool, dry environment in an airtight container. It can easily weep if it becomes humid, so I strongly recommend making it closer to the time if possible!
If you aren’t able to make it on the day, you can make it the day before and leave it in the oven overnight to cool!
Why is my pavlova cracking in the oven?
Fine cracks are normal and expected with pavlova. However, severe cracking can occur if the pavlova is baked at too high a temperature, or if the oven door is opened before it’s completely cool. Any sudden temperature change can cause it to crack and collapse, which is why it’s so important to leave it cool completely in the oven before removing it! This takes about 2 hours in my oven.
How to stop pavlova sticking to baking paper
This can occur if the pavlova has not completely cooled before trying to remove the paper. Even when cooled, still be very gentle when peeling the paper away. You can also spray the baking paper with non-stick cooking spray before baking to help with this.
When to decorate and serve pavlova
I recommend decorating it with the fresh cream and berries shortly before needing to serve the pavlova. This is because pavlova will become softer once the toppings have been added, but placing it in the fridge will also make the pavlova weep and get sticky!
So adding the final touches just before serving is ideal!
How long does pavlova keep for?
For the reasons mentioned above, this is best eaten within 1-2 days to avoid eating a soggy pavlova!

To summarise, this christmas berry pavlova wreath is:
- Surprisingly easy to make with just a few ingredients
- Topped with fresh cream and festive berries
- Great to make ahead the night before as an easy Christmas day dessert
- Beautiful and so festive!
If you try this recipe I’d love to see! You can show me by tagging me @bakerjoblog or using #bakerjoblog!
Other Festive recipes to try:
- Black Forest Swiss Roll
- Chocolate Orange Bundt Cake
- No-Bake Mint Chocolate Cheesecake
- No-Churn Mince Pie Ice Cream
Other dessert recipes:
- Lattice Apple Pie
- Triple Chocolate Chip Cookie Pizza
- Strawberry Pavlova
- No-Bake Fresh Fruit Tart
- No-Churn Oreo Ice Cream
- White Chocolate Coconut Truffles
- No-Bake Strawberry White Chocolate Cheesecake
- No-Bake Lemon Cheesecake
- Cocoa Dusted Chocolate Truffles
- No-Churn Biscoff Ice Cream
My Christmas eBook!
An eBook of exclusive Christmas baked and no-bake recipes, with a few extra bonuses included too! Find out more by clicking the image above or clicking here! 😊
Christmas Berry Pavlova Wreath
Equipment
- Electric stand or hand mixer with a whisk attachment
- Baking tray lined with baking or parchment paper
- 20cm/8inch cake pan base or similarly sized dinner plate (to create wreath template!)
Ingredients
Pavlova Base
- 5 medium egg whites* room temperature
- 230 g caster sugar
- 1 tsp cream of tartar can be substituted for the same amount of lemon juice or white wine vinegar
- 2 tsp cornflour level
- 1 tsp vanilla extract
Topping
- 400 ml double cream cold
- 100 g fresh raspberries whole
- 100 g fresh blackberries whole
- 50 g fresh blueberries whole
- 50 g fresh cherries whole (around 6 cherries)
- 30 g fresh pomegranate seeds
- 10-15 fresh mint leaves
Instructions
- Preheat your oven to 140°C/120° fan.
- Draw a circle onto your baking or parchment paper using the base of a 20cm cake pan or a similarly sized dinner plate. Set aside.
- Carefully separate your egg whites into a small bowl, one by one, tipping the egg white into your large mixing bowl each time.This is to avoid wasting any egg white if you accidentally get some egg yolk in the egg whites; you'd have to dispose of all the egg whites then rather than just one!

- Next, add the cream of tartar to the egg whites in the large mixing bowl.
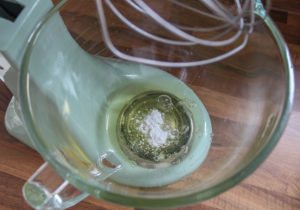
- Whisk the egg whites and cream of tartar on medium-high speed until they look thick, light and foamy (this usually takes around 2 minutes using my stand mixer).
- Keep the mixer running on medium-high speed and start to add the caster sugar slowly, a tablespoon at a time.
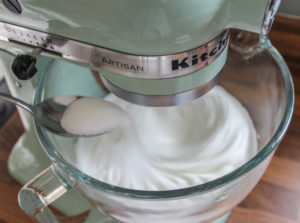
- Once all the sugar has been added, whisk on the same speed setting until the mixture thickens to hold stiff peaks and looks glossy as shown.

- Add the vanilla extract and whisk briefly to combine.
- Use a spatula to fold the cornflour through by hand until well combined.
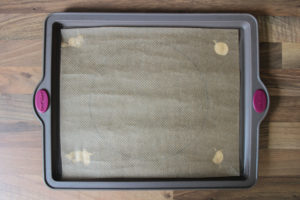
- Dab a little meringue mixture onto all four corners of your baking paper (on the same side you've drawn your circle) using your whisk attachment.
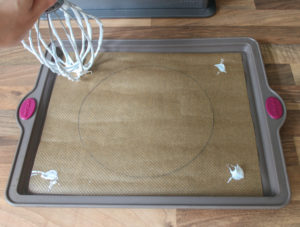
- Flip the paper over and press the four corners onto your baking tray.
- Using your spatula or a large spoon, dollop some mixture onto your circle template to create a rough circle.
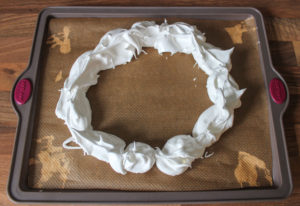
- Now continue building up the circle with the rest of your meringue mixture.

- Using your spatula, create a well/groove around the top of the circle; this will help later when you add your whipped cream and berry topping!
- Place on the lowest shelf of your preheated oven and bake for 1 hour.
- Once baked, keep the oven door closed and turn the oven off. Leave to cool completely in the oven to avoid major cracking or collapse of the pavlova. This takes around 2 hours in my oven.(This is where having an oven thermometer comes in very useful as you'll know when it is completely cool!)
- When ready to decorate your pavlova, whisk your cold double cream on medium-high speed for a few minutes until slightly thick but spreadable.
- Spoon the whipped cream on top of your pavlova within the shallow well/groove.
- Add your fresh berries and finish with some fresh mint leaves. Dust with icing sugar just before serving for a snowy, festive effect!

- Serve as soon as possible after adding the toppings. Pavlova is best eaten on the day; the fresh cream and the need to store in the fridge will make the pavlova soggy within a day or two!

Notes
- You can use 4 large egg whites instead of 5 medium eggs whites.
My Christmas eBook!
An eBook of exclusive Christmas baked and no-bake recipes, with a few extra bonuses included too! Find out more by clicking the image above or clicking here! 😊
