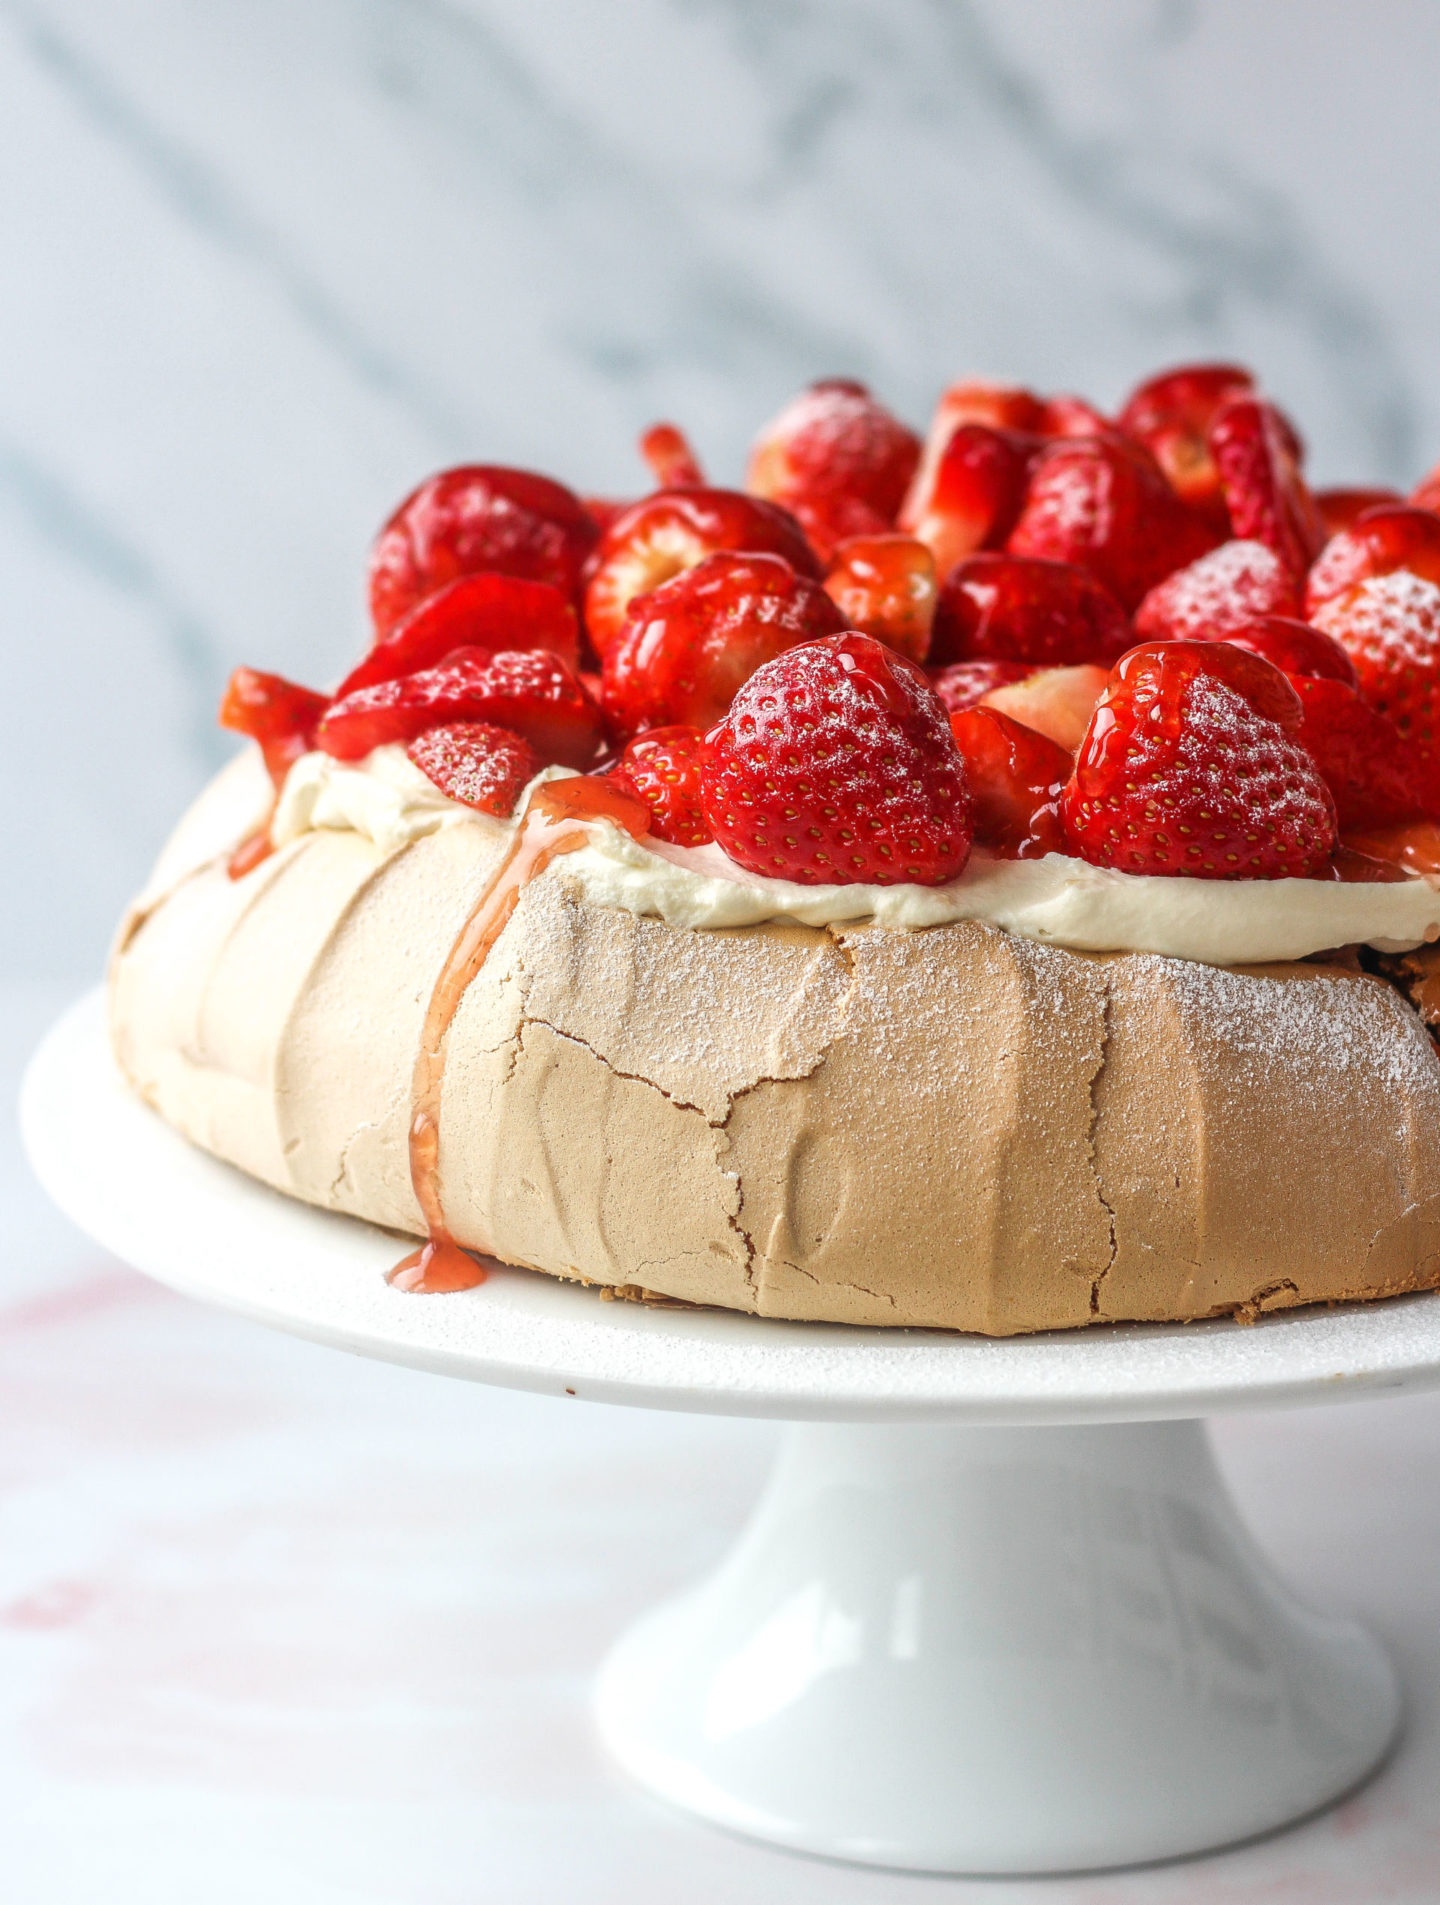
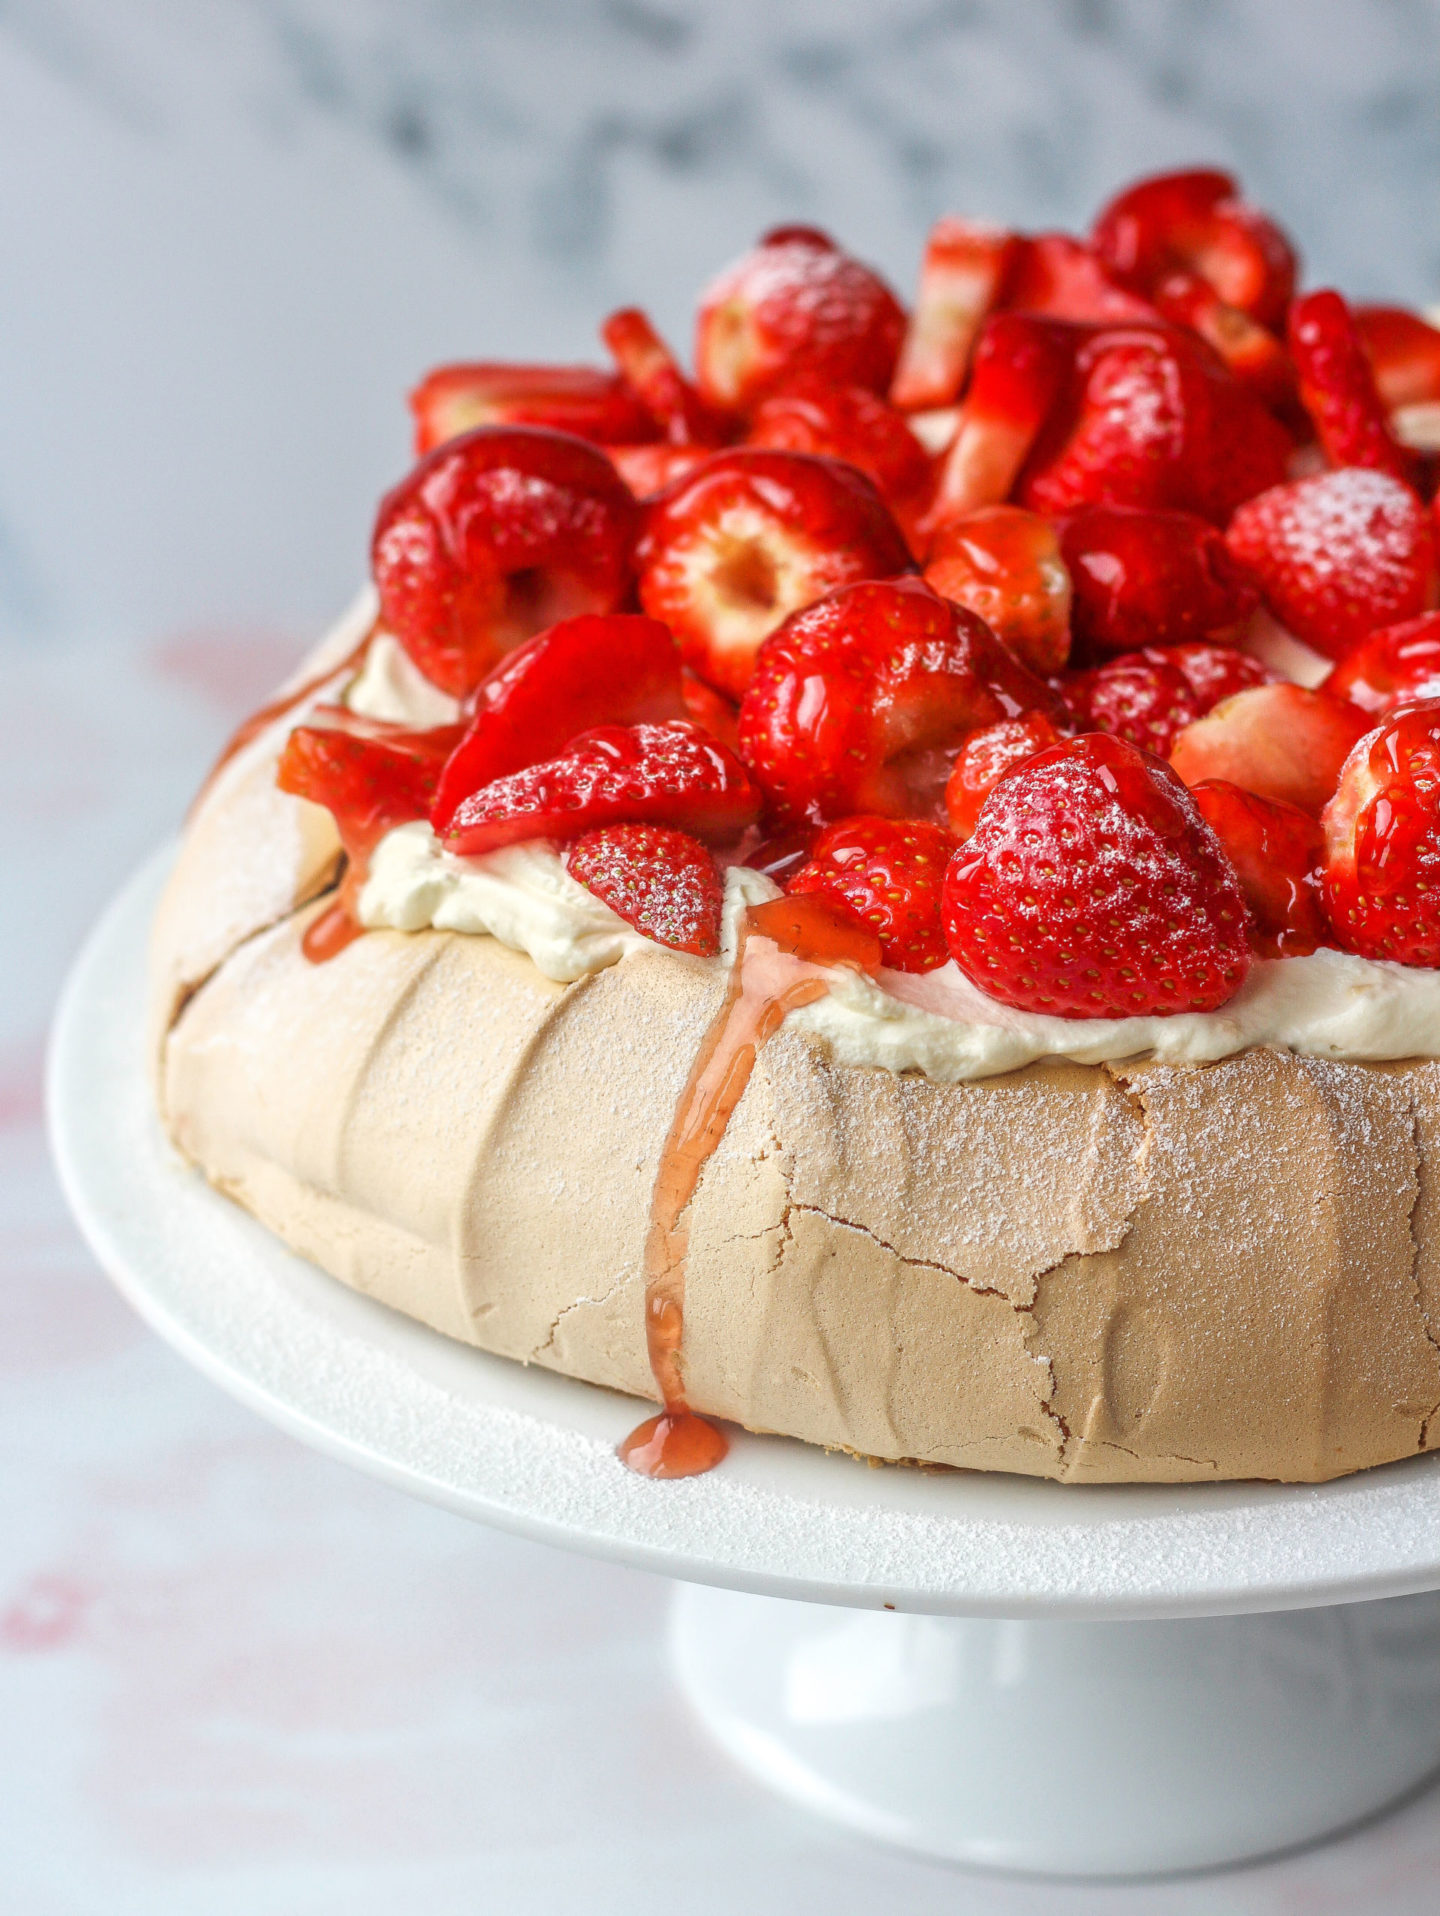
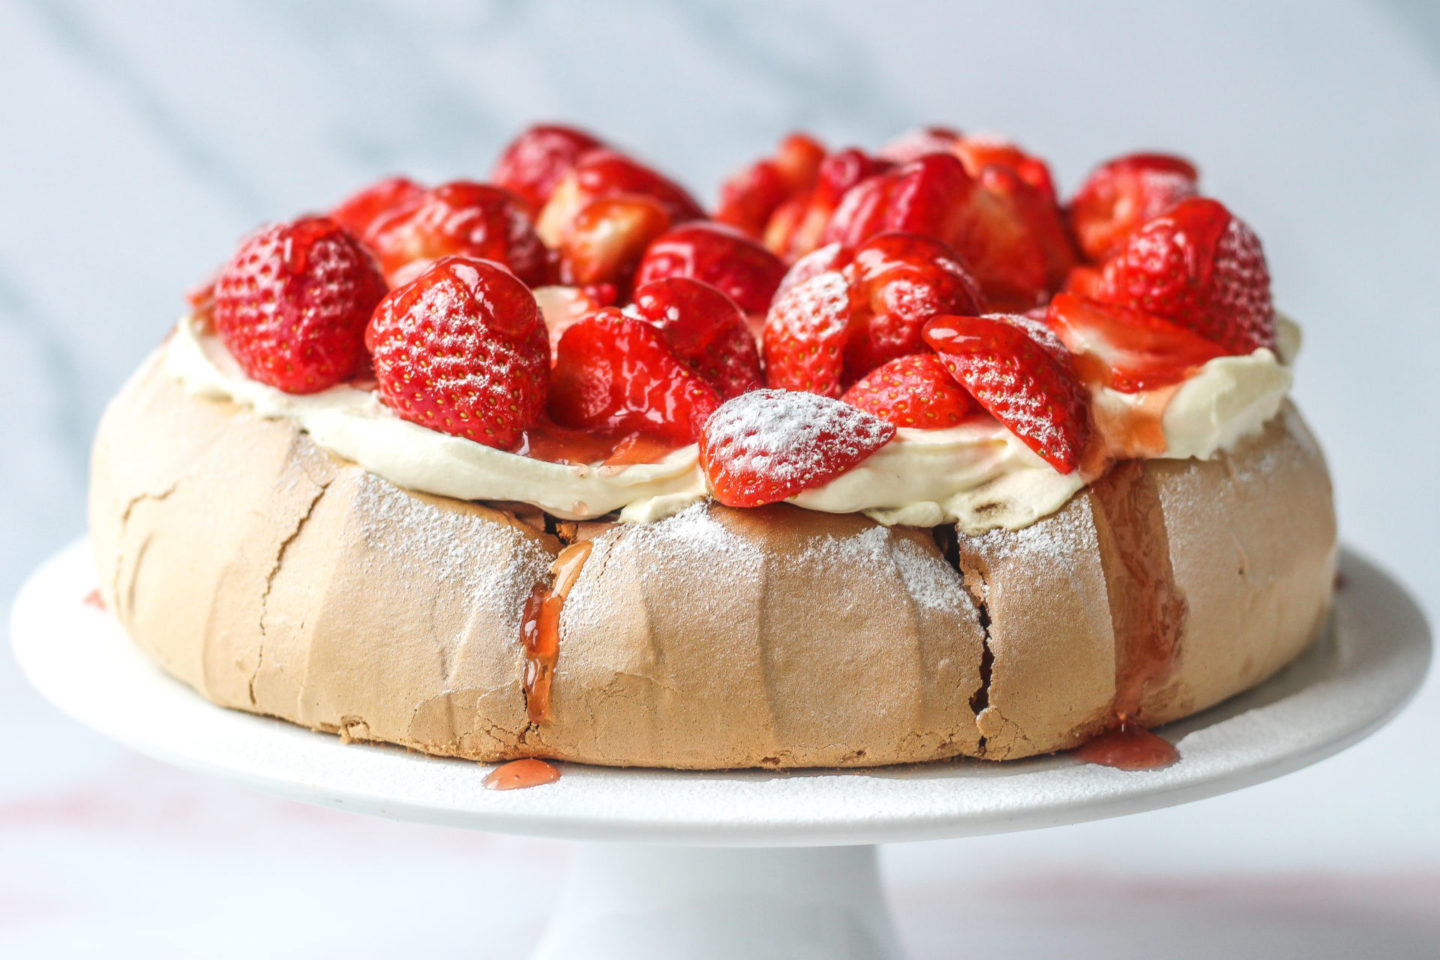
This strawberry pavlova is a delicious combination of crisp, marshmallowy base, fresh whipped cream and sweet strawberries. An impressive yet surprisingly easy summer dessert showstopper!
This post may contain affiliate links. For more information, see my Full Disclosure.
I’m writing this post on a beautifully sunny day and it feels like the perfect recipe to share right now. If you’ve been looking for a fresh and colourful summer dessert recipe, this delicious strawberry pavlova looks so impressive yet is surprisingly easy to make!
Where does pavlova originate from?
Pavlova is believed to be named after a Russian ballerina named Anna Pavlova, though there is doubt on whether it originated from Australia or New Zealand!
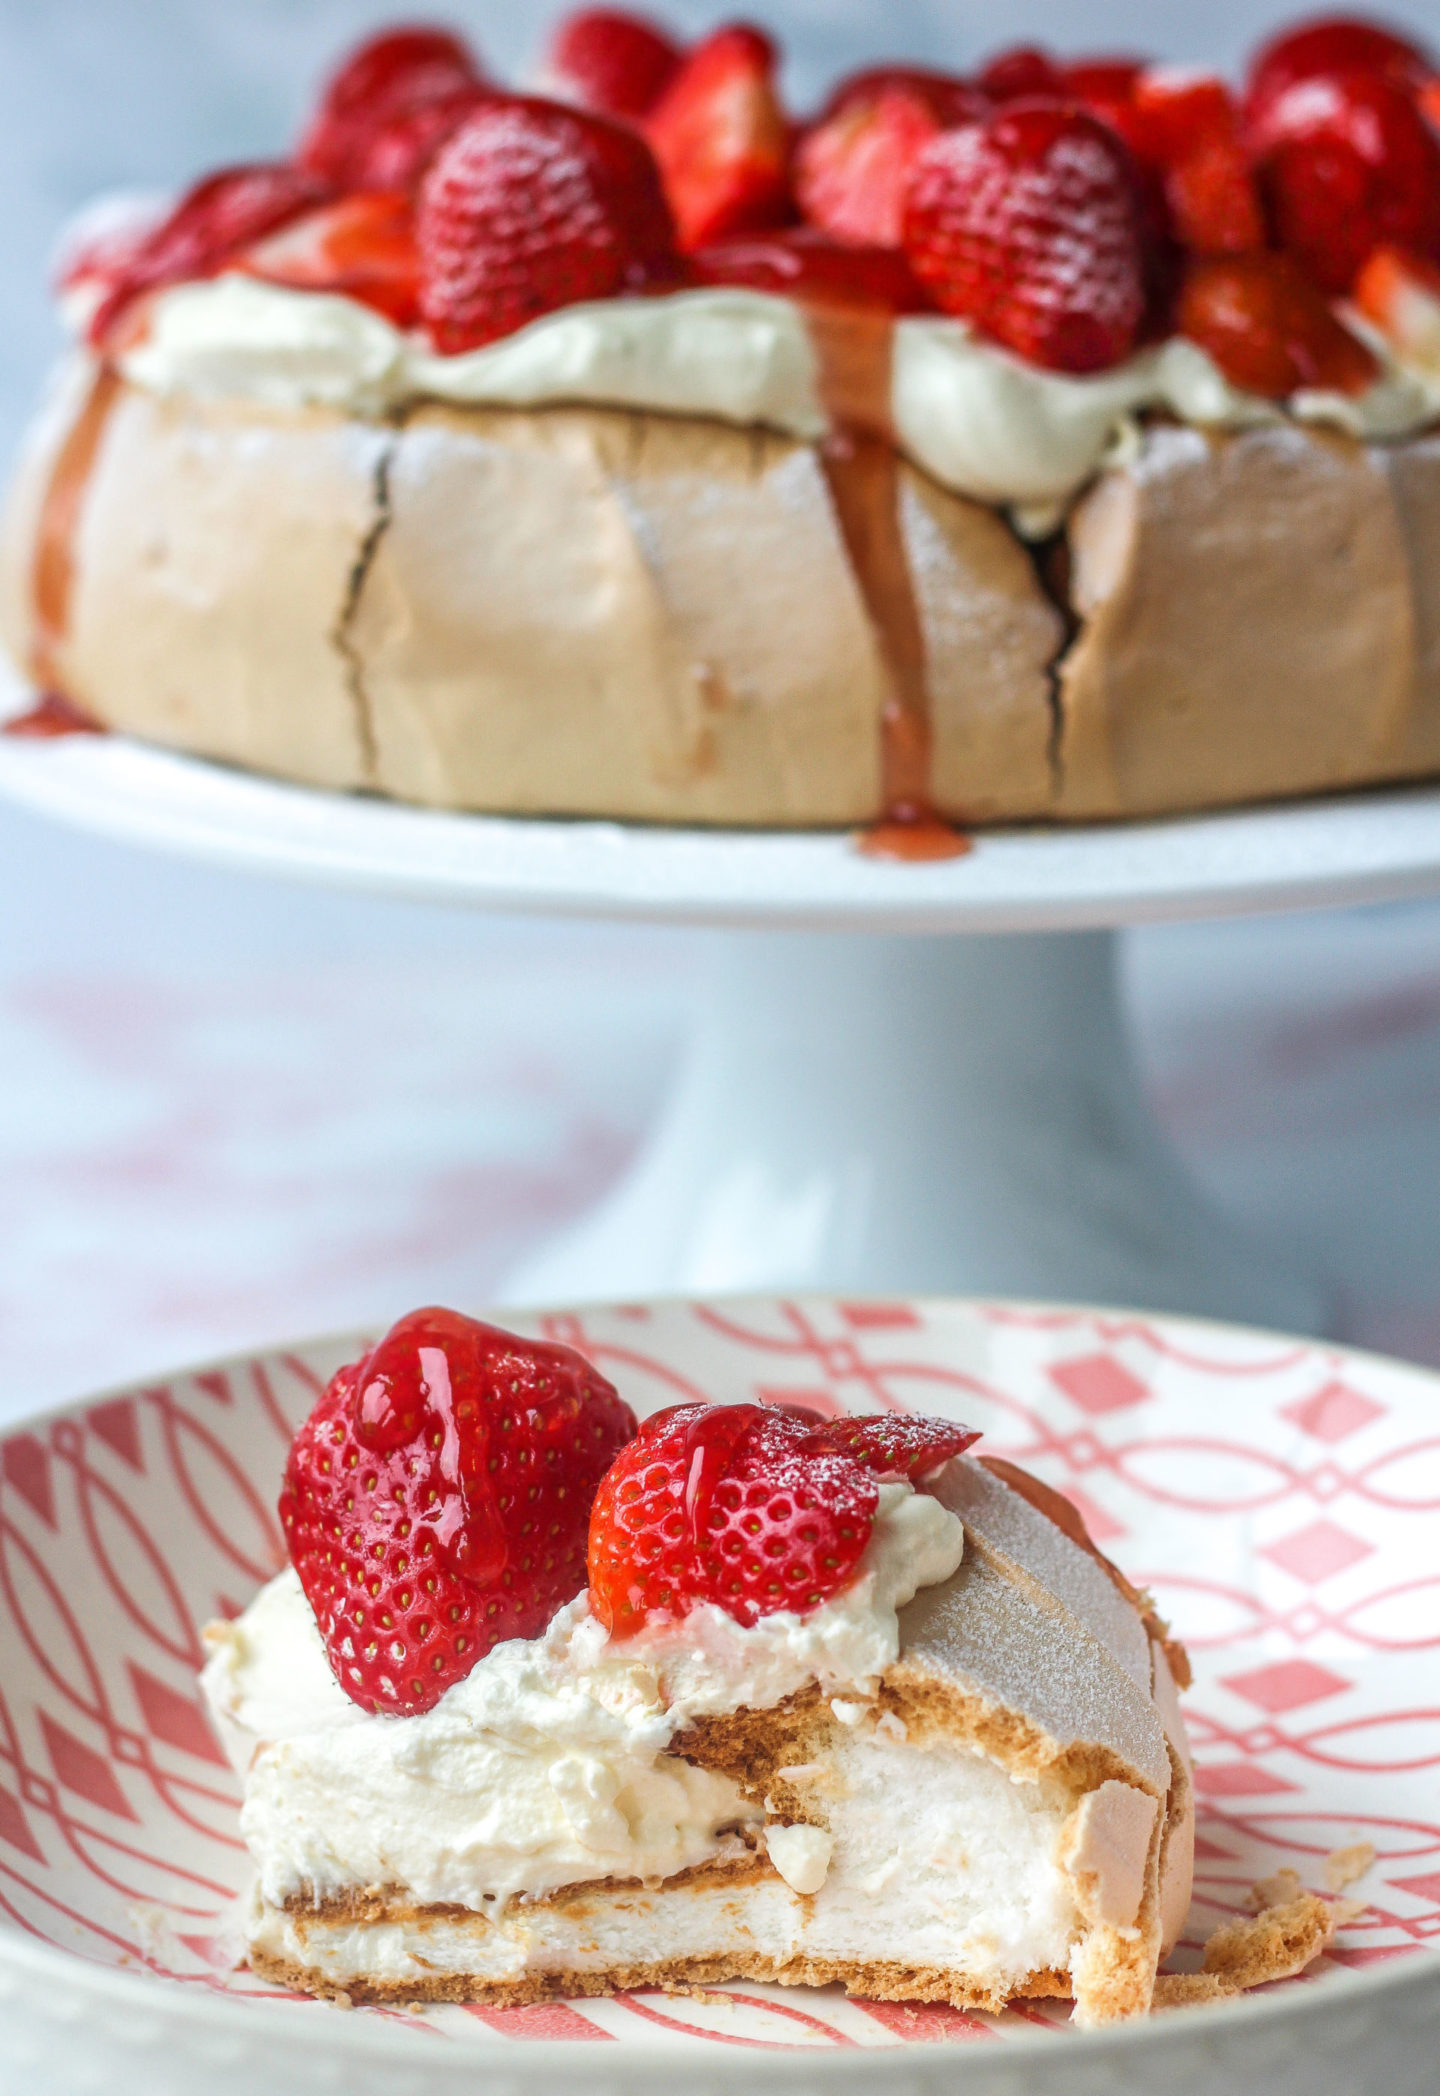
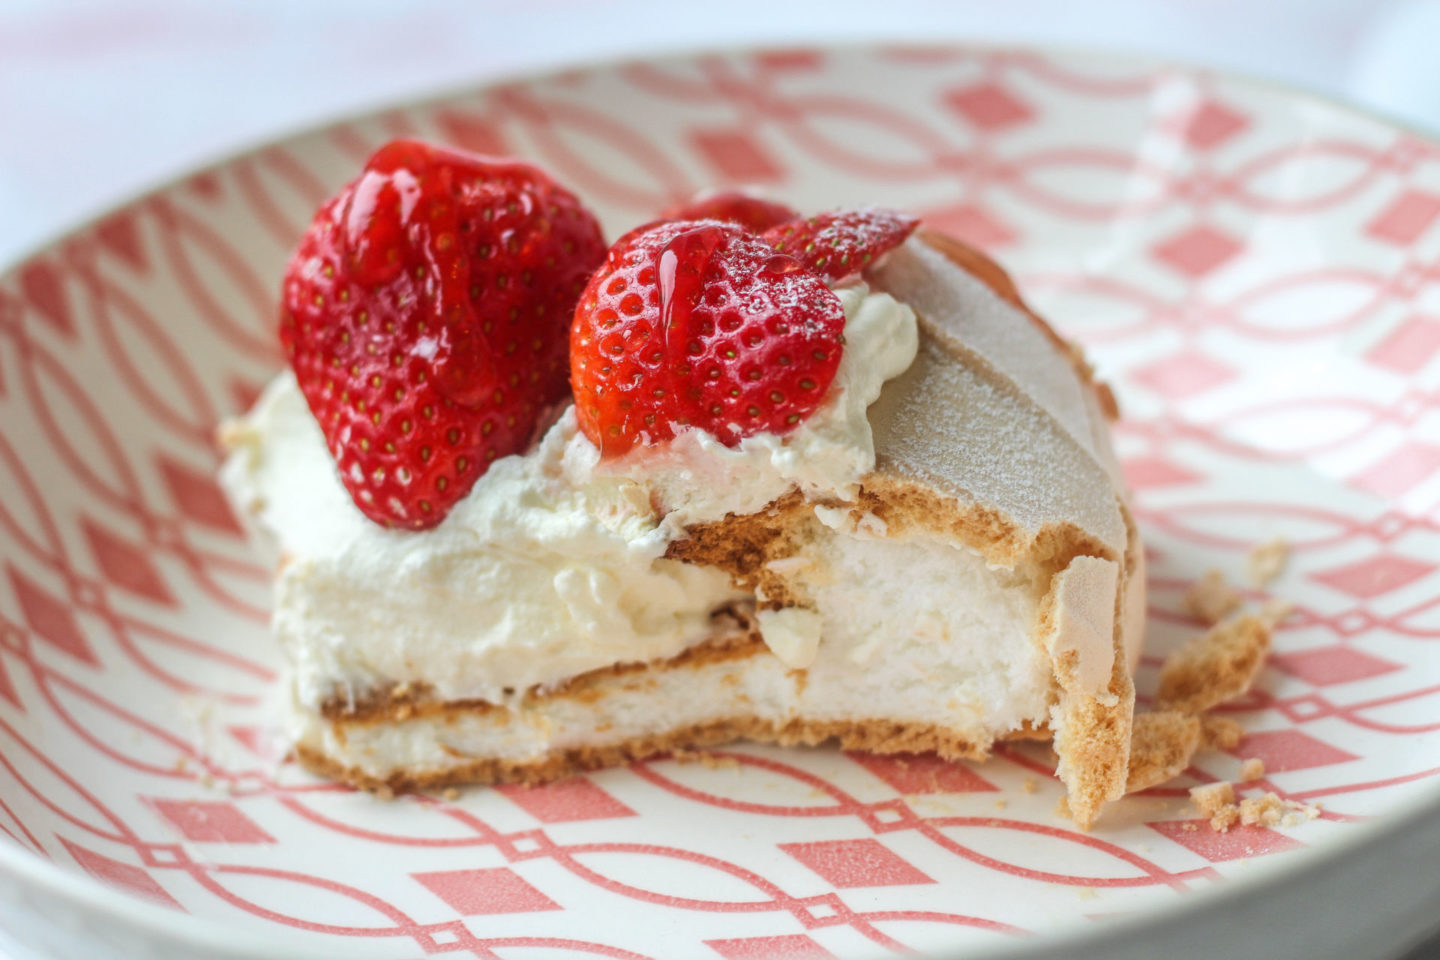
Pavlova is made up of a base of light meringue, which is crispy and slightly golden on the outside, but marshmallowy inside. This base is topped with whipped double cream and finished with fresh glazed strawberries. It’s such a dreamy dessert!
easy strawberry pavlova recipe
If you’re thinking that this dessert looks complicated or daunting, I understand as I felt that way about meringue when I first tried it. However, I promise that if you follow the steps carefully this is actually surprisingly straight forward and fun to make!
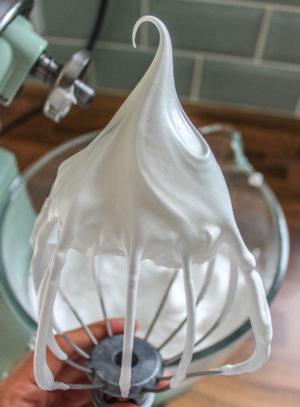
It’s fascinating to watch how the few ingredients come together to create this soft, shiny marshmallow cloud. So, what ingredients will you need?
Ingredients for strawberry pavlova
To make this simple strawberry pavlova dessert you’ll need:
- Egg whites
- Caster sugar
- Cream of tartar
- Cornflour
- Vanilla extract
- Double cream
- Fresh strawberries
- Strawberry jam
This pavlova recipe uses cream of tartar. This is an acid which helps strengthen the egg whites to prevent the pavlova from collapsing whilst baking. Cream of tartar can be replaced with the same amount of another acid such as lemon juice or white wine vinegar. However, I prefer cream of tartar as it reduces the amount of liquid added.
Cornflour is added to pavlova to create that soft, fluffy, marshmallow centre. It does this by interfering with the protein in the egg whites. This prevents them from overcooking, keeping the inside softer.
What’s the difference between meringue and pavlova?
The difference is the two ingredients mentioned above: cream of tartar (or an alternative acid) and cornflour. Normal meringue is made up of just egg whites and sugar, which makes them crunchier. Pavlova is also baked at a slightly higher temperature than standard meringue. This gives it that slightly darker, golden exterior but helps keep the inside pillowy soft!
(Standard meringue is used to make my adorable meringue kisses!)
How to make strawberry pavlova
Full step-by-step instructions with photos can be found at the bottom of this post, but here’s a brief summary:
- Using an electric stand mixer or hand mixer, whisk the egg whites and cream of tartar until thick and foamy
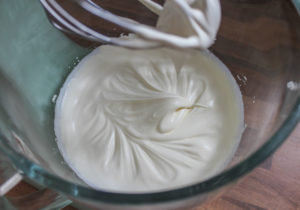
- Slowly add the caster sugar, a tablespoon at a time, with the mixer still running. Whisk until the mixture is glossy with stiff peaks
- Add vanilla and whisk briefly to combine
- Now by hand, fold the cornflour into the mixture with a spatula
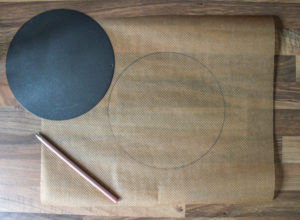
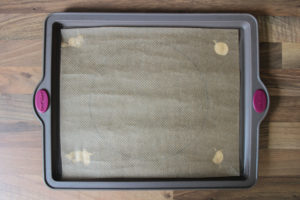
- Use a 20cm/8inch cake pan to draw a circle onto baking/parchment paper, then flip over and use this to line a baking tray (I use a silicone baking tray for more even baking)
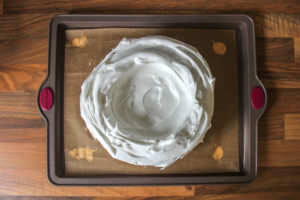
- Drop your pavlova mixture onto this circle and spread the mixture into a round shape, creating a well in the centre
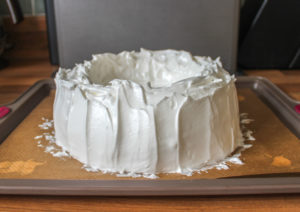
- I then use my spatula to drag the mixture upwards all around, though this is just for appearance
- Bake on the lowest shelf of your preheated oven for 1 hour
- Leave to cool completely in the oven before removing it
- Whip the double cream to soft peaks and spread in the centre of the cooled pavlova
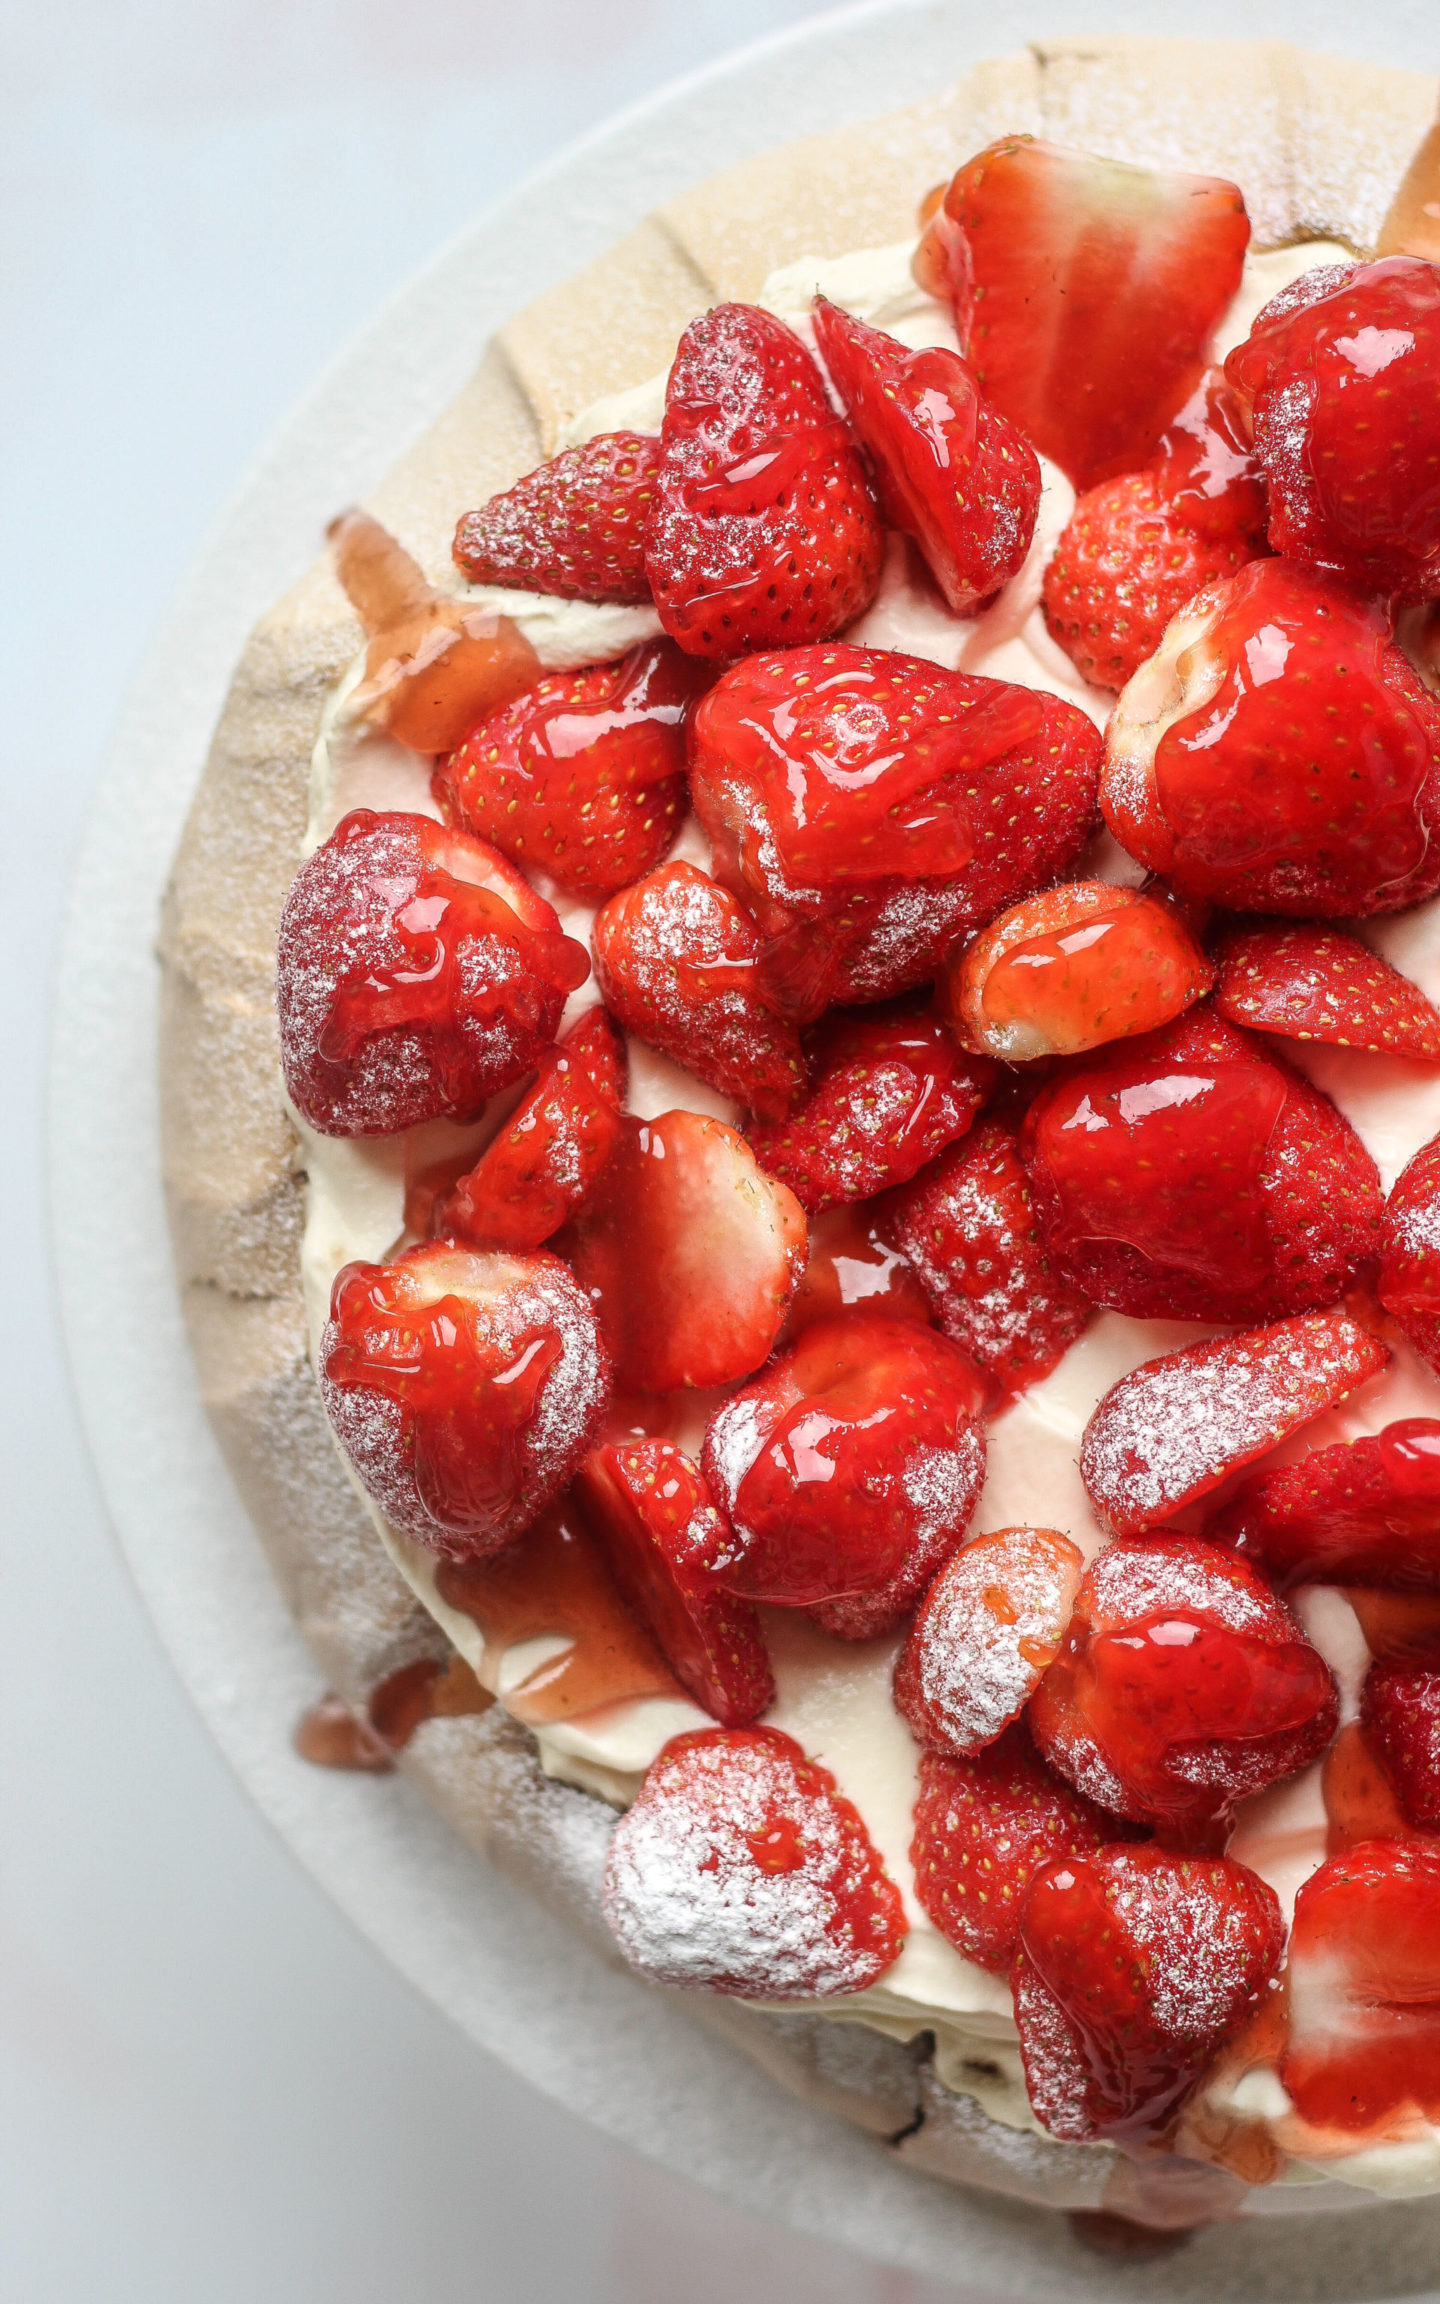
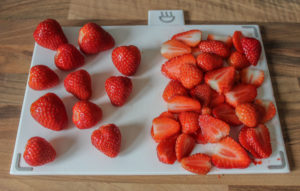
- Slice some fresh strawberries and keep the rest whole. Place them on top of the whipped cream
- Heat the jam with some water on the hob until smooth. Remove from the heat to cool and thicken
- Pour this strawberry sauce topping over the strawberries to finish
Tips for making the best strawberry pavlova
- Leaving the pavlova in the oven to cool completely once baked is so important. If you take it out or open the oven door too soon, the sudden change in temperature can cause it to majorly crack and collapse. You can leave the pavlova to cool overnight in the oven, ready to decorate in the morning!
- Using a 20cm/8inch cake pan base to draw a circle template on your baking paper is useful when spreading out your pavlova mixture. You could also use a similar-sized dinner plate, or freestyle it if you like! I just prefer to have a template.
- Pavlova is cooked at a slightly higher temperature than standard meringue, so will have a slightly golden exterior and this is ok. However, to ensure you don’t overcook or burn your pavlova I’d highly recommend using an oven thermometer. This will ensure it’s baked at the correct temperature! Minor cracking is normal in pavlova but overcooking can cause major cracks to form, which could lead to a collapse.
Tips for the best strawberry pavlova
- Using room temperature egg whites is recommended as you will get a larger volume when whisking. Egg whites straight from the fridge take longer to whip up.
- When separating the egg whites, ensure no traces of egg yolk ends up in the white. The fat from the yolk will affect the egg white’s ability to be whipped into a foam. To avoid wasting any egg white if this does happen, I crack and separate the eggs one by one into a smaller bowl. Then I pour each individual egg white into my mixing bowl as I go.
- Make sure your utensils such as your mixing bowl and whisk attachment are completely clean and dry. Any grease will have the same effect as egg yolk in preventing the egg whites from whipping up properly, ruining your pavlova!
Can I make pavlova the day before?
Yes, just store it in an airtight container at room temperature. Or, as mentioned above, leave it to cool inside the oven overnight.
How far ahead can I make pavlova?
You can actually make the pavlova base around 2-3 weeks in advance, though humidity will cause it to weep. Therefore I recommend making it close to the time you’ll need it, especially during the summer months!
How do I stop pavlova sticking to the baking paper?
Make sure your pavlova is completely cool before trying to remove it from the paper as this can make it stick. I’ve also read that if you spray your baking paper with non-stick cooking spray or baking pan spray it will prevent it from sticking, though I didn’t need to do this.
When should I put cream on my pavlova?
Do this close to when you’ll need to serve it, as the cream will make the pavlova soften if done too far in advance.
How long does pavlova last with cream?
Once topped with cream it is best eaten with 1-2 days. Not only because cream makes the pavlova go soggy, but also because cream needs to be kept refrigerated. This is a problem as meringue doesn’t keep well in the fridge. The high sugar content draws in moisture and makes it go soggy too! So it’s best eaten on the day of serving.
Why is my pavlova cracking in the oven?
It is normal for pavlovas to have some cracks, but major cracking can occur when the temperature is too high and the pavlova overcooks. it can also occur due to a sudden temperature change such as opening the oven door too soon. Leaving the pavlova to cool in the oven not only prevents too much cracking but, as mentioned above, will prevent it from sticking to the baking paper.
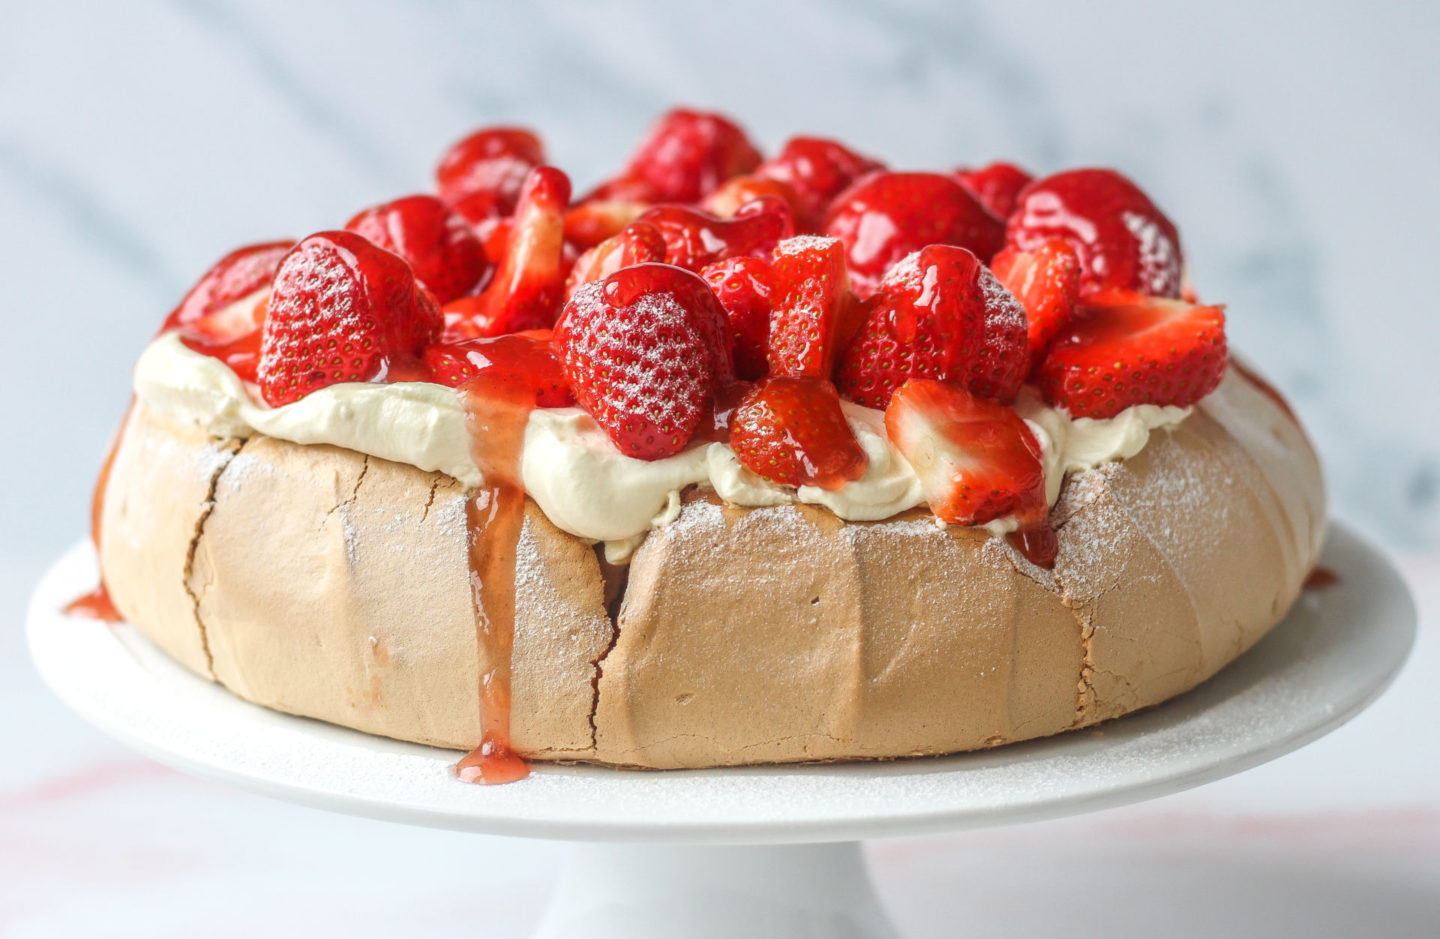
To summarise, this delicious strawberry pavlova is:
- easier to make than it seems
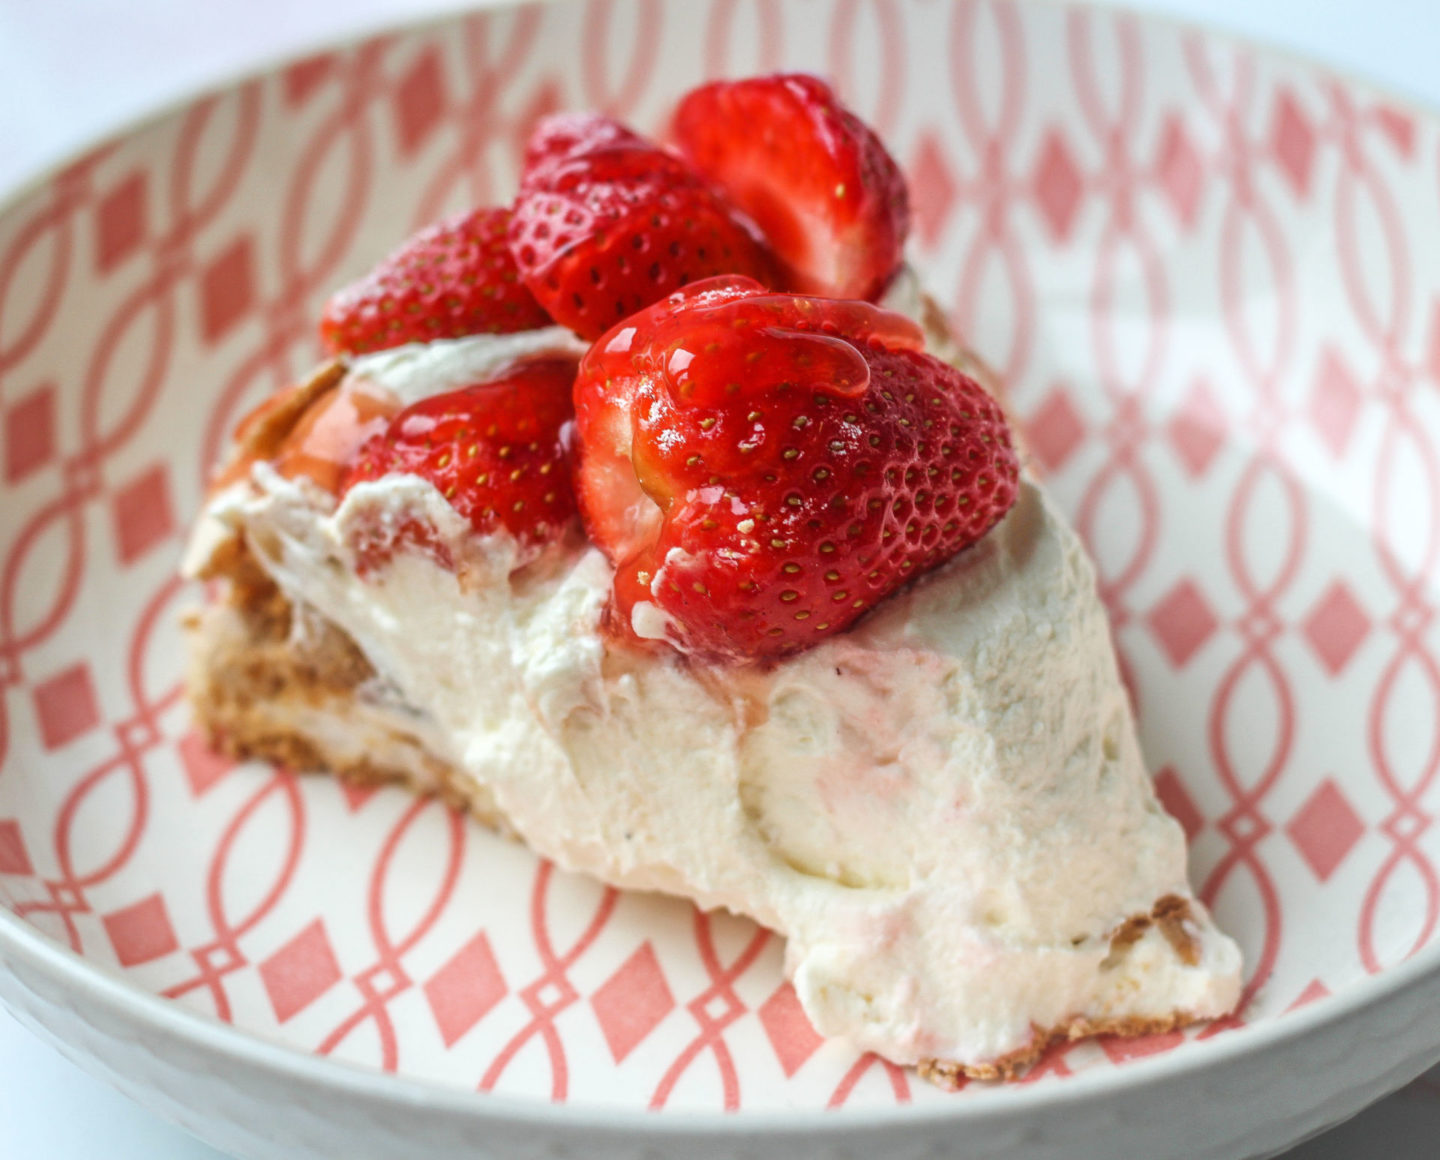
- sweet and crunchy with a fluffy marshmallow centre
- topped with fresh whipped double cream, strawberries and a simple strawberry sauce topping made using just jam and water
- the perfect summer dessert to serve to a crowd
- simple to make yet a beautiful showstopper dessert!
If you try this recipe I’d love to see! You can show me by tagging me @bakerjoblog or using #bakerjoblog!
Other dessert recipes to try:
- Lattice Apple Pie
- No-Churn Mince Pie Ice Cream
- No-Bake Mint Chocolate Cheesecake
- No-Churn Biscoff Ice Cream
- Lemon Bars
- No-Churn Strawberry Cheesecake Ice Cream
- No-Churn Oreo Ice Cream
- White Chocolate Coconut Truffles
- No-Bake Fresh Fruit Tart
- No-Bake Strawberry White Chocolate Cheesecake
- Cocoa Dusted Chocolate Truffles
- No-Bake Lemon Cheesecake
Strawberry Pavlova
Equipment
- Stand or hand mixer with whisk attachment
- Baking tray lined with baking/parchment paper
- 20cm/8inch cake pan base or similar-sized dinner plate (to draw template onto baking paper)
Ingredients
Pavlova base
- 5 medium egg whites
- 230 g caster sugar
- 1 tsp cream of tartar can be substituted for same amount of lemon juice or white wine vinegar
- 2 tsp cornflour level
- 1 tsp vanilla extract
Topping
- 600 ml double cream cold
- 400 g fresh strawberries Some sliced, some left whole
Strawberry sauce/glaze
- 3 tbsp strawberry jam
- 3 tbsp water
Instructions
- Preheat your oven to 140°C/120° fan.
- Using your 20cm/8inch cake pan base or similarly-sized dinner plate, draw a circle onto baking paper and set aside.
- Carefully separate your egg whites into a small bowl, one by one, tipping the egg white into your large mixing bowl each time. This is to avoid wasting any egg white if you accidentally get some egg yolk in the egg whites; you'd have to dispose of all the egg whites then rather than just one!

- Once all the egg whites are in the mixing bowl, add cream of tartar to the egg whites.
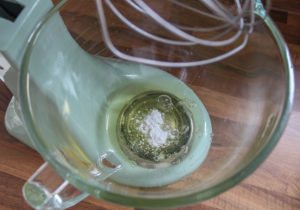
- Using the whisk attachment of your stand or hand mixer, whisk the egg whites and cream of tartar on medium-high speed until they look foamy and thick. This takes around 2 minutes on my KitchenAid stand mixer on setting 8.
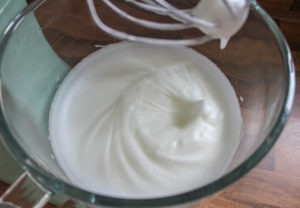
- With the mixer running on the same speed setting, slowly add the caster sugar, a tablespoon at a time. This is important to help the sugar incorporate well into the egg whites.
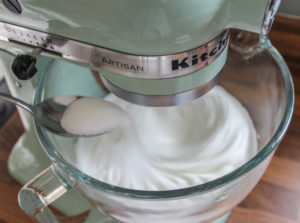
- Once all the sugar has been added, continue whisking on this speed setting until the mixture is glossy white and holds stiff peaks as shown.

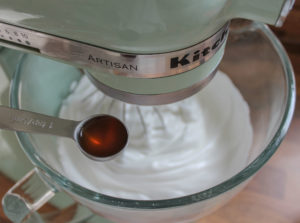
- Add vanilla and whisk briefly just to combine.
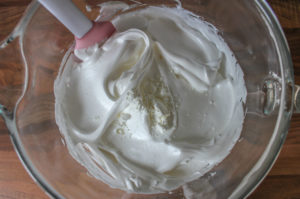
- Now by hand, fold the cornflour gently into the mixture using a spatula until fully combined.
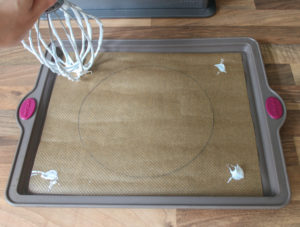
- Using your whisk attachment, place a little of the mixture on the four corners of your baking paper (circle side up) and then flip it over, pressing the corners onto the baking tray to hold the paper in place.
- Pour the whole mixture onto the paper, trying to keep it within your circle template.

- Shape it into a rough round shape using a spatula, and create a well in the centre (for the cream and strawberry filling!)
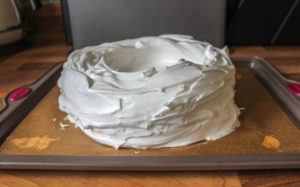
- You can leave it like this, or do as I've done: using your spatula, drag the mixture upwards, all the way round, to create this pattern around the sides.
- Place on the lowest shelf of your preheated oven and bake for 1 hour.
- Once baked, keep the oven door closed and turn the oven off. Leave to cool completely in the oven to avoid major cracking or collapse of the pavlova. This is where having an oven thermometer comes in very useful as you'll know when it is complelely cool!
Strawberry sauce
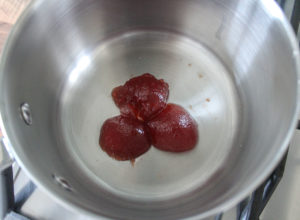
- Whilst waiting for the pavlova to cool, you can make your simple strawberry sauce.
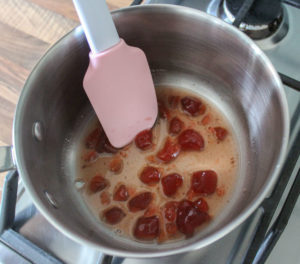
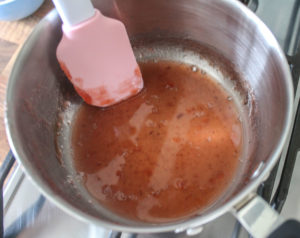
- Place the jam and water in a small saucepan and warm on a low heat. Stir often with a heatproof spatula until combined and smooth. It will look quite watery but will thicken as it cools.
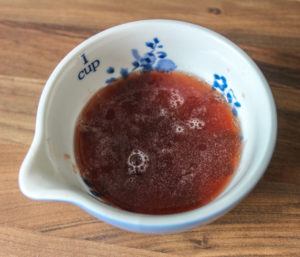
- Pour this mixture into a smaller bowl to cool more quickly and set aside for later.
Cream and strawberry topping
- Once the oven is completely cooled, remove the pavlova from the oven and slowly remove the baking paper. Place the pavlova on your chosen serving plate/stand.
- Remove the stems from the strawberries, and then slice up several of them. I like to have a mixture of whole and sliced strawberries to top the pavlova.
- Using the whisk attachment of your stand or hand mixer, whisk your cold double cream on medium-high speed for several minutes until thickly whipped. Try not to overwhip it – it should be just thick enough to spread easily and smoothly onto the pavlova.

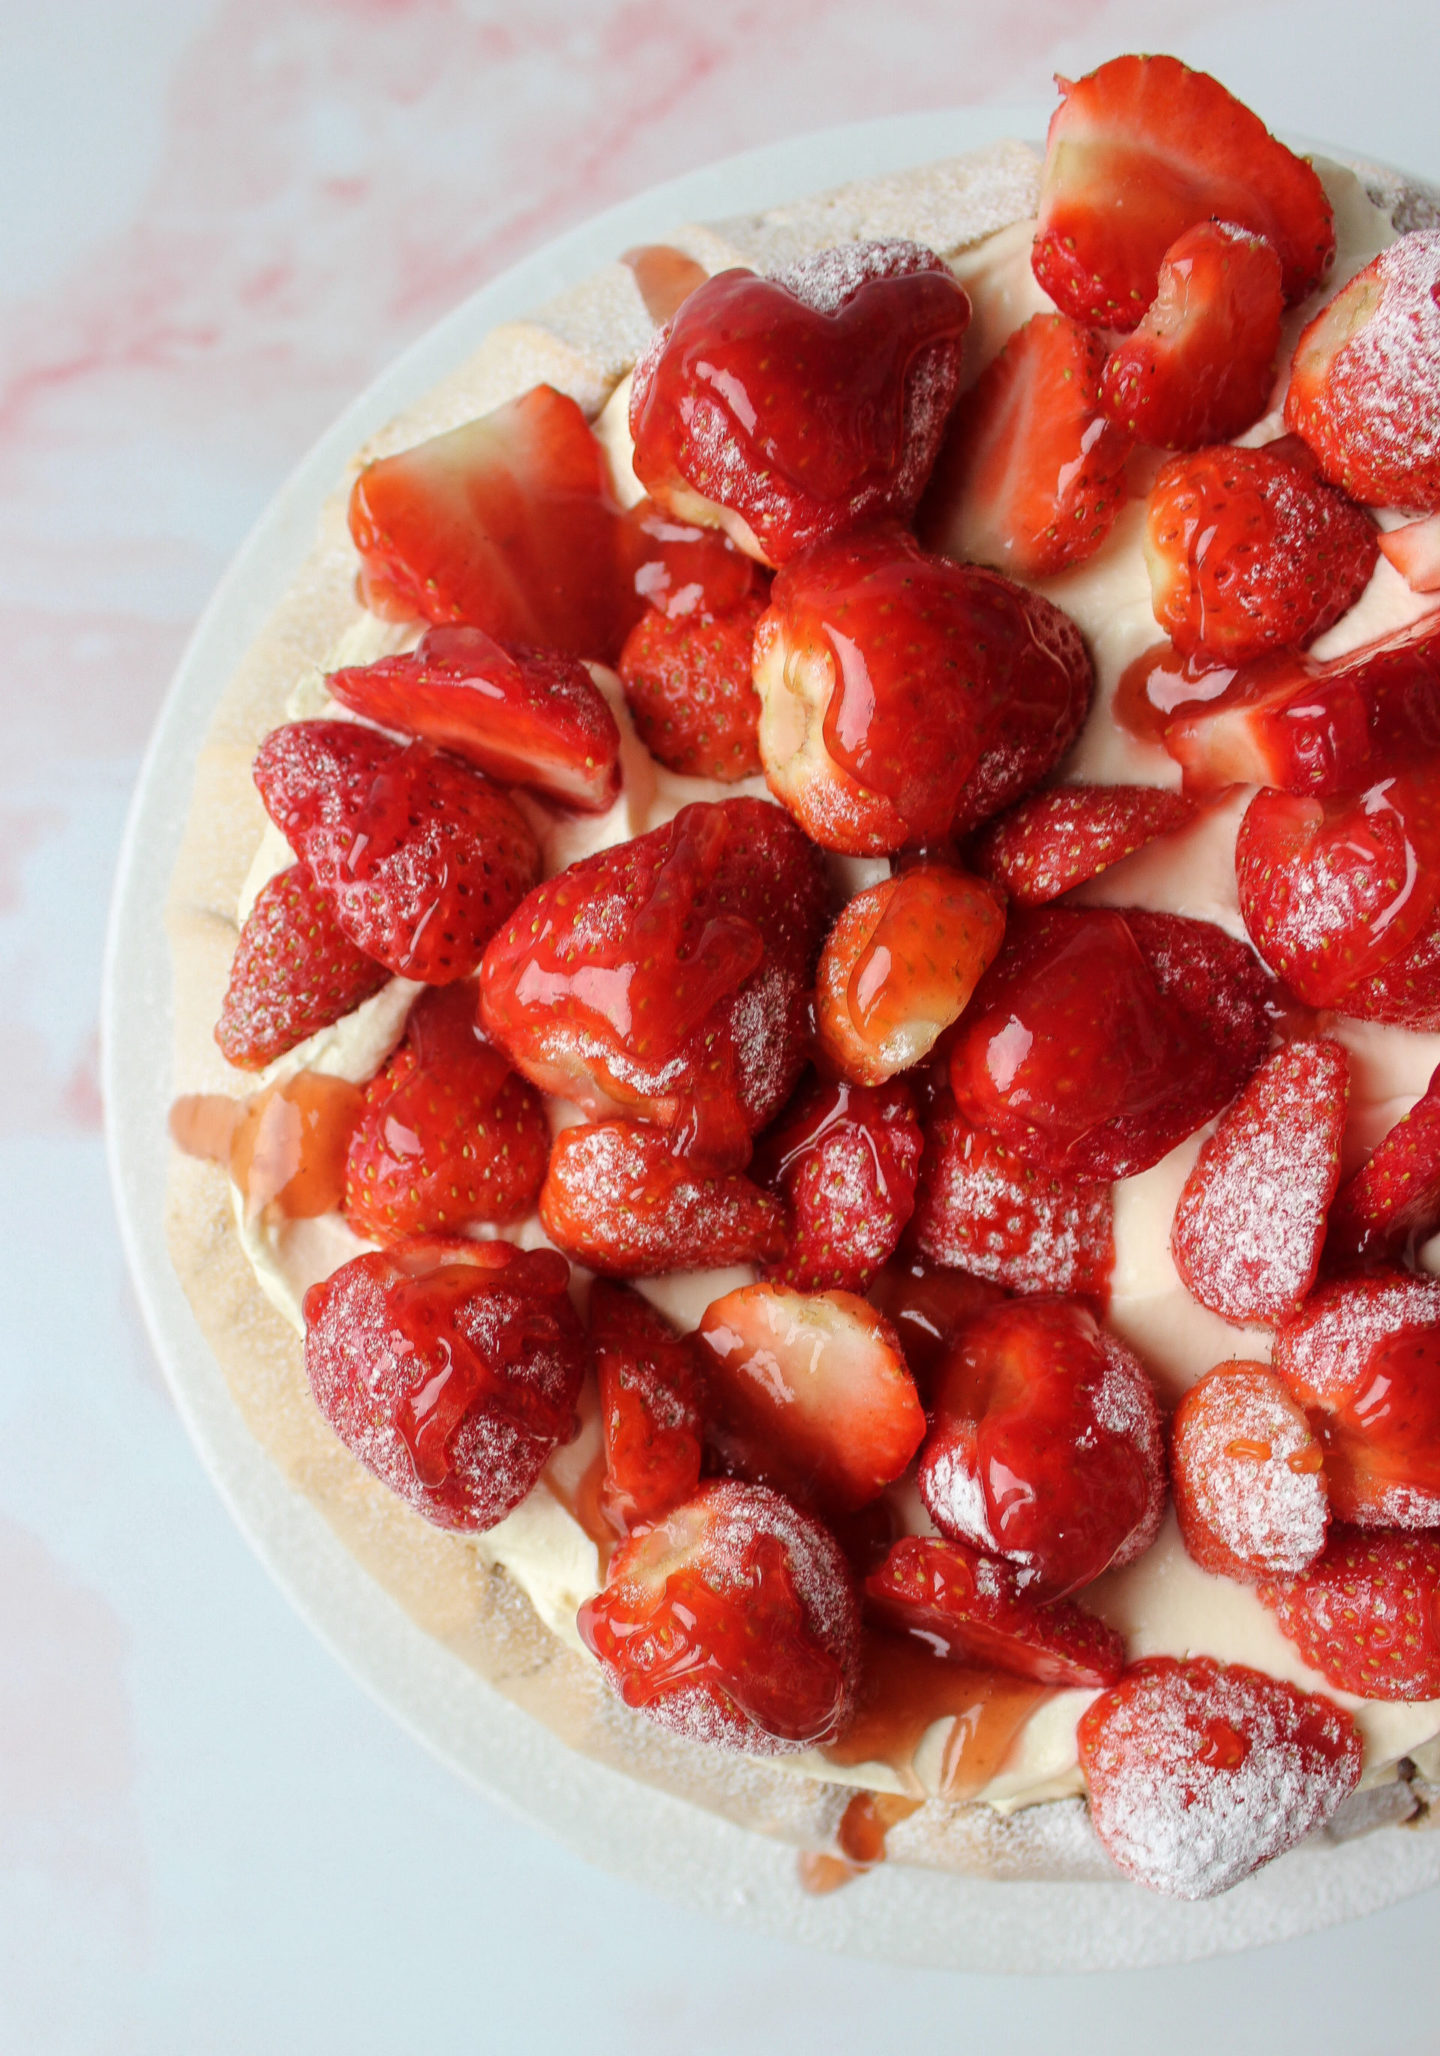
- Once you've topped the pavlova with the sfot whipped cream, place your strawberry slices and whole strawberries on top.
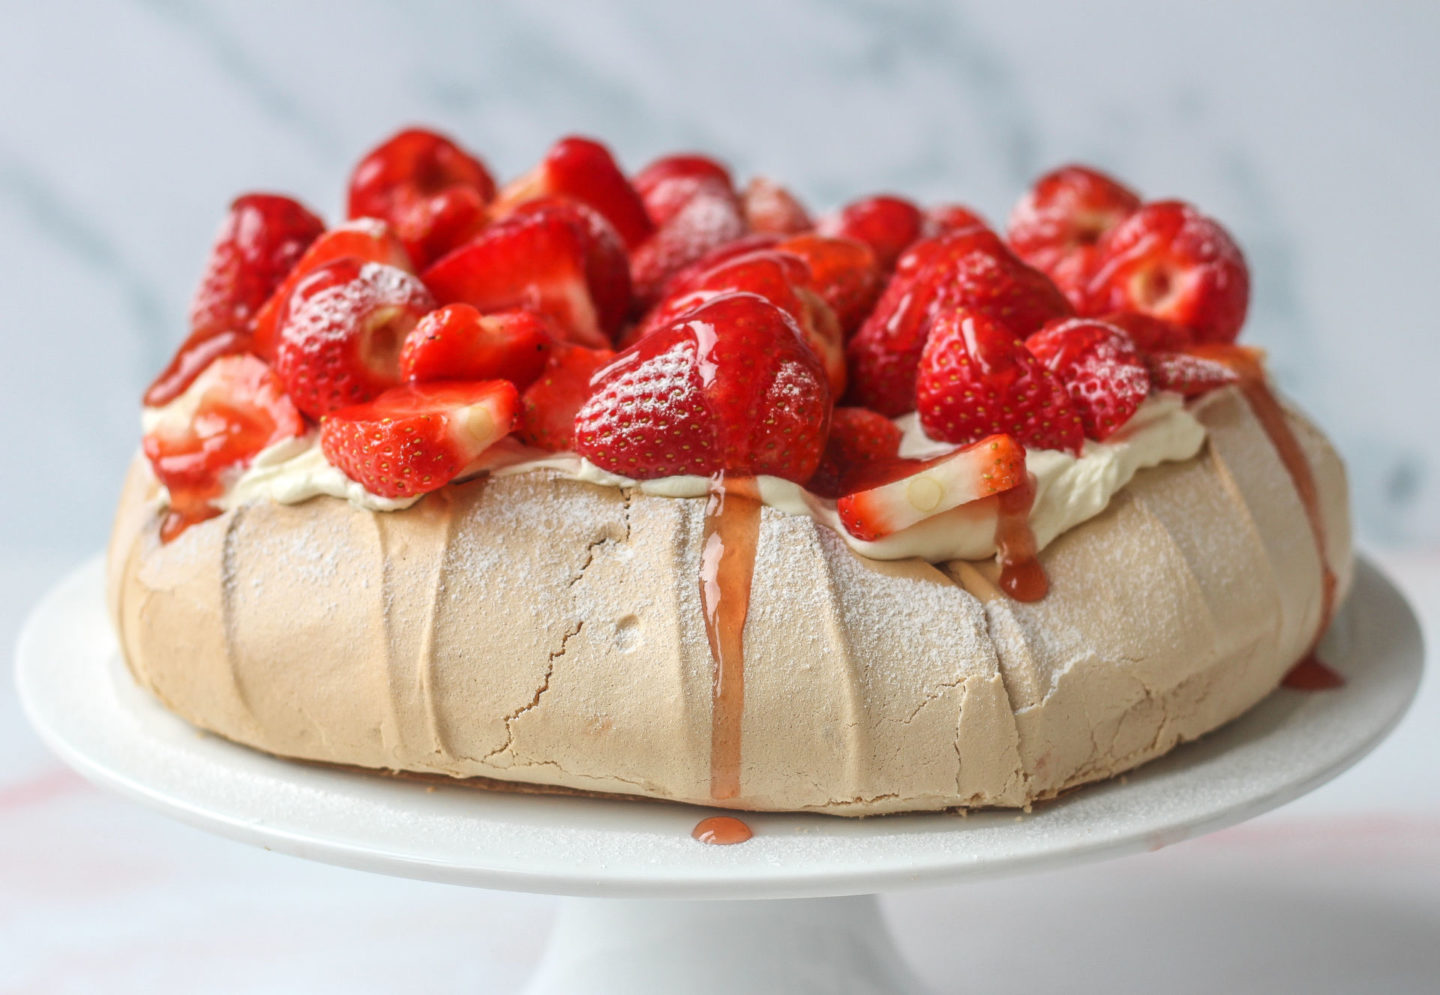
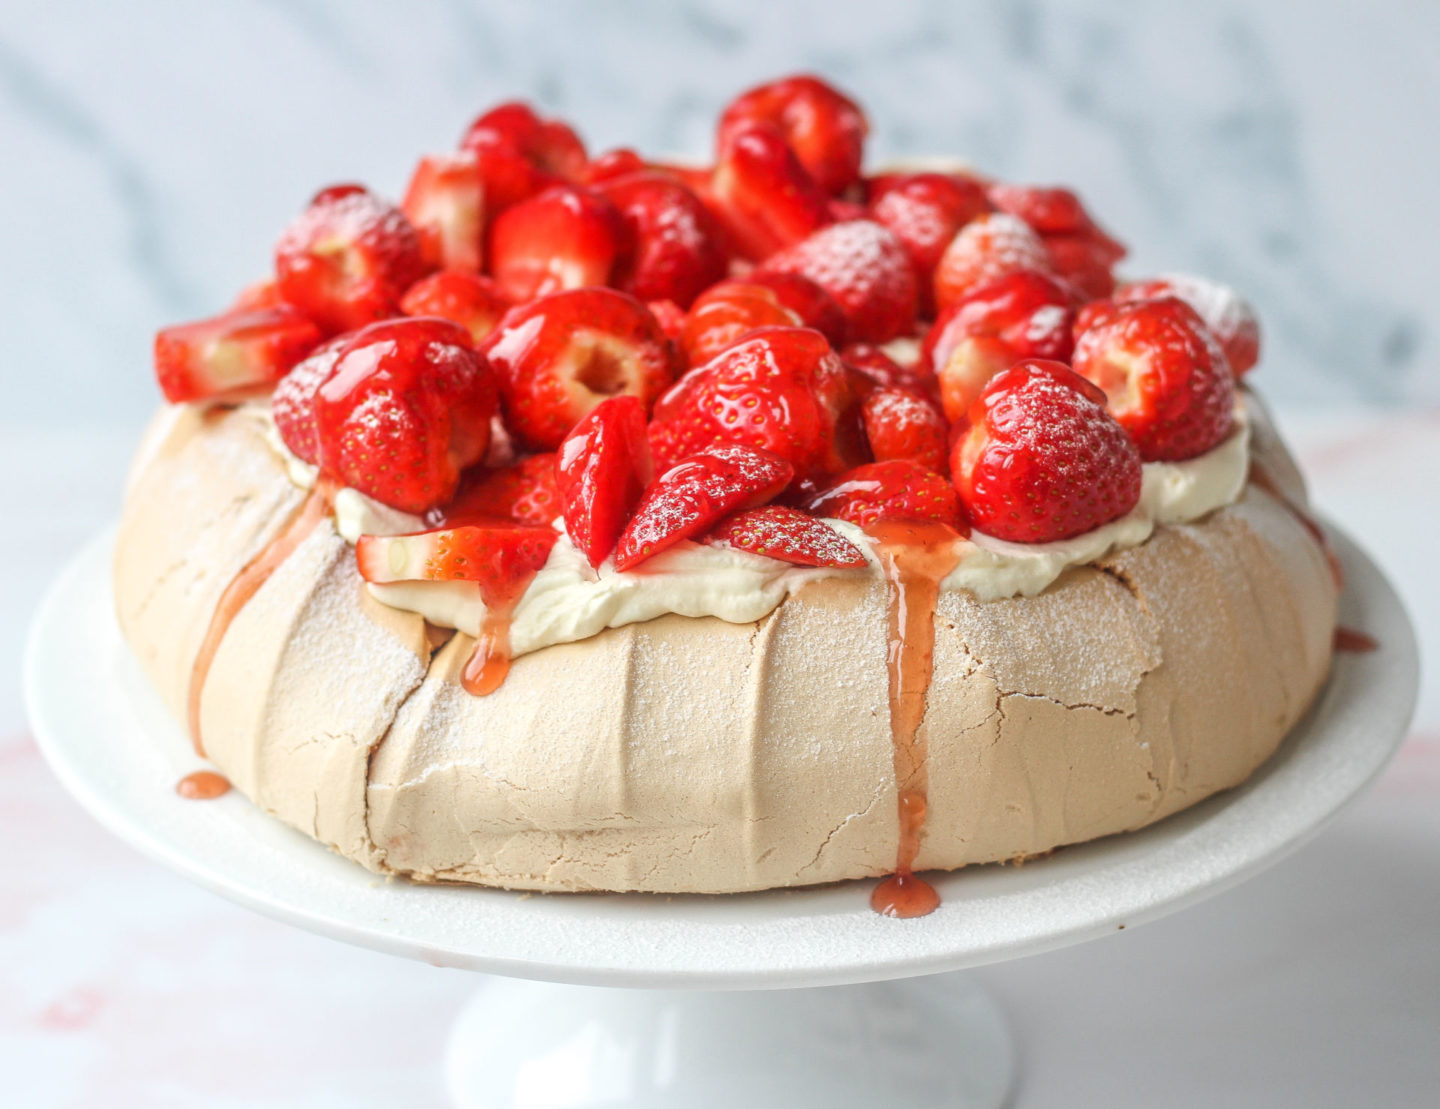
- Finish by spooning the thickened strawberry sauce over the strawberries. I like to let some drip down the sides of the pavlova too.
- Serve immediately, and best eaten on the day, as the cream and having to store it in the fridge will make the pavolva soggy within a day or two.


This is so easy to make and a very impressive looking dessert. I use a mixture of berries.