This vanilla layer cake is soft and moist and smothered in light-as-air, creamy vanilla buttercream. A great birthday or celebration cake recipe!
This post may contain affiliate links. For more information, see my Full Disclosure.
This has been on my baking to-do list for a while so I’m excited to finally share it with you!
I’ve shared several layer cake recipes on Baker Jo so far, such as my Gingerbread Latte Cake, Chocolate Coconut Cake and Lemon Raspberry Cream Cake with Meringue Kisses!
However, I realised I hadn’t yet shared a classic vanilla layer cake recipe! I wanted to create a moist, light vanilla cake covered in silky smooth buttercream, that wasn’t sickly sweet but had a delicious vanilla flavour. And here it is!
So, what ingredients will you need to make this easy vanilla cake recipe?
Vanilla layer cake ingredients
This easy two-layer vanilla cake recipe is made using simple, familiar ingredients. You’ll find full ingredient amounts in the recipe card at the bottom of this post but to summarise, you’ll need:
- Plain flour for the main structure of the cake
- Baking powder to help the cake rise
- Salt to balance the flavours so it’s not overly sweet
- Caster sugar for sweetness
- Butter for that buttery cake flavour, and beaten with the sugar creates more air, leading to a lighter, fluffier cake!
- Eggs for structure and some moisture
- Buttermilk brings wonderful moisture to this cake – you can use regular milk but if possible, use buttermilk for the moistest crumb (see my notes below on how to make your own buttermilk!)
- Vanilla for that classic, indulgent vanilla flavour!
How to make a homemade vanilla layer cake with vanilla buttercream from scratch
This simple vanilla layer cake with vanilla buttercream is easy to make by following just a few steps! You’ll find step-by-step photos in the recipe card at the bottom of this post, but here’s a quick summary:
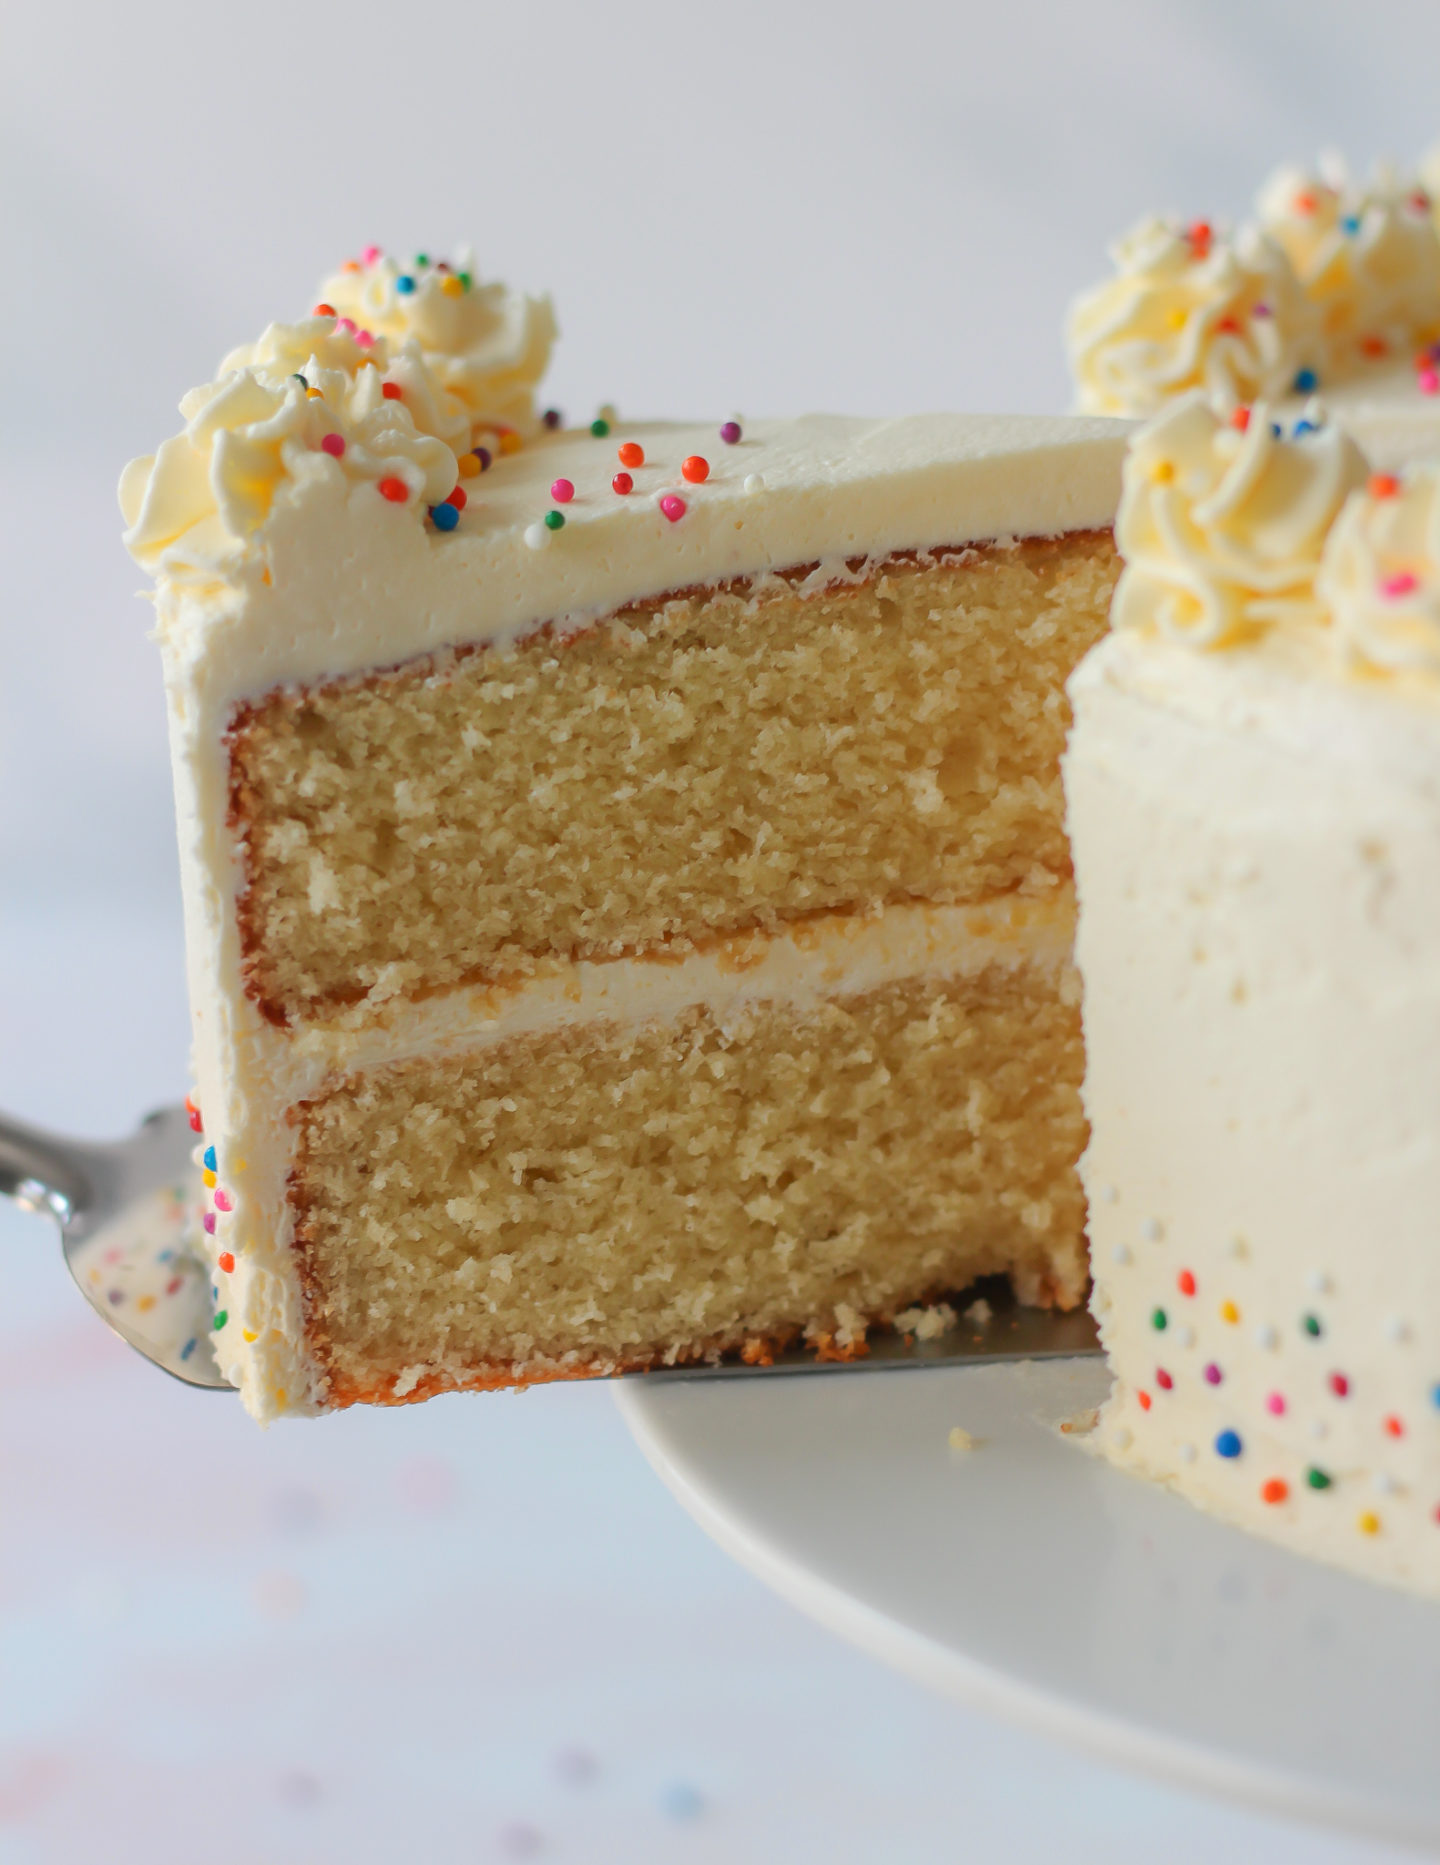
Vanilla cake layers
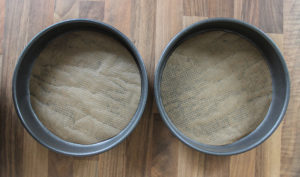
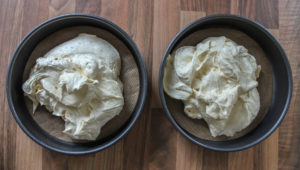
- Preheat your oven to 160°C/140°C fan. Grease and line two 20cm/8in sandwich/cake tins with baking or parchment paper
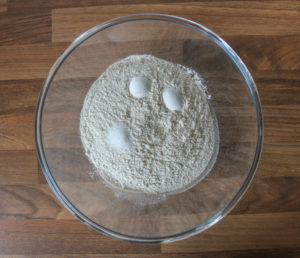
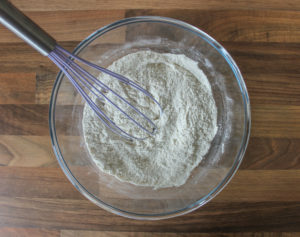
- Add the flour, baking powder and salt to a medium bowl. Whisk to combine and set aside
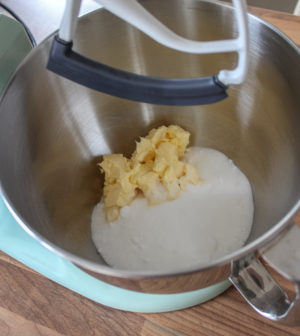
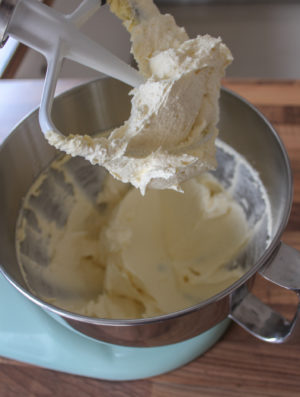
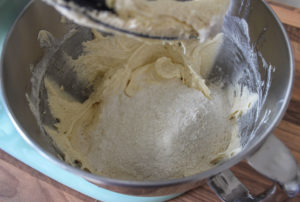
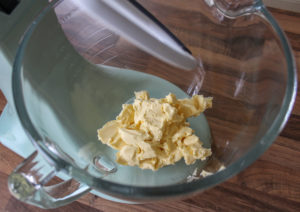
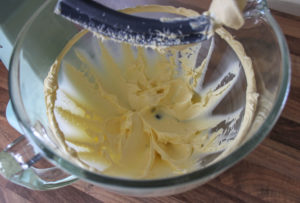
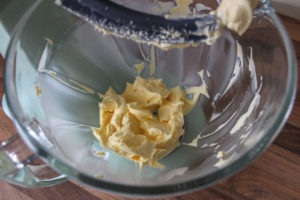
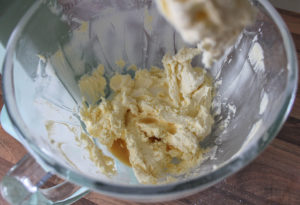
- Using a stand mixer or hand mixer with the paddle/beater attachments, beat the butter and sugar on medium speed for two whole minutes until pale, light and fluffy
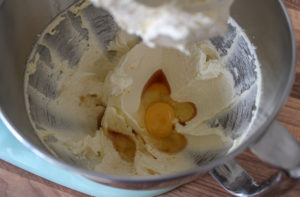
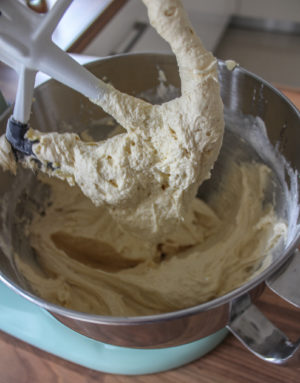
- Add vanilla extract to the large bowl followed by the eggs, beating on medium speed between each addition of egg
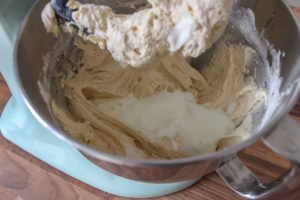
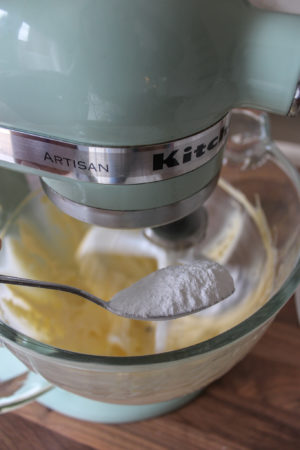
- Add half the dry ingredients and beat on low speed until just combined, then repeat with the final half of dry ingredients
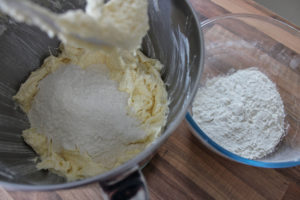
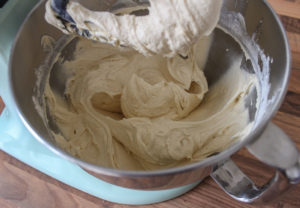
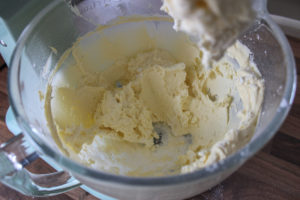
- Finally, add the buttermilk (or alternative milk) and beat on low speed until just combined
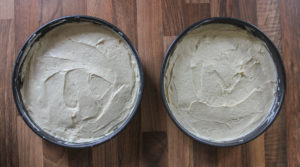
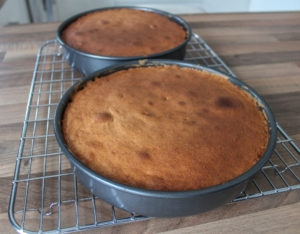
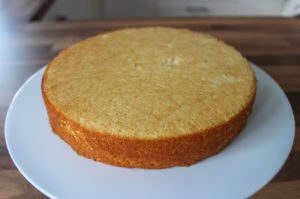
- Pour the cake batter evenly into your lined 20cm/8in sandwich/cake tins and bake for around 25 minutes
Vanilla buttercream
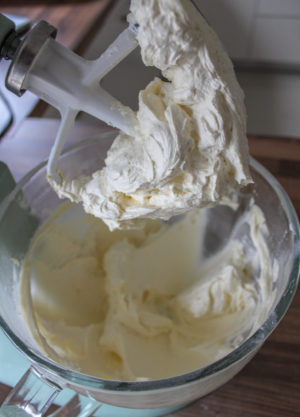
- Using a stand mixer or hand mixer with the paddle/beater attachments, beat the butter on medium speed for two whole minutes to soften
- Reduce to low speed and slowly add the icing sugar, a tablespoon at a time
- Add the salt, vanilla extract and milk and beat on medium-high speed for a full five minutes until very light, smooth and fluffy!
Top tips for making the best homemade vanilla layer cake
- Make sure all of your ingredients are at room temperature before mixing them together. I measure out my butter and buttermilk about half an hour before mixing, and if you store your eggs in your fridge, get them out at the same time! This allows the ingredients to incorporate much better so that you don’t end up with a lumpy mixture
- When beating the butter and sugar together, beat for a whole two minutes; this will help trap more air between the butter and sugar, resulting in a lighter, fluffier cake!
- When mixing the dry ingredients with the wet ingredients, only mix until just combined and smooth. Overbeating the mixture at this stage will make your cake tough, dense and dry
- My suggested oven temperature is a little lower than some other cake recipes, and this is because I found it results in flatter cake tops which is ideal for layer cakes! To ensure your oven is at the correct temperature I highly recommend using an oven thermometer. They aren’t very expensive and I couldn’t imagine baking without mine – my oven can run 20 or so degrees different to what my oven dial says so I really depend on my oven thermometer!
- When making the vanilla buttercream, I suggest beating it for a whole five minutes once all of the ingredients have been added. This is what makes the buttercream so, so light and fluffy. This vanilla buttercream has almost the texture of whipped cream because of this technique!
How to make your own buttermilk
I strongly suggest using buttermilk for this recipe as it truly does result in a more moist crumb. If you can’t find buttermilk at your supermarket, try making your own! Simply add one tablespoon of lemon juice or white wine vinegar to the 120ml of milk, stir and leave aside for 5-10 minutes. It will thicken and look slightly curdled; you can now use this as buttermilk!
I suggest using either full fat or semi-skimmed milk for this; it doesn’t work so well with low fat milk.
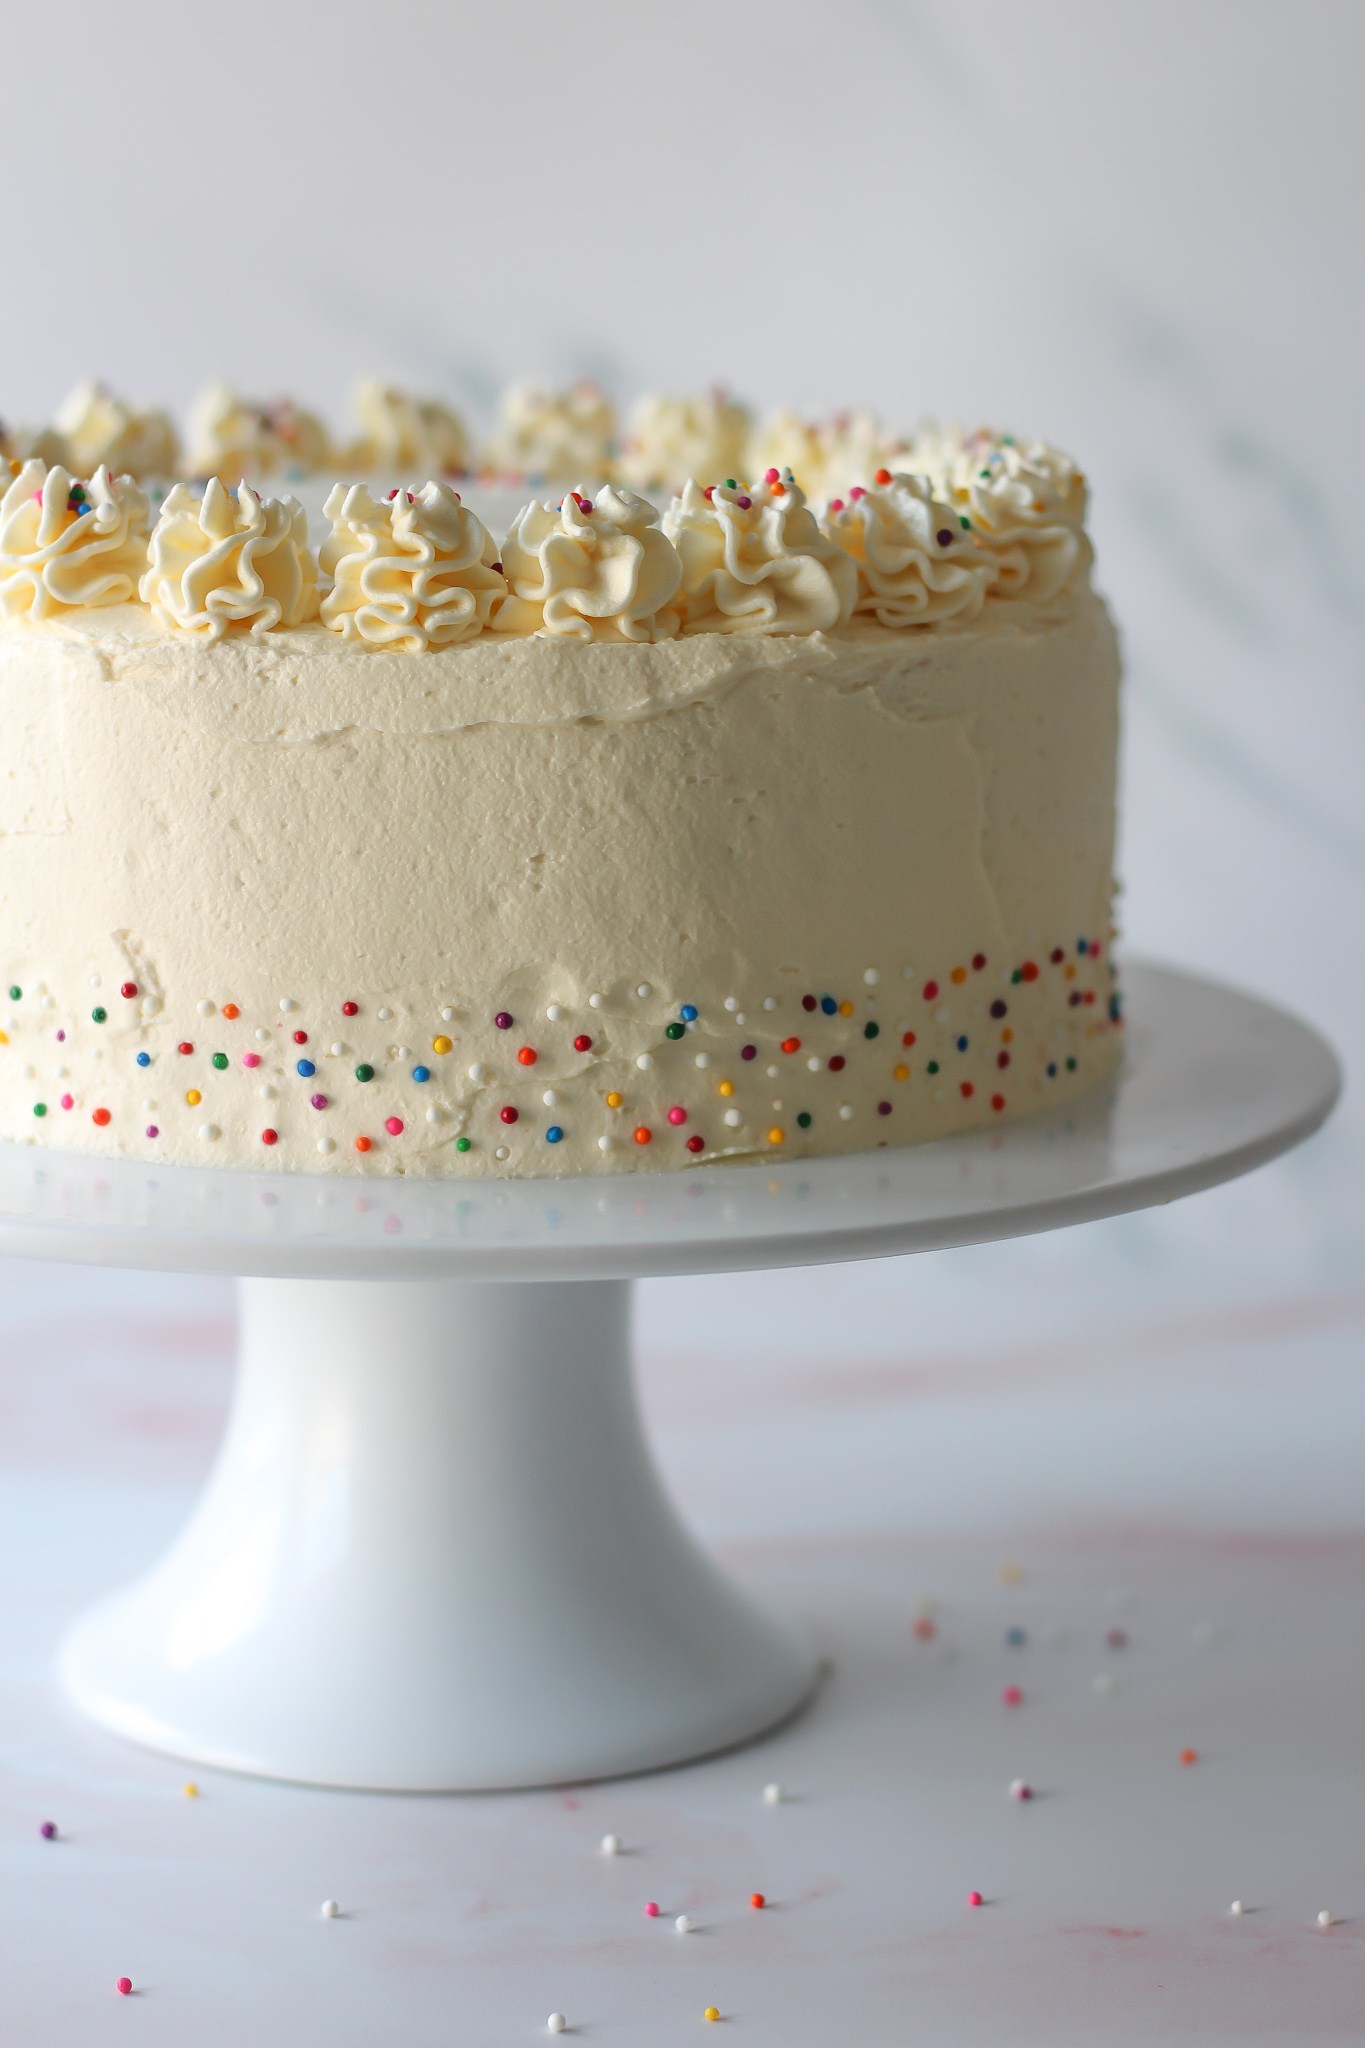
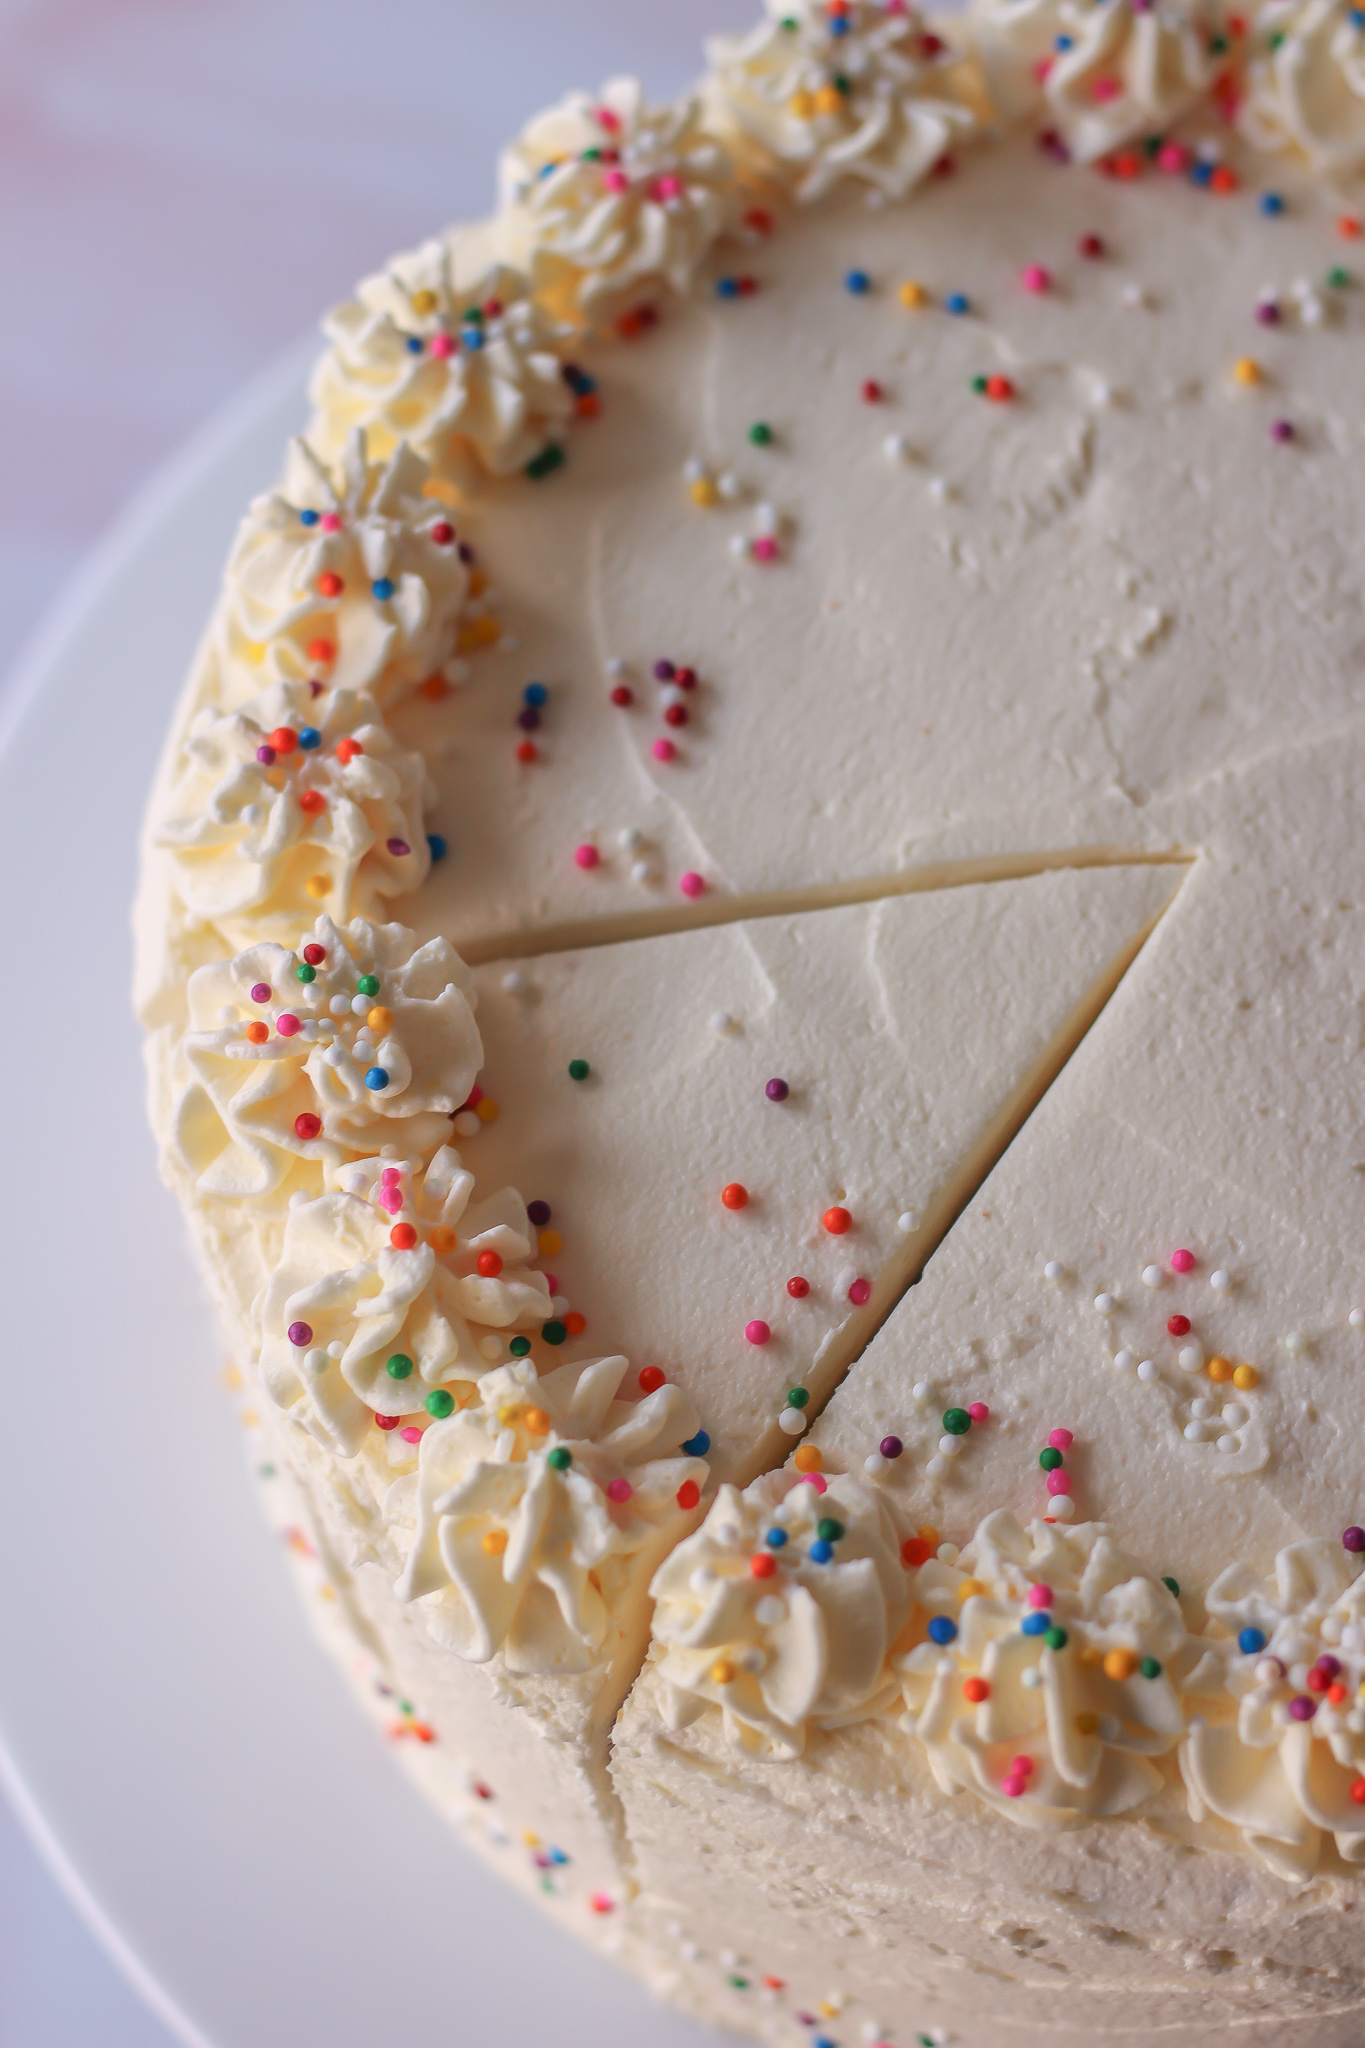
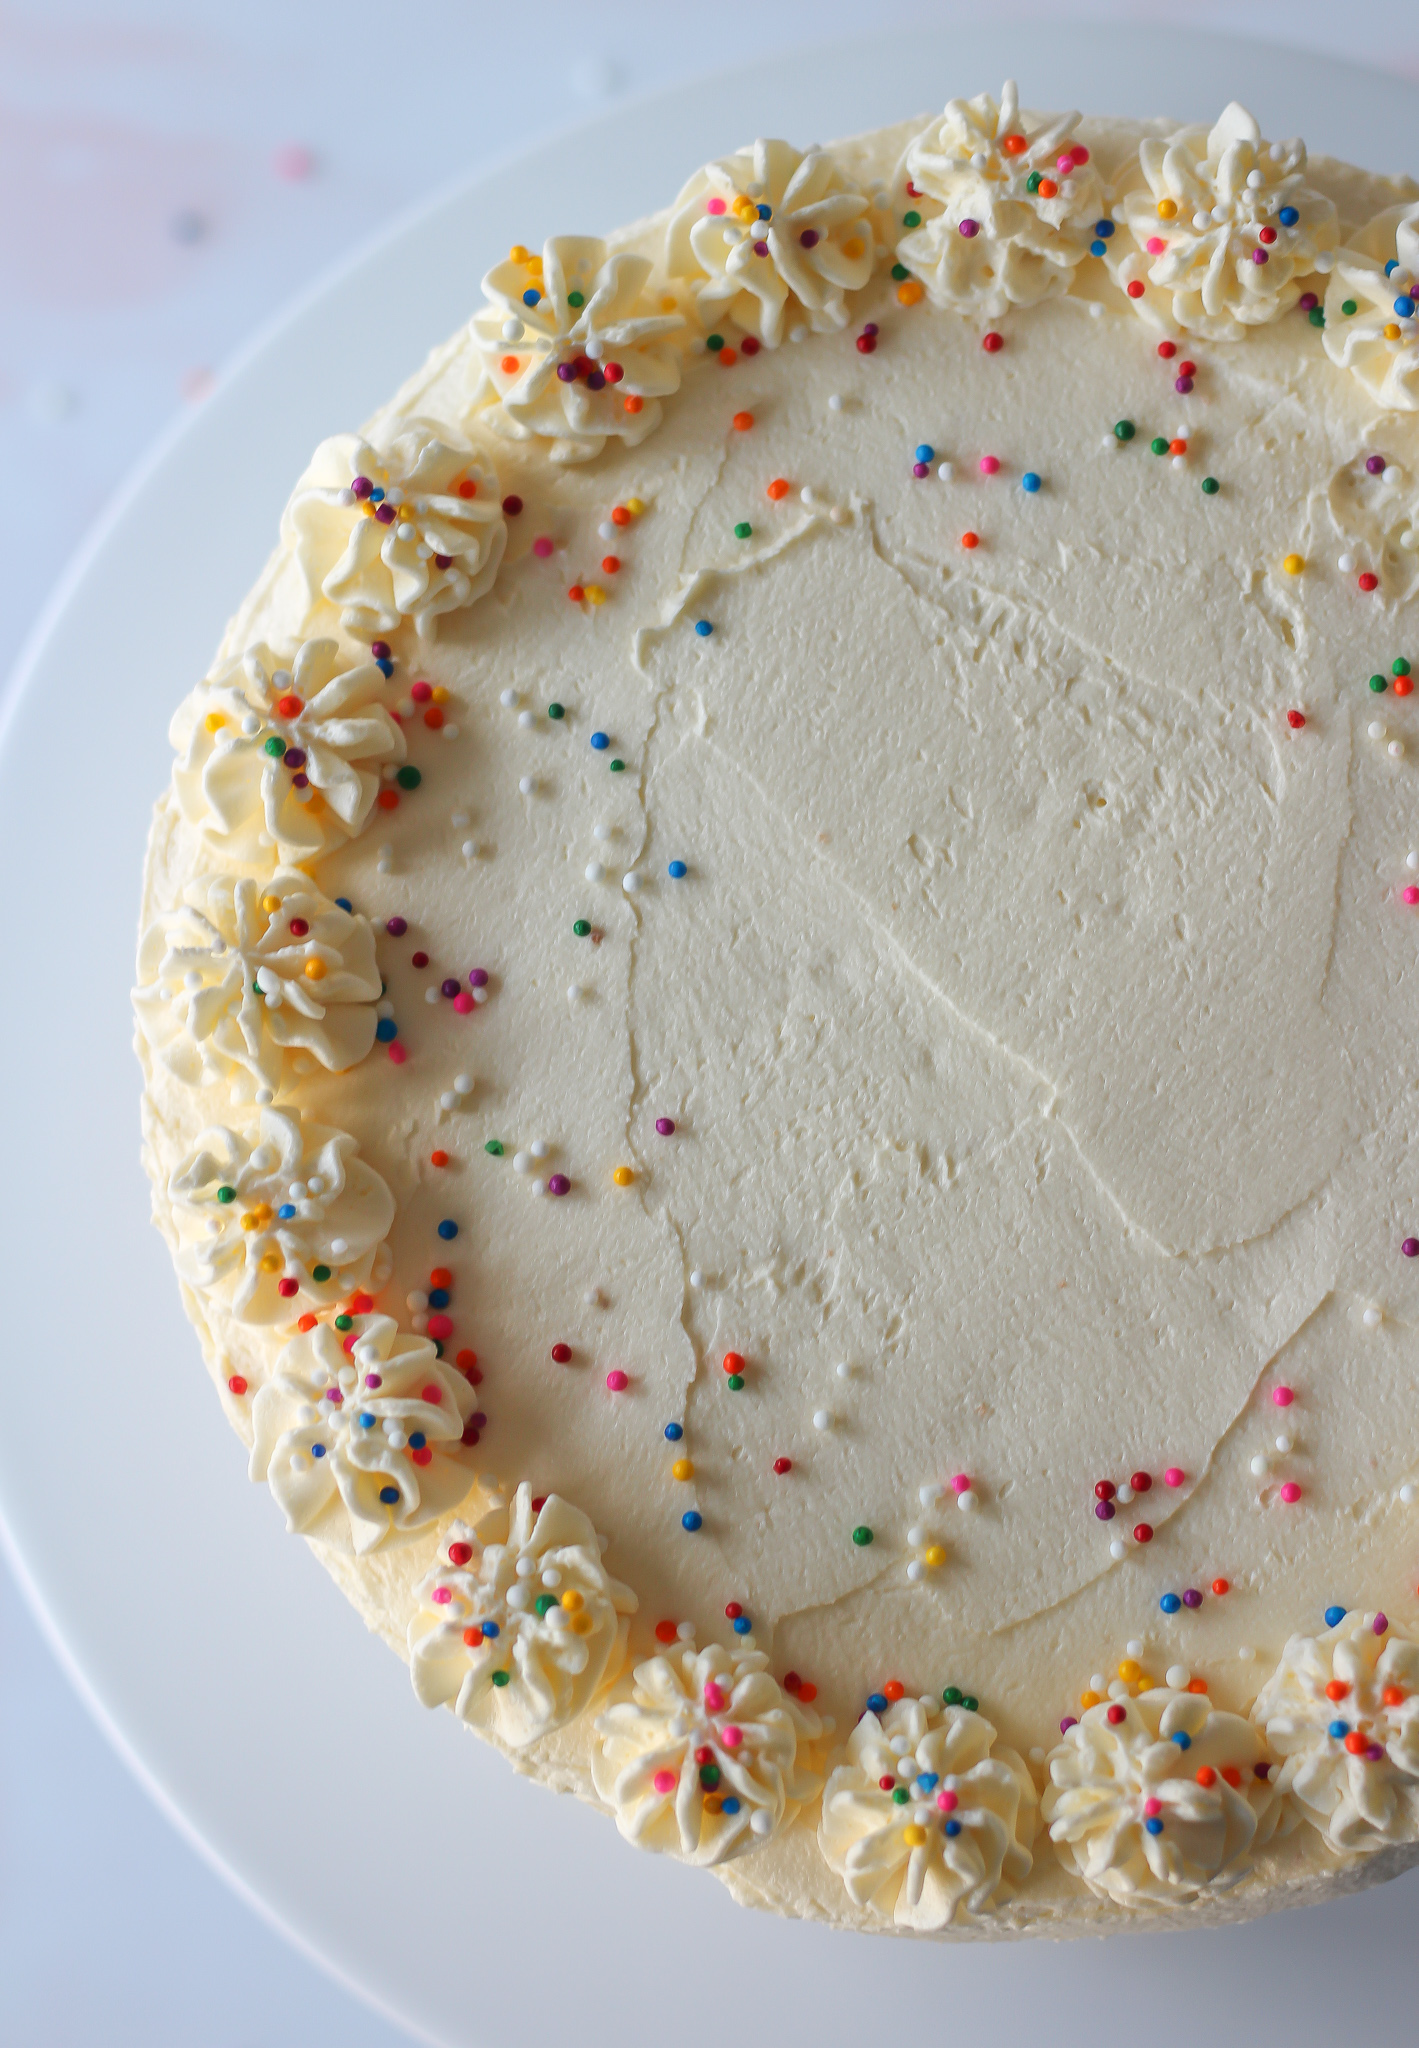
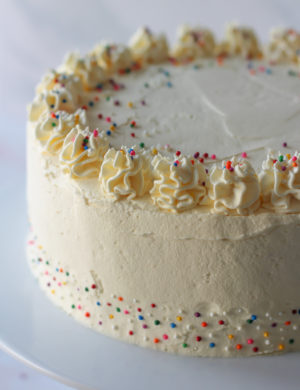
How to decorate a simple homemade vanilla cake
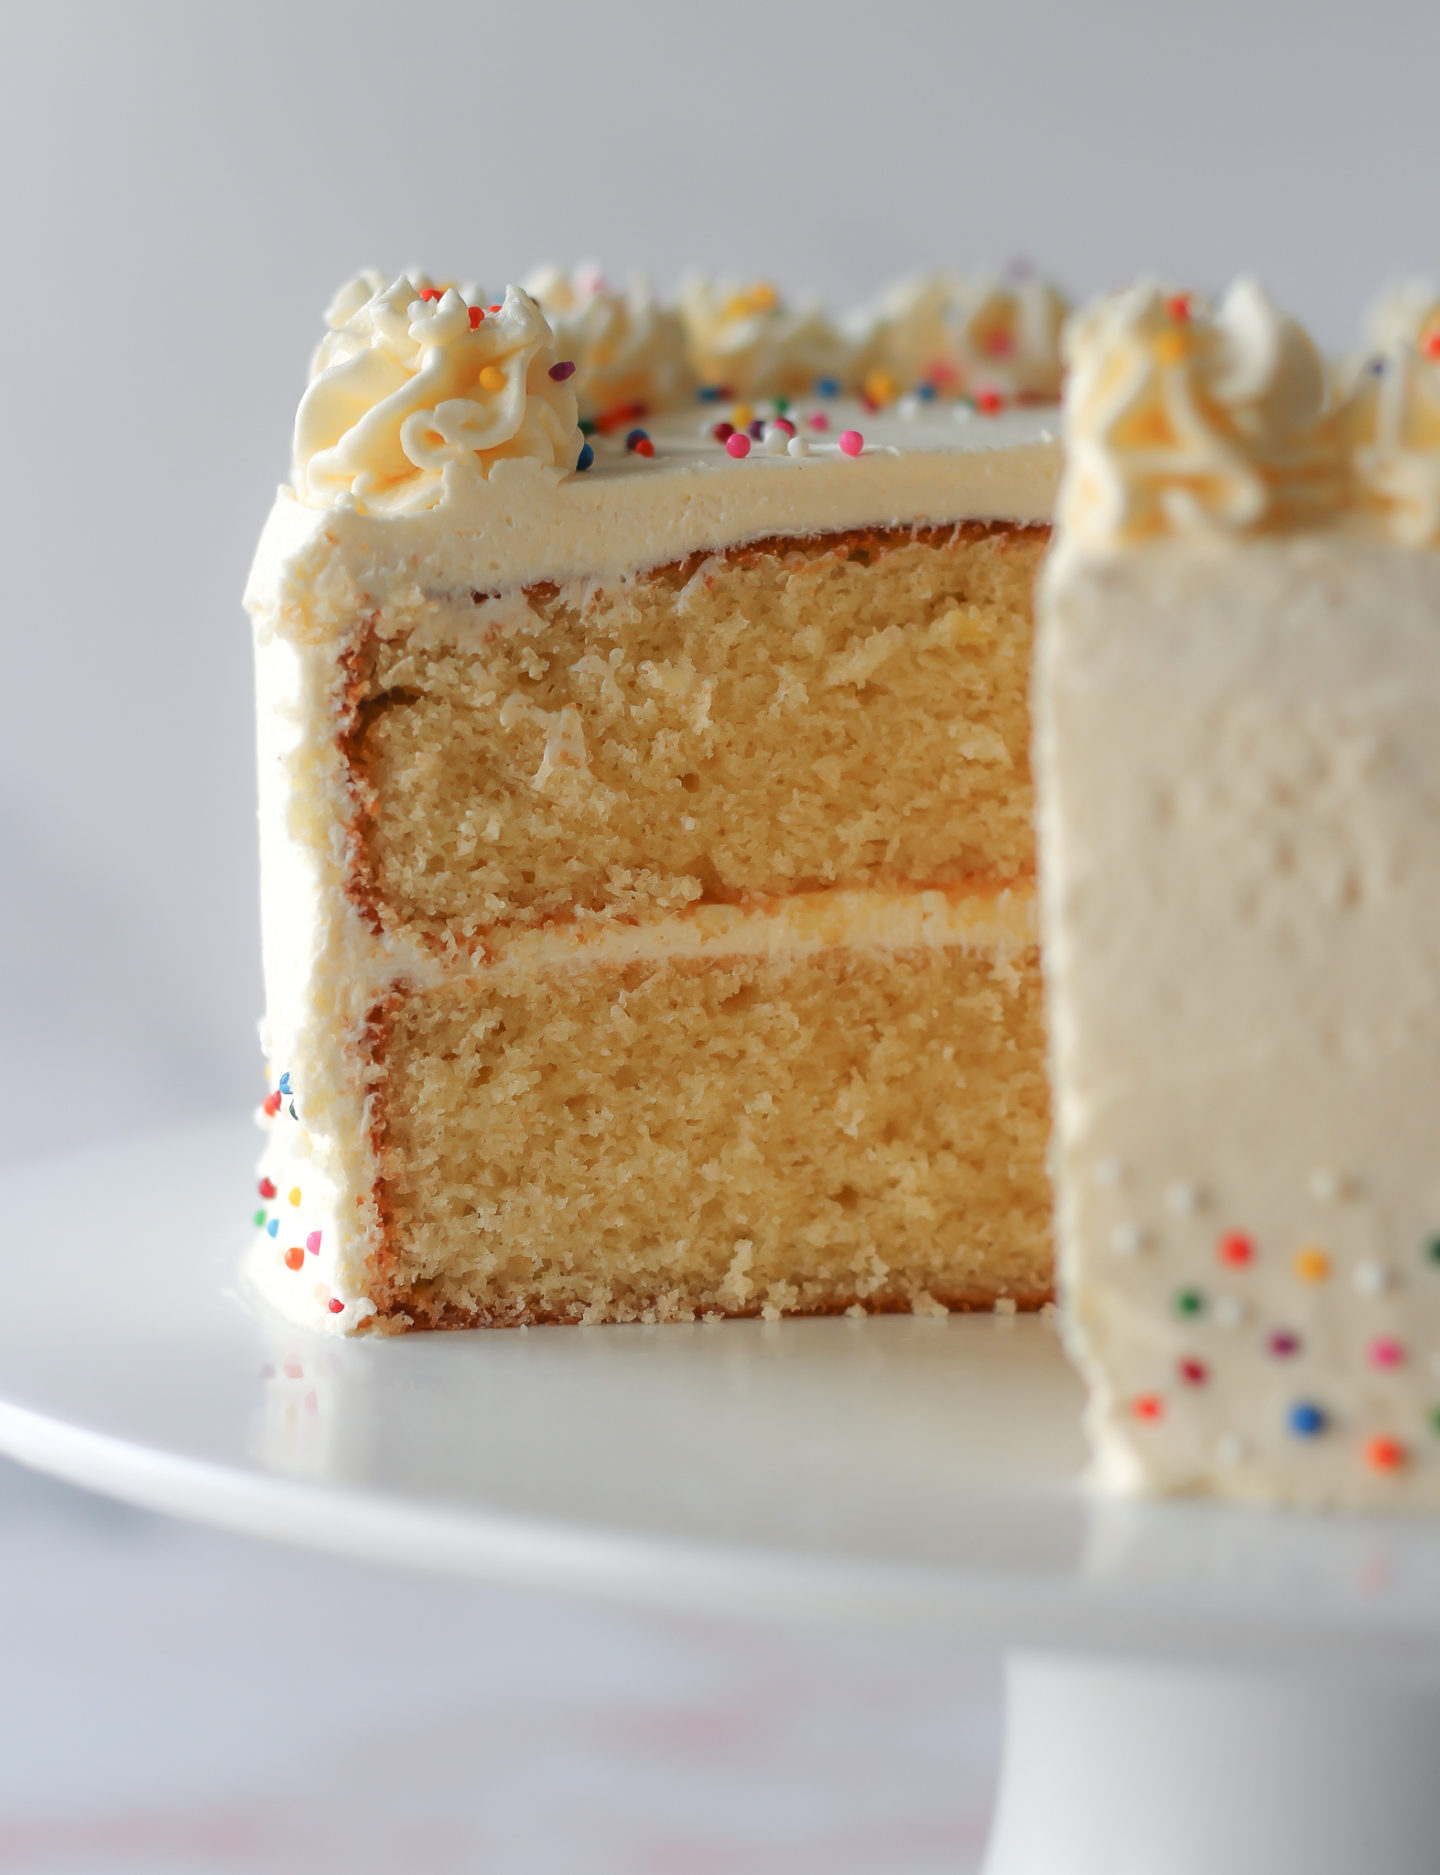
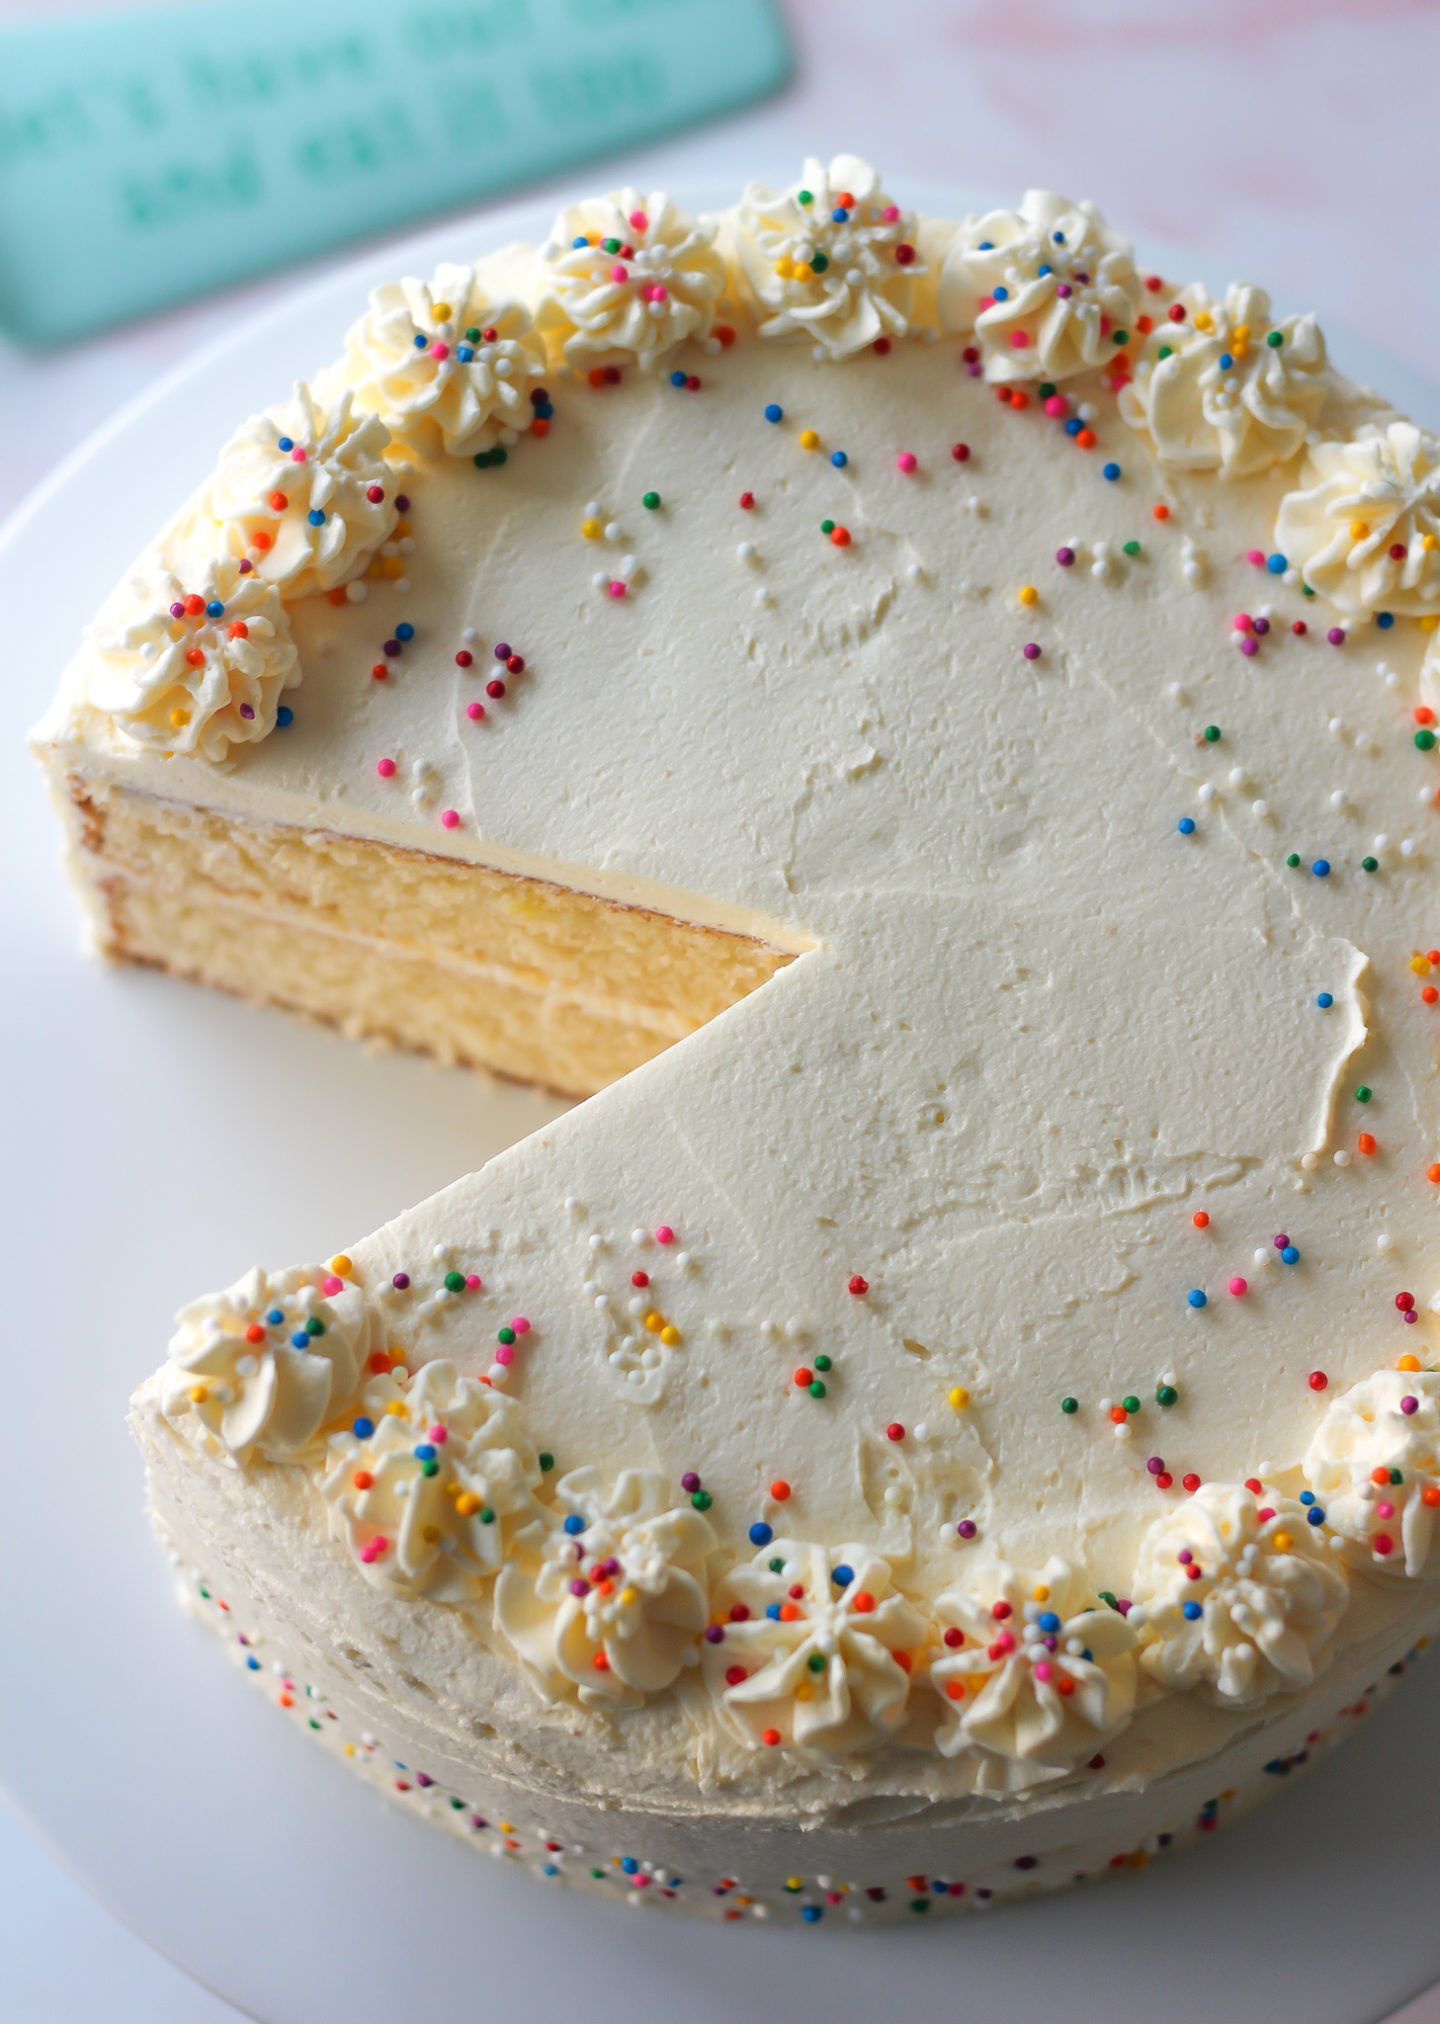
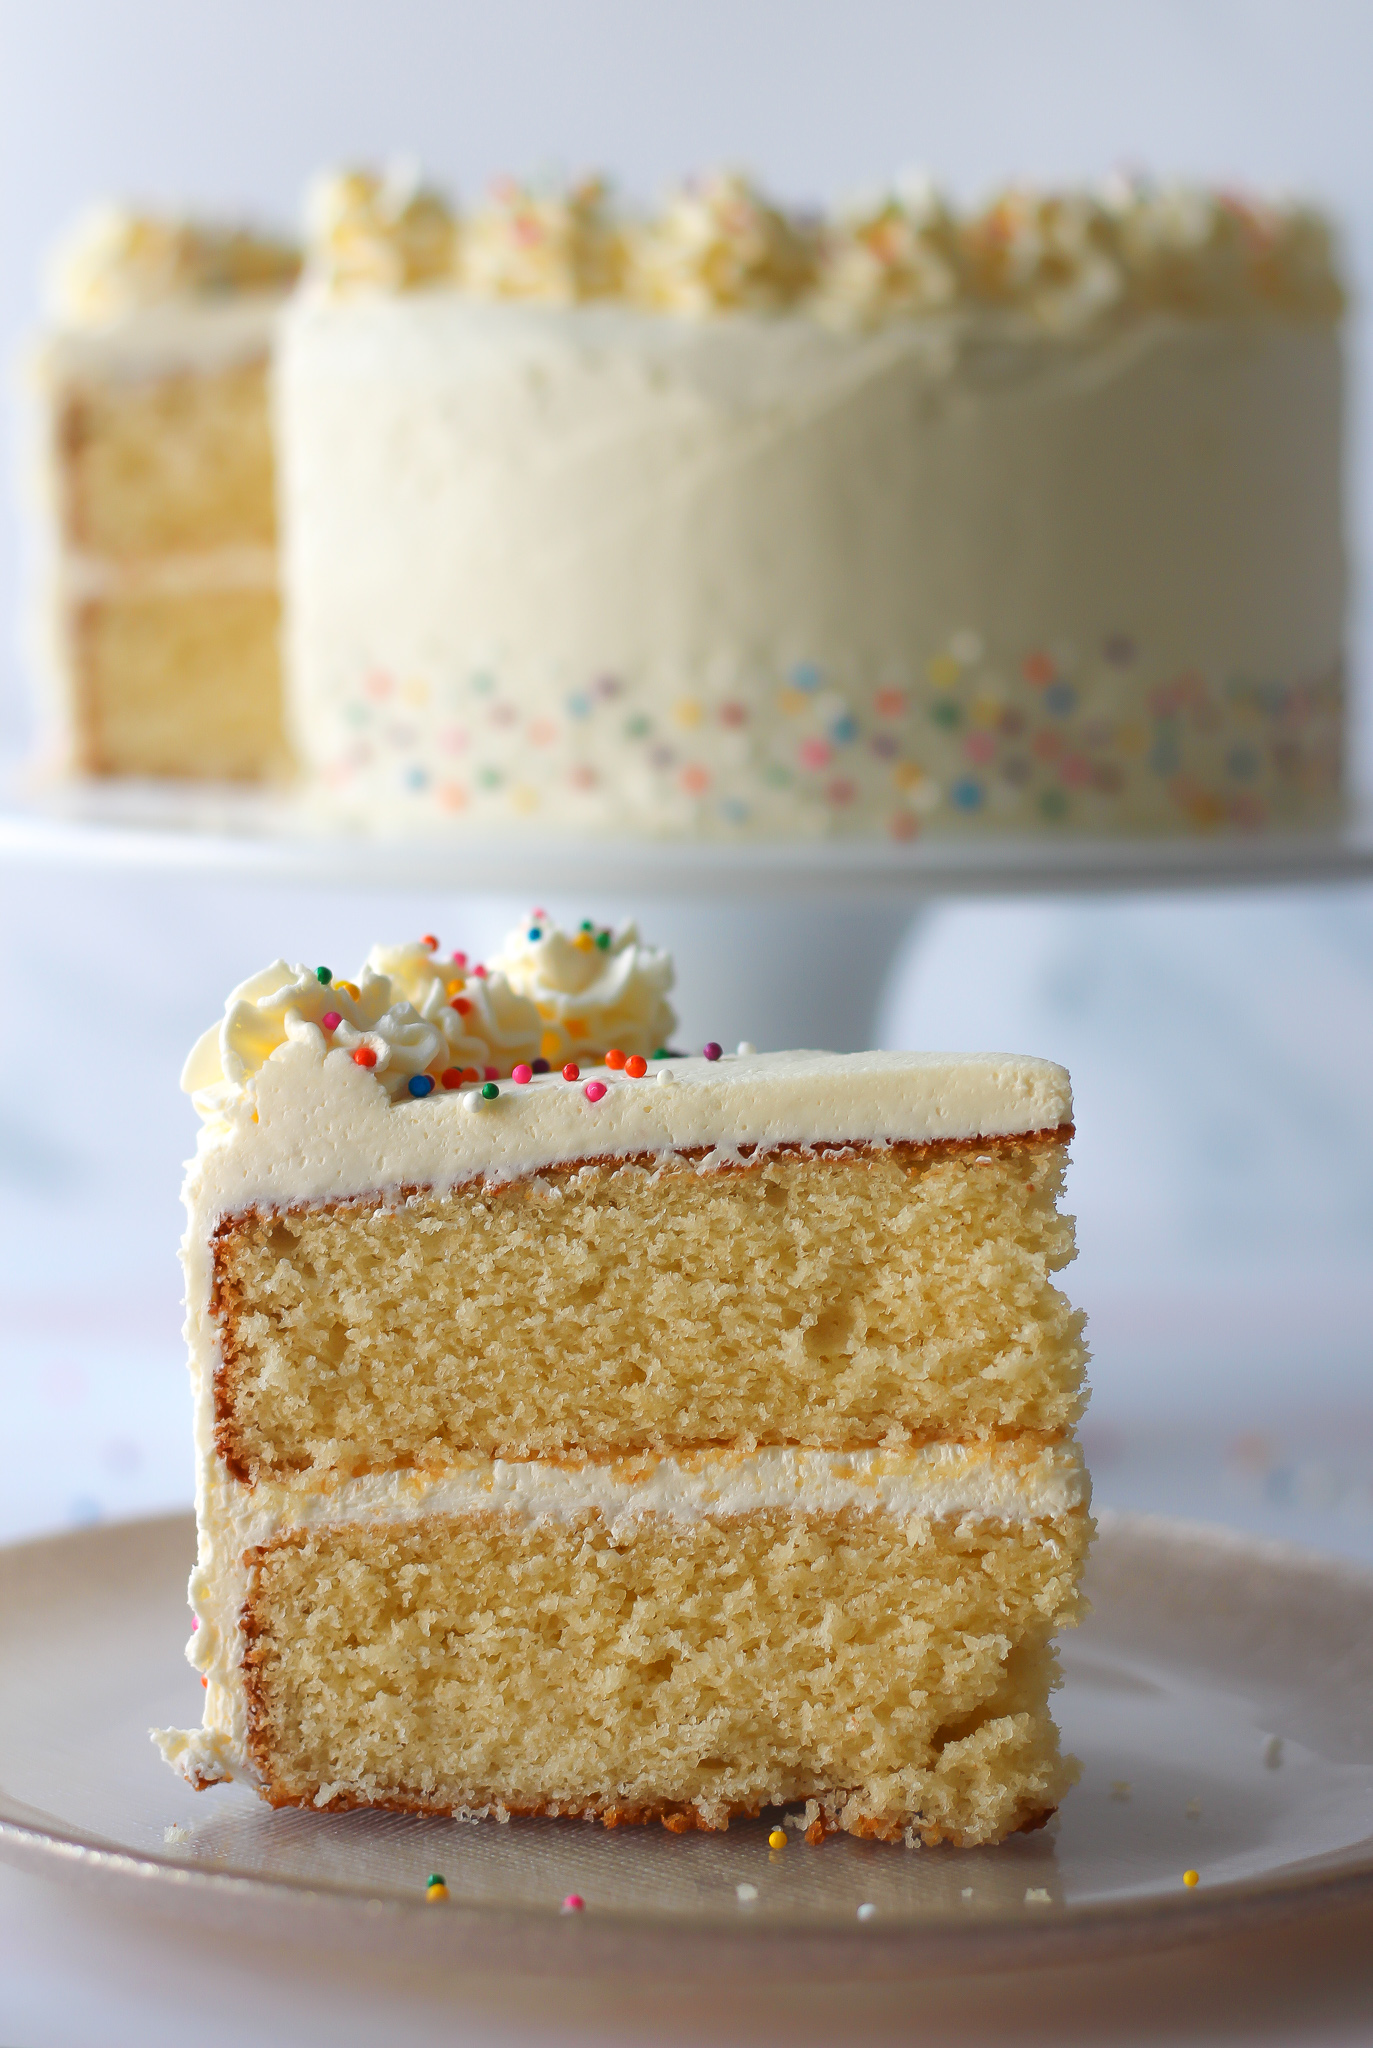
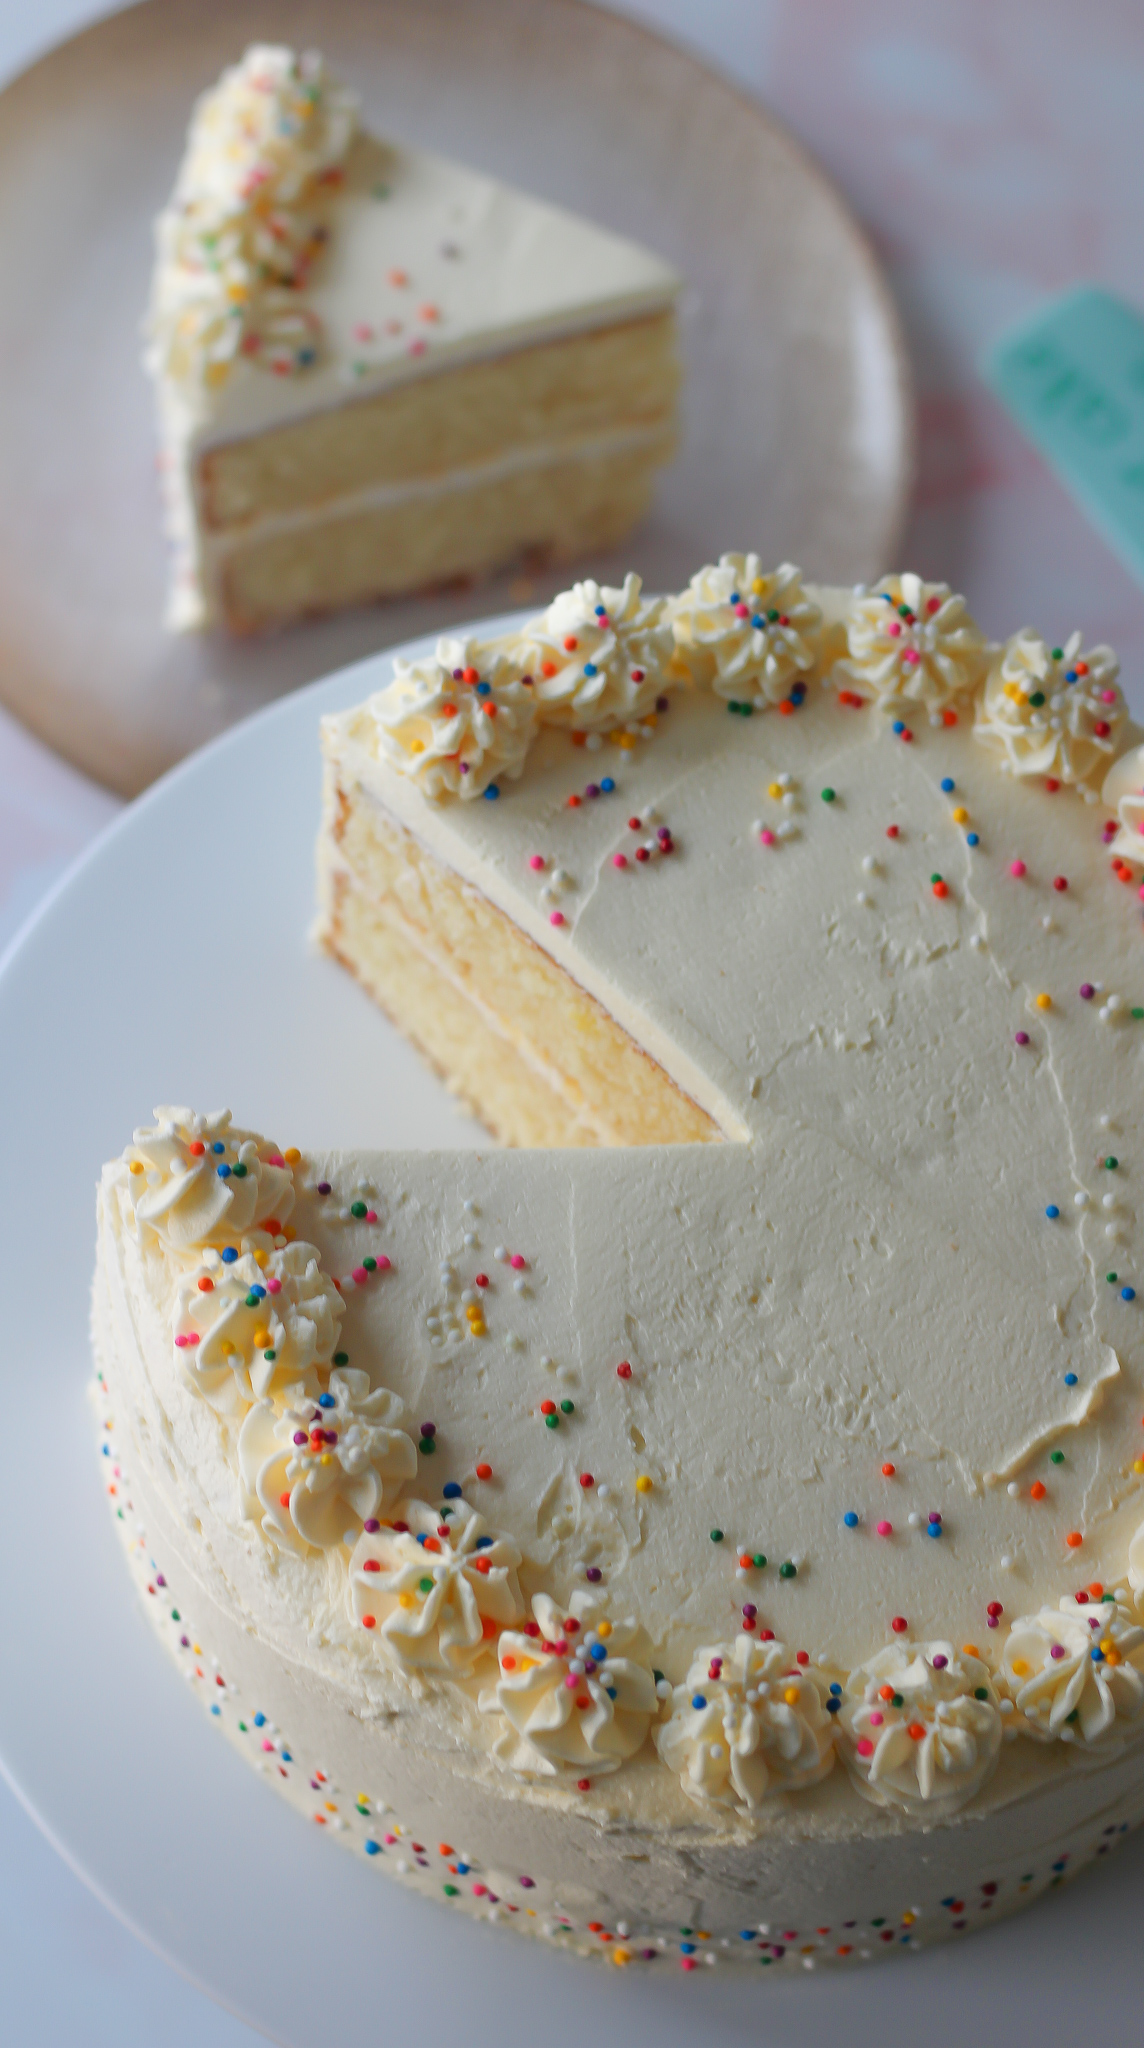
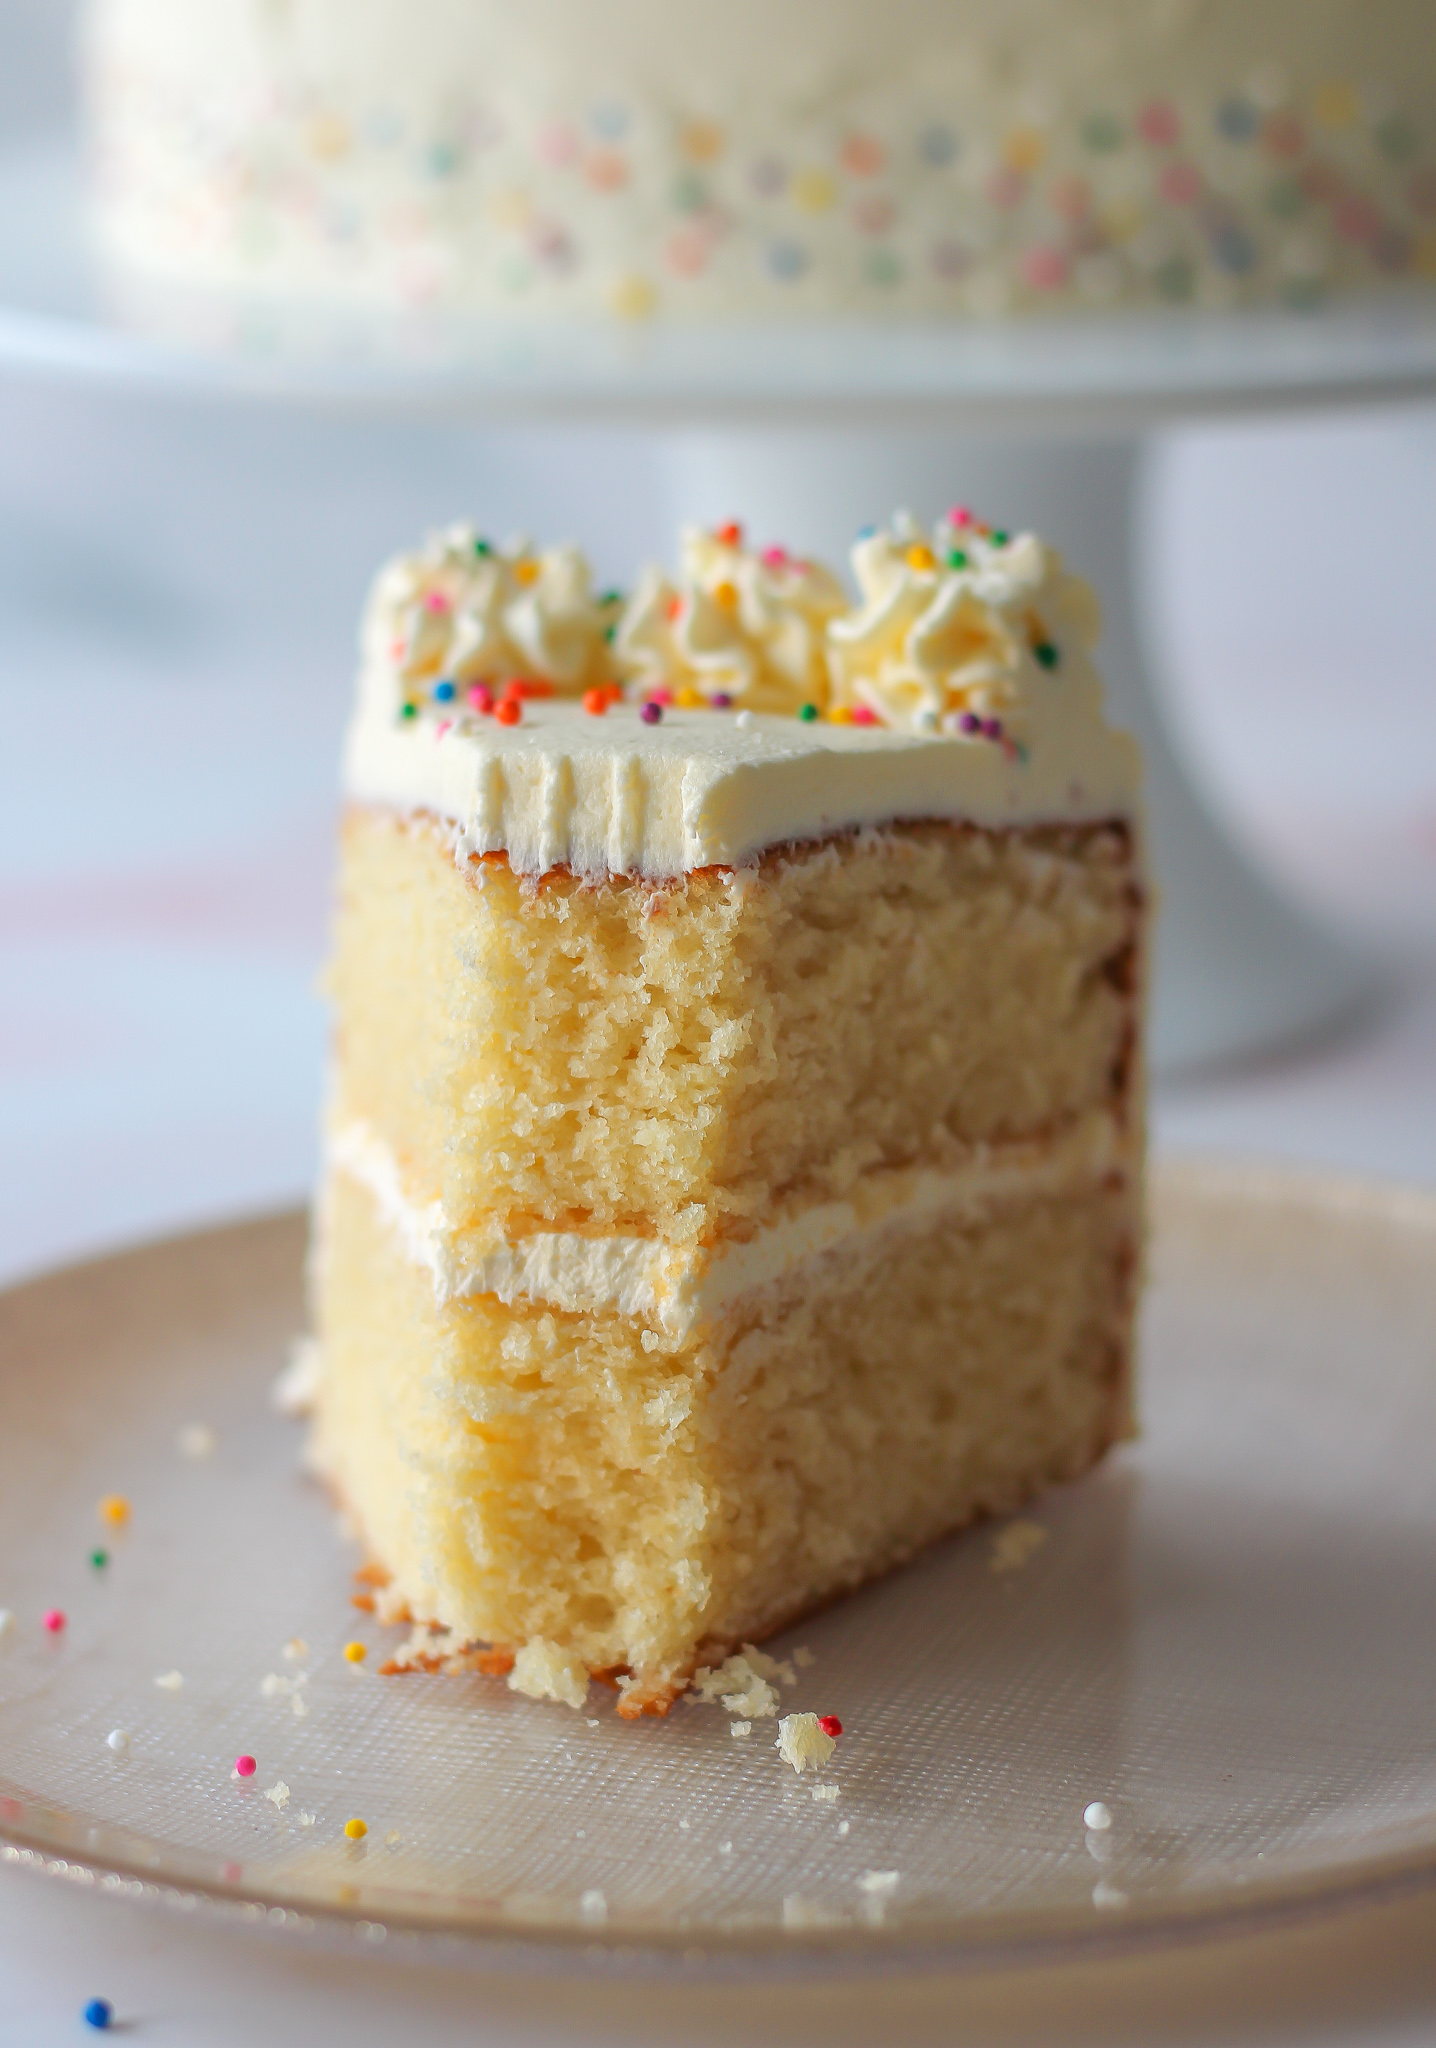
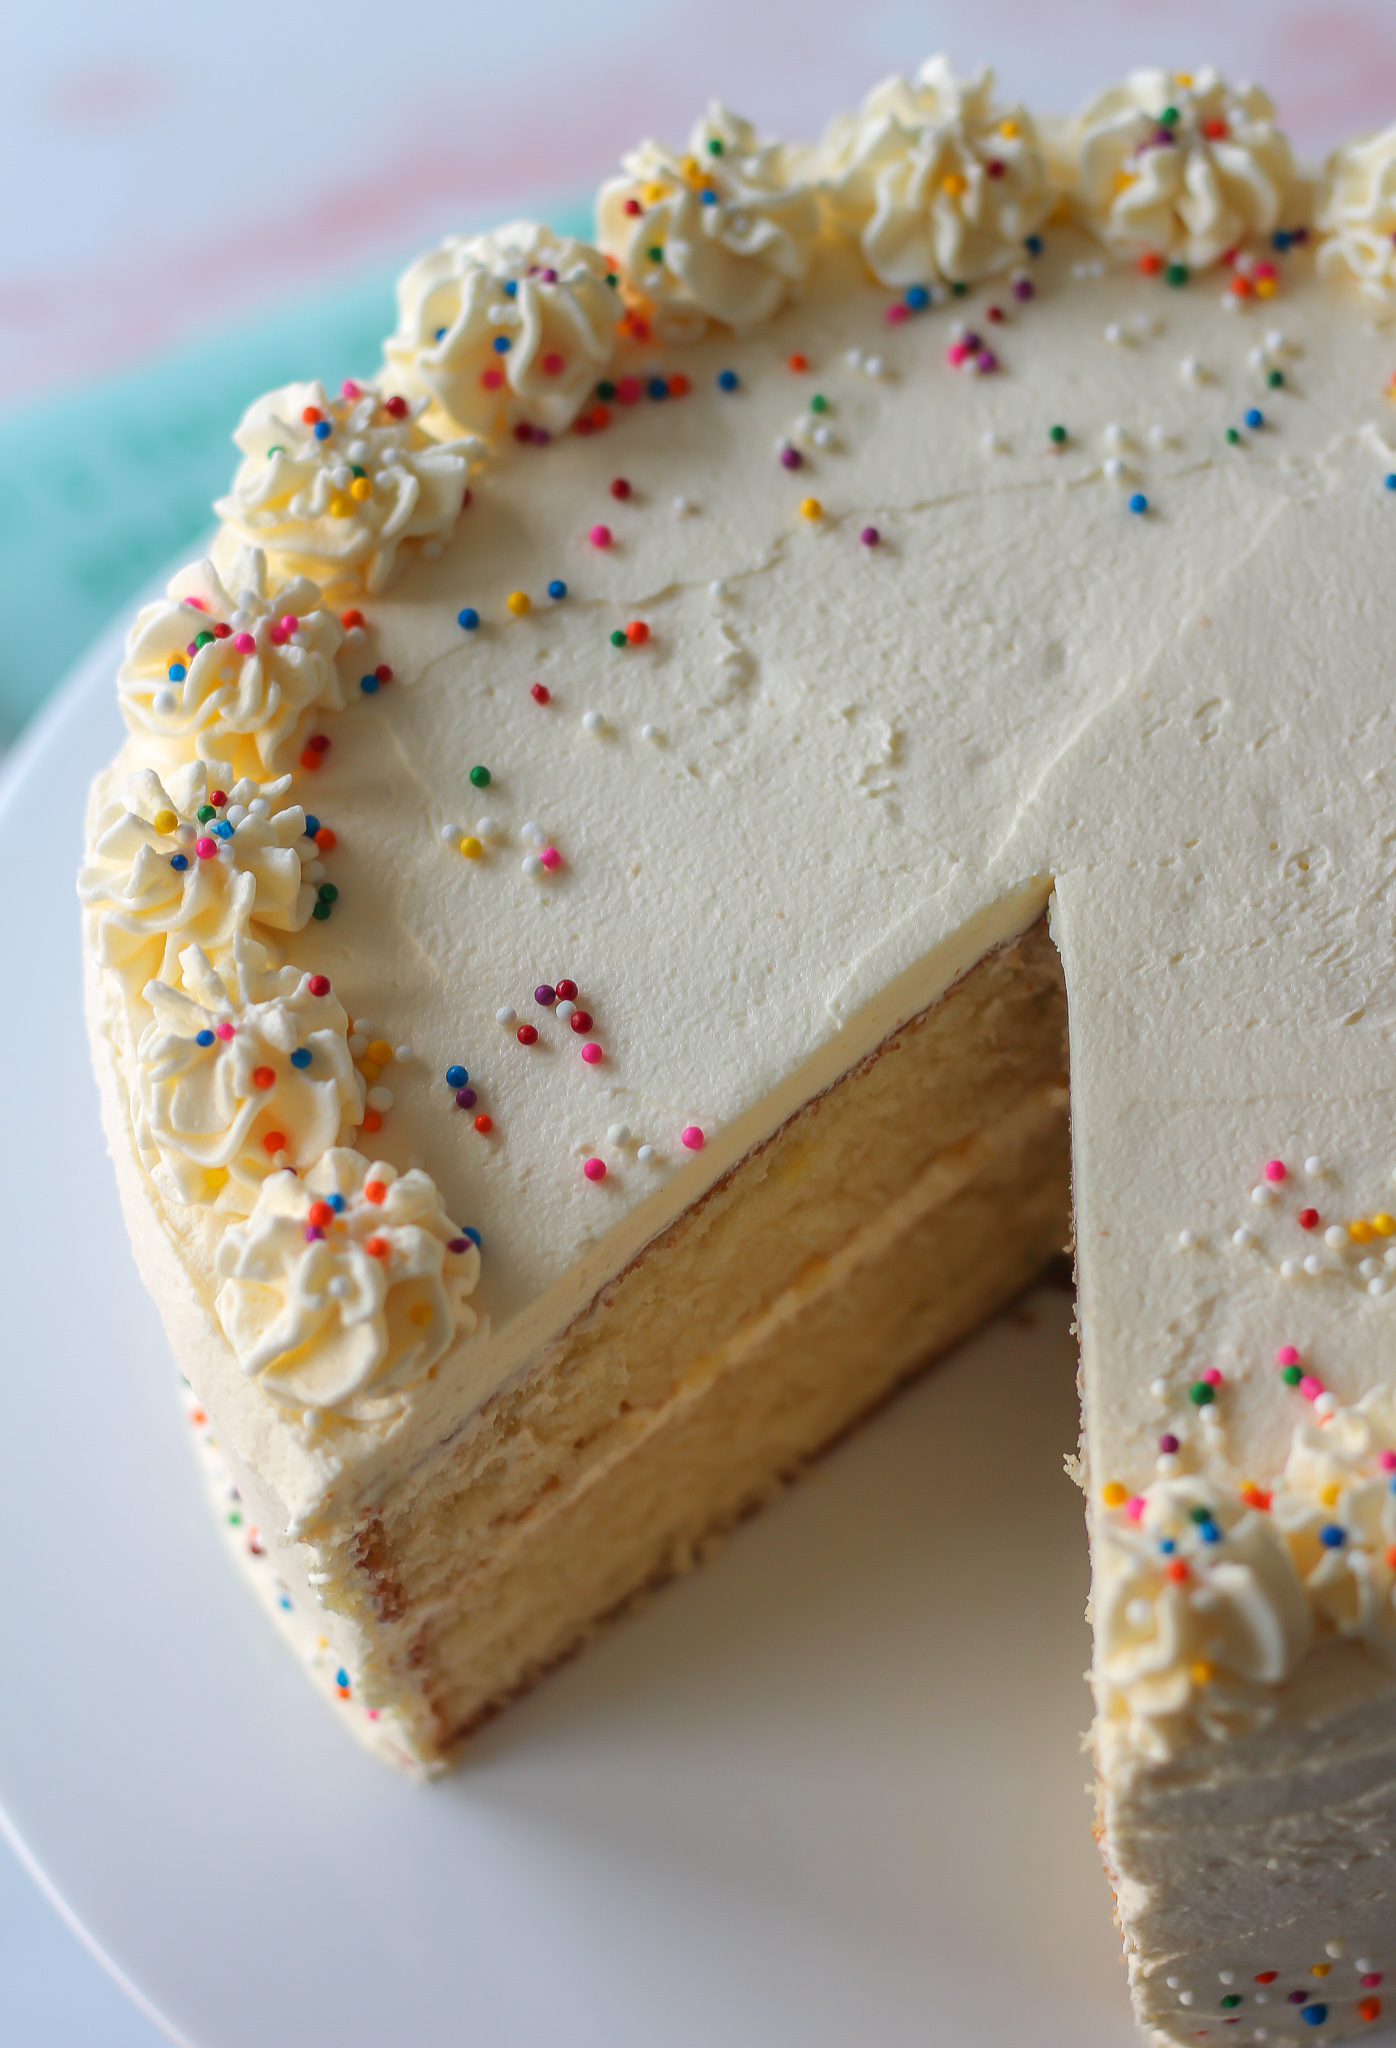
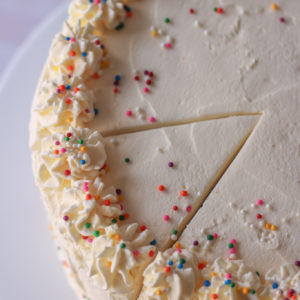
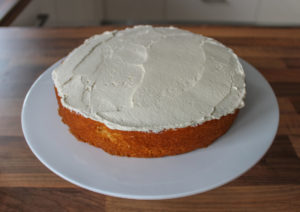
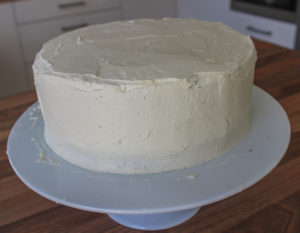
As you can see, I’m far from the perfect cake decorator and still have a lot to learn about icing cakes, but I actually really like the simple, homemade look of this cake! Here, I’ve simply covered the cake in two layers of buttercream (one thin ‘crumb coat’, and a second thicker layer after chilling; you can read more about this in my recipe card below!).
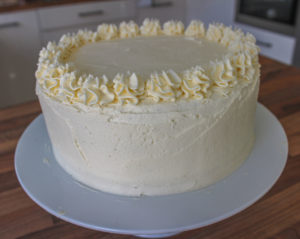
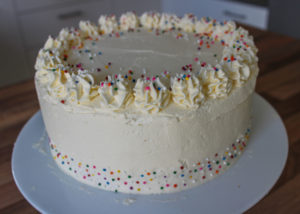
I’ve finished it by piping some simple swirls around the top and then sprinkling with some fun, colourful sprinkles! The sprinkles around the sides took me a while to do as I pressed them in individually (I was making too much mess trying to throw them at the sides 😂) but you can decorate it however you like – have fun with it!
Colouring your cake layers
You can also colour your cake layers with some food colouring if you like! I recommend using gel food colouring as liquid colourings can affect the cake texture if too much is used. You don’t need to use so much gel colouring!
Vanilla layer cake FAQs
What makes a cake light and fluffy?
The process of beating the butter and sugar together (known as the ‘creaming’ method) traps air inside which helps the cake to rise, creating a light, fluffy texture inside! Baking powder is also used in this recipe, which as a raising agent also helps to leaven the cake to make it lovely and light.
How long do you beat the butter and sugar until light and fluffy?
For this recipe, I suggest beating the butter and sugar for a full two minutes on a medium speed setting. You will notice the mixture become lighter in colour, with a smooth, fluffy texture. You’ll find a photo showing this in the recipe card below!
What happens if you overbeat cake batter?
Overbeating the cake batter once all the ingredients have been added will develop the gluten; the more it is beaten, the texture will become denser, tough and dry. Therefore, only beat the mixture until the ingredients are just combined, with no thick lumps remaining.
Is it ok to let cake batter sit before baking?
I wouldn’t recommend doing this as the batter will not rise so well if sat for too long. Once raising agents like baking powder or bicarbonate of soda are mixed with wet ingredients, they are activated so the sooner the mixture goes into the oven, the better your cake texture will be!
This is why it’s important to preheat your oven at the start, so the mixture can go in at the correct temperature as soon as you’re done mixing it!
Why is my cake wet in the middle?
Firstly, it might be that you haven’t baked your cake for long enough. Check it is baked by inserting a cake skewer or cocktail stick into the middle – it should come out clean. This might be because you’re oven temperature is off. Again, I highly recommend using an oven thermometer to prevent this!
If the temperature is too low, the middle will be undercooked and need longer to bake through. When the temperature is too high, the outside will look baked but the middle might still be raw. If so, bake a little longer but place a loose tent of foil over the top of the cake to prevent the tops from burning!
How should I store homemade vanilla cake?
The unassembled cake layers can be stored at room temperature in an airtight container or double wrapped in film. Once covered with buttercream, it is best stored in the fridge as buttercream is best kept refrigerated.
Cake tends to dry out quicker in the fridge, so once you’ve cut into the cake, you could cover the sliced, exposed side with film to help prevent it drying out so much!
Can I make cake layers ahead of time?
Yes – if making the cake the day before assembling, you can store the cake layers at room temperature in an airtight container, or keep in the cake pans and double wrap them in film.
If making further ahead, you can freeze the cake layers after placing in an airtight container or double wrapping in film. This cake should keep well in the freezer for around 3-4 months.
How long will homemade buttercream keep in the fridge?
Buttercream should keep well in the fridge for up to two weeks. If you need to store for longer, I suggest placing it into an airtight container and freezing it. It will last well in the freezer for around three months.
Remove it from the freezer the night before you need it, and let it defrost in the fridge overnight. Then, briefly whip it with your stand or hand mixer again before using, to make it light and fluffy again!
Can I freeze a homemade iced/frosted layer cake?
You can, but it can affect the texture and appearance of you finished cake as it thaws. I recommend freezing the cake layers and icing separately as described above, and assembling the cake up to a day before serving.
If you do need to freeze the fully assembled, iced cake, make sure it is stored in an airtight container and leave it to defrost in the fridge overnight.
To conclude, this vanilla layer cake with vanilla buttercream is:
- Made using simple ingredients
- Soft and fluffy with an unbelievably light, creamy vanilla buttercream
- Quick and easy to make and assemble, with lots of step-by-step photos below to help along the way!
- Perfect for birthdays or any other occasion
- Freezable so can easily be made ahead of time!
If you try this recipe I’d love to see! You can show me by tagging me @bakerjoblog or using #bakerjoblog!
Other cake recipes to try:
- Lemon Coconut Layer Cake
- Lemon Raspberry Cream Cake with Meringue Kisses
- Carrot Cake Swiss Roll
- Chocolate Coconut Cake
- Lemon Drizzle Loaf Cake
- Gingerbread Latte Cake
- Carrot Loaf Cake
- Lemon Blueberry Cupcakes
- Banana Loaf Cake
- Chocolate Orange Bundt Cake
Vanilla Layer Cake with Vanilla Buttercream
Equipment
- 2x 20cm/8in sandwich/cake tins
- Stand mixer or hand mixer with beater/paddle attachment
- Medium and large mixing bowl
- Whisk
- Rubber spatula
- Palette knife
- Piping nozzle and piping bag (if you want to pipe swirls on top!)
Ingredients
Vanilla Cake Layers
- 275 g plain flour
- 2 tsp baking powder level
- 1/2 tsp salt level
- 200 g unsalted butter softened/room temperature
- 275 g caster sugar
- 2 tsp vanilla extract
- 4 medium eggs room temperature
- 120 ml buttermilk See my notes at the bottom on how to make your own buttermilk. You can use any other alternative milk instead, although the cake won't be quite as moist
Vanilla Buttercream
- 200 g unsalted butter softened/room temperature
- 430 g icing sugar sifted
- 1 tsp vanilla extract
- 1/4 tsp salt level
- 2 tbsp milk
Instructions
Vanilla Cake Layers
- Preheat your oven to 160°C/140°C fan. Grease and line your two 20cm/8in sandwich/cake tins with baking or parchment paper. You can grease the tins with butter or non-stick cake pan spray.
- Add the plain flour, baking powder and salt to a medium-sized mixing bowl. Whisk briefly to combine and set aside.
- Using a stand mixer with the paddle/beater attachment, or a large mixing bowl if using a hand mixer, beat the softened butter and caster sugar on medium speed for a full two minutes until really light and fluffy as shown.
- Add the vanilla extract and then the eggs one at a time, beating on medium speed between each addition of egg until combined (around 10-20 seconds each time).
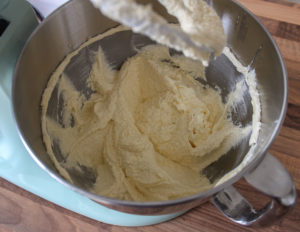
- Add half the dry ingredients to the bowl and mix on low speed until just combined.
- Repeat with the final half of dry ingredients.
- Finally, add the buttermilk and beat on low speed until just combined and no lumps remain.
- Pour the cake batter evenly into the two cake tins and spread to level with a spatula.
- Bake for around 25 minutes until lightly golden in colour and a cake skewer/cocktail stick inserted into the centre comes out clean.
- Leave the cakes to cool on a wire rack. After around 15 minutes, remove them from the pans and leave to cool completely on the wire rack before assembling the cake.
Vanilla Buttercream
- Add the softened butter to a large mixing bowl and beat on medium speed for two minutes.
- Scrape down the sides of the bowl with a rubber spatula.
- With the mixer running on low speed, slowly add the sifted icing sugar a tablespoon at a time.
- Again, scrape down the sides of the bowl.
- Finally, add the vanilla extract, salt and milk and beat on medium-high speed for a full five minutes until thick, light and fluffy!
Decorating the cake
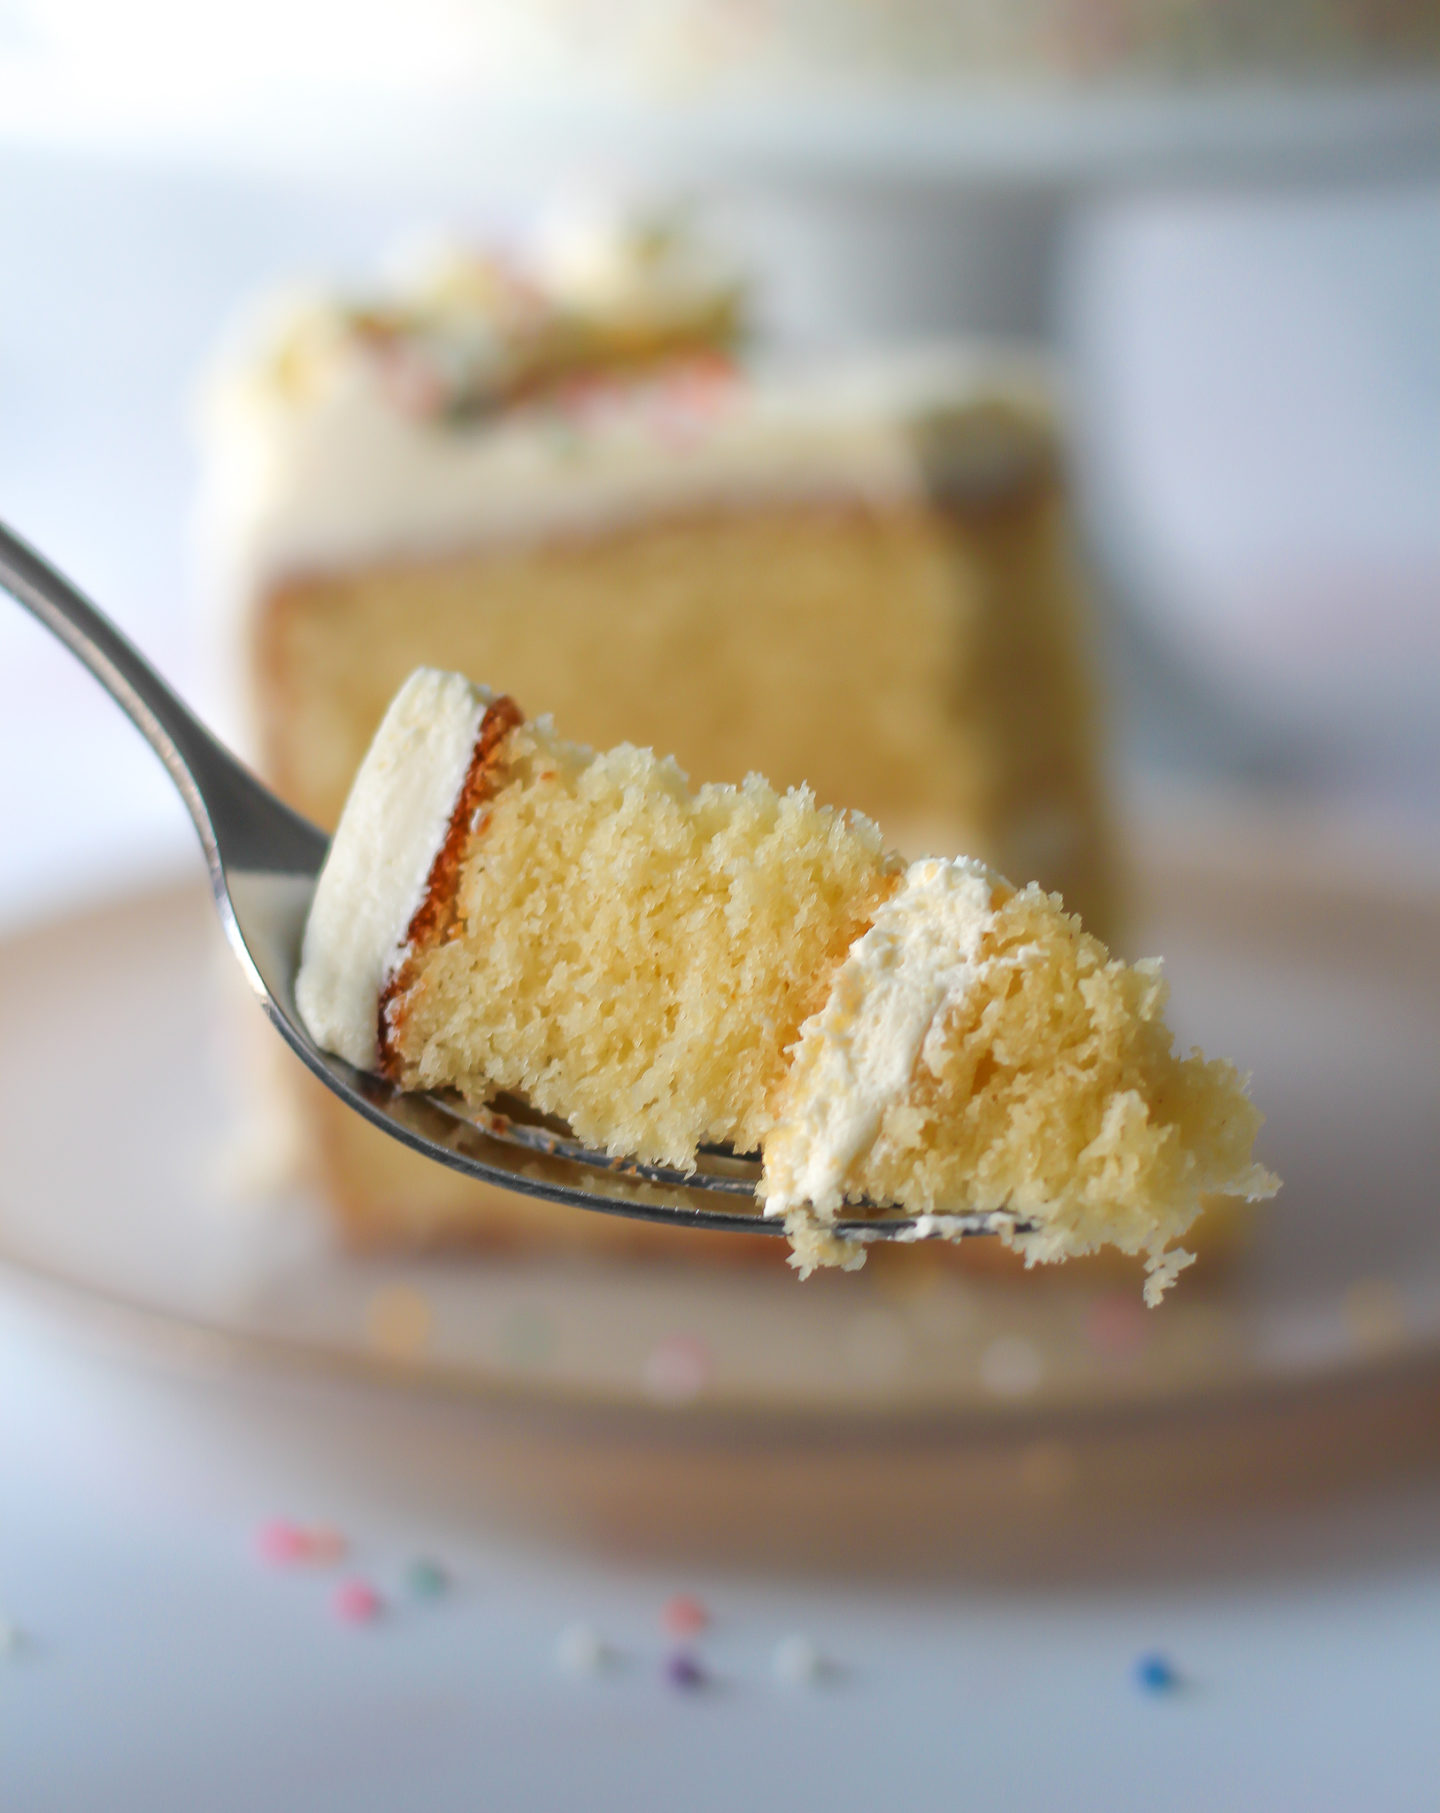
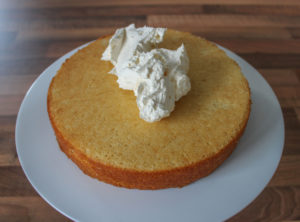
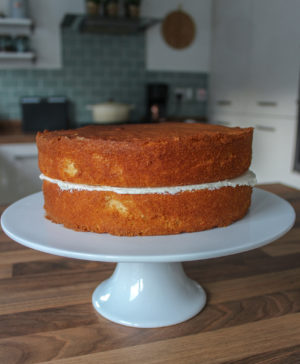
- Once the cakes are completely cool, place one top-side facing down onto your chosen serving stand/plate and peel the baking/parchment paper away.

- Add some vanilla buttercream to this layer and spread evenly with a palette knife or your spatula.
- Remove the baking/parchment paper from your second cake layer and place it right side up on top of the first layer.
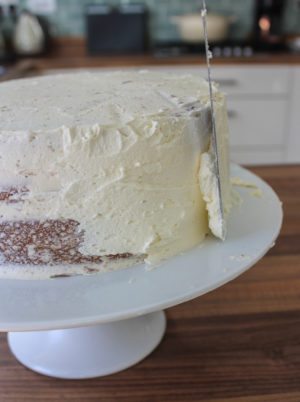
- Start adding a thin layer of buttercream to the sides and top of the cake; you don't need to use too much buttercream as this is just to create a thin 'crumb coat'.

- A crumb coat helps to trap any little crumbs in the buttercream, before chilling the cake.
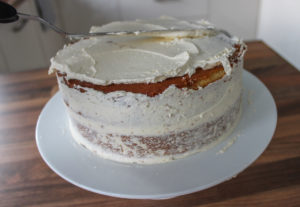
- Place the cake in the fridge for around 20-30 minutes for the buttercream to firm up slightly.
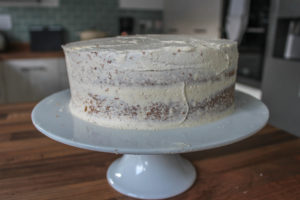
- Now you can add a second, thicker layer of icing to the top and sides of the cake, which should look much neater with no messy crumbs!
- Place your leftover buttercream into a piping bag with your choice of nozzle attachment, and pipe swirls around the top.
- Add your favourite sprinkles to finish!
- The cake should keep well in the fridge for around 4-5 days. To help prevent it drying out so much in the fridge, cover any sliced, exposed sections with film. Best stored in the fridge due to the buttercream.
Notes
- I strongly suggest using buttermilk for this recipe as it truly does result in a more moist crumb. If you can’t find buttermilk at your supermarket, try making your own! Simply add one tablespoon of lemon juice or white wine vinegar to the 120ml of milk, stir and leave aside for 5-10 minutes. It will thicken and look slightly curdled; you can now use this as buttermilk! I suggest using either full fat or semi-skimmed milk for this; it doesn’t work so well with low-fat milk.

Thank you so much for sharing this recipe. I have baked many cakes over the years and this was absolutely the best one ever!! The sponge had such a good flavour and texture and the birthday cake and cupcakes I made received a lot of compliments! This will definitely be my go-to recipe from now on. I am looking forward to trying out more of your ideas!😊
This recipe is hands down then best cake recipe I have ever tried and will forever be my daughter’s birthday cake go to!
Just finished doing the cake for my daughter’s birthday tomorrow. It was simple and easy. Will come back with the results after the guests have tasted it.
Fantastic recipe! Came out perfect! Thank you so much. Will use again!
Author
Hi Denise! Thank you so much for your feedback and I’m so happy it turned out perfect for you 🥰
Made this cake for my birthday and everyone loved it. I actually put a layer of strawberry jam with the middle layer of buttercream because I love a classic birthday cake! It was divine and so easy to make! I also put the temp up on my gas oven to gas Mark 4 and it took 35 minutes but came out perfect and no collapsing.
Thank you!
Author
Hi Ellie, so glad you loved this recipe and I’m with you on the strawberry jam for a classic birthday cake!
A fabulous recipe for a soft flavour filled sponge. Thank you so much, I searched thoroughly before finding your fail safe instructions. I followed them meticulously using the buttermilk substitute and found great success using peach compote and cream cheese frosting to complete. A huge success and today have successfully multiplied to create two 28 cm diameter sandwich cakes to create a friend’s birthday cake! As you say the buttermilk substitute makes all the difference to create a moist crumb!
Author
Hi Farfalla,
Thank you so much for your lovely comment! And your addition of peach compote and cream cheese frosting sounds so delicious!
I made this because I had the pans and all the ingredients just sitting in the cupboards! The directions were very through and I used the oven thermometer to get the temp at exactly 160c. I don’t have a convection oven though, so the baking time was about double, but the cakes did not fall so I was happy! The icing turned out nice and fluffy and I tried icing it just like yours except I dyed the florets yellow, violet, and green for spring! I’m in Canada so it was nice finding a recipe that uses metric, a lot of the search results for recipes bring up American recipes that aren’t as accurate (they don’t weigh their ingredients) as yours!
Author
Hi Noranda,
Thank you for your lovely feedback! I’m so happy to hear that the cake worked out well for you and that my instructions were easy to follow! 😊