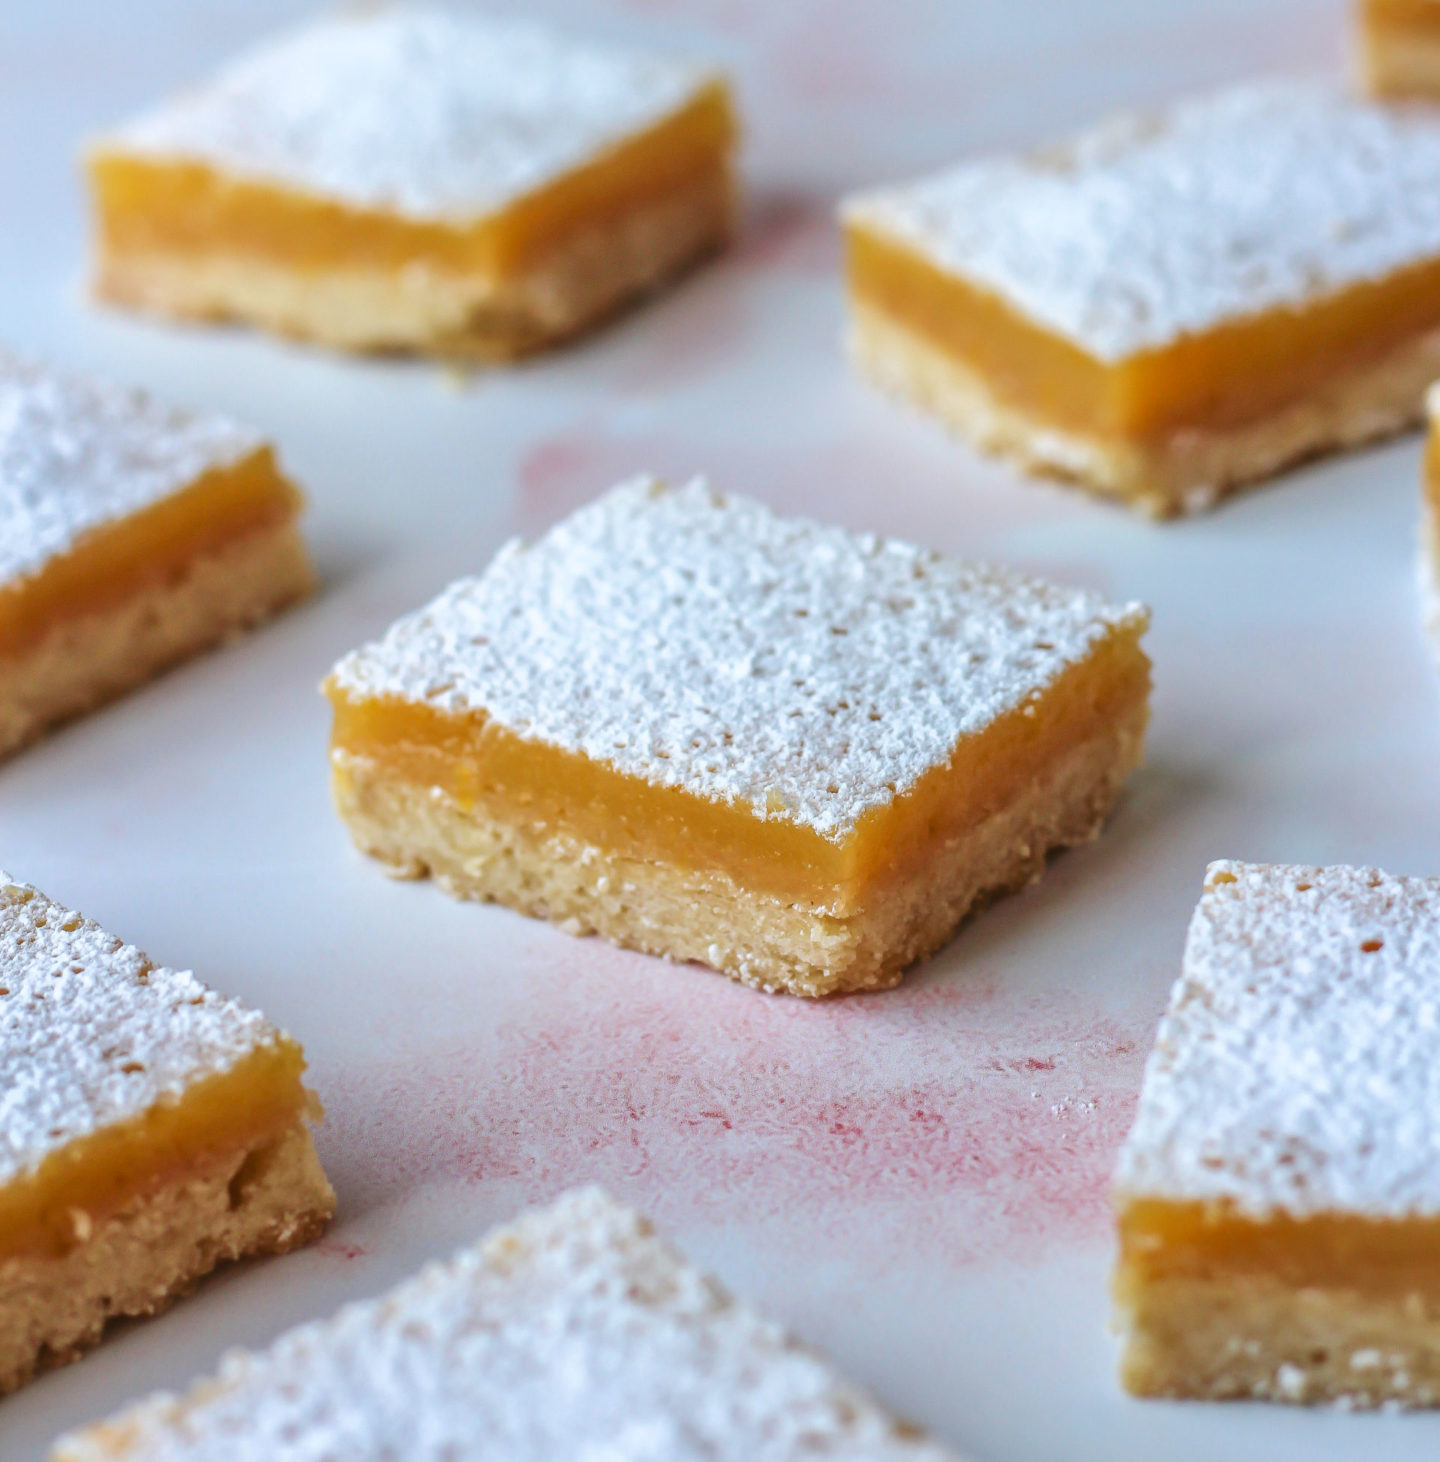
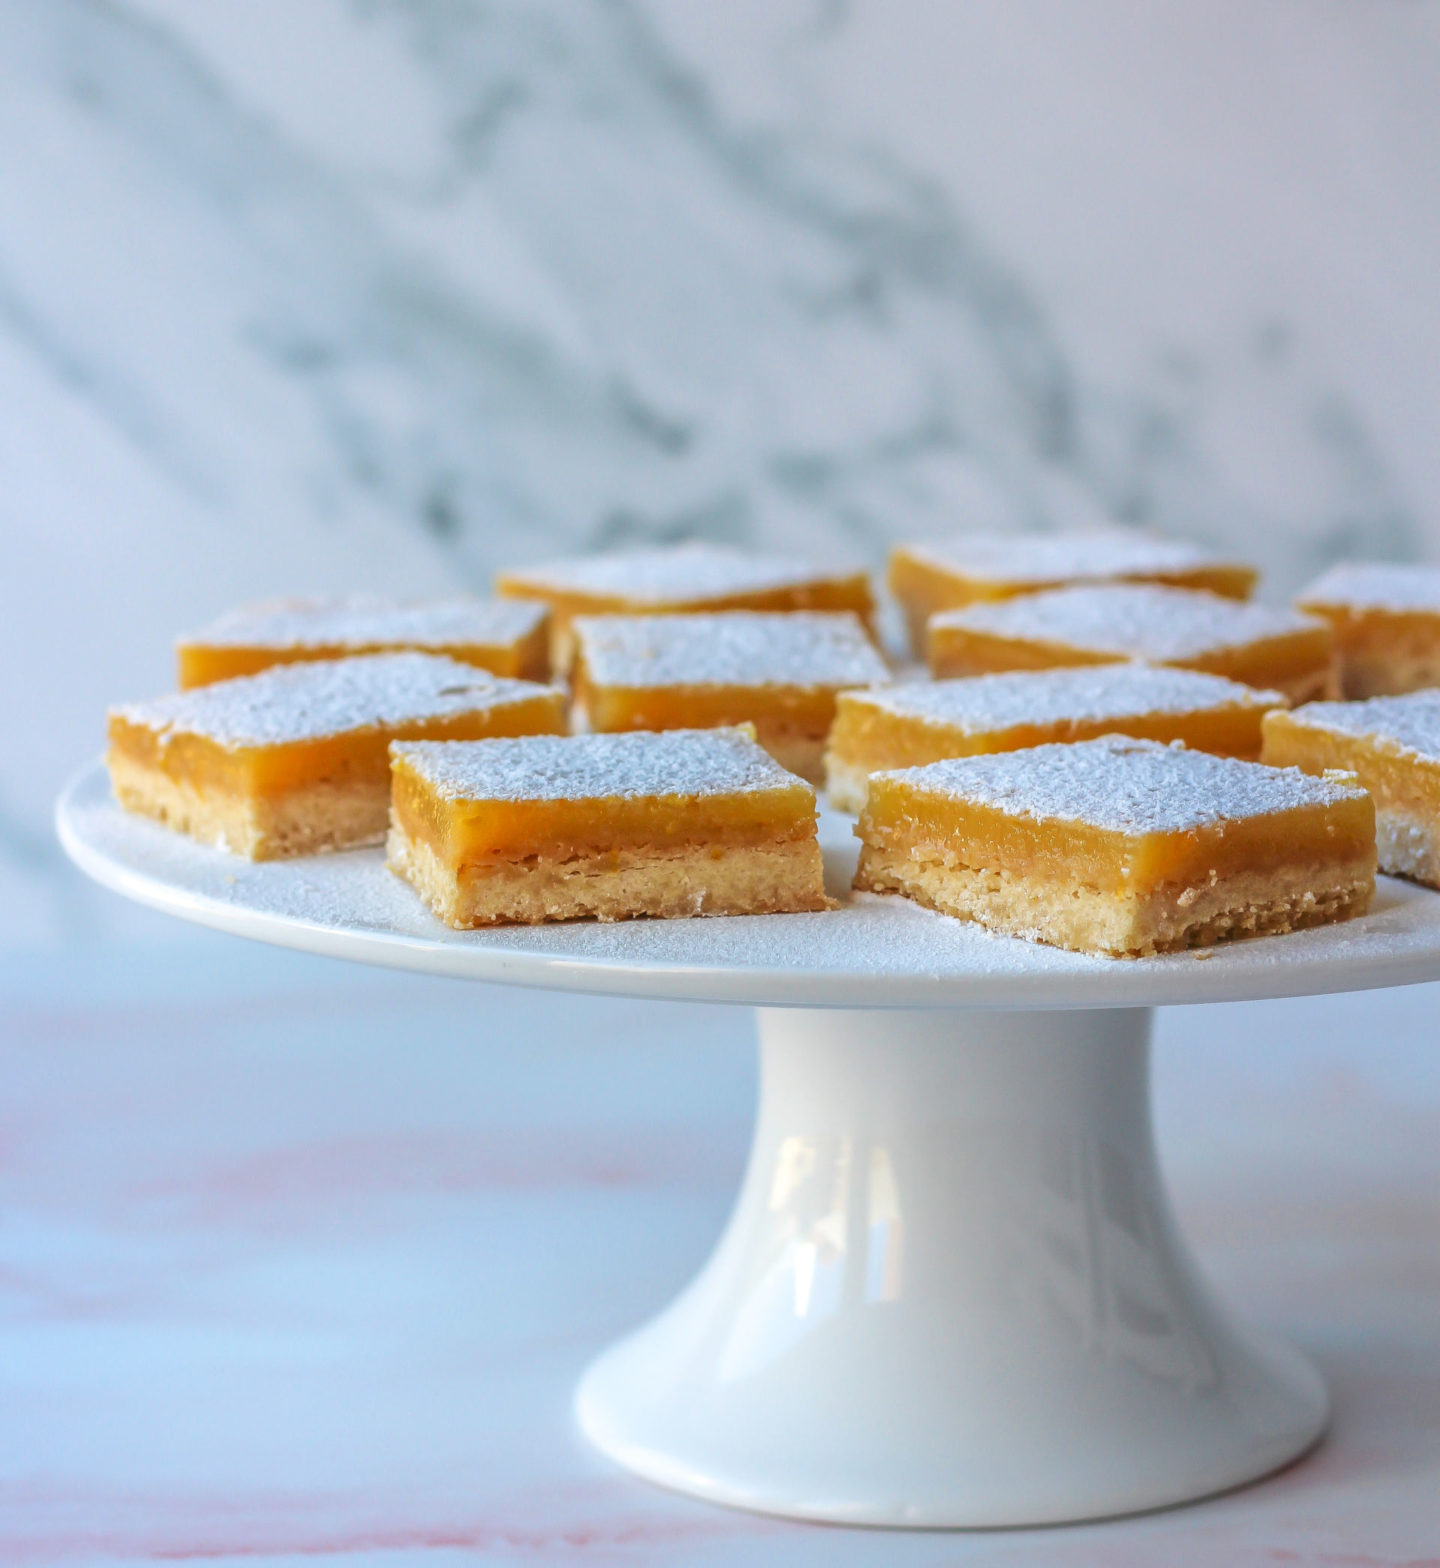
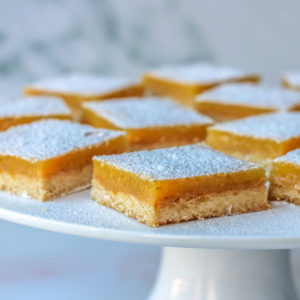
With deliciously smooth and zingy lemon curd and a melt-in-the-mouth lemon shortbread base, these easy lemon bars are a great, simple make-ahead dessert!
I couldn’t resist any longer – my love for all things lemony has won and I’ve decided to share another lemon recipe with you!
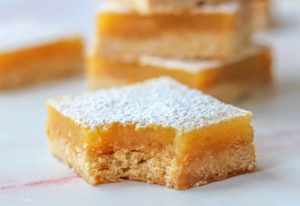
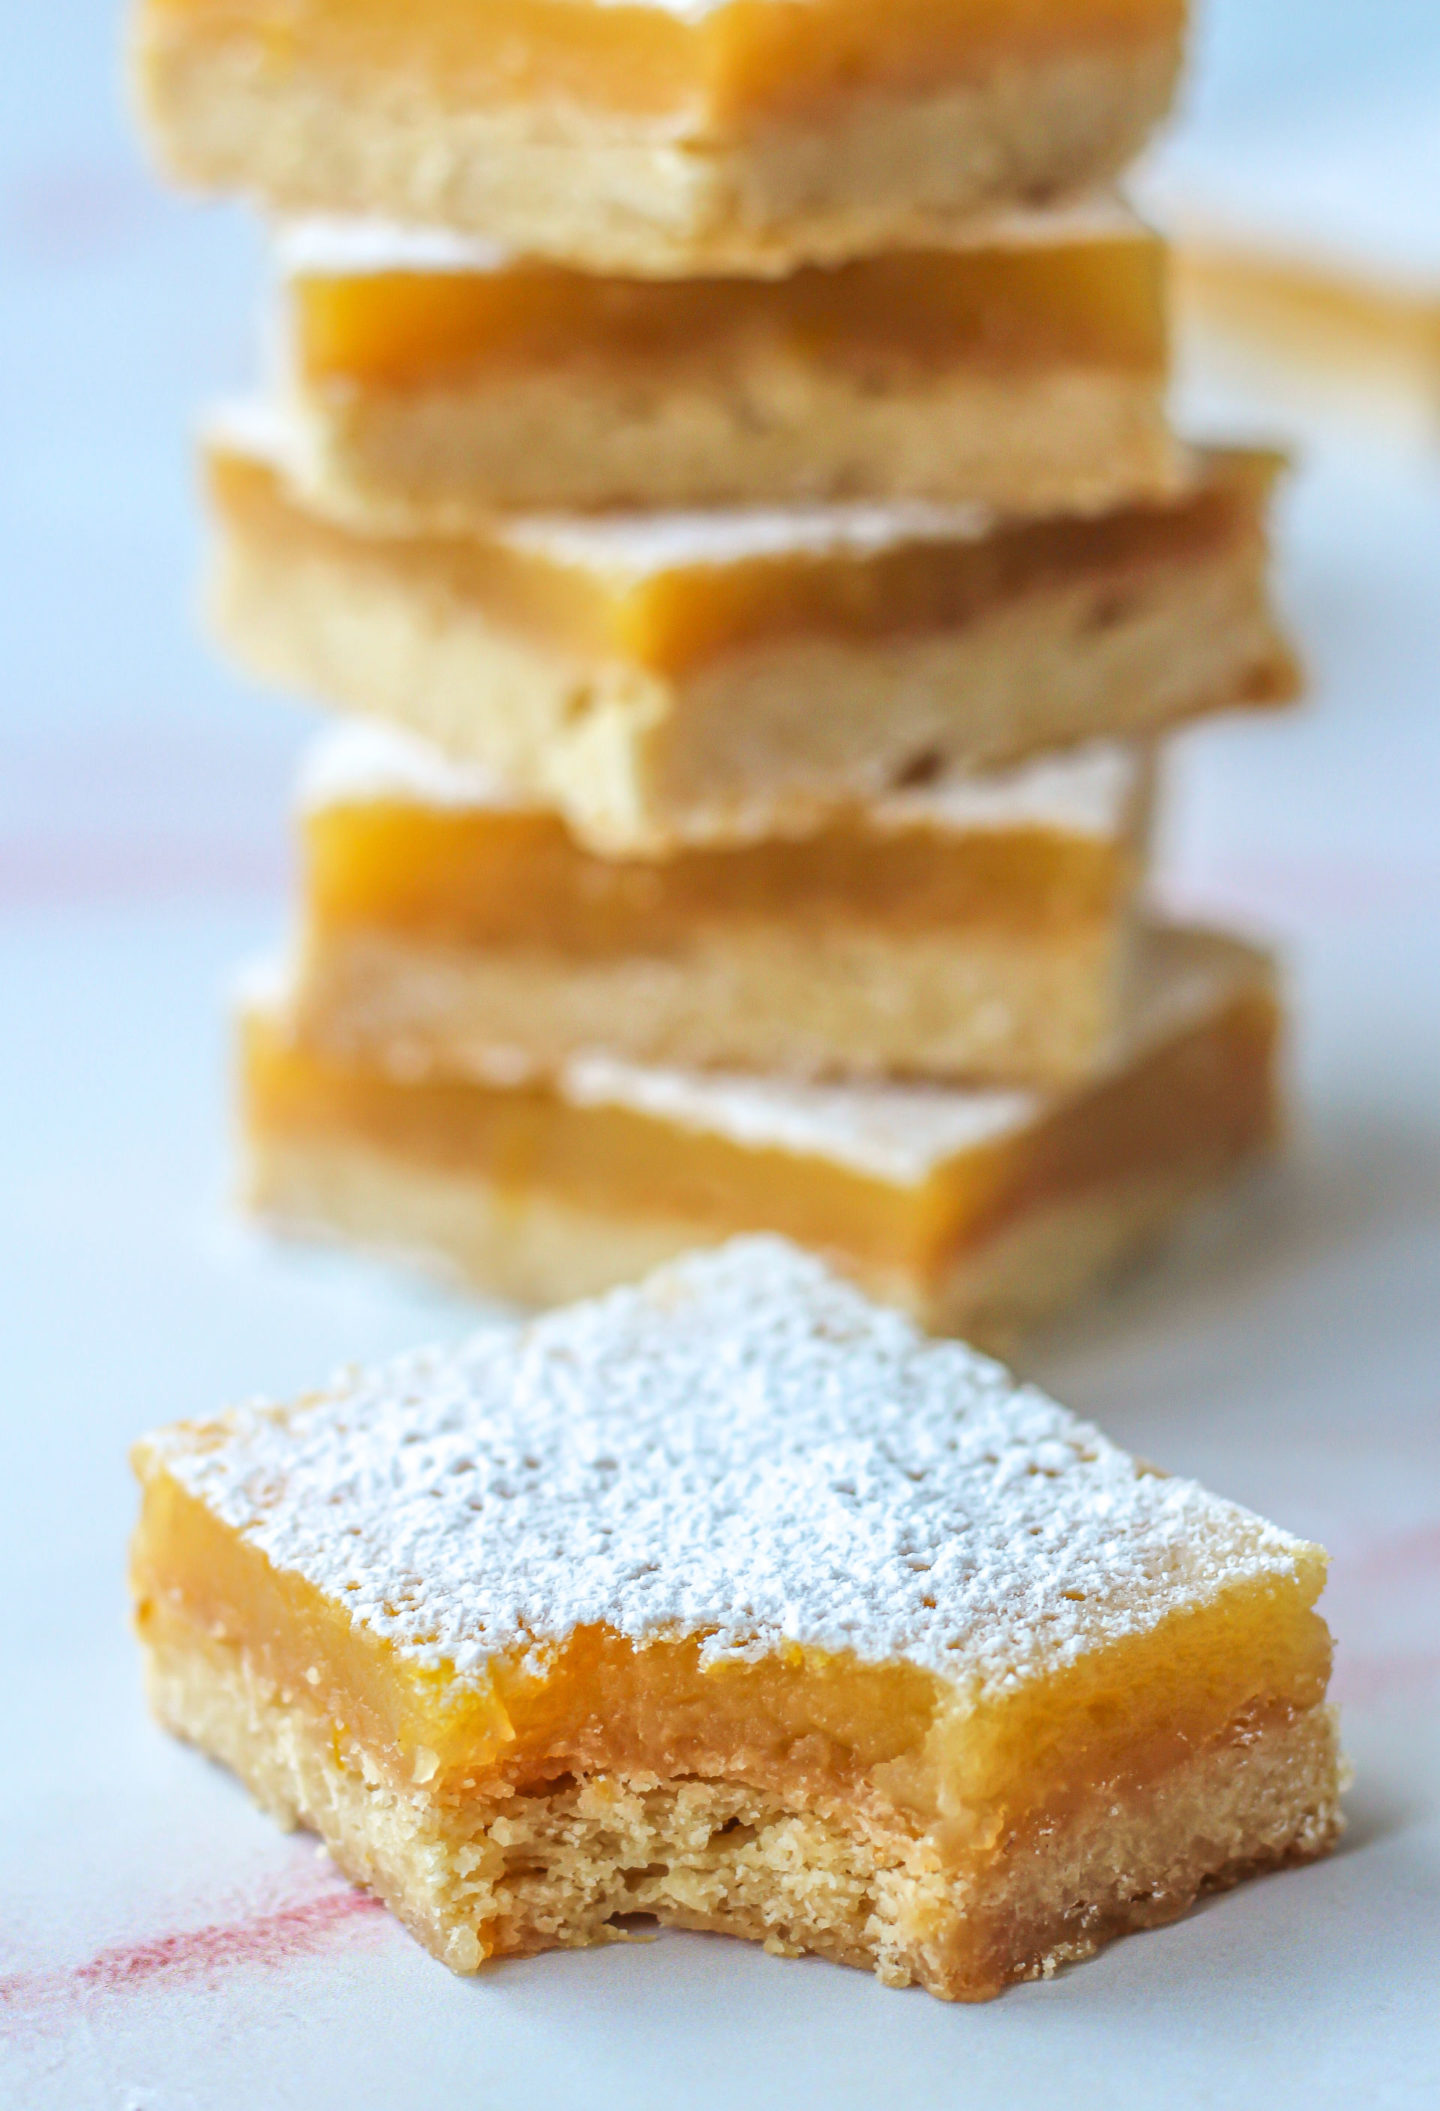
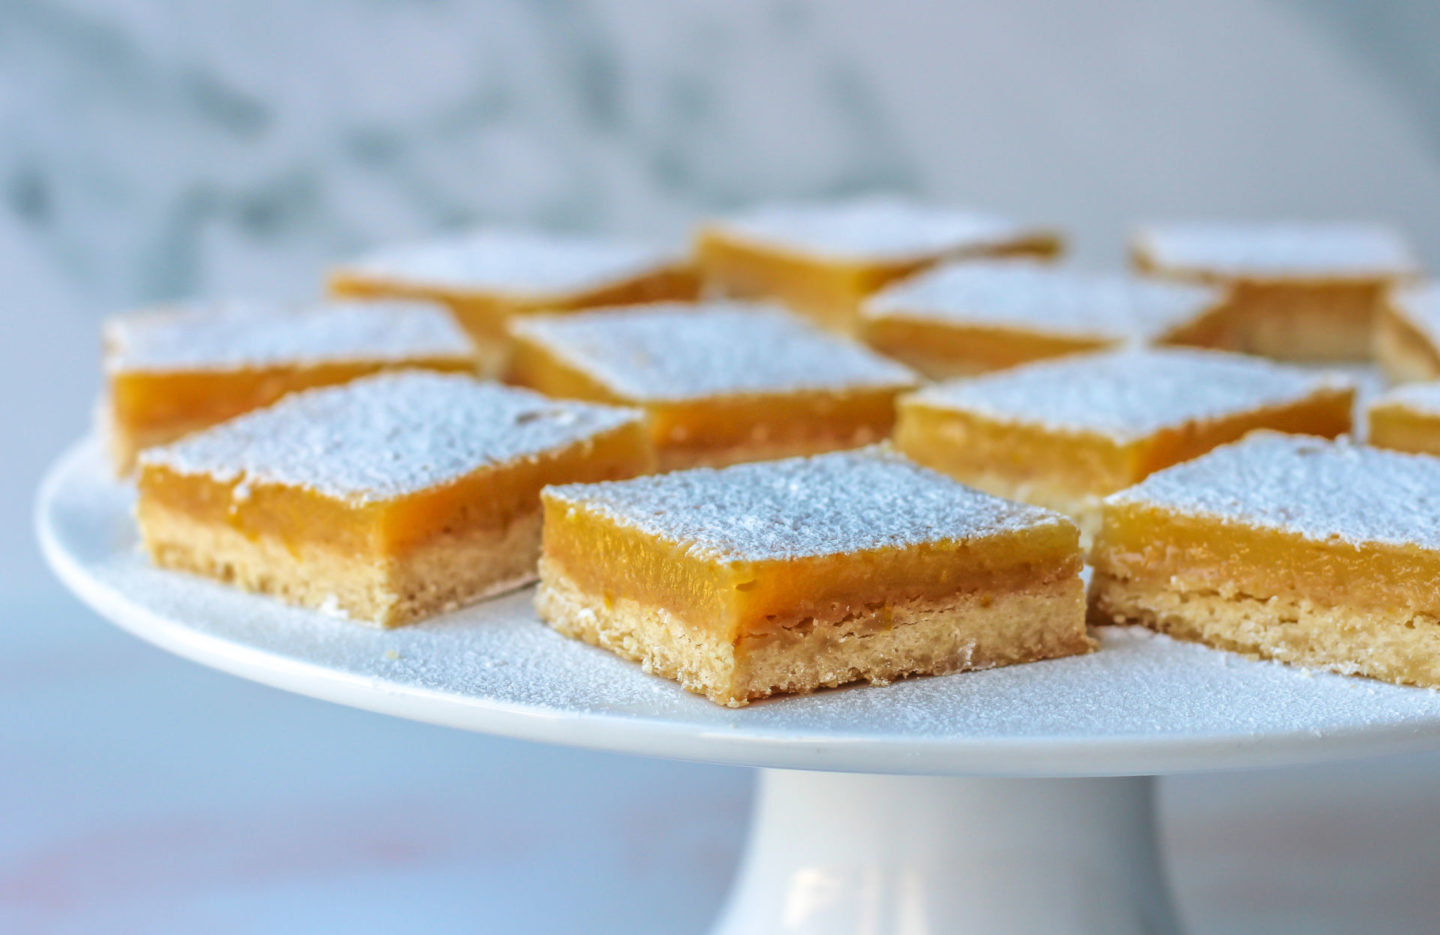
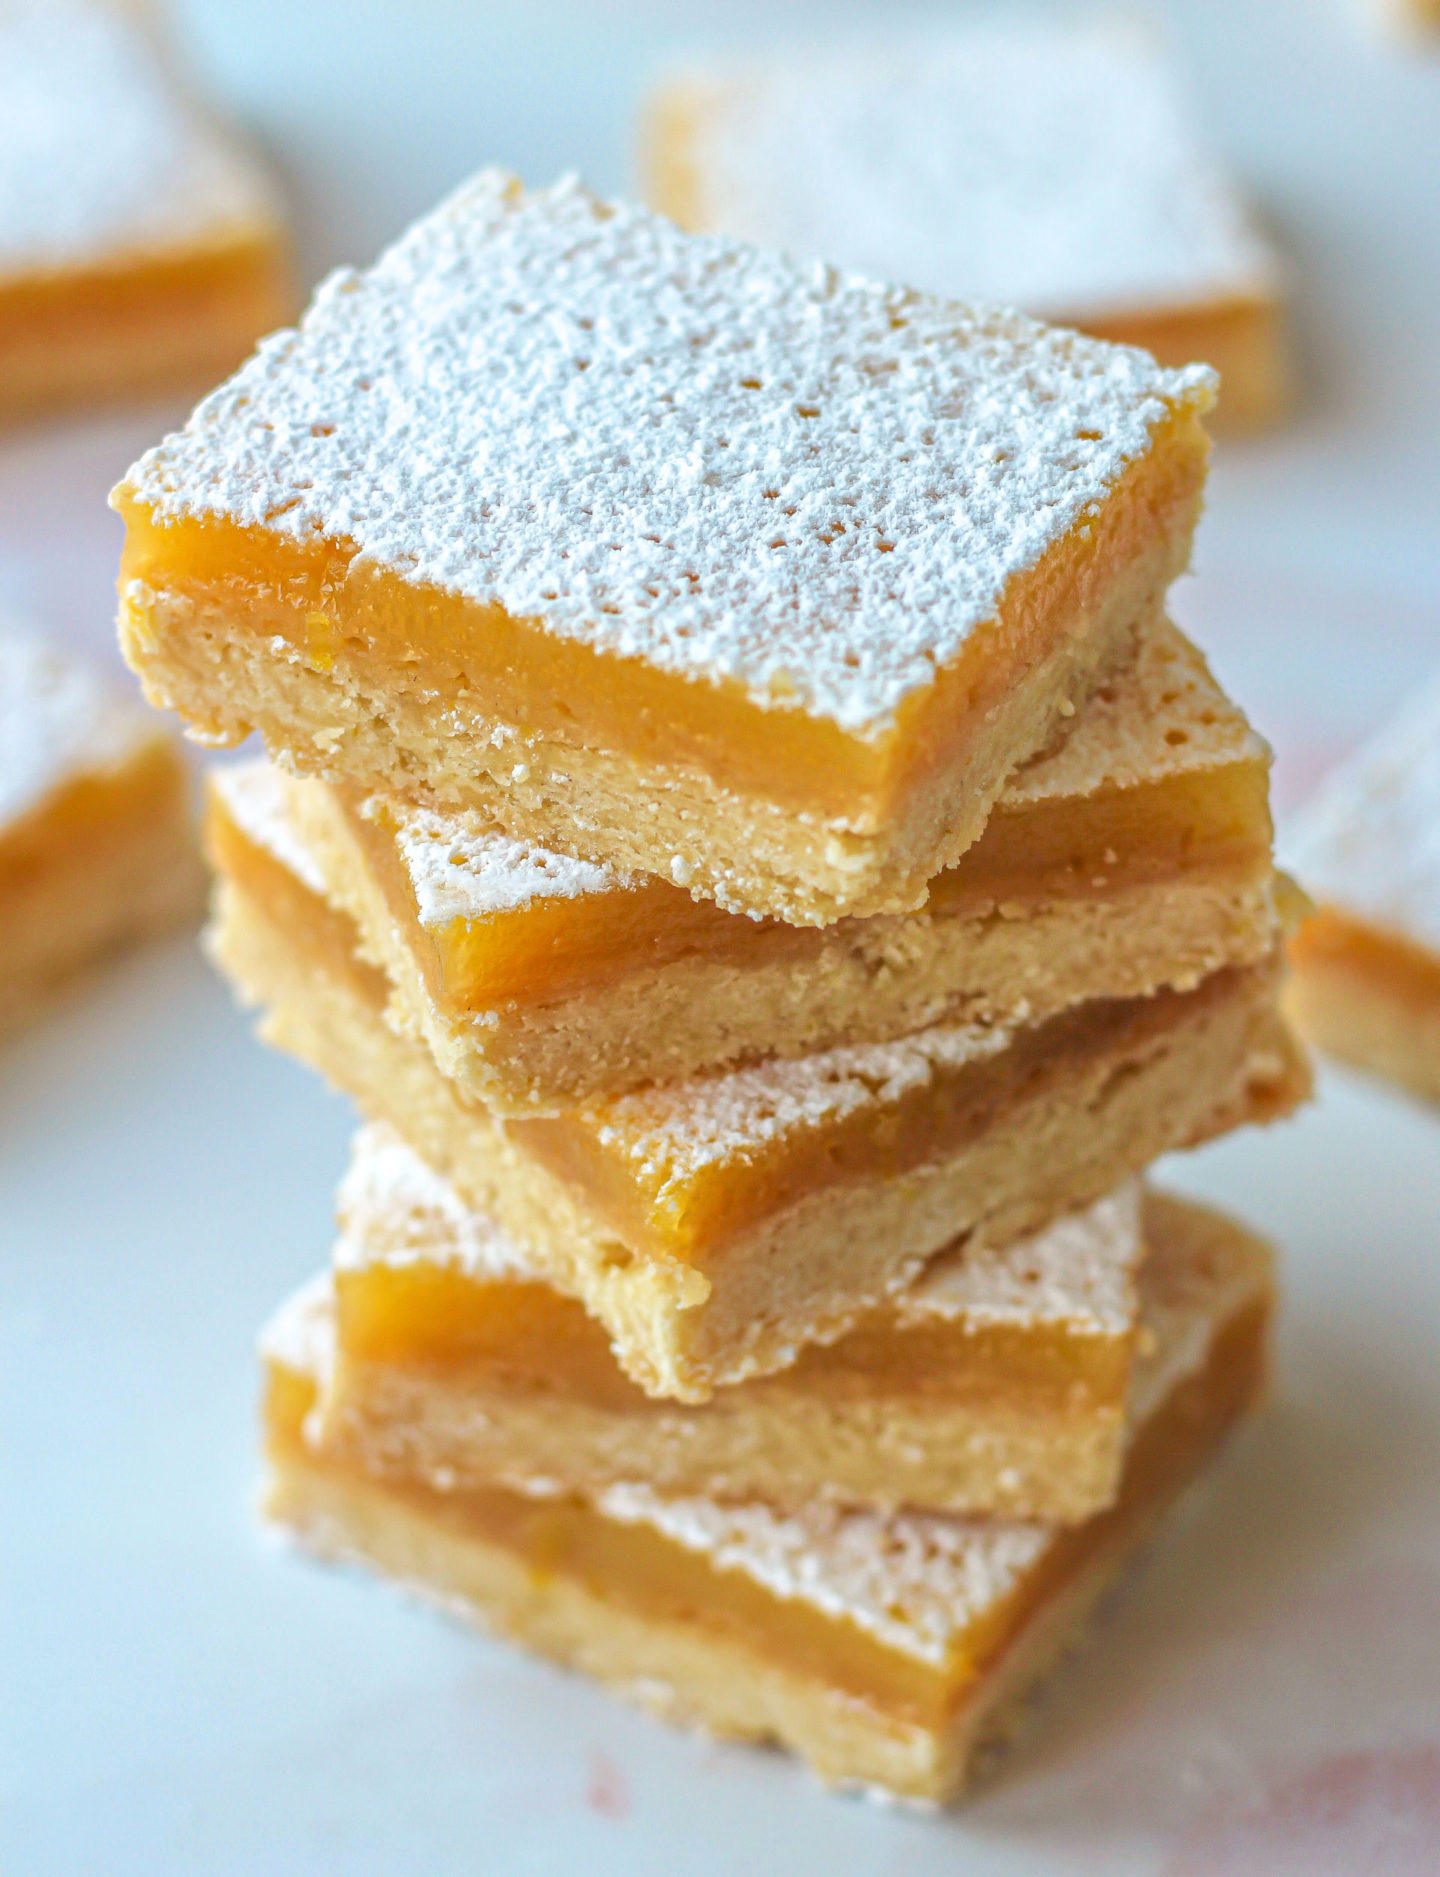
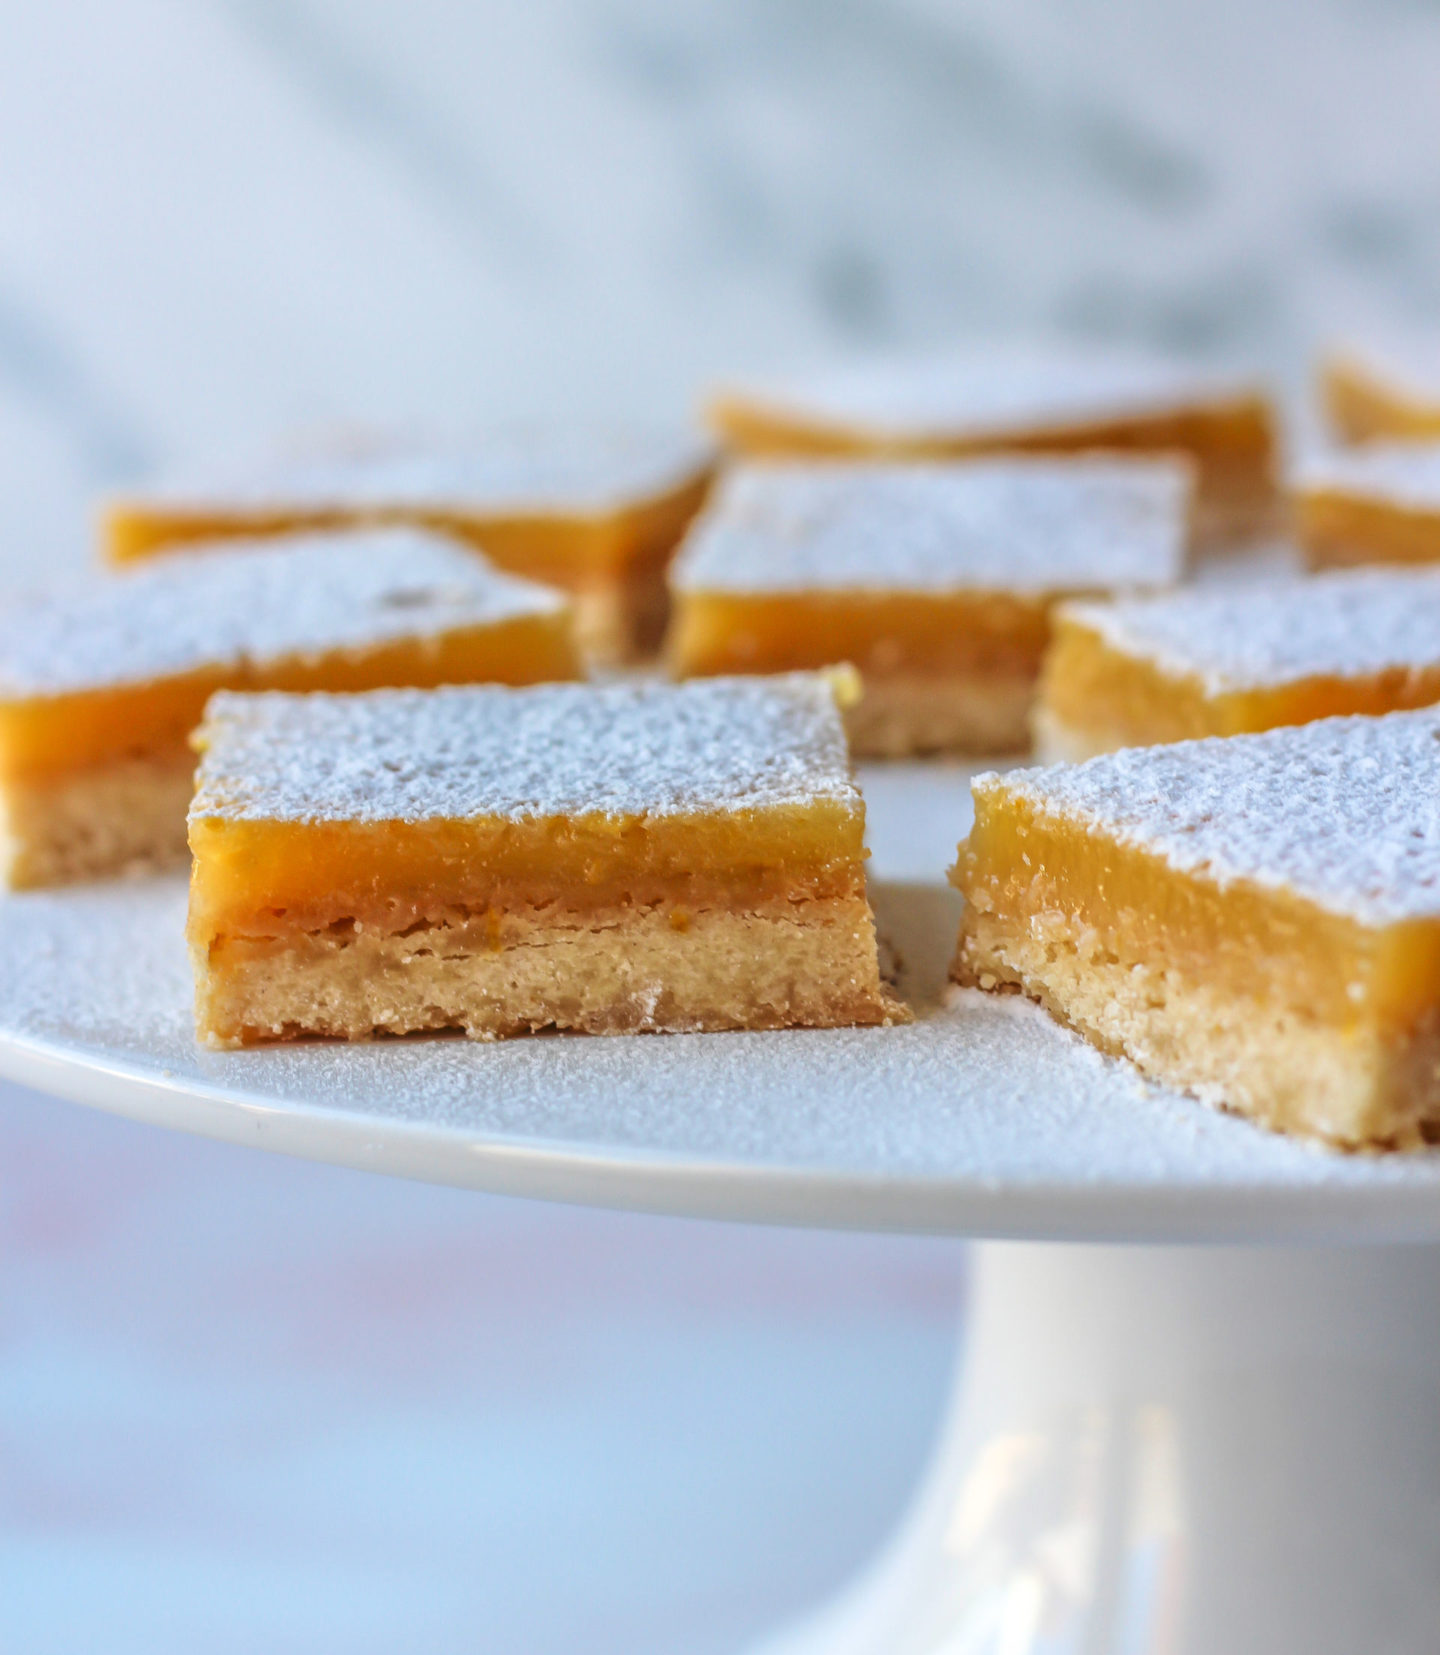
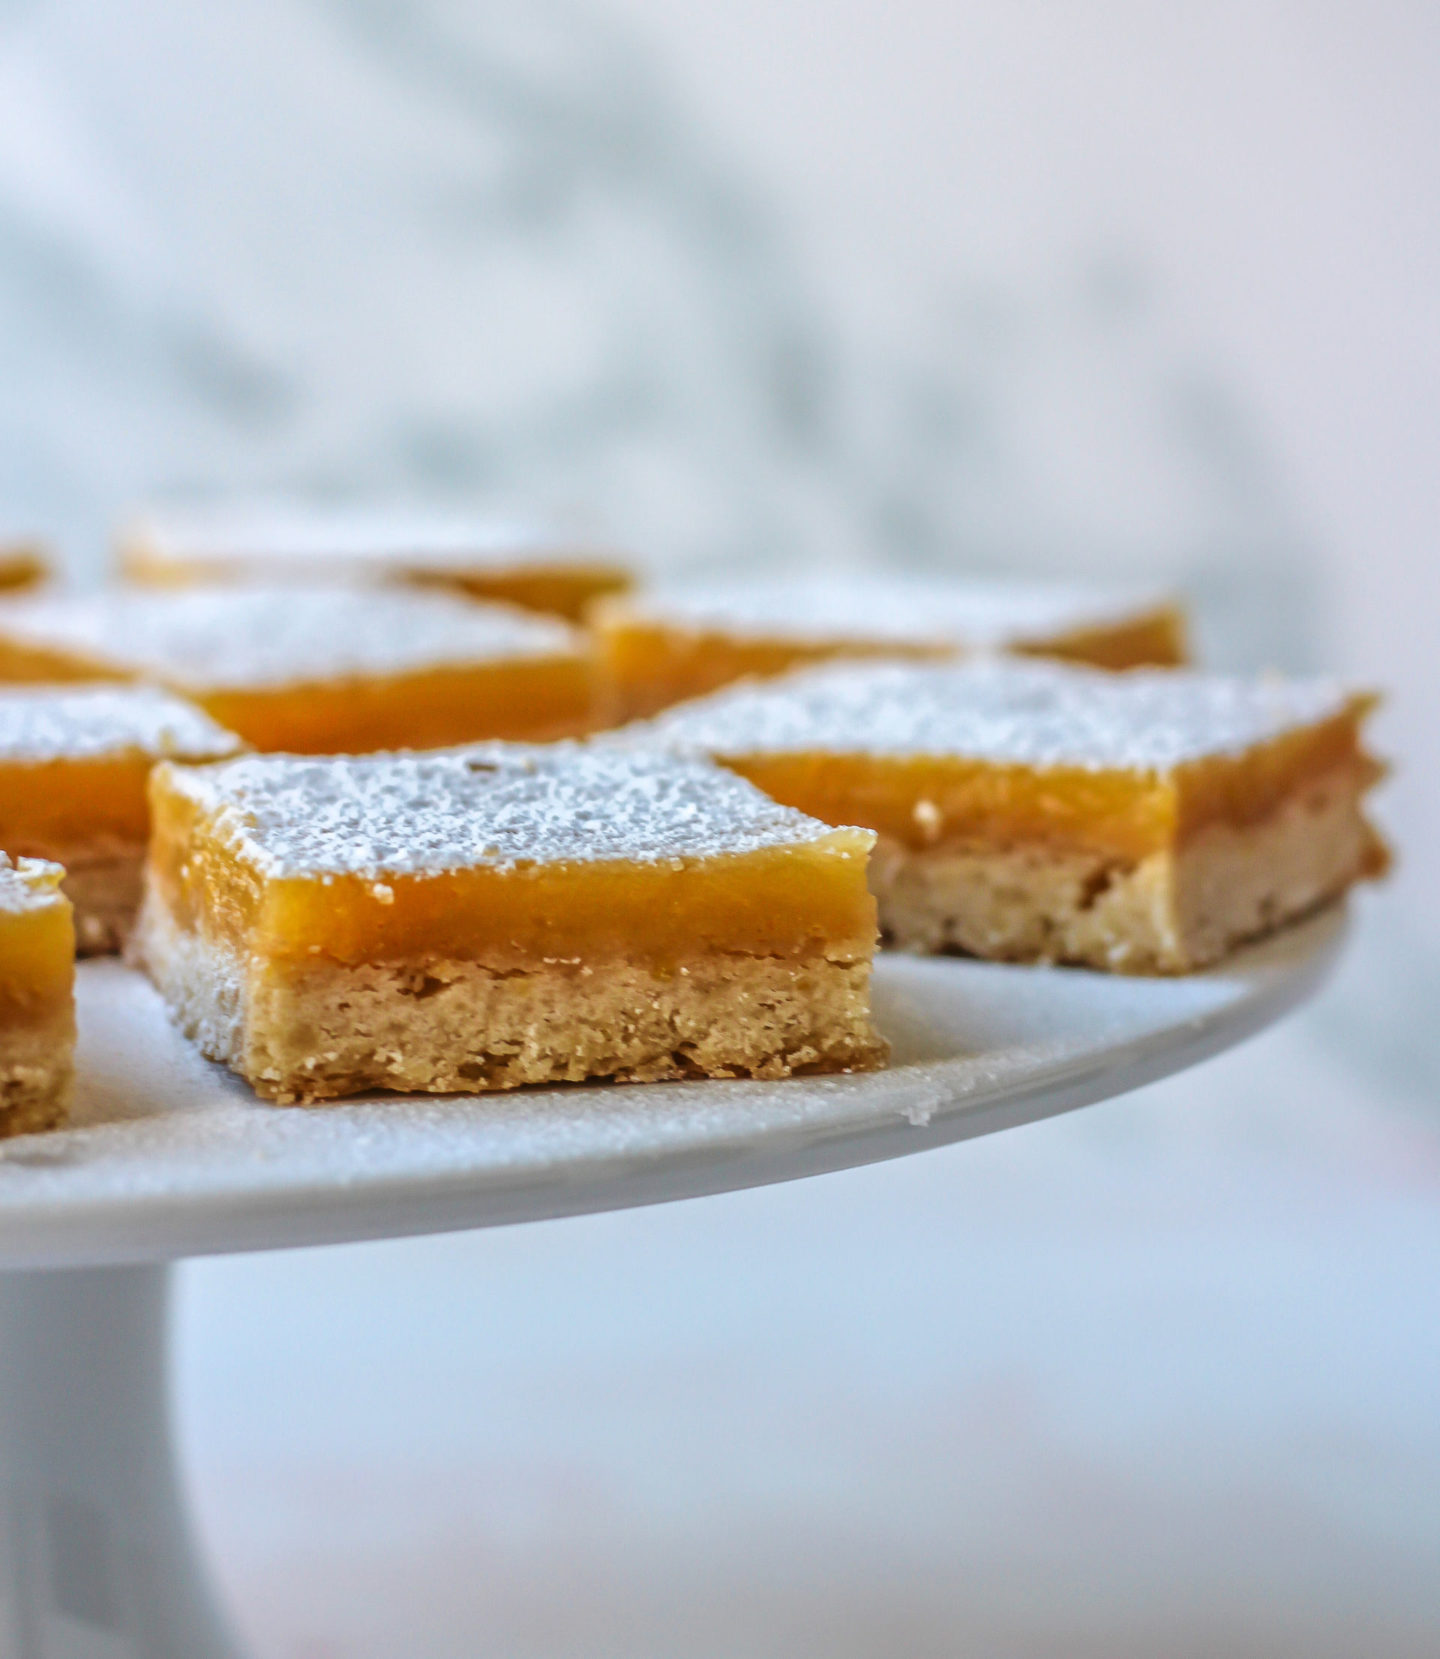
These lemon bars are made up of a melt-in-the-mouth lemony shortbread base, and a mega-zingy lemon curd which is firm enough to neatly cut into these precious lemon squares!
I’ve shared quite a few lemon recipes with you so far, but I think these lemon bars boast the most intense lemon flavour. They contain both juice and zest of four lemons, so the lemon flavour definitely isn’t subtle!
My other lemon recipes include:
- Lemon Drizzle Loaf Cake
- Lemon Blueberry Cupcakes
- No-Bake Lemon Cheesecake
- Lemon Coconut Muffins
- Lemon Poppy Seed Muffins
- Lemon Raspberry Cream Cake with Meringue Kisses
The Best Lemon Bars recipe
This lemon bars recipe idea came to me after I developed my Strawberry Pavlova recipe. My pavlova recipe requires 5 medium egg whites. I was left with 5 egg yolks that I didn’t want to waste, so these delicious lemon bars were born!
This recipe contains 5 egg yolks and 2 whole eggs. Guess what you can make with the 5 leftover egg whites? My delicious and surprisingly easy Strawberry Pavlova of course!
Ingredients needed to make lemon bars
Lemon bars consist of a shortbread base and lemon curd filling. For the shortbread base you’ll need:
- Plain flour – gives structure to the shortbread
- Cornflour – makes the shortbread more tender and crumbly
- Salt – to enhance the flavour
- Unsalted block butter – firmer block butter (not smooth, spreadable butter) is best otherwise the shortbread dough will be too soft and sticky. If you only have salted butter, omit the extra salt mentioned above
- Caster sugar
- Light brown sugar – I use a combination of these two sugars as caster sugar keeps the dough paler and light brown sugar adds a more caramel-like sweetness and creates a slightly softer, less crunchy shortbread
- Lemon zest – this is optional but adds a slight touch of lemon flavour to the shortbread which I think works really well in this recipe!
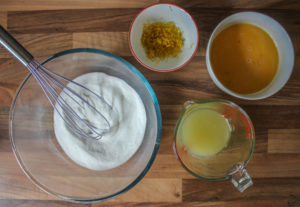
For the lemon curd filling you’ll need:
- Plain flour – helps thicken the lemon curd
- Caster sugar – gives a lovely sweetness
- 5 medium egg yolks
- 2 whole medium eggs – this amount of eggs help keep the lemon curd firm once baked
- Fresh lemon juice – 4 lemons’ worth of juice makes these bars super lemony
- Lemon zest – and zest from 3 lemons helps too!

How to make easy lemon bars from scratch
Full recipe instructions with step-by-step photos can be found at the bottom of this recipe post, but I’ll summarise things here too.
Both the shortbread and lemon curd filling are baked in the oven. Some lemon bar recipes call for par-cooking the lemon curd on the hob first, but I think baking it in the oven is easier as you don’t have to worry about if the curd is cooked enough on the hob before baking. I like to keep things as easy as possible for you!
So, let’s talk through how to make the lemon shortbread first!
How to make the shortbread base
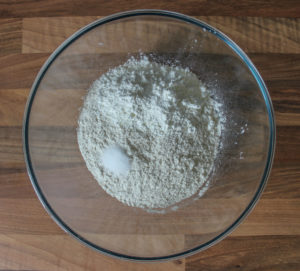
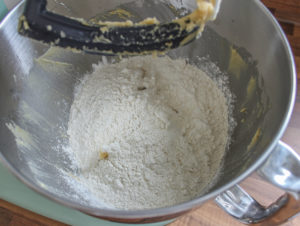
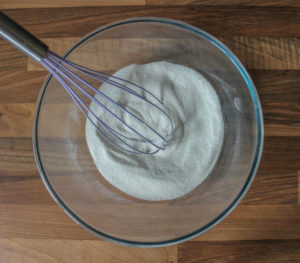
- Whisk the plain flour, cornflour and salt in a bowl, then set aside
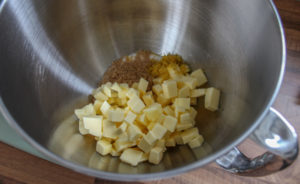
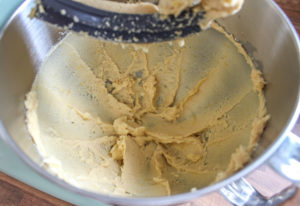
- Using an electric stand mixer or hand mixer, beat the butter, lemon zest and both sugars until smooth and paler in colour
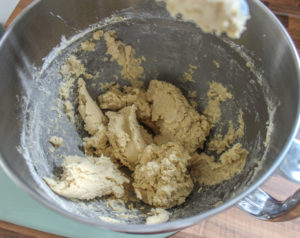
- Pour the dry ingredients into this mixing bowl while mixing on low speed and beat until just combined
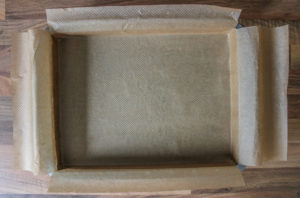
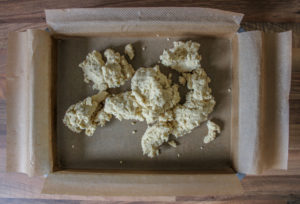
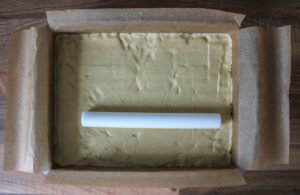
- Pour the shortbread mixture into your 12” x 9” traybake tin which has been lined with baking or parchment paper
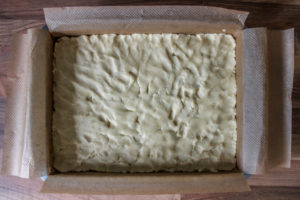
- Press this shortbread dough as flat and evenly as possible with your hands and fingers, making sure it goes all the way to the edges of the traybake tin – I then use a small fondant rolling pin to smooth it out a little more
- Place in your preheated oven and bake for 25 minutes until lightly golden in colour
How to make the lemon curd filling
While the shortbread is baking in the oven, you can make the lemon curd filling:
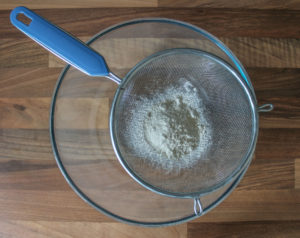
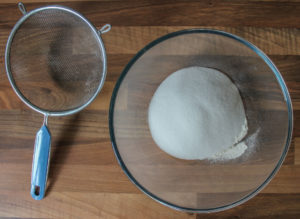
- Sieve the flour and sugar into a bowl to make sure there are no lumps, then whisk together to combine
- Lightly beat the egg yolks and whole eggs with a fork, and then add these eggs along with the lemon juice and lemon zest to the bowl of flour and sugar
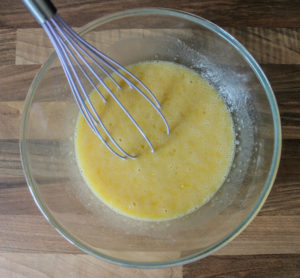
- Whisk together until fully combined and smooth with no lumps
- Pour this mixture on top of the shortbread (don’t worry if the shortbread is still warm)
- Place the traybake tin back in the oven for a further 20 minutes until the lemon curd filling is firm
- Place on a wire rack to cool
Tips and tricks to make the best homemade lemon bars
- When making the shortbread dough, beat the flour into the butter mixture on the lowest setting of your mixer, and only beat until just combined. This is because overworking shortbread dough leads to a dry, tough shortbread. Working the dough as little as possible ensures a slightly crumbly, melt-in-the-mouth shortbread texture!
- The lemon zest in the shortbread dough is optional, but the flavour is not overpowering and I think it works wonderfully in these bars
- Press the shortbread dough into the tin as tightly as possible – this will give your lemon bars a firm biscuit base to hold all that delicious lemon curd filling!
- I use a small fondant rolling pin to level out my shortbread as much as possible and to smooth out my finger and handprints. You could also use something like a small glass
- Sieve the flour and sugar used in the lemon curd filling to make sure there are no lumps in the mixture
- Once baked and cooled slightly on your wire rack, you can place the traybake tin in the fridge to finish cooling and help firm up the lemon bars a little quicker, ready for slicing!
- Leave an overhang of baking/parchment paper when lining the tin – this makes it much easier to lift it out of the tin, ready to slice
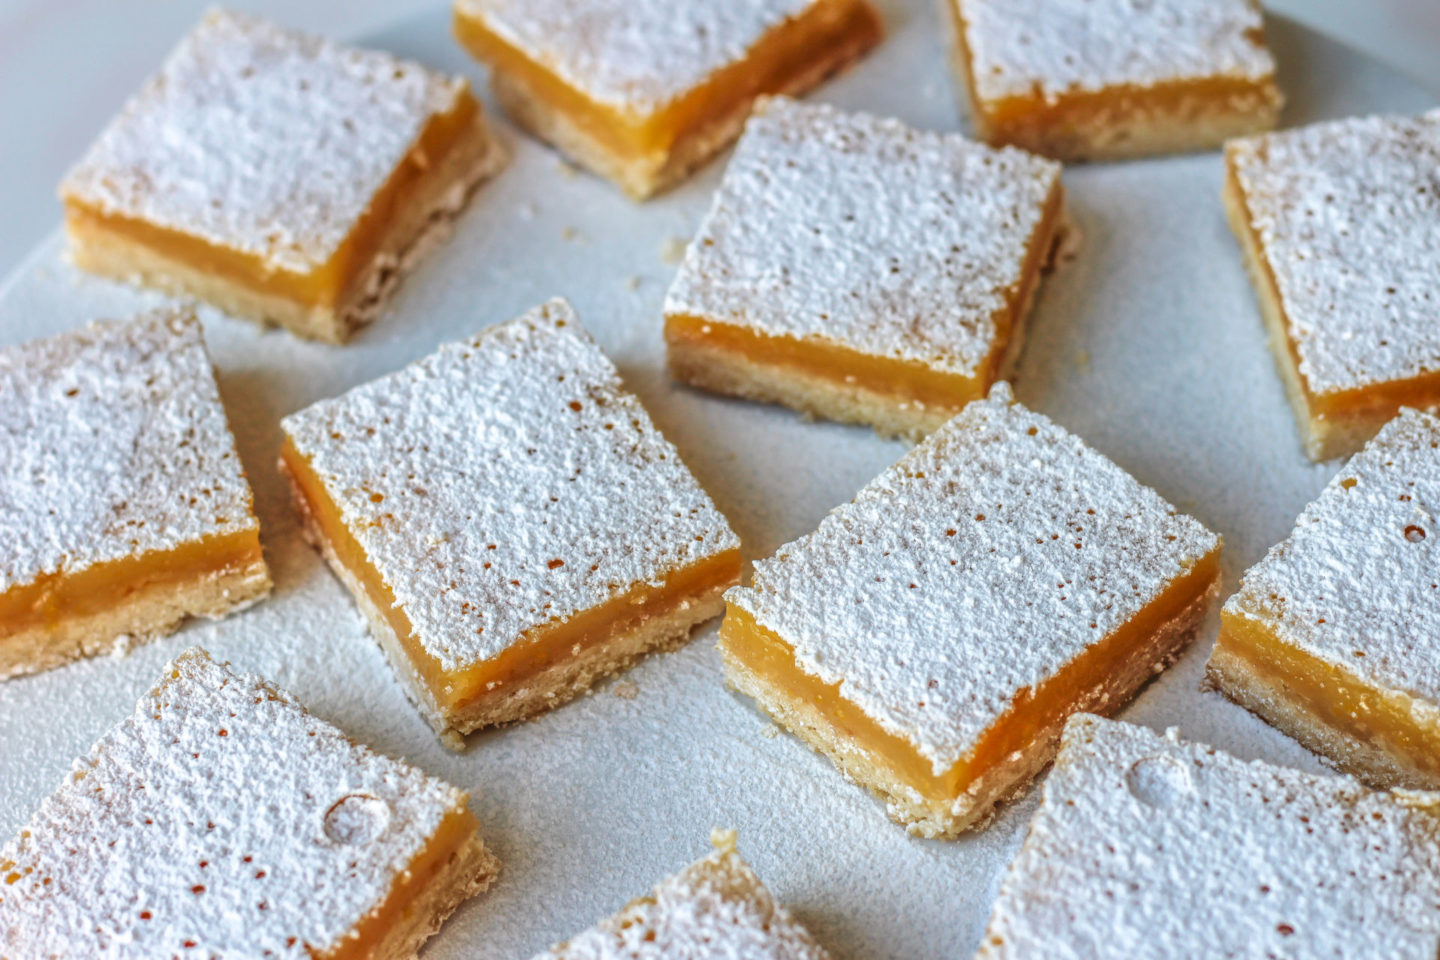
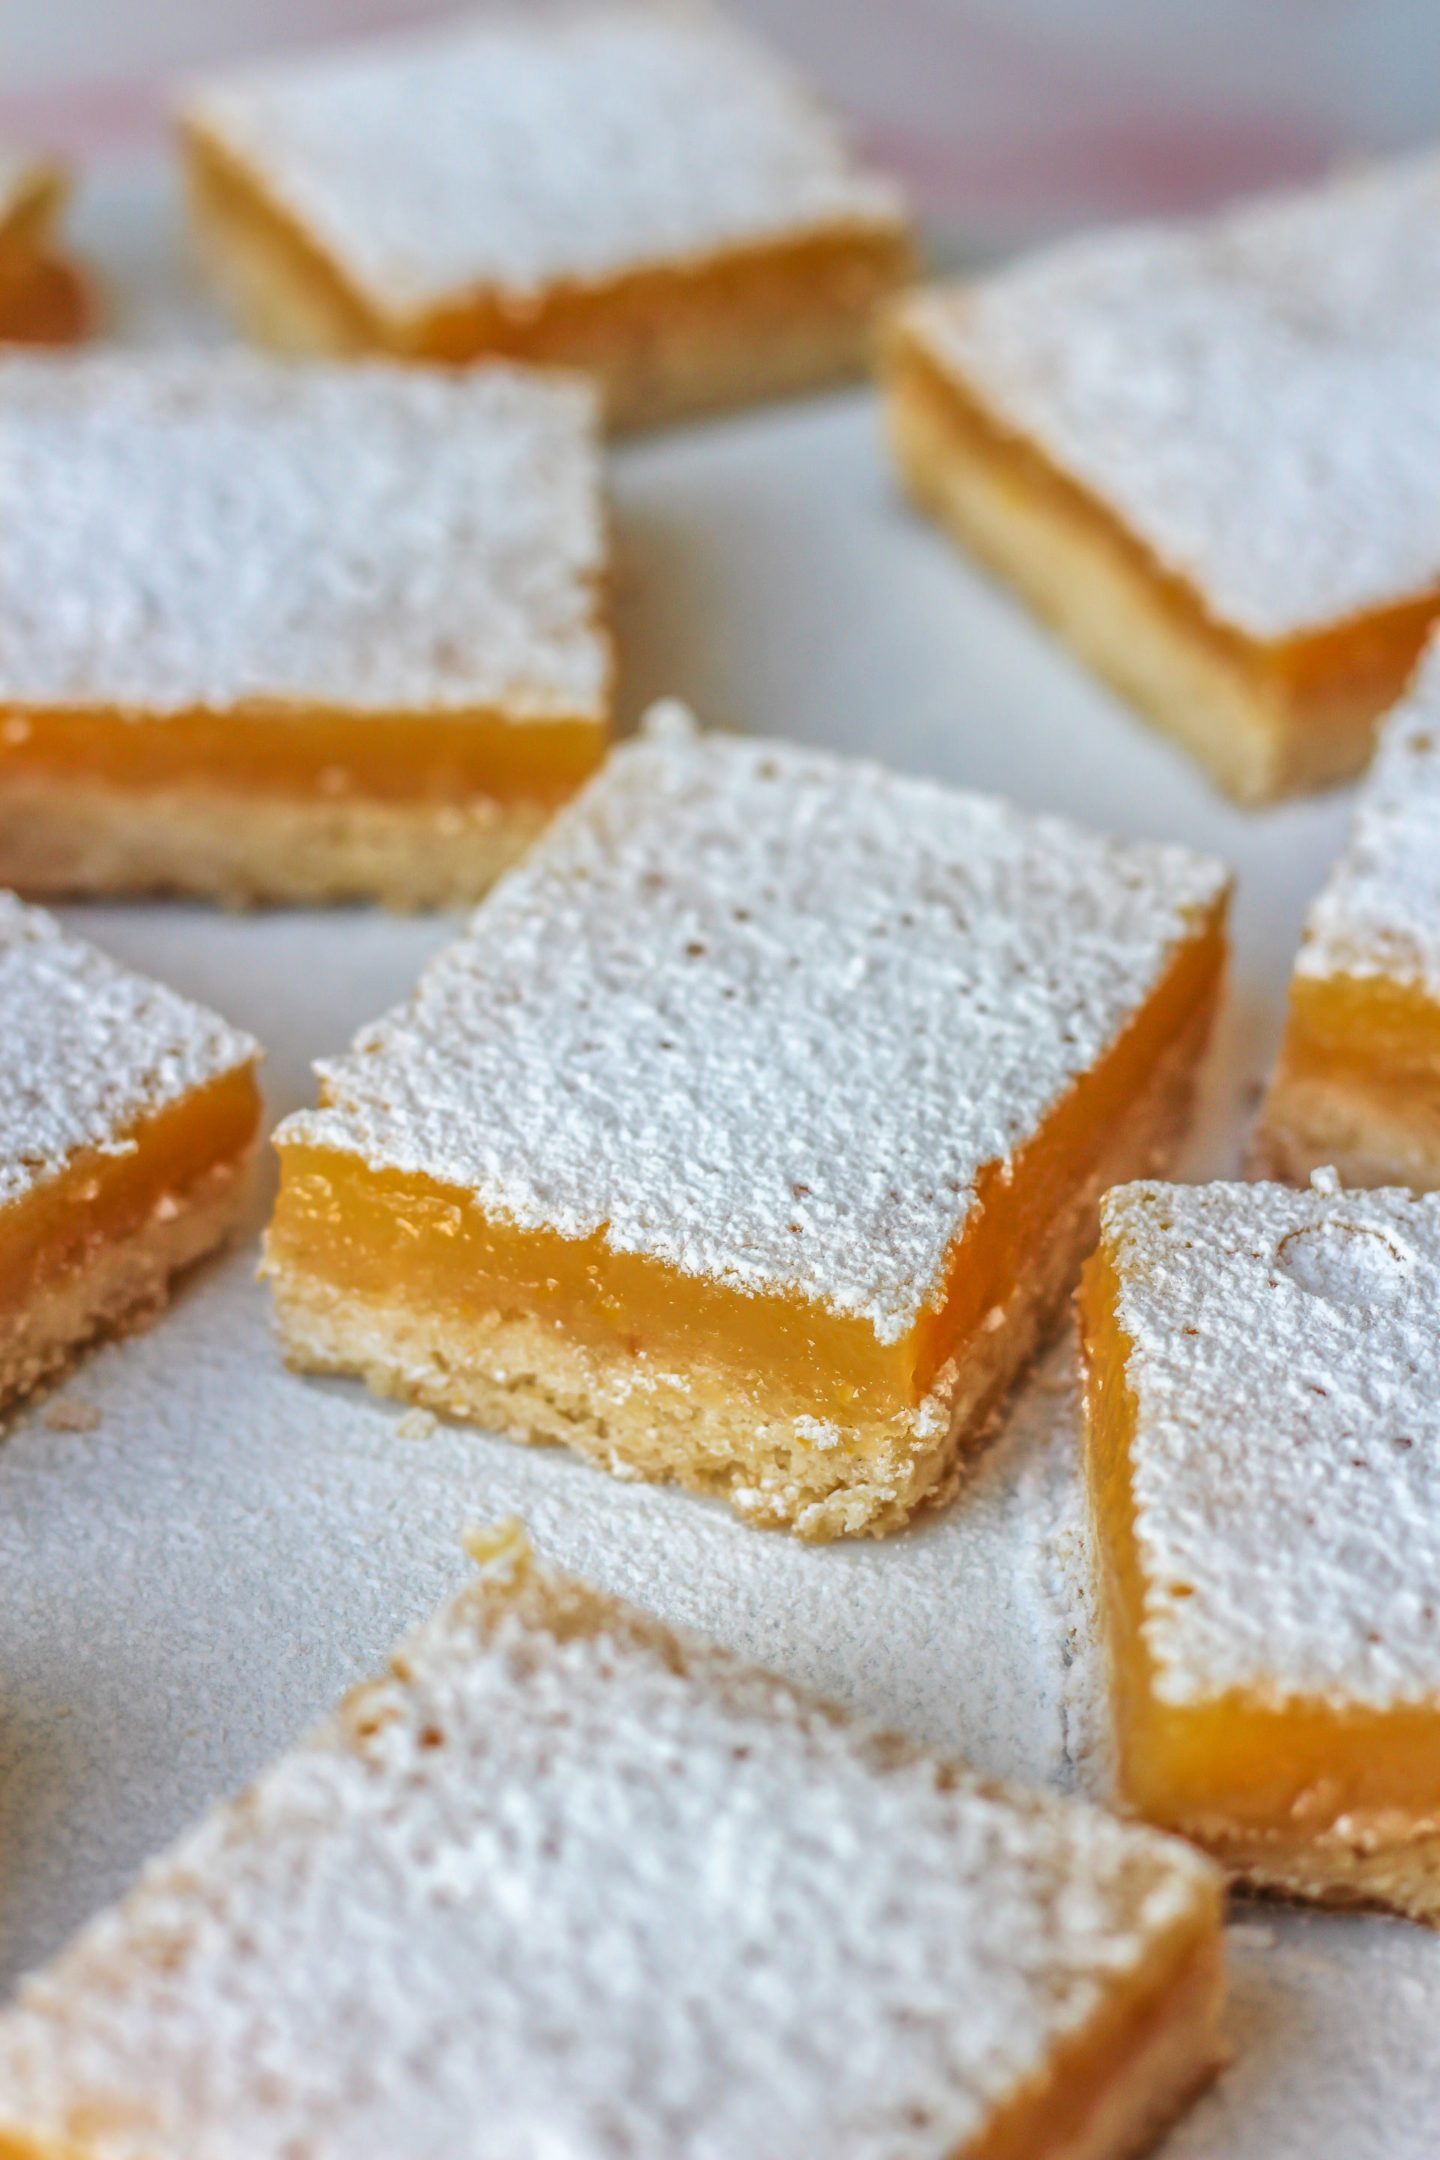
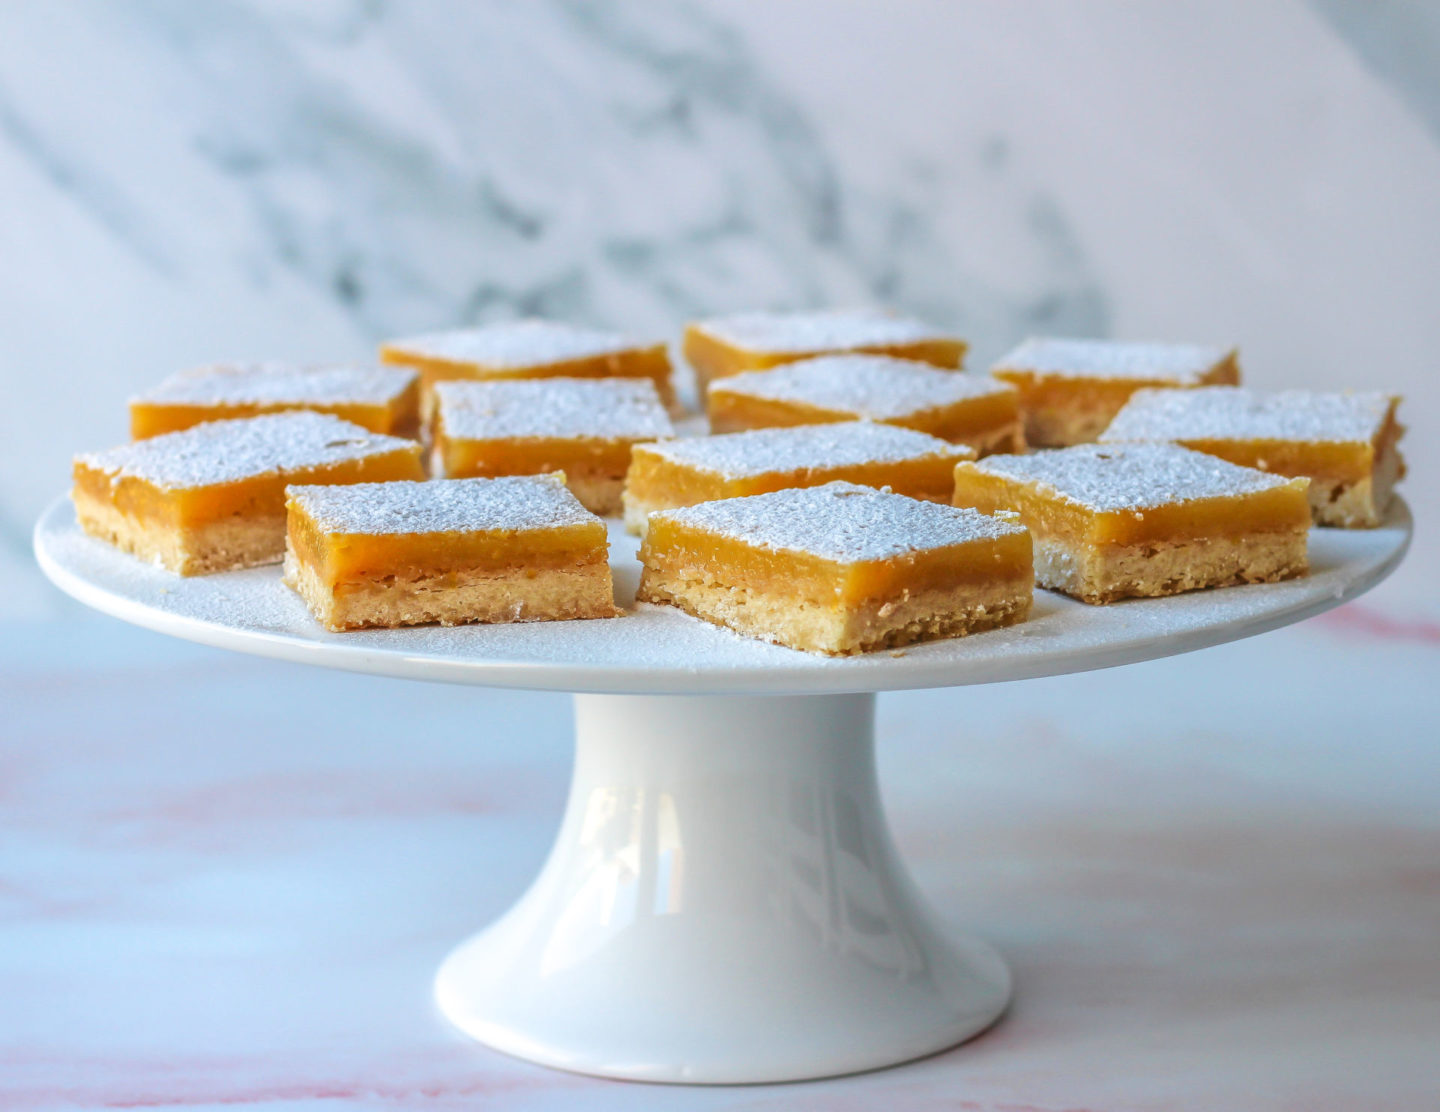
- Use a slightly damp, warm, sharp knife to cut the bars neatly, cleaning it between slices
How do I know if my lemon bars are set?
The lemon bars will be firm on top with the slightest wobble in the centre if you gently nudge your pan. The edges of the lemon curd topping will look ever so slightly browned too. If it looks runny at all, leave it in the oven a few more minutes and check again. My lemon curd topping was cooked perfectly at exactly 20 minutes.
Why do my lemon bars have bubbles on top?
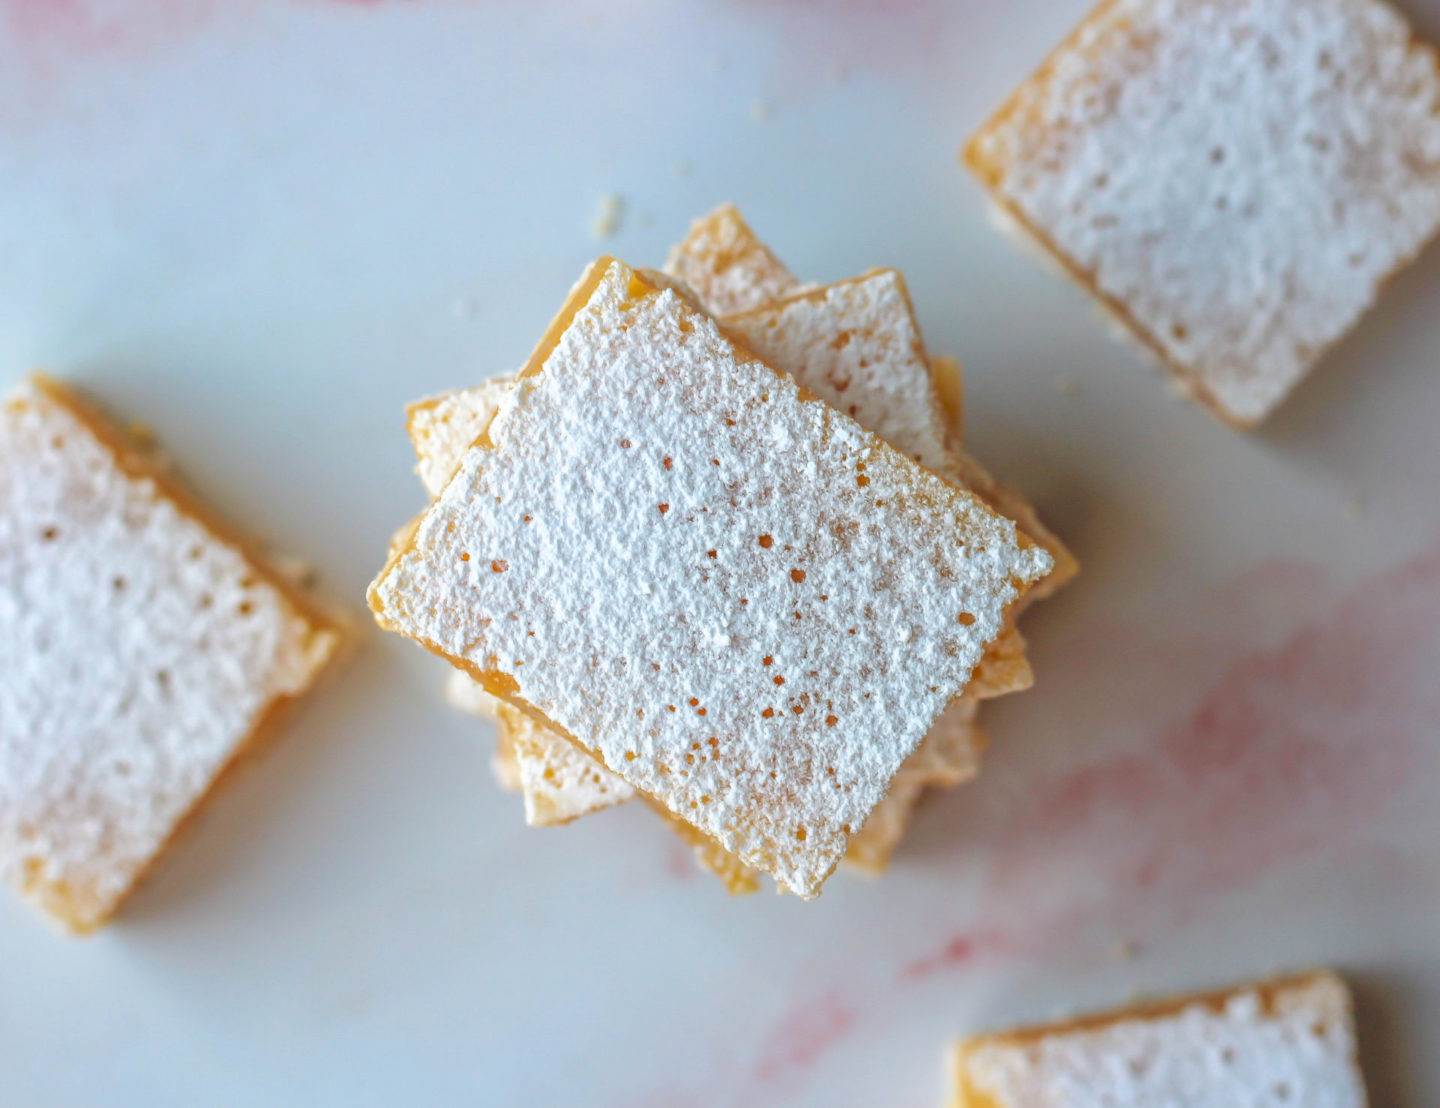
These little bubbles develop in your lemon curd mixture when whisking it. They’re completely fine and don’t affect the taste at all. To reduce the number of bubbles that form, only whisk your lemon curd ingredients together until they are fully combined. Overwhisking will create more bubbles! These bubbles can be covered well with a dusting of icing sugar.
Do I need to refrigerate lemon bars?
I would recommend storing them in the fridge as lemon curd is essentially a custard which would need to be refrigerated. However, they are fine to leave out for several hours if serving at a party or gathering, for example. Lemon bars are great served cold or at room temperature though! They will keep well in the fridge in an airtight container for around 5 days.
Can lemon bars be made a day ahead?
Absolutely! Keep them stored in the fridge until an hour or so before you need them. You could slice them and store them in an airtight container as bars, or store the whole traybake tin in the fridge (covered with film) and then cut out the bars when ready to serve!
I actually prefer making lemon bars the day before to give them plenty of time to set firmly in the fridge, so they are easier to cut into neat bars.
How to cut lemon bars neatly
I recommend using a sharp, damp, warm knife to give the cleanest cut. Run the knife under warm water and pat it dry so it’s damp not wet. Try to do this between cutting each bar to get nice, neat lemon squares!
Can I freeze lemon bars?
Yes, lemon bars freeze well. Cut them into bars and store them in an airtight container. Place a sheet of baking or parchment paper in between if stacking the bars in layers. This will stop them from sticking together!
To summarise, these delicious homemade lemon bars are:
- Packed full of fresh, zingy lemon flavour
- Made up of a lemon flavoured shortbread and a thick, smooth lemon curd topping
- Are baked in the oven (so no need to worry about cooking lemon curd on the hob first)
- A perfect make-ahead dessert – they slice better the day after baking and keep well both in the fridge and freezer when stored in an airtight container
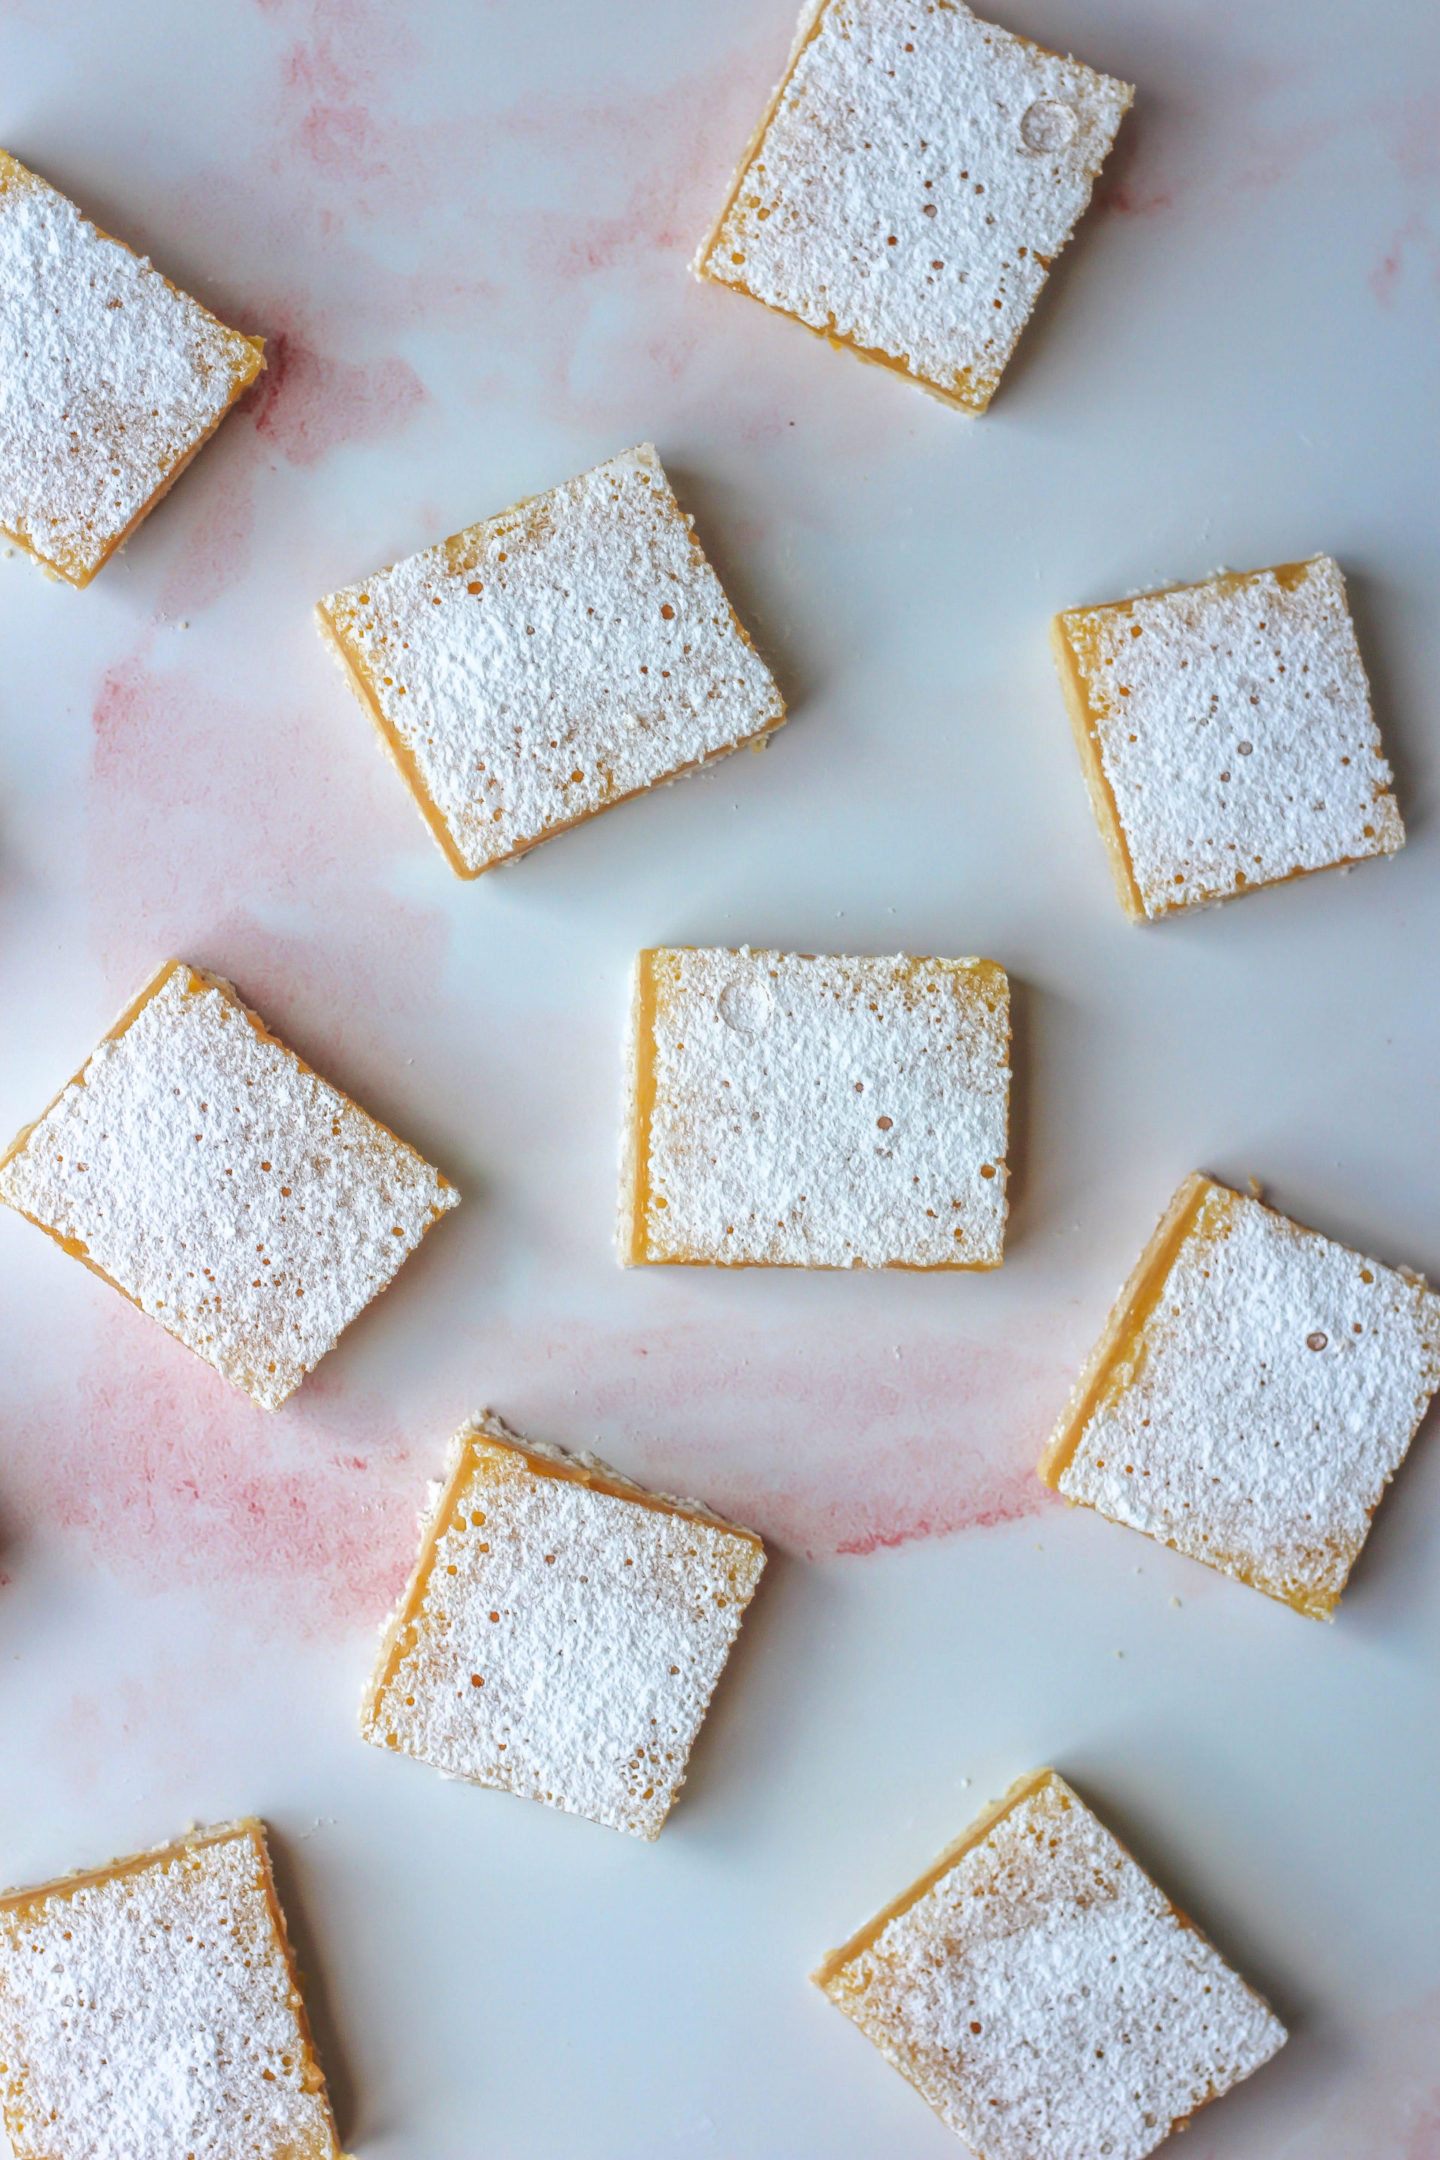
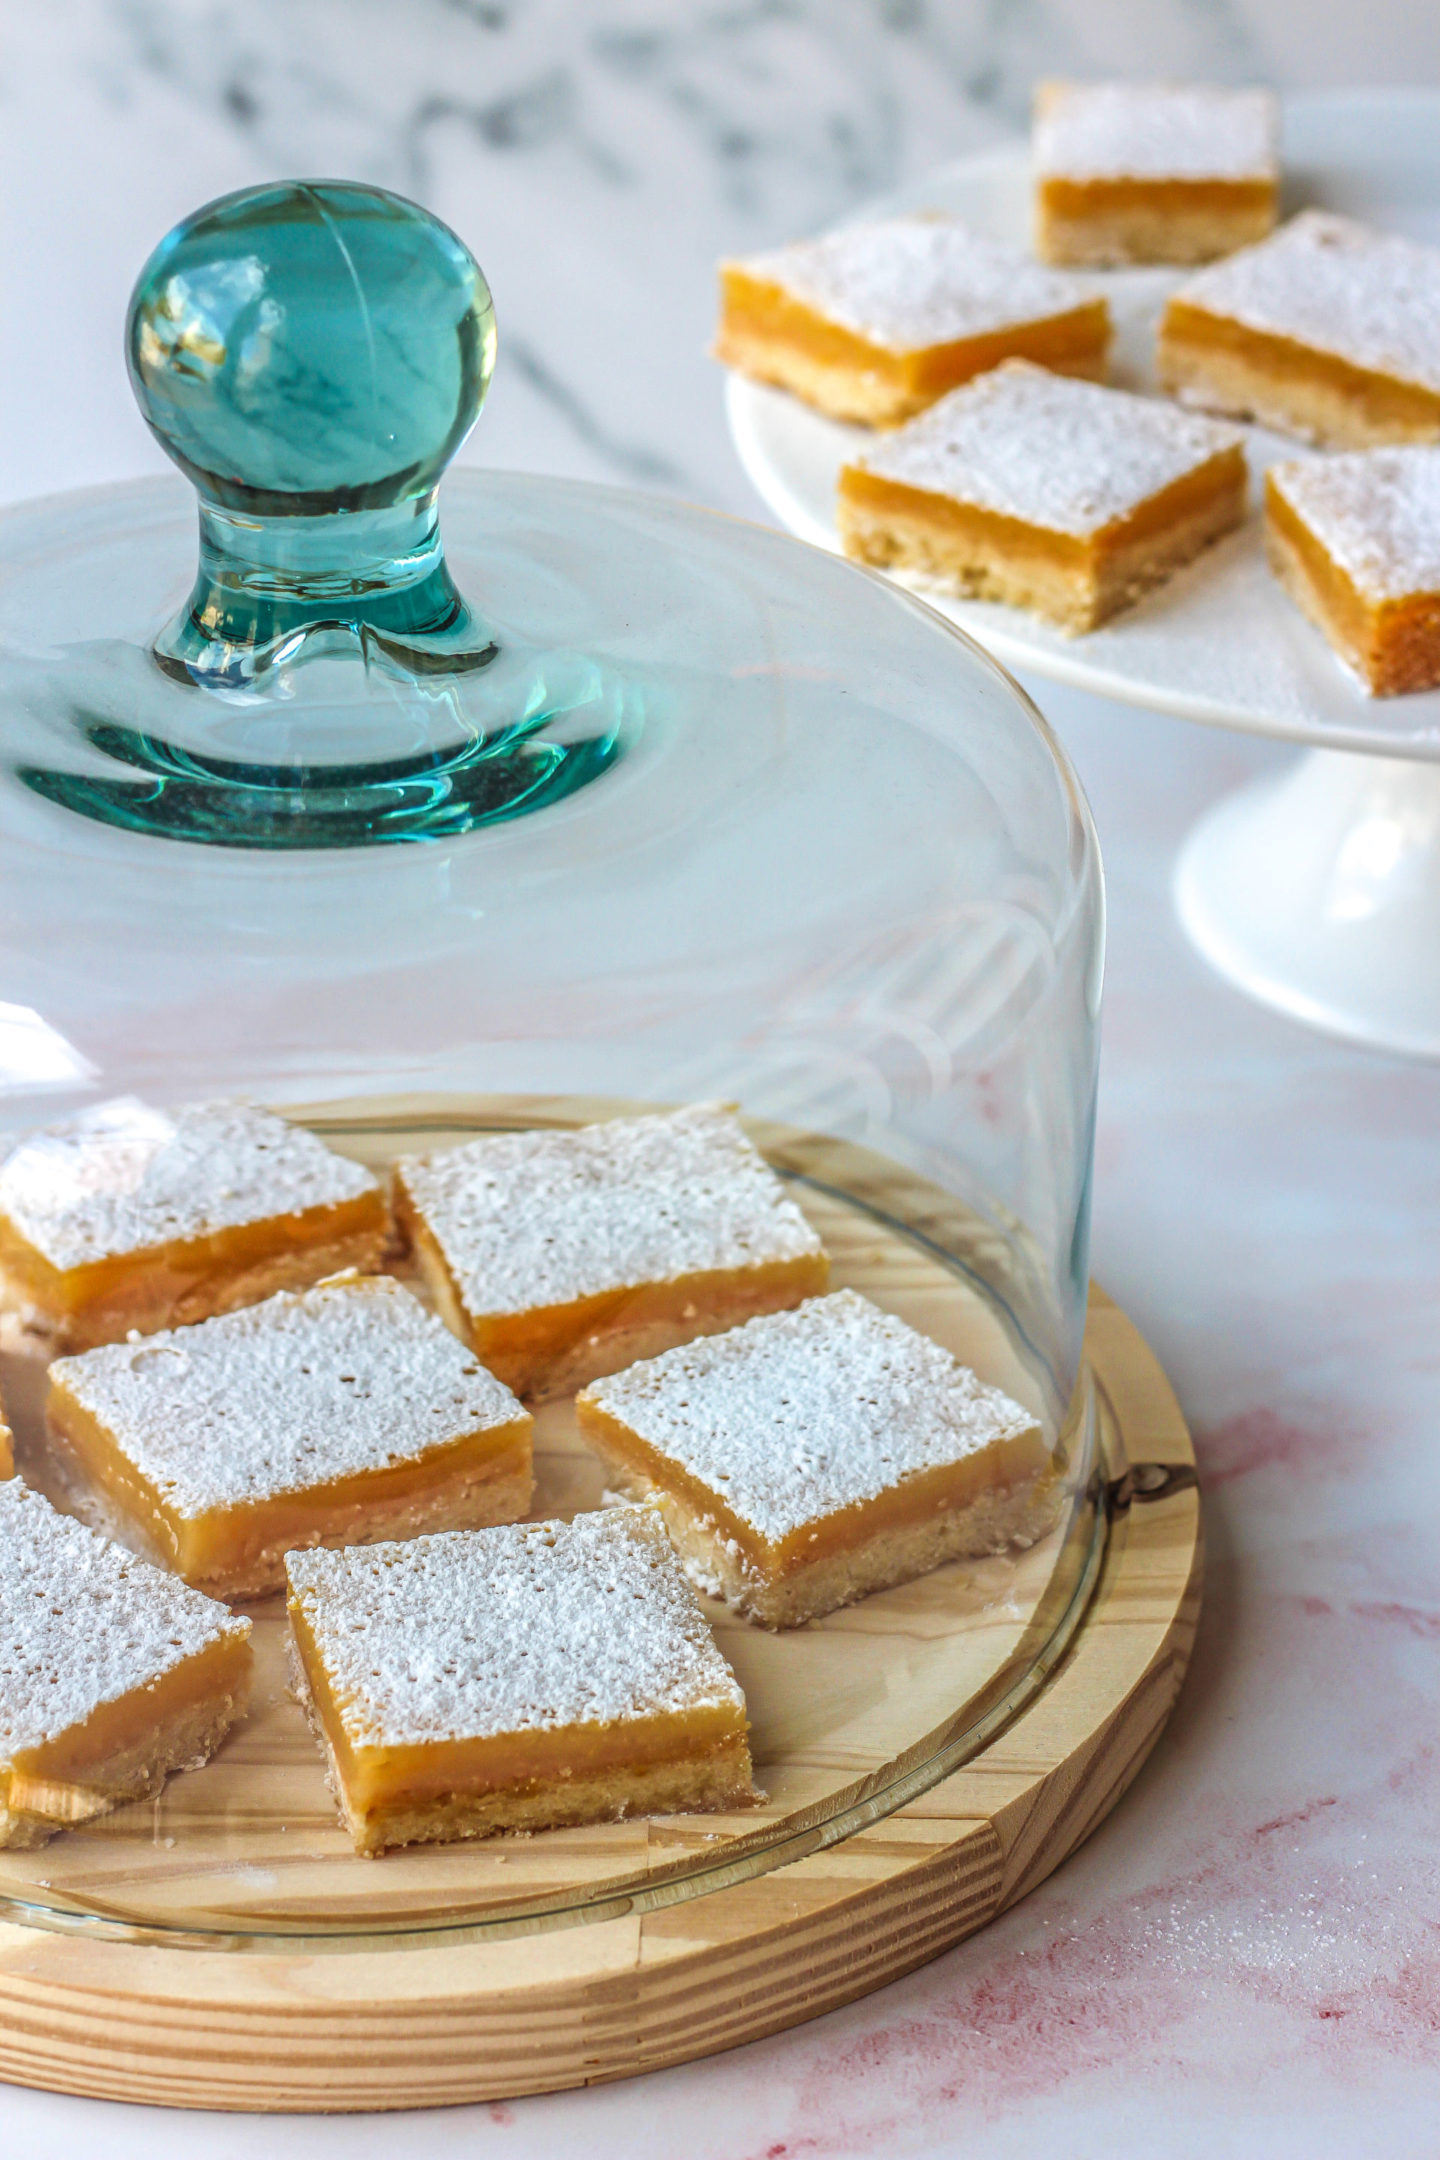
- Surprisingly easy to make but they look really impressive, especially when finished with a dusting of icing sugar!
If you try this recipe I’d love to see! You can show me by tagging me @bakerjoblog or using #bakerjoblog!
Other dessert recipes to try:
- Lattice Apple Pie
- No-Churn Biscoff Ice Cream
- No-Churn Strawberry Cheesecake Ice Cream
- Strawberry Pavlova
- No-Churn Oreo Ice Cream
- White Chocolate Coconut Truffles
- No-Bake Fresh Fruit Tart
- No-Bake Strawberry White Chocolate Cheesecake
- Cocoa Dusted Chocolate Truffles
- No-Bake Lemon Cheesecake
Lemon Bars
Equipment
- 12" x 9" traybake pan
- Hand mixer or stand mixer
Ingredients
Shortbread Base
- 250 g plain flour sifted
- 50 g cornflour sifted
- 1/2 tsp salt level
- 210 g unsalted block butter cubed and just slightly softened. Don't use spreadable-type butter as this will make the dough too wet and soft to handle
- 50 g caster sugar
- 50 g light brown sugar
- zest of 1 medium lemon
Lemon Curd Filling
- 30 g plain flour sifted
- 250 g caster sugar sifted
- 5 medium egg yolks room temperature
- 2 medium whole eggs room temperature
- Zest of 3 medium lemons
- 140 ml fresh lemon juice about 4 medium lemons
Instructions
Shortbread Base
- Preheat your oven to 160°/140° fan.
- Line your 12” x 9” traybake tin with baking or parchment paper. Leave some overhang of paper; this will make it much easier to lift it out of the tin and slice later once baked.
- Measure the plain flour, cornflour and salt into a medium bowl. Whisk until combined and then set aside.

- In the bowl of your stand mixer (or a large bowl if using an electric hand whisk), beat the butter, zest of 1 lemon and both sugars on medium speed for a full 2 minutes. It will look smooth and slightly paler in colour.
- Scrape down the sides of the bowl with a rubber spatula.
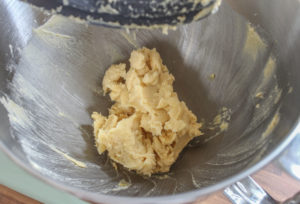
- Pour the dry ingredients into the large bowl and beat on lowest setting until just combined – it’s very important not to over-mix here or your shortbread will end up tough and dry.
- Pour the shortbread dough into your lined 12” x 9” traybake tin
- Press the shortbread dough out with your hands and fingers, trying to make it as flat and even as possible.
- I then use a small fondant rolling pin to smooth it out a little more. You could also use something like a small cylindrical glass
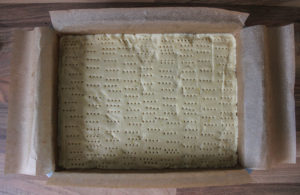
- Using a fork, poke holes across the whole shortbread dough. This will help the lemon curd bind to the shortbread later.
- Place the traybake tin into your preheated oven and bake for 25 minutes until it looks slightly golden in colour.

Lemon Curd Filling
- Make the lemon curd filling while the shortbread is baking.
- Sieve the plain flour and caster sugar into a medium-sized bowl to remove any lumps.
- Whisk the flour and sugar together until combined.
- Lightly beat your egg yolks and whole eggs in a small bowl and add these, along with the lemon juice and lemon zest, to the flour and sugar mixture.
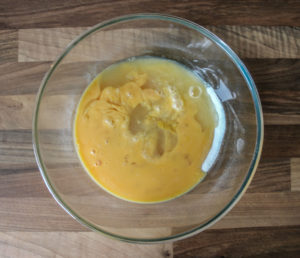
- Whisk all the ingredients together until smooth and combined. Try not to over-whisk as this will lead to more bubbles forming on the surface of your baked lemon bars. Some bubbles appearing on the surface is normal.
- Once the shortbread is baked and removed from the oven, pour this lemon curd mixture on top of the shortbread. Don’t worry if the shortbread is warm, this is ok.
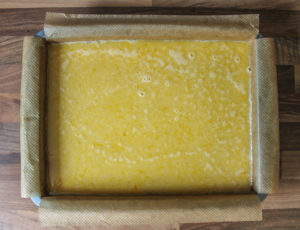
- Place the traybake tin back into your oven (on the same temperature) for a further 20 minutes to bake the lemon curd topping.
- You will know it is done baking when the lemon curd appears firm with the slightest wobble in the centre (you can check this by gently nudging your traybake tin). The edges of the lemon curd topping will also look ever so slightly browned. If any of the mixture looks runny at all, continue baking for a few more minutes before checking again.
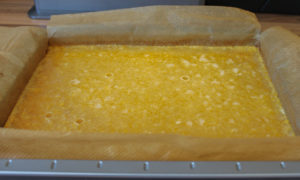
- The lemon bars will set and firm up more as they cool.
- Place the traybake tin on a wire rack to cool, and you can place the slightly cooled tray in your fridge to finish cooling and firm up. I find the bars easier to cut when chilled.
- When the bars are cooled and completely set, carefully lift out of the traybake tin using the overhang of baking/parchment paper as handles.
- Place on your countertop ready to slice into squares.
- Using a sharp, damp, warm knife (run the knife under warm water then pat dry so it’s damp, not wet), cut the bars into equal squares (I cut them into 24 squares). Clean the knife between cutting each slice to get clean, neat slices.

- Dust the sliced bars with icing sugar to finish. This finishes them off perfectly I think, plus it helps cover up the little air bubbles which form on the surface.
- Lemon bars need to be stored in the fridge if not serving immediately as the filling is a custard so needs to be kept refrigerated. They can be served cold from the fridge or at room temperature. Best eaten within 5 days.
- They also freeze well when stored in an airtight container with layers of baking/parchment paper between if stored in several layers. This will prevent them sticking together.